
Rehabilitation discomfort does not always mean harm, but tracking recovery patterns across a full day helps you progress safely without causing setbacks.





You finish your physical therapy exercises, set down your equipment, and head into the kitchen for a glass of water. An hour later, an unfamiliar ache spreads across your recovering joint, leaving you wondering if you just built strength or caused fresh damage.
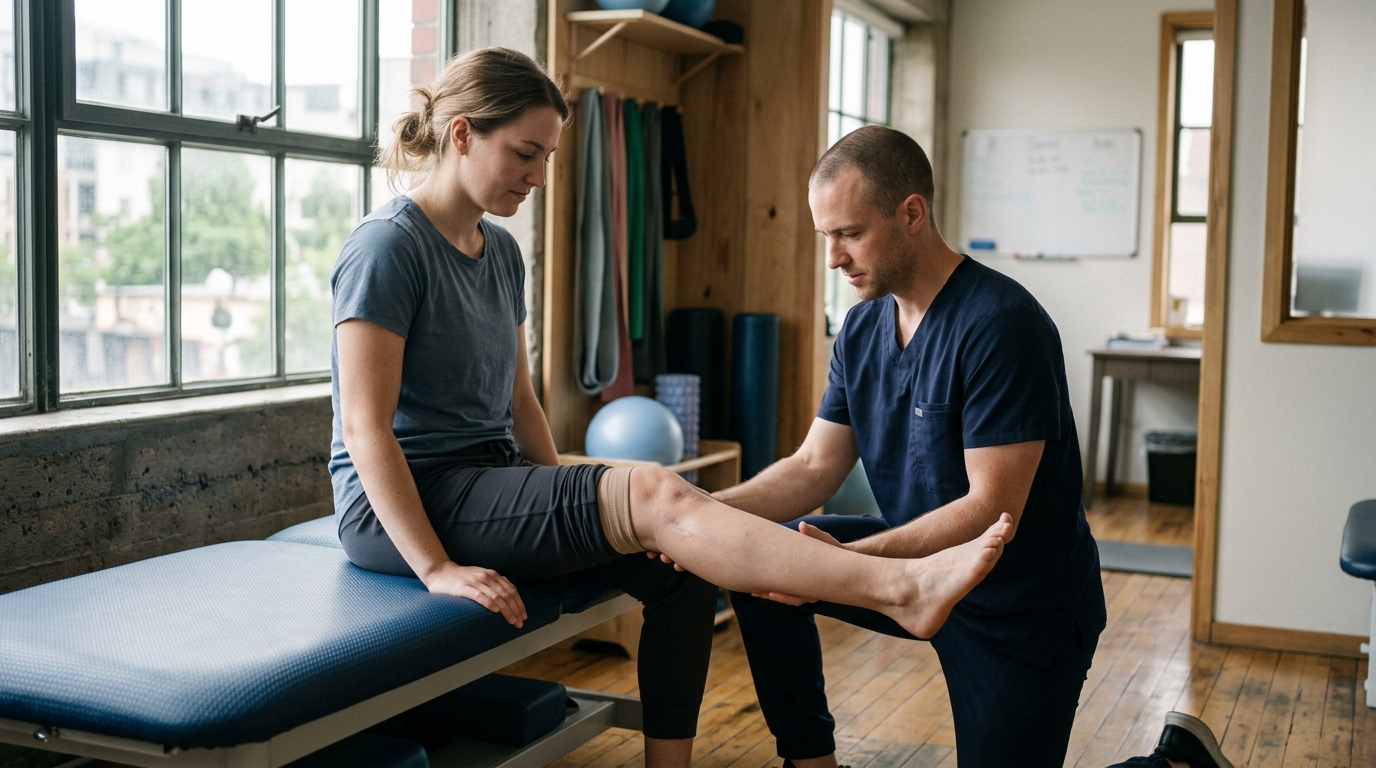
During physical recovery, physical sensations are normal information rather than immediate proof of failure. The most reliable way to judge your progress is to look at the whole symptom pattern over time instead of reacting to a single workout. That pattern includes the type of sensation, its intensity, how quickly it settles, and whether your body returns to its baseline by the next day.
Clinical research shows that some mild discomfort during rehabilitation is often safe and acceptable for certain conditions. However, published guidelines vary across different injuries and recovery programs. A single pain score cannot tell you everything, so your individual rehabilitation plan and clinical guidance should always guide your daily choices.
When you start moving after an injury or surgery, your body generates a wide range of signals. Sorting these signals into clear categories makes it easier to decide whether to keep going, adjust your movements, or take a complete pause.
Ordinary effort includes the natural sensations of muscular work and general exertion. You might feel a burning sensation in the target muscle during the final repetitions of a set. You might notice heavy limbs, mild breathlessness during cardiovascular exercise, or general physical fatigue.
These sensations usually fade within minutes after you finish the activity. They do not alter your movement patterns or make your joints feel unstable. Learning to recognize ordinary effort helps you build physical capacity without unnecessary worry.
A temporary symptom response is a brief increase in localized discomfort during or right after an exercise. This might feel like a familiar dull ache or mild stiffness in a recovering joint or tendon.
The defining feature of this category is that the sensation settles within a predictable window. Depending on the tissue and your clinical plan, this settling window might range from thirty minutes to twenty-four hours. Crucially, your joint mobility and baseline comfort return to normal by the next day.
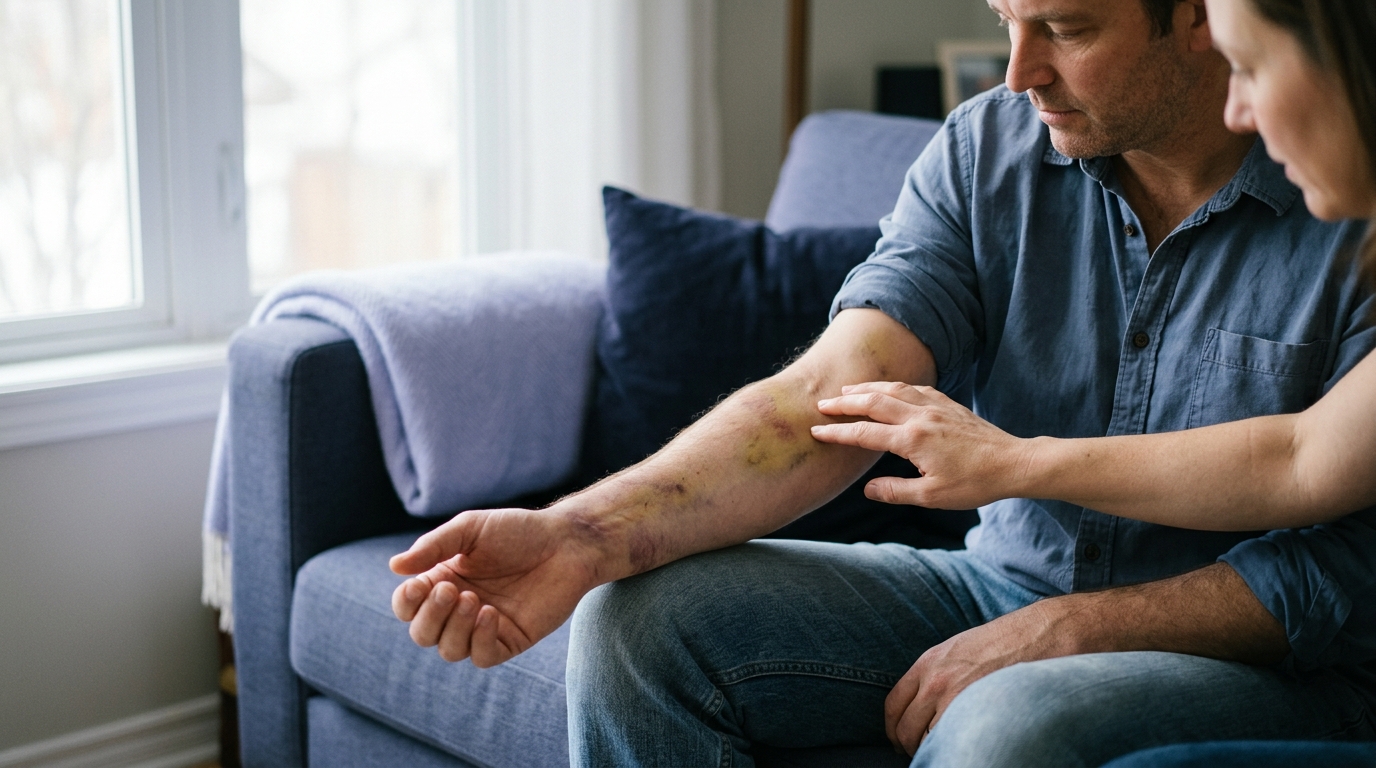
Stop-and-seek-advice signals are physical responses that point to tissue overload, joint irritation, or potential systemic issues. These signals include sharp, stabbing pain, sudden joint catching, new or worsening swelling, and feeling the joint give way.
This category also includes general medical warning signs that can occur during exercise. Chest tightness, dizziness, faintness, sudden shortness of breath, and irregular heart rhythms require an immediate halt to activity and professional attention. Pain intensity alone does not always reveal the underlying cause, which is why movement quality and overall function are equally important.
Physical therapists and orthopedic researchers have spent decades studying how tissues respond to progressive load. The scientific literature offers practical lessons on using discomfort as a monitoring tool rather than an absolute barrier.
Several clinical trials have evaluated structured pain-monitoring models for lower-body conditions. A well-known randomized controlled trial led by Silbernagel investigated patients with Achilles tendinopathy. One group continued tendon-loading activities, such as running and jumping, using a defined pain-monitoring model. The other group stopped all loading activities for the first six weeks of their rehabilitation program.
Both groups followed the same overall rehabilitation exercises. The researchers found no significant difference in recovery rates between the two groups. Both groups showed meaningful improvements on standardized outcome scores across twelve months of follow-up.
In this model, pain up to a mild or moderate level was permitted during activity, provided it settled by the next morning. This study demonstrated that complete rest is not always necessary for tendon recovery. However, this model was tested within a supervised, structured protocol for a specific condition. It does not mean all painful activity is safe for every orthopedic condition.
While pain scores are common in clinical practice, research shows they should not be the only factor used to advance an exercise program. A systematic review examining progression criteria in lower-limb therapeutic exercise found that pain-based progression was widely used across studies. However, the review found little high-quality evidence supporting pain scores as the sole standard for advancing exercises.
Relying exclusively on pain scores can create two distinct problems:
Evidence-based rehabilitation frameworks suggest combining pain scores with objective measures of function. These measures include movement control, range of motion, muscle strength, and the time it takes for symptoms to settle. You can read more about structured exercise progressions in our guide to rehabilitation and mobility resources.
Different health organizations and hospital networks publish varying guidelines for acceptable discomfort during exercise:
These variations reflect differences in tissue healing times, specific diagnoses, and individual health histories. There is no single universal pain number that applies to every person and every injury. Readers should always follow the specific thresholds established by their personal physical therapist or physician.
Tracking your rehabilitation response requires looking beyond the exact moment you perform an exercise. Tissue irritation often peaks hours after an activity ends. Using a simple 24-hour observation framework gives you a clearer picture of your tolerance.
Before you begin your workout, take thirty seconds to assess how your body feels at rest and during gentle movement. Note your starting discomfort level on a simple scale from 0 to 10. Check if your joint feels unusually stiff, warm, or irritable compared to an average day.
If your symptoms are already elevated above your normal baseline before you start, your body may still be recovering from a previous session. Starting with elevated symptoms suggests you should reduce your planned volume or intensity for the day.
As you perform each exercise, pay attention to the location, quality, and intensity of any discomfort. Does the feeling stay confined to the working muscle, or does it pinpoint a specific joint line or tendon attachment? Does the sensation remain steady, or does it climb with each repetition?
Watch for changes in your movement mechanics. If joint discomfort causes you to limp, lean, or alter your form, the load is currently too high for your tissues. Modifying the movement early protects your mechanics and prevents compensatory strain.
Note how your body feels during the first two hours after your session. In many general rehabilitation protocols, mild exercise-related discomfort should begin settling within this window.
If your joint throbs, aches intensely, or shows visible puffiness during this post-exercise period, make a note of the exact exercise that triggered it. An extended post-exercise flare is a clear sign that the session exceeded your current capacity.
The next morning is often the most revealing moment in the 24-hour tracking cycle. Connective tissues, such as tendons and cartilage, frequently show their response to mechanical load after a night of rest.
Ask yourself two simple questions when you get out of bed:
If your joint has returned to its baseline level, the previous day's exercise was well within your body's current tolerance. If your resting symptoms remain elevated, your tissues are still managing the workload from the day before. For deeper insights on how tissues adapt over time, review our overview of recovery science principles.
A traffic light framework is a practical way to turn symptom observations into immediate training decisions. It removes guesswork while keeping you aligned with your clinician's guidance.
The green zone represents a stable, well-tolerated physical response:
When your workouts consistently fall into the green zone, you can continue your current program as written. Over time, your clinician will likely guide you to increase resistance, repetitions, or movement complexity.
The amber zone indicates that an exercise is challenging your tissue tolerance without causing clear harm:
An amber response does not mean you must stop exercising altogether. Instead, it serves as a sign to hold your workload steady rather than adding more weight or reps. You can also modify the movement by reducing the range of motion, lowering the resistance, or slowing down your pace.
The red zone indicates that an activity has exceeded your tissue's current tolerance or that a potential issue needs evaluation:
If you encounter a red-zone response, pause the specific exercise that caused the reaction. Give the joint time to calm down using gentle, comfortable movement. When you resume training, step back to an easier, previously tolerated baseline and discuss the flare with your physical therapist.
A common frustration in rehabilitation is feeling great one day, overdoing activity, and spending the next three days recovering on the couch. Escaping this cycle requires establishing an honest baseline and practicing steady pacing.
A baseline is the amount of physical work you can manage regularly and repeatably, even on your less-energetic days. It is not the peak amount of exercise you can manage on your absolute best day.
Many people make the mistake of setting their training volume based on how they feel when they are well-rested and pain-free. When a lower-energy day arrives, that high volume becomes overwhelming, triggering a flare. Setting your starting baseline at a manageable level ensures steady consistency across every week.
One practical method suggested by physical rehabilitation teams is to observe your activity over several regular days:
Starting slightly below your average capacity provides a safety margin. It allows your nervous system and connective tissues to adapt comfortably without triggering defensive muscle spasms or inflammation.
Pacing means breaking your activity into manageable intervals and taking scheduled breaks before pain forces you to stop. If you know that walking for thirty minutes continuously causes knee stiffness, do not walk for thirty minutes in a single bout.
Instead, break the work into two 15-minute walks separated by a few hours of rest. You achieve the exact same total volume of movement, but you keep your tissue stress well below the threshold that triggers irritation. As your capacity expands, you can gradually merge those bouts together. For strategies on building long-term capacity, visit our section on strength and return to sport.
Your physical symptom response is rarely dictated by exercise mechanics alone. Multiple biological, lifestyle, and historical factors influence how sensitive your tissues and nervous system are on any given day.
Sleep quality plays a major role in musculoskeletal recovery and pain processing. When you experience poor or fragmented sleep, your central nervous system can become more responsive to sensory input.
An exercise load that felt comfortable on eight hours of sleep might feel noticeably more irritable after five hours of restless sleep. Recognizing this link helps you avoid panic when an exercise suddenly feels harder than usual. On days following poor sleep, temporarily reducing exercise intensity is a smart management decision.
Rehabilitation exercises do not happen in a vacuum. Your recovering tissues absorb load from every step you take, every flight of stairs you climb, and every hour you spend on your feet at work.
If you spend a Saturday morning doing intensive yard work or walking through a large shopping center, your total tissue load is already elevated. Performing a challenging physical therapy session immediately afterward may push you into the red zone. Always look at your total daily physical activity when evaluating a symptom flare.
The biological timeline of tissue healing sets natural boundaries for physical loading:
If you are recovering from surgery, your surgeon's specific tissue-protection protocols override all general guidelines. Bone healing, tendon re-anchoring, and ligament reconstructions have strict biological timelines that must be respected regardless of how good you feel.
While mild aches and joint stiffness are normal parts of physical recovery, certain clinical signs require immediate attention. Distinguishing between routine exercise soreness and urgent warning signs protects your long-term health.
Stop your exercise and contact your orthopedic care team or physical therapist if you notice any of the following localized symptoms:
For individuals recovering from lower back or neck conditions, certain neurological symptoms require urgent emergency medical assessment. Do not wait for a routine follow-up if you experience:
Published clinical pathways from NHS Scotland emphasize that these symptoms can indicate acute nerve root or spinal cord compression. Prompt medical evaluation is essential to protect long-term nerve function.
During any form of rehabilitation or aerobic conditioning, your heart and lungs work alongside your muscles. Guidelines from cardiac rehabilitation programs and health organizations identify clear warning signs that require stopping exercise immediately:
If these symptoms do not resolve quickly after resting, seek emergency medical care immediately. Never try to push through cardiovascular symptoms during rehabilitation.
To see how these concepts work in everyday life, let us examine four realistic scenarios based on common rehabilitation challenges.
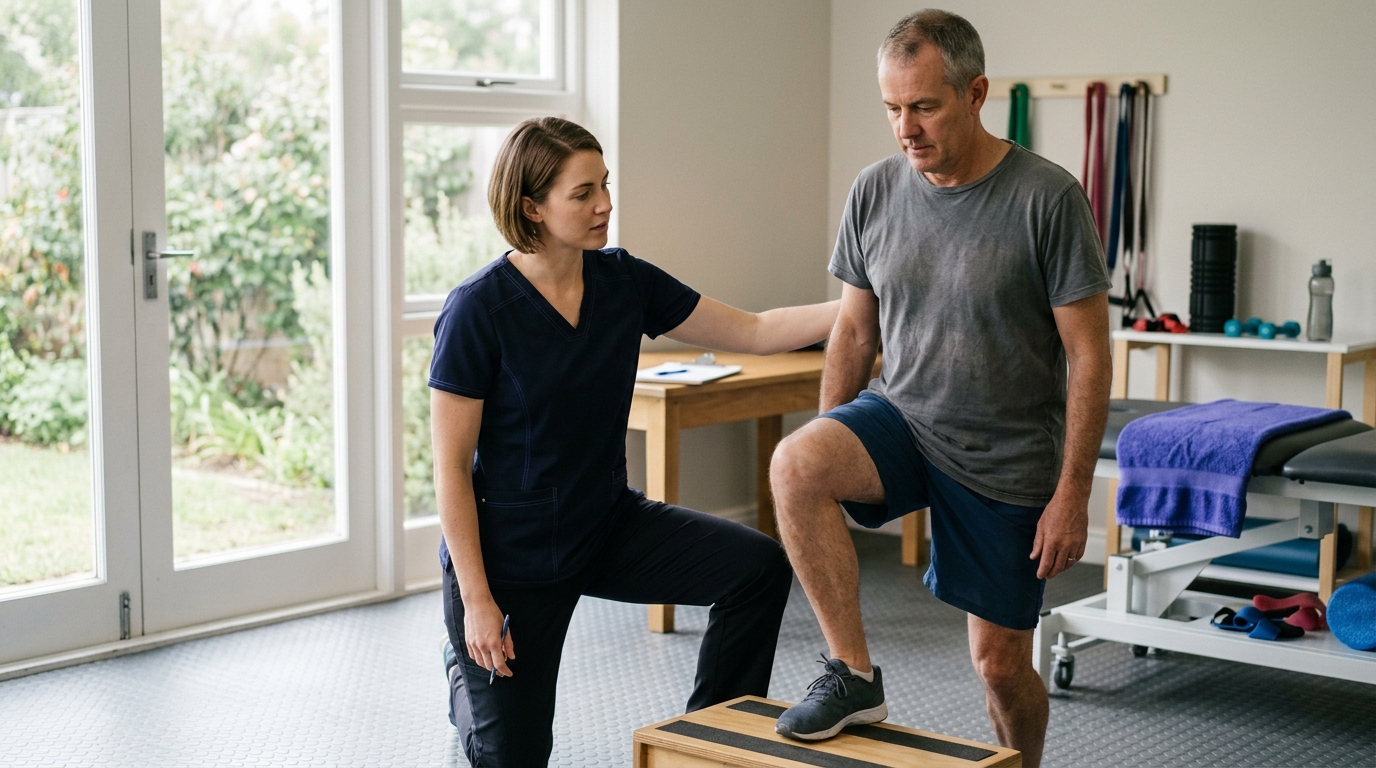
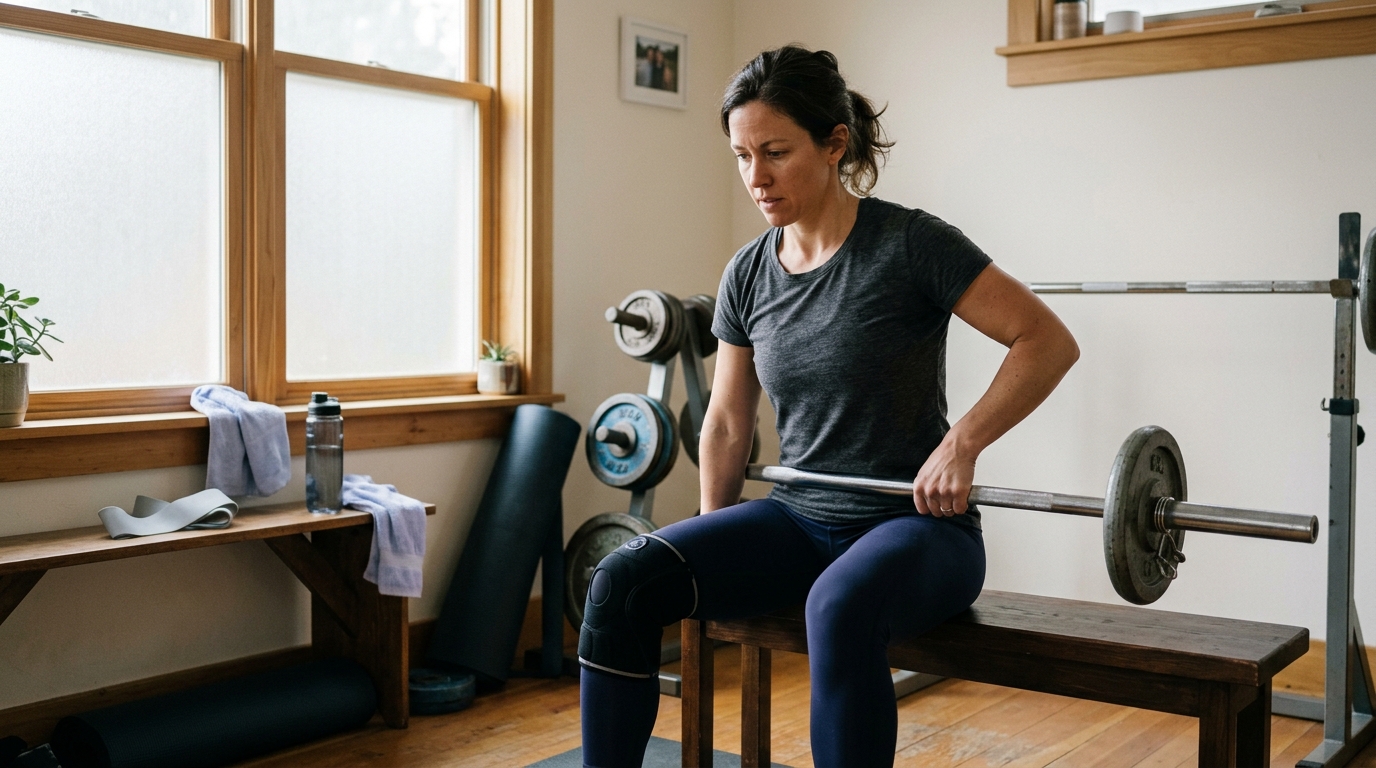
A 52-year-old individual completing physical therapy for patellofemoral knee discomfort performs three sets of bodyweight squats. During the second set, a dull ache registers at a 3 out of 10 along the front of the knee. The person maintains good knee alignment and finishes the sets. Twenty minutes after the session, the ache disappears completely.
A 44-year-old recreational runner recovering from Achilles tendinopathy performs calf raises and light jogging drills. During the session, the tendon feels comfortable, with pain never rising above 1 out of 10. However, the next morning, the individual steps out of bed and notices stiff, tender sensations rating at a 5 out of 10 that last for over an hour.
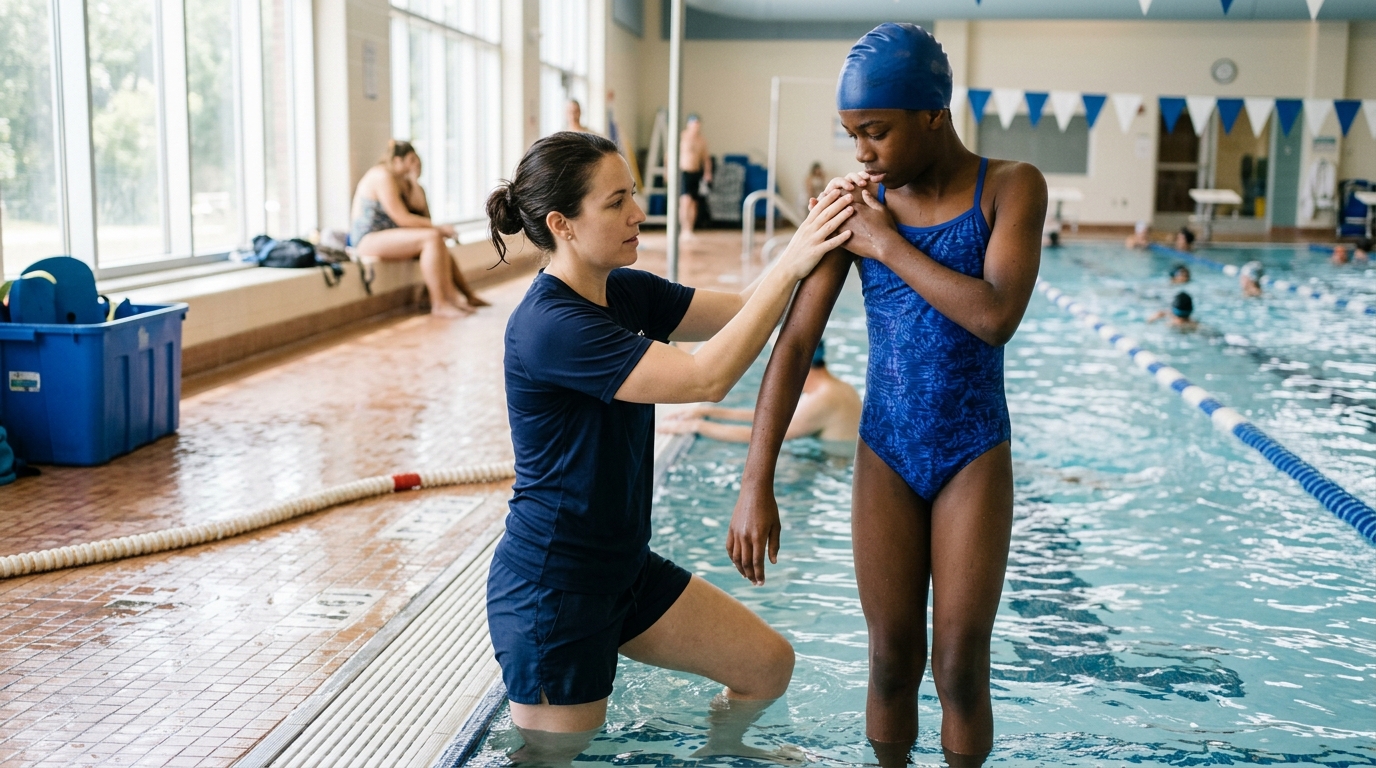
A 63-year-old individual recovering from a rotator cuff repair performs shoulder strengthening exercises three days per week. Over two weeks, the starting pain level before each workout gradually creeps up from a 1 out of 10 to a steady 4 out of 10. The shoulder feels increasingly tight and sore during daily activities like driving and dressing.
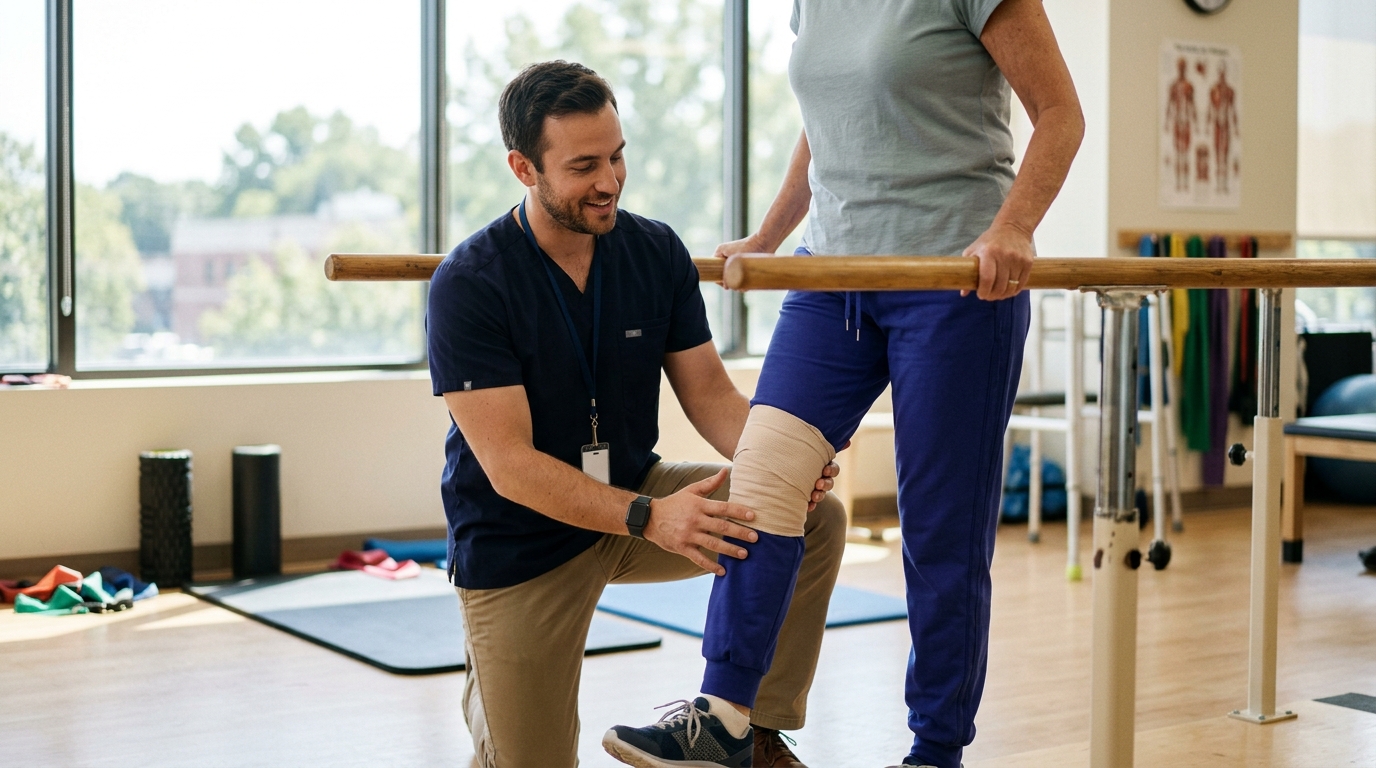
A 38-year-old athlete rehabilitating from a meniscus tear performs a lateral stepping drill. During a quick change of direction, a sharp pain shoots through the inner joint line, accompanied by a popping sensation. The knee feels unsteady, and mild swelling develops over the next two hours.
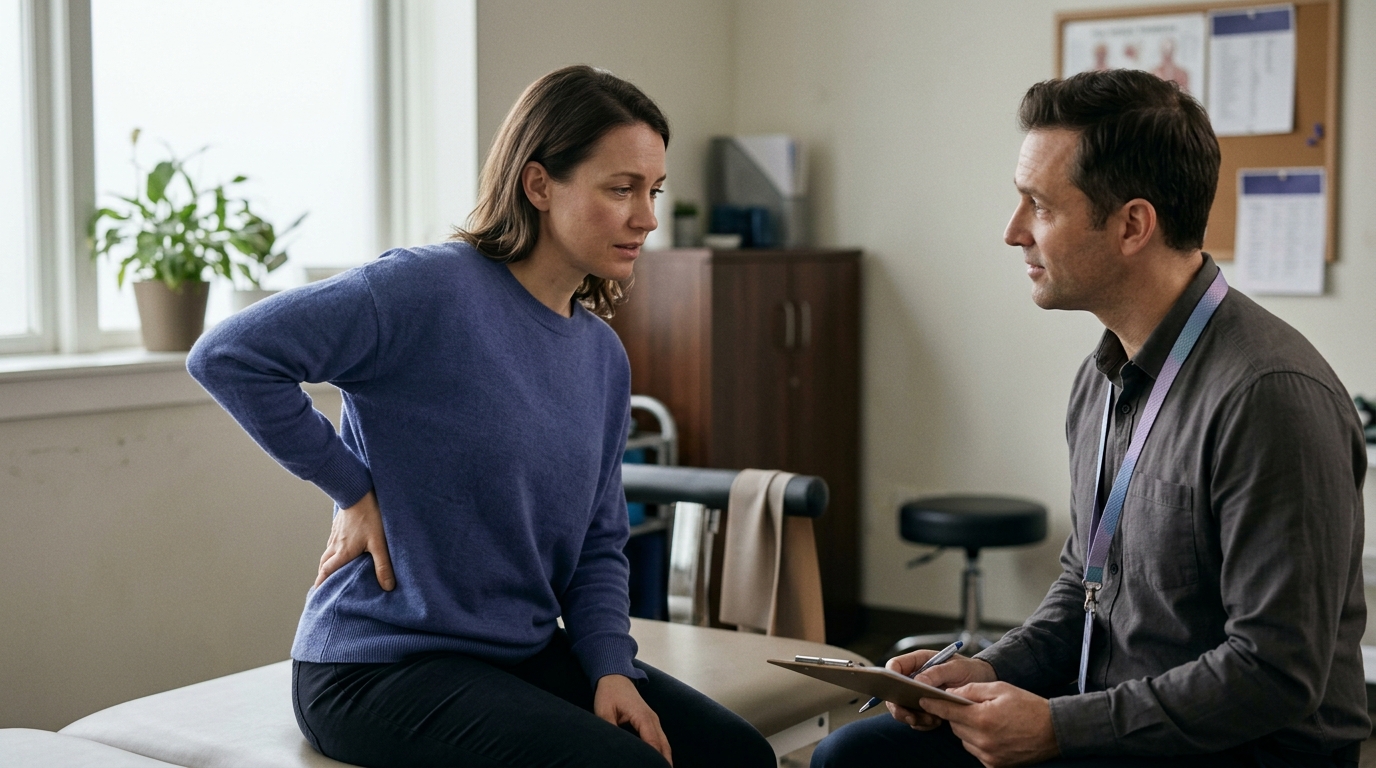
Open communication with your clinical team ensures your rehabilitation progresses safely. Bringing clear notes from your symptom tracking makes these conversations much more productive.
Physical recovery is rarely a perfectly smooth, straight line. Learning to interpret your physical signals as helpful data rather than immediate setbacks allows you to stay calm and consistent throughout your rehabilitation journey.
Focus on the complete 24-hour recovery window, maintain good movement mechanics, and watch your weekly trends rather than judging your progress from a single workout. When in doubt, hold your workload steady, give your body time to adapt, and discuss any persistent or concerning symptoms with your healthcare team. For additional reading on active recovery strategies, explore our full library of injury recovery resources.
Revisit this guide whenever you advance to a new phase of physical rehabilitation, increase your training intensity, or experience an unexpected symptom flare. Keeping these practical tracking frameworks fresh in your mind will help you make confident, informed movement decisions at every stage of your recovery.

Use ReboundBody resources to understand common recovery stages, rehab terms, movement limits and strength rebuilding. Each guide is designed to make a complex comeback easier to understand.


Read practical guidance on injury recovery, rehabilitation, mobility and rebuilding strength as you work your way back to activity.
Explore Resources