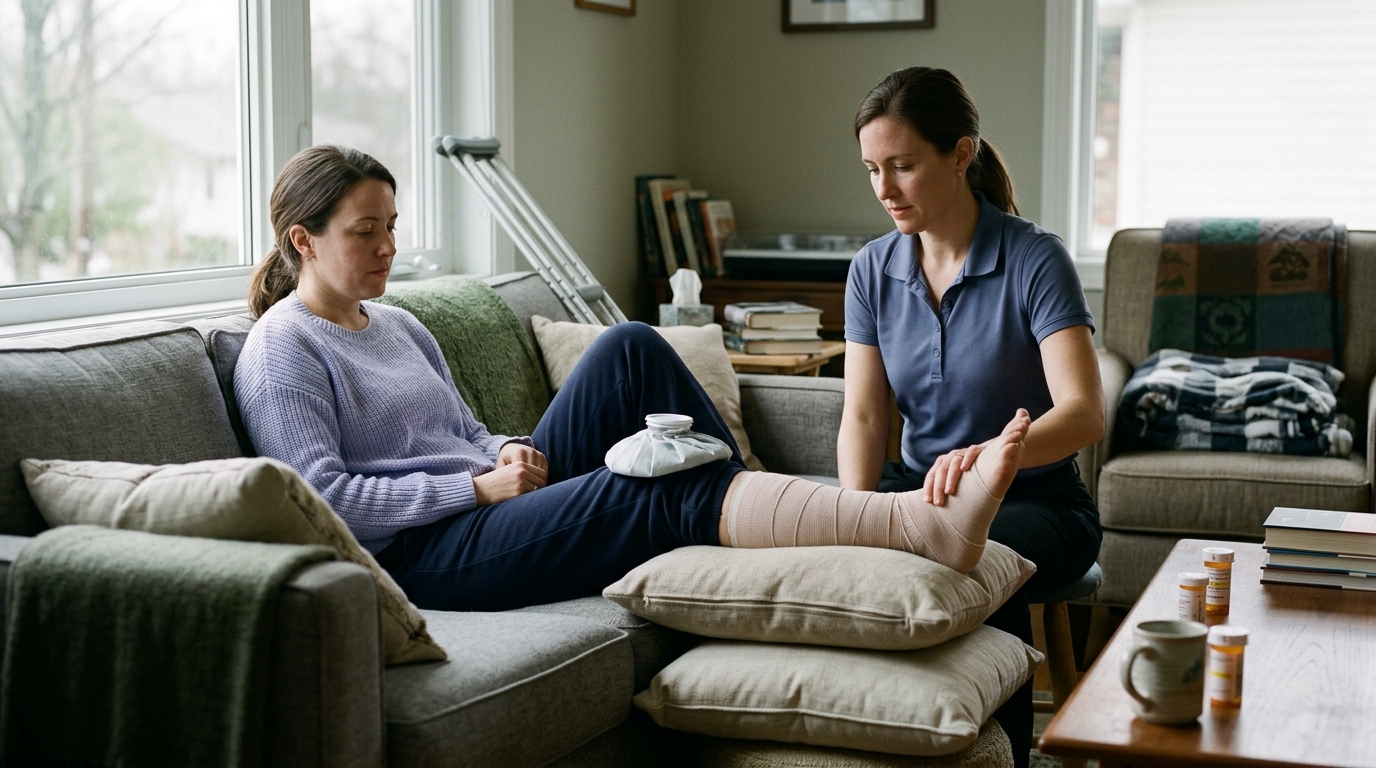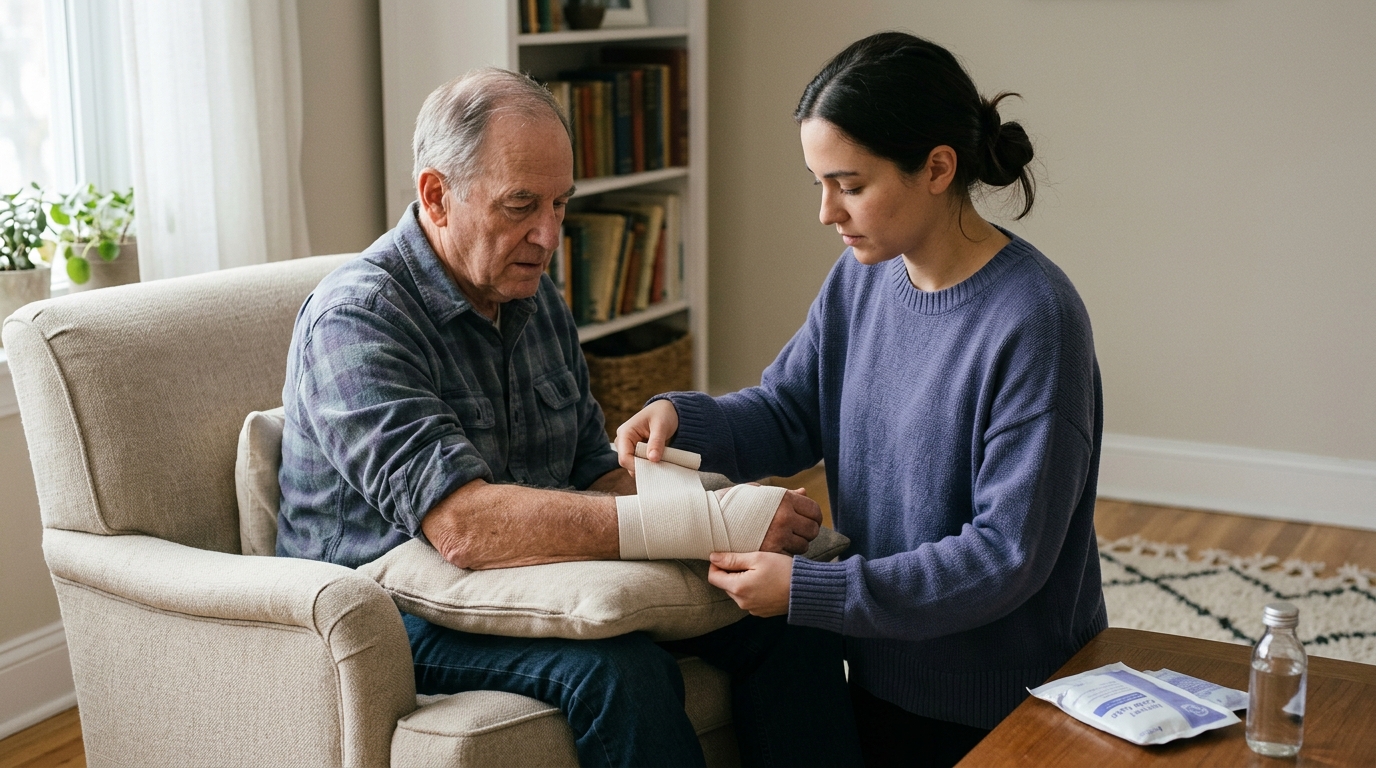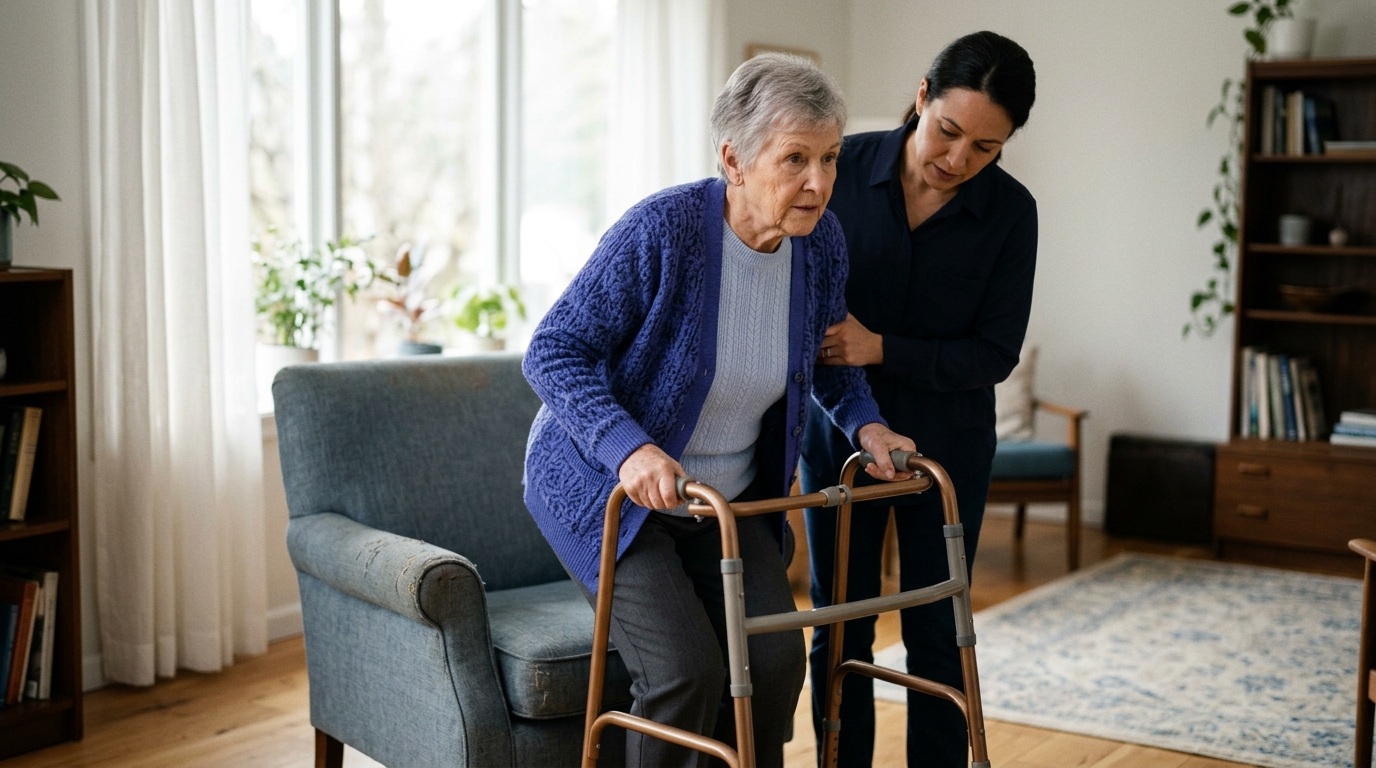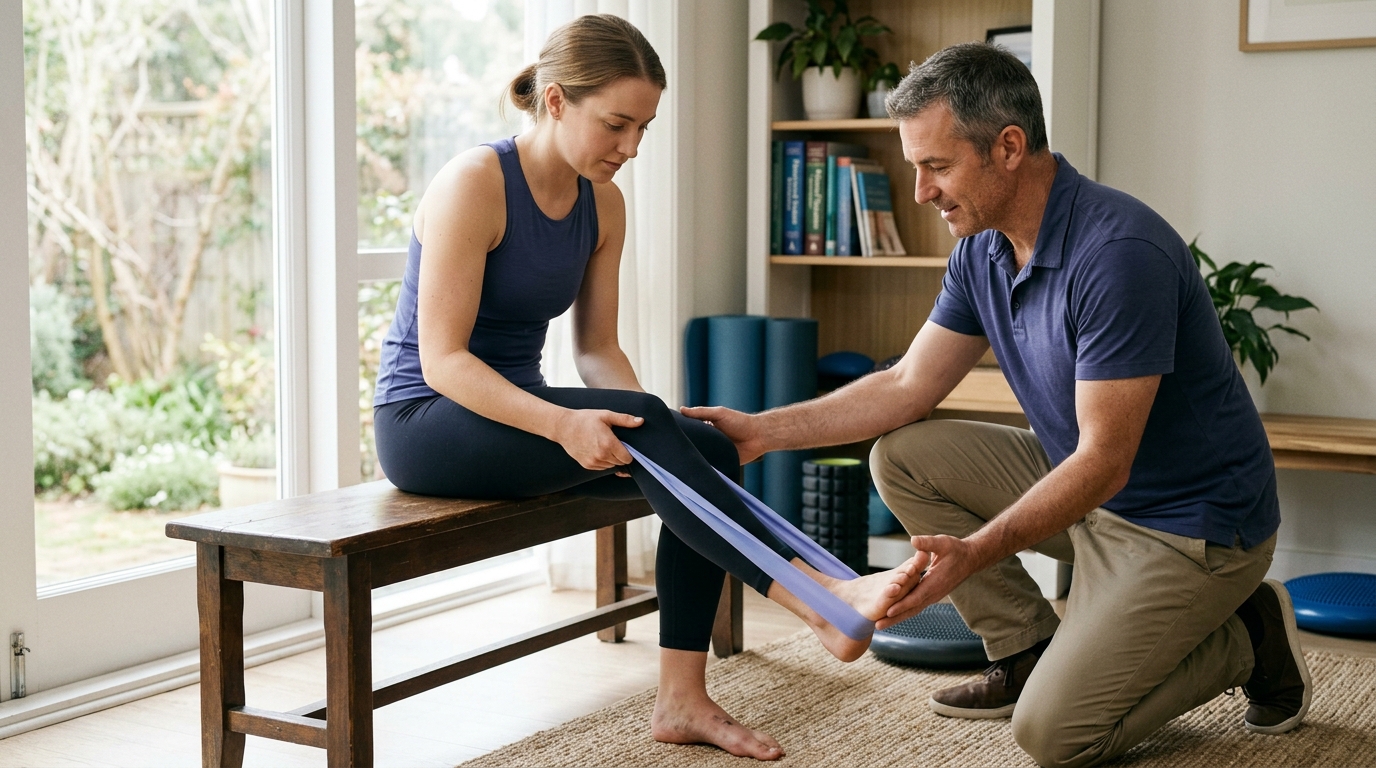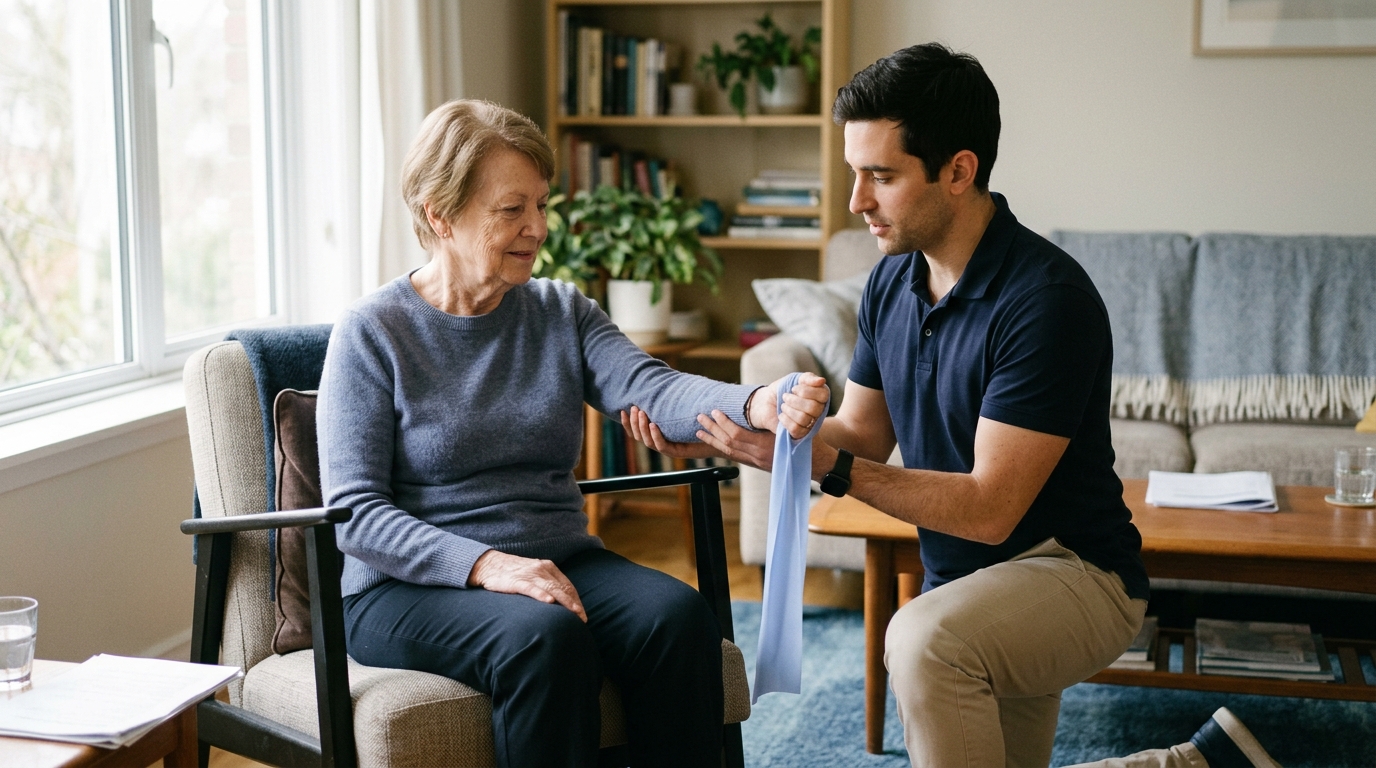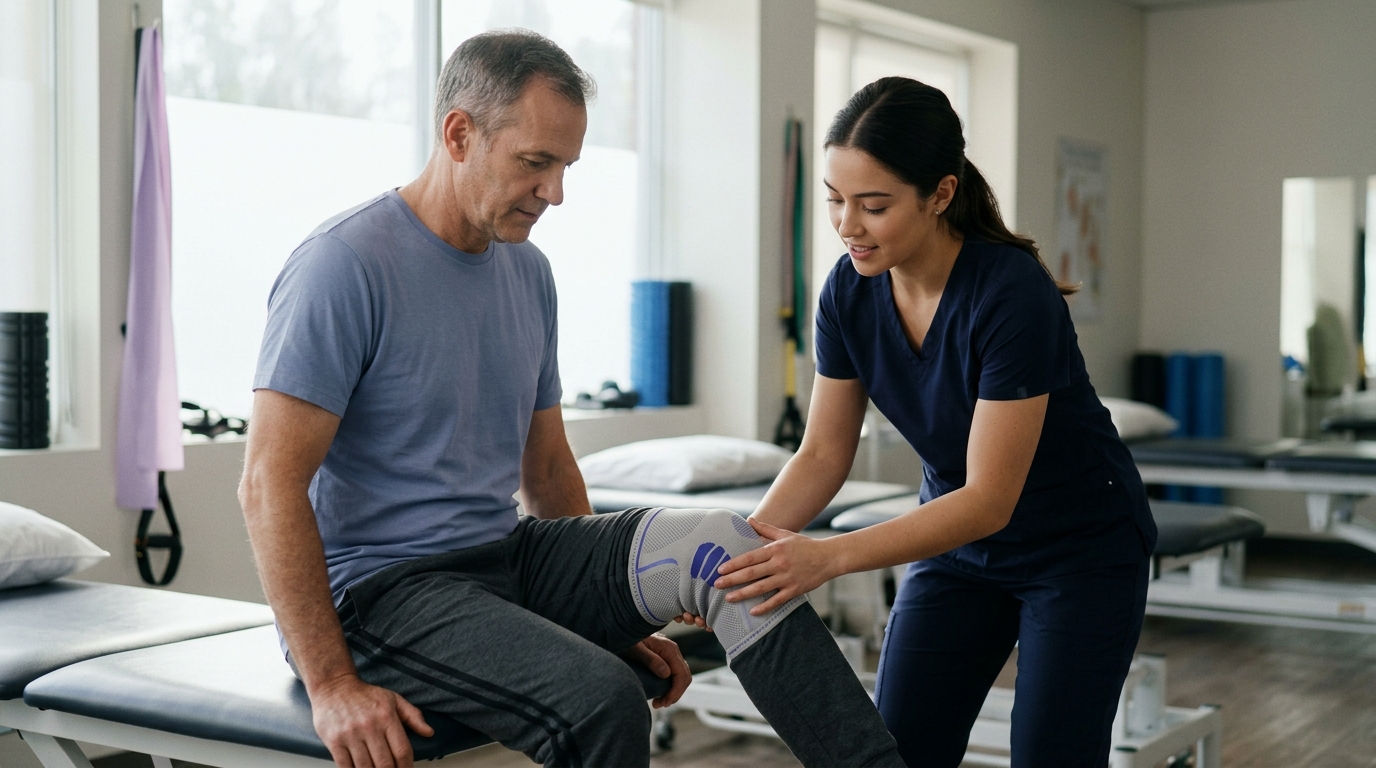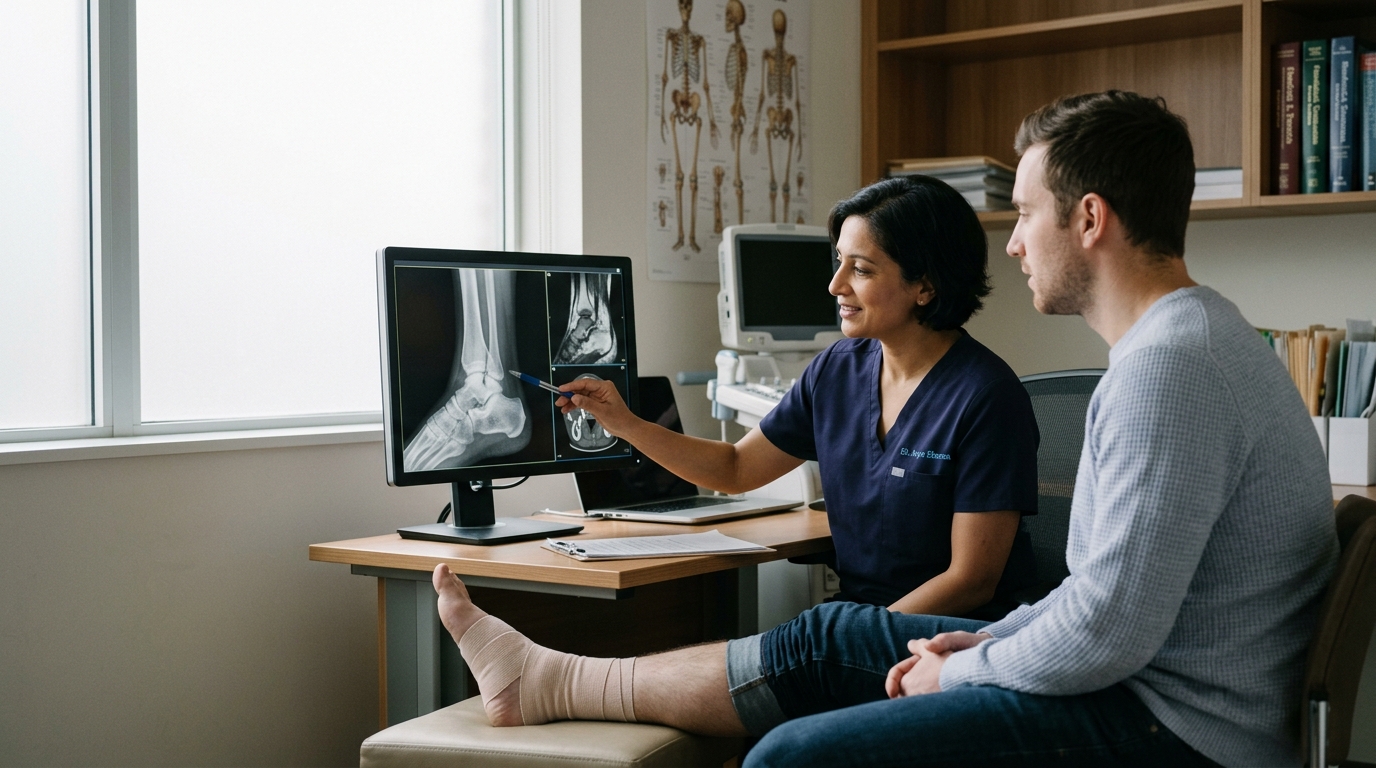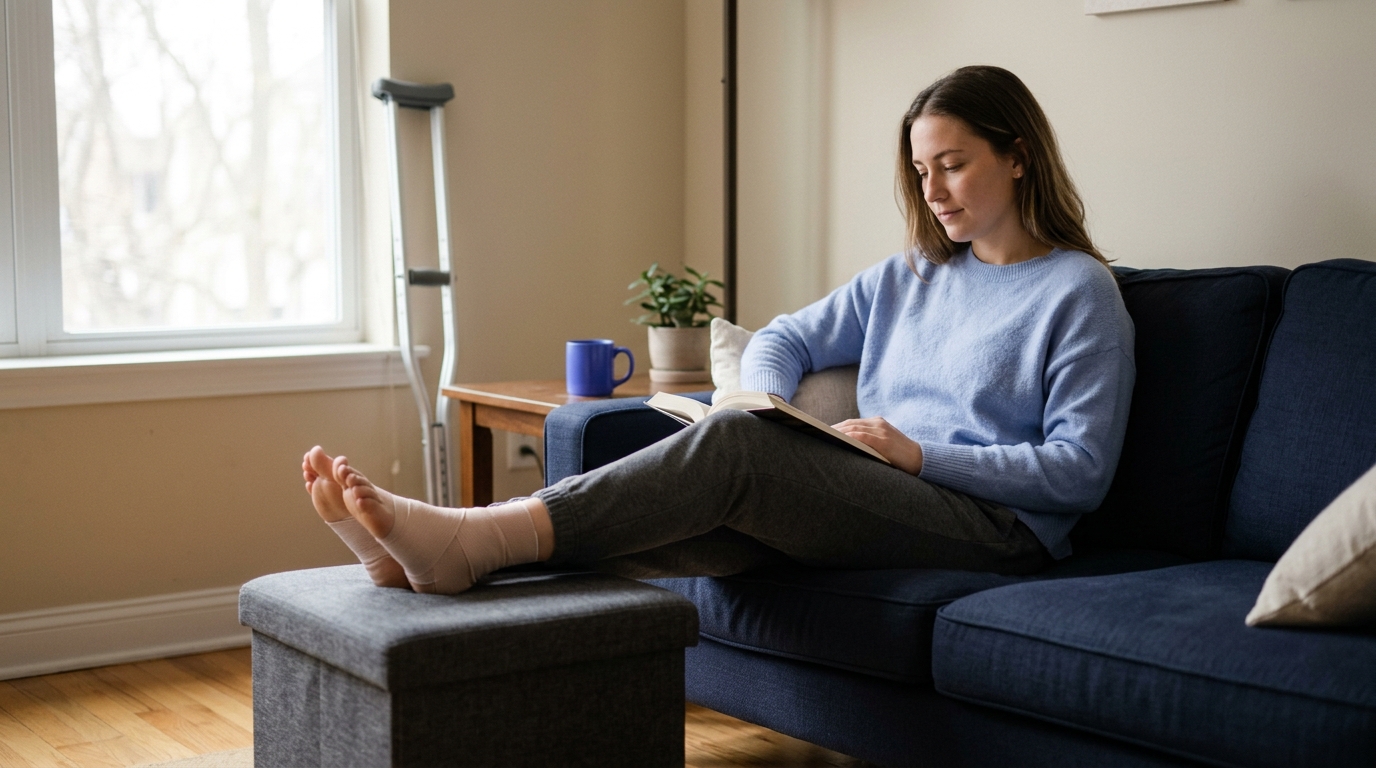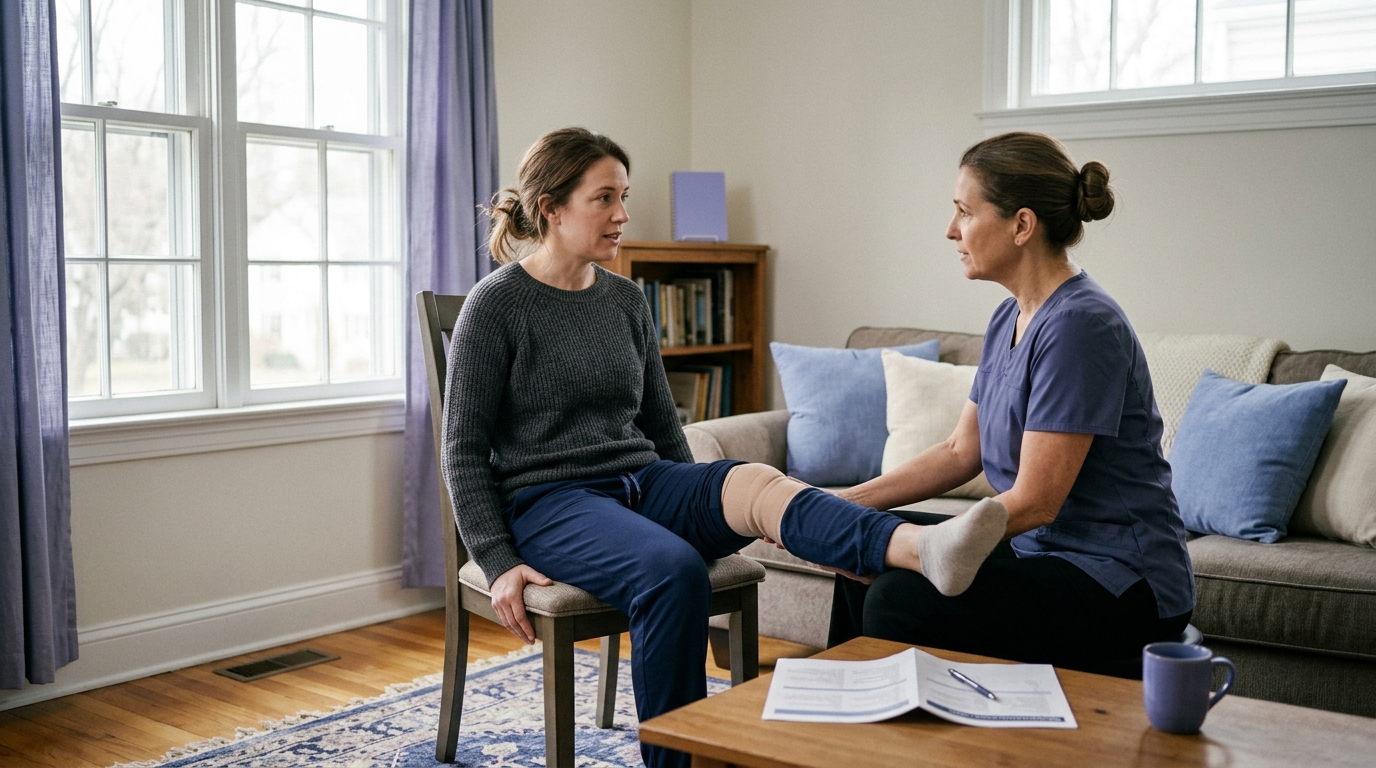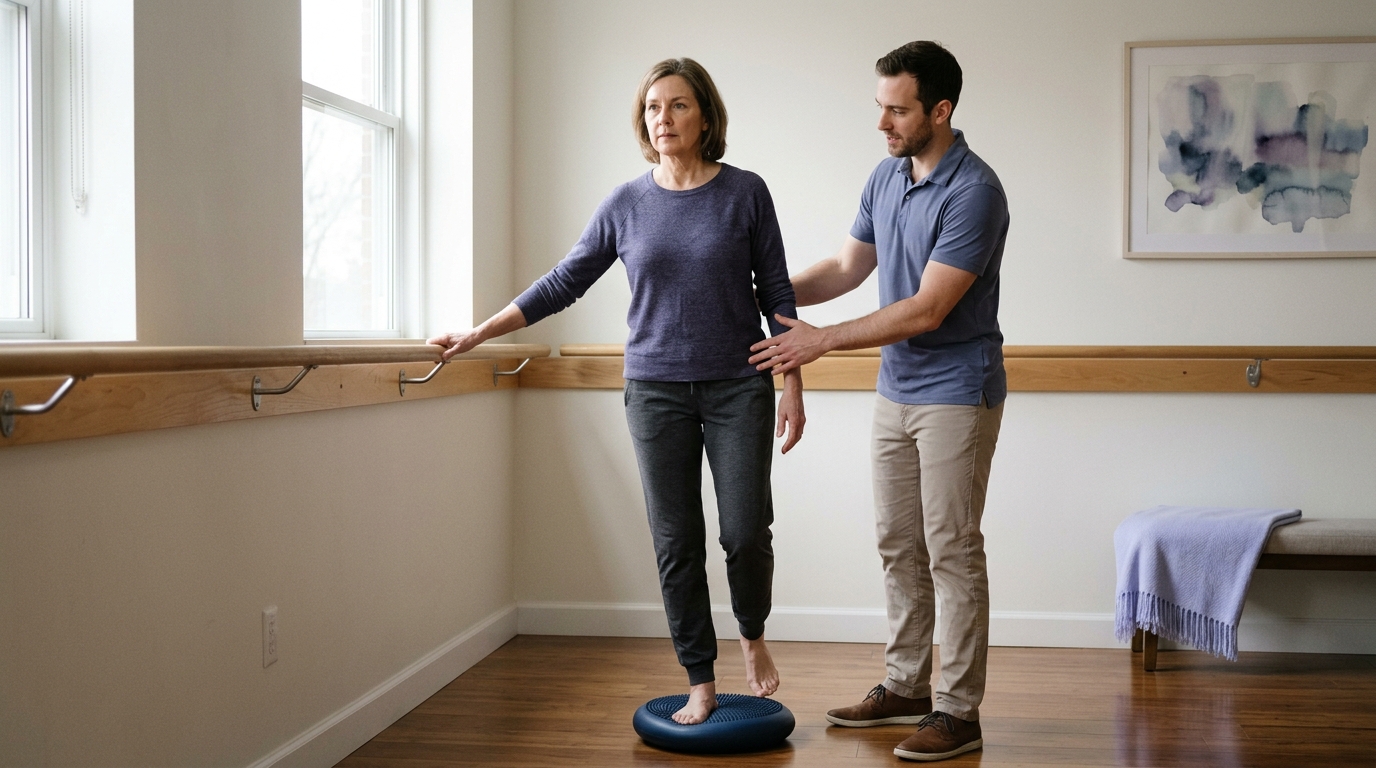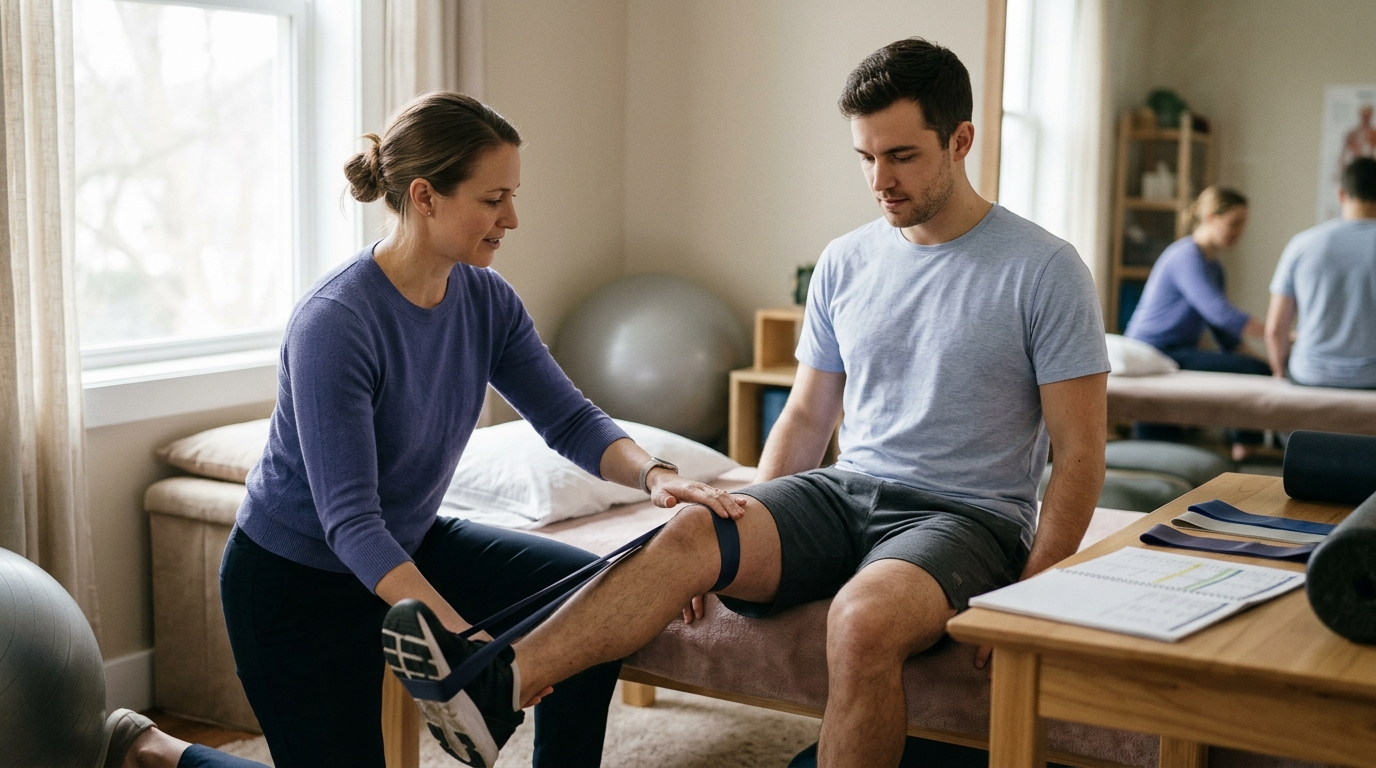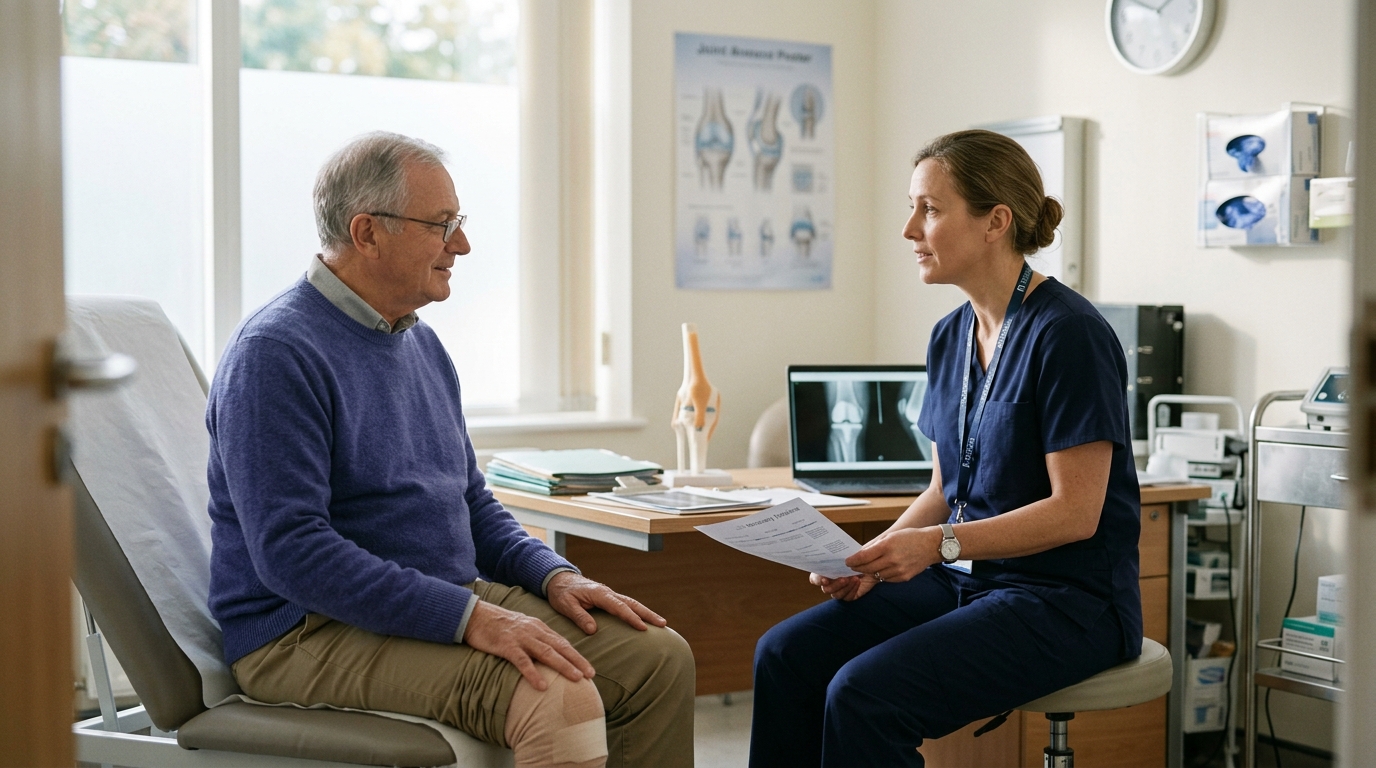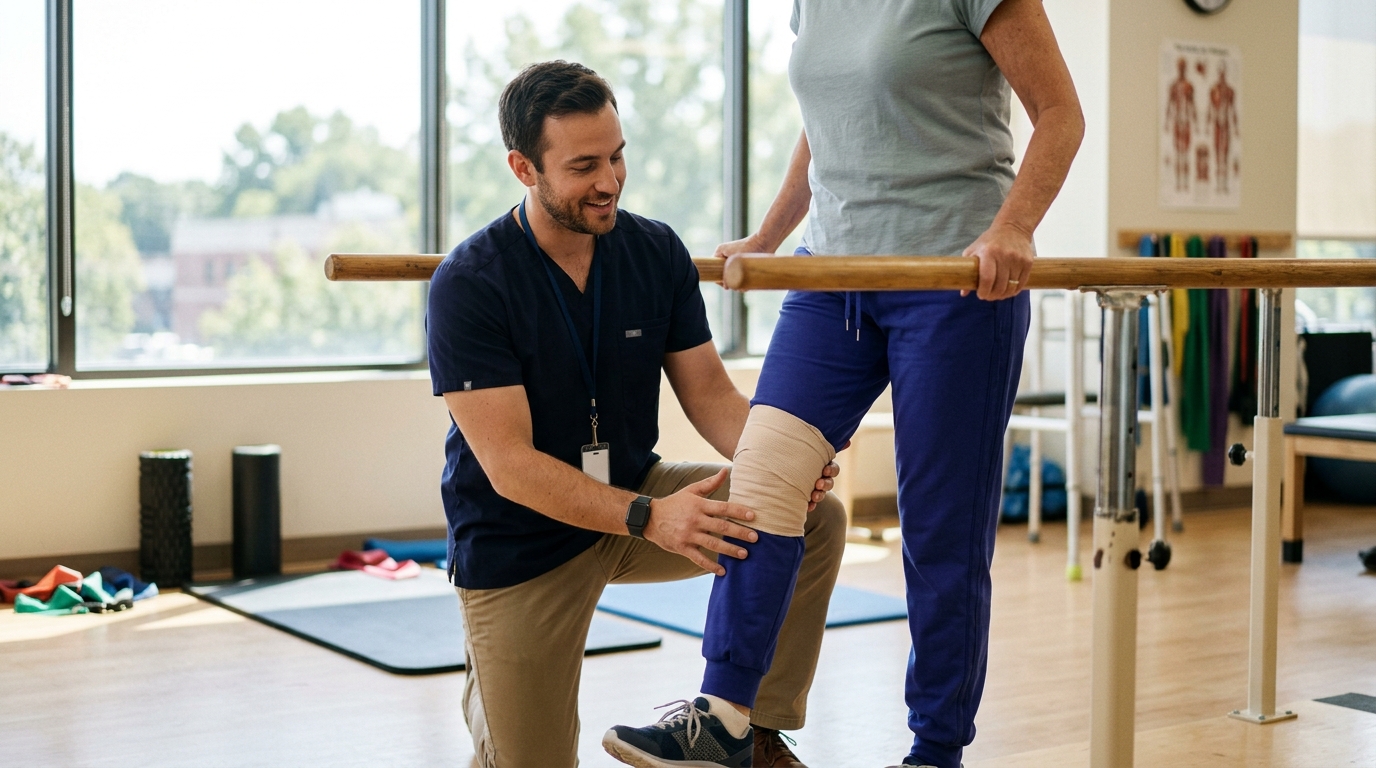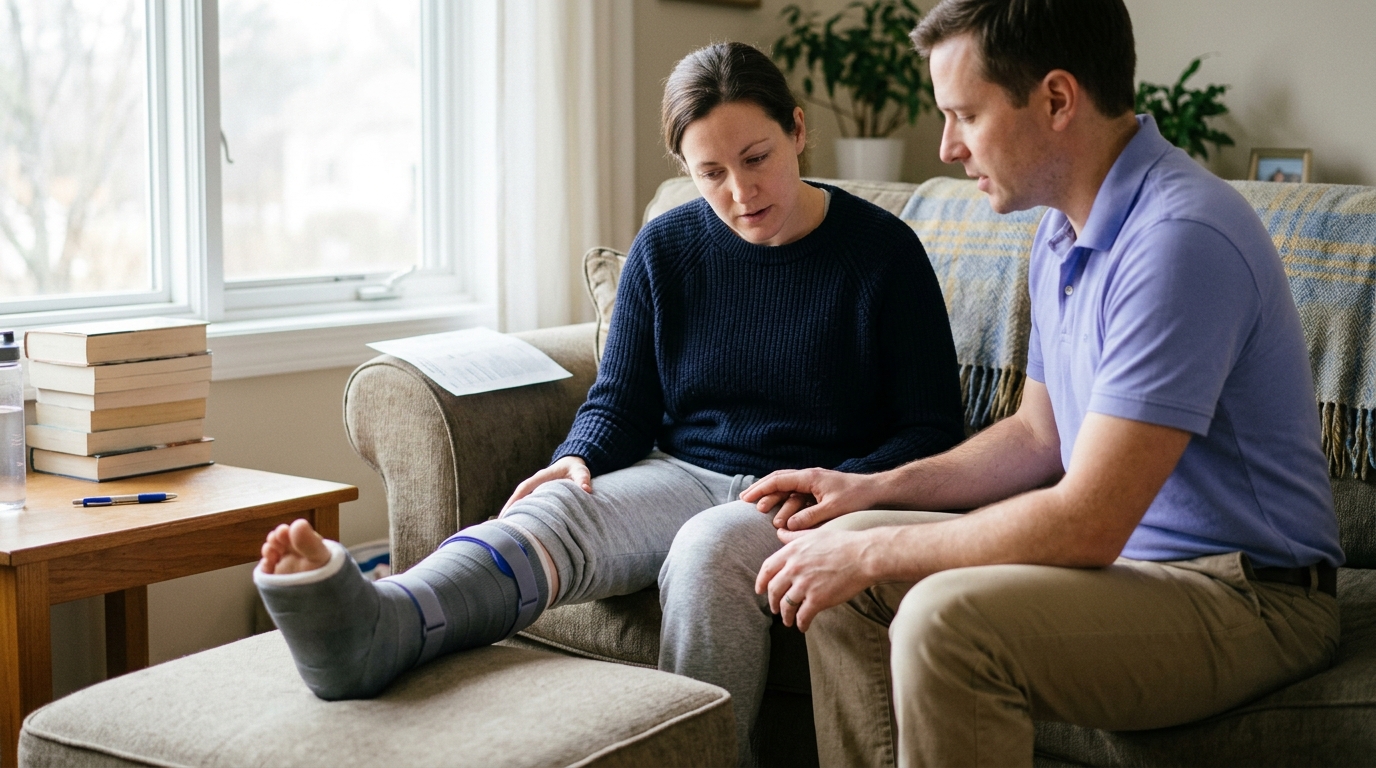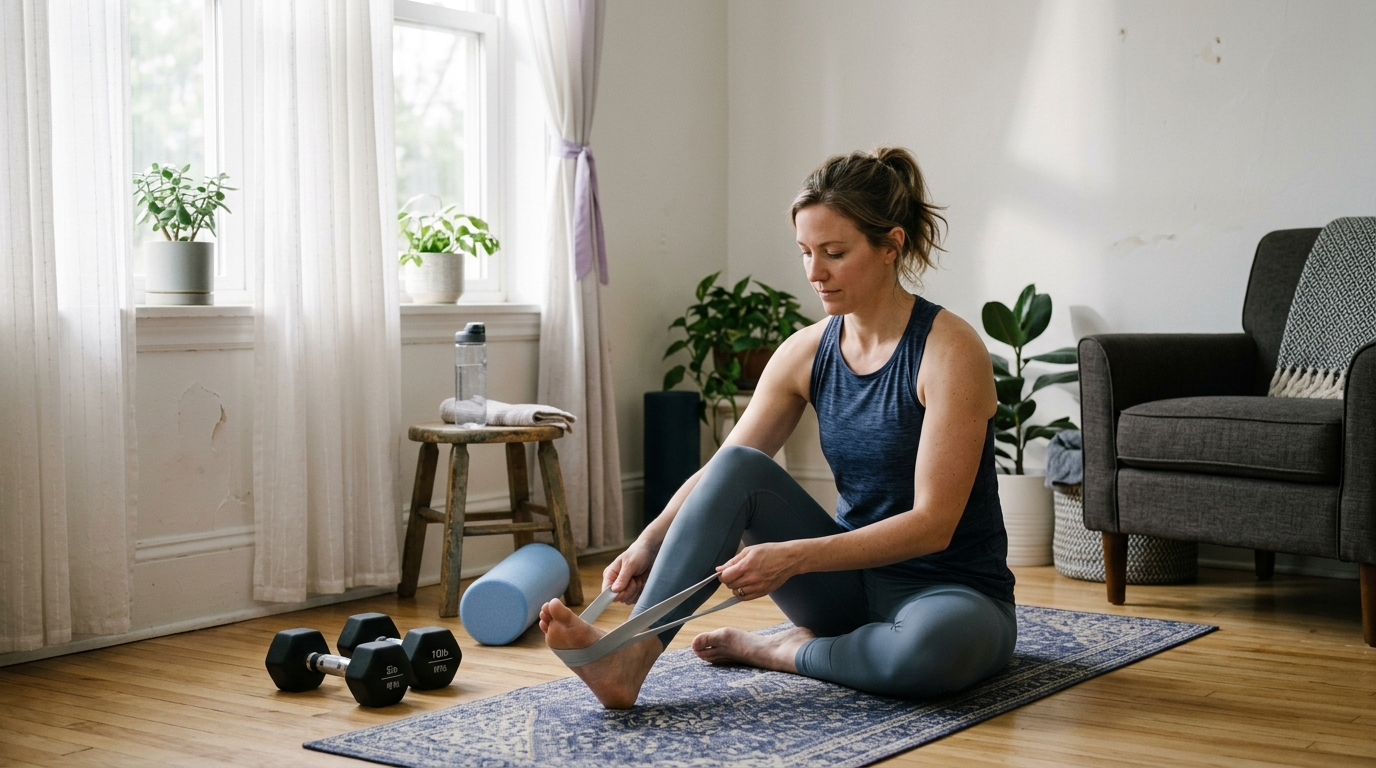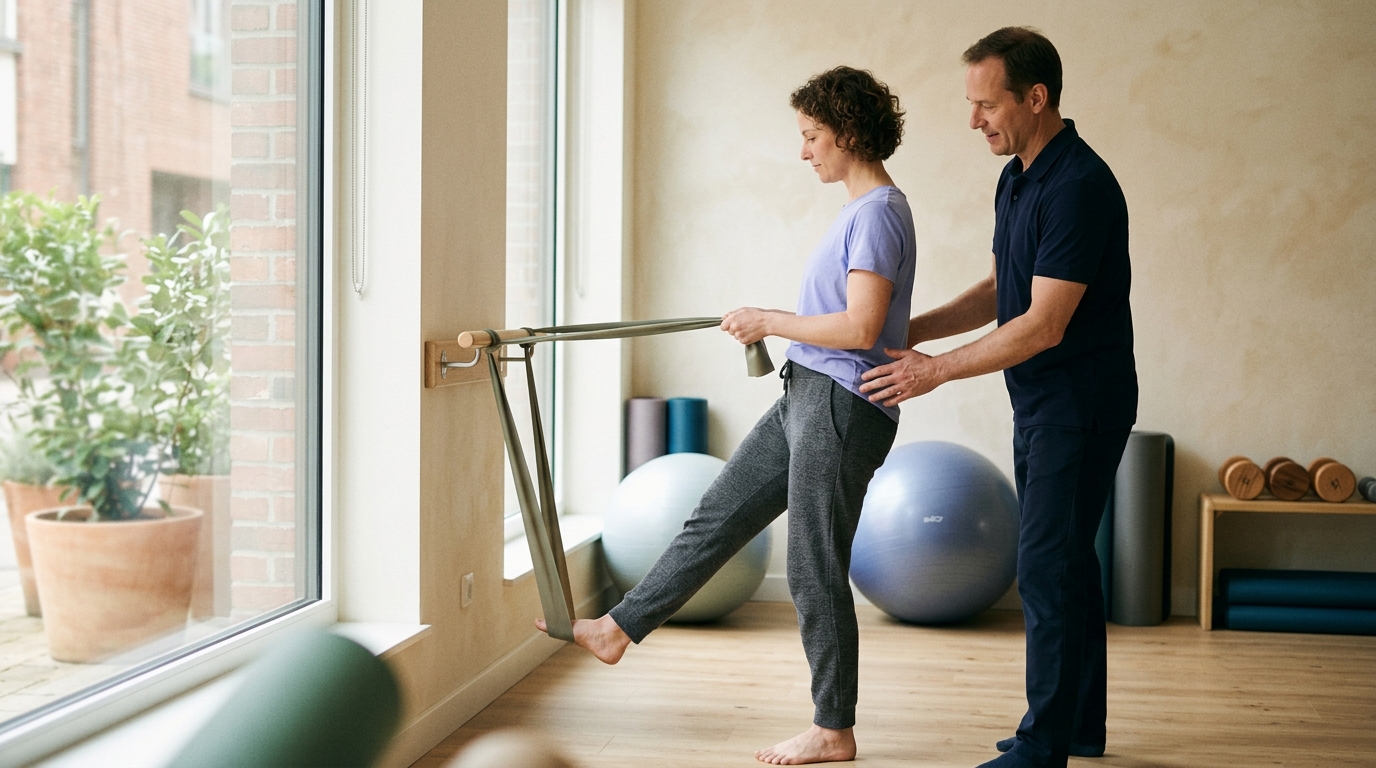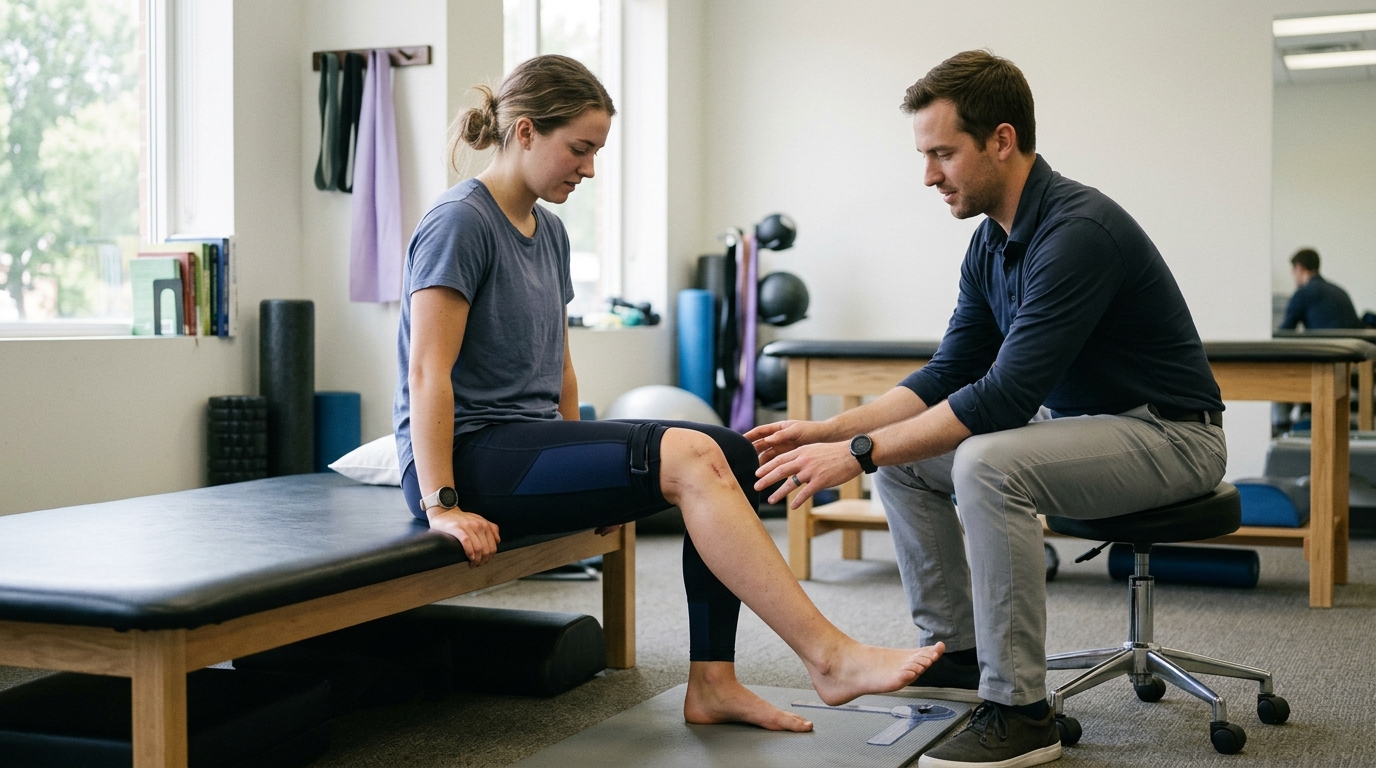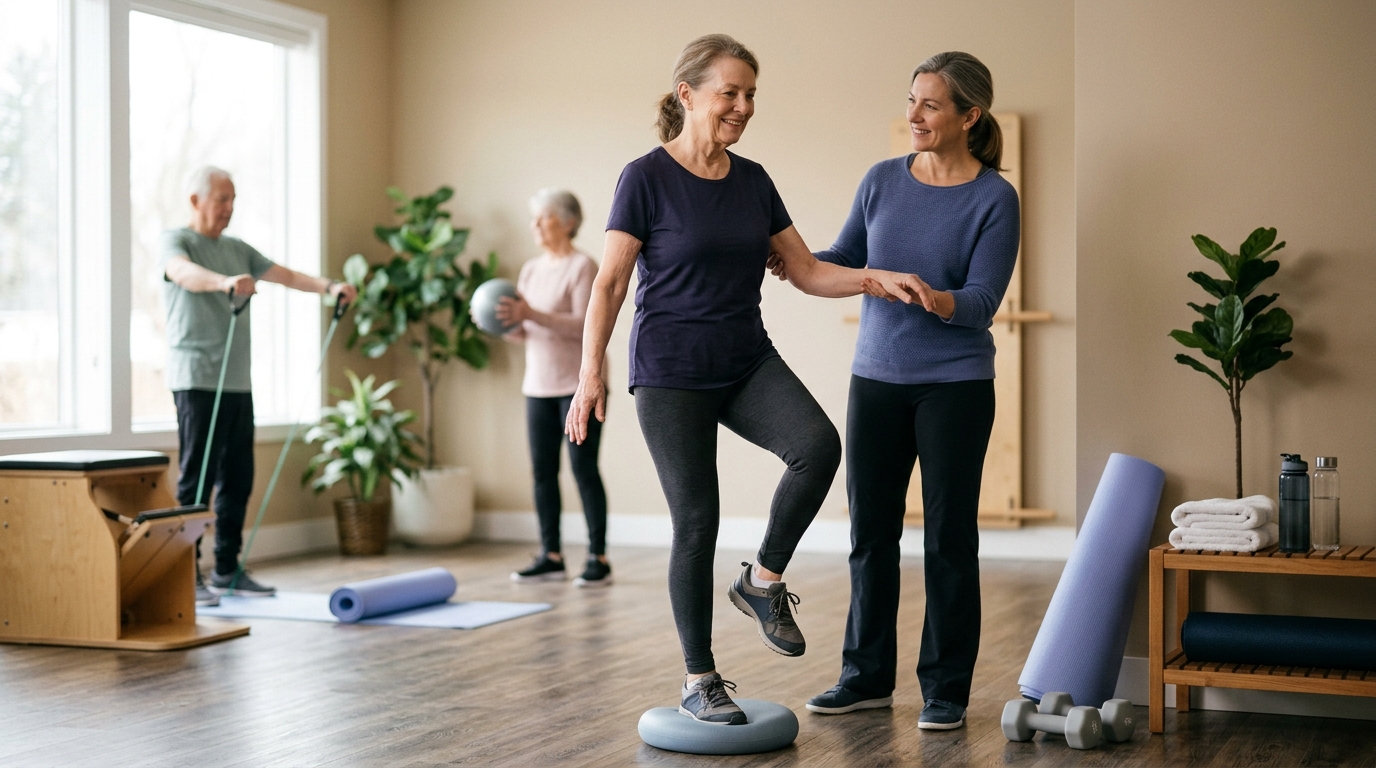

Navigating your house with crutches or limited mobility becomes much safer when you adapt daily pathways, transfers, and high-risk rooms for your recovery.





You step through your
front door after an injury or surgery, leaning heavily on crutches or gripping a walker. The home you know intimately suddenly looks unfamiliar. A throw rug in the hallway looks like an obstacle. The low sofa looks impossible to stand up from safely. The bathroom doorway appears too narrow for your equipment.
Recovering from an orthopedic injury or operation requires a shift in how you look at your living space. A home can be tidy and well maintained, yet completely mismatched to someone who cannot bear weight on one leg, bend their knee past ninety degrees, or carry a glass of water while holding crutches.
Making your home safe during recovery is about environmental fit. It means matching your specific physical limits and mobility aids to the physical layout around you. Setting up your home in advance reduces daily frustration, preserves energy for physical therapy, and helps protect healing tissues from preventable setbacks.
General home safety is often treated as simple tidiness. People assume that picking up clutter and wiping up spills is enough. When you are recovering from an injury, standard safety advice falls short. You are managing temporary functional impairments that change how you interact with every room.
A safe recovery environment depends on five practical components for every daily task:
Every path between rooms must accommodate your body plus your prescribed walking aid. A standard walker or a pair of crutches widens your footprint significantly. Pathways need to be clear of cords, furniture corners, and narrow choke points. Lighting must be bright enough to see changes in flooring, especially during nighttime trips.
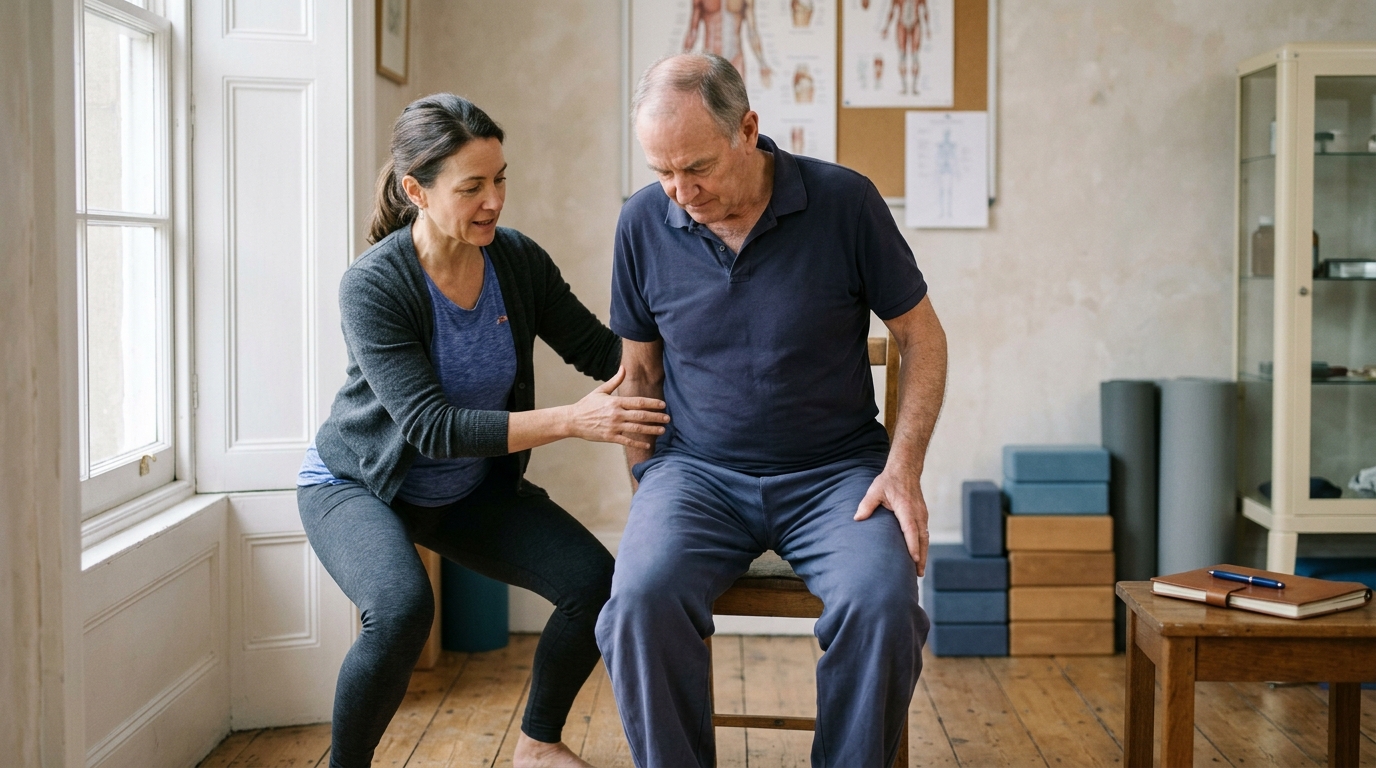
A transfer is the physical act of moving from standing to sitting, or moving between two surfaces. This includes getting in and out of bed, onto a toilet, into a shower, or off a sofa. Standard furniture is often too soft or too low for safe post-surgical movement. Safe transfers require firm surfaces at an appropriate height that do not force compromised joints to bend beyond safe angles.
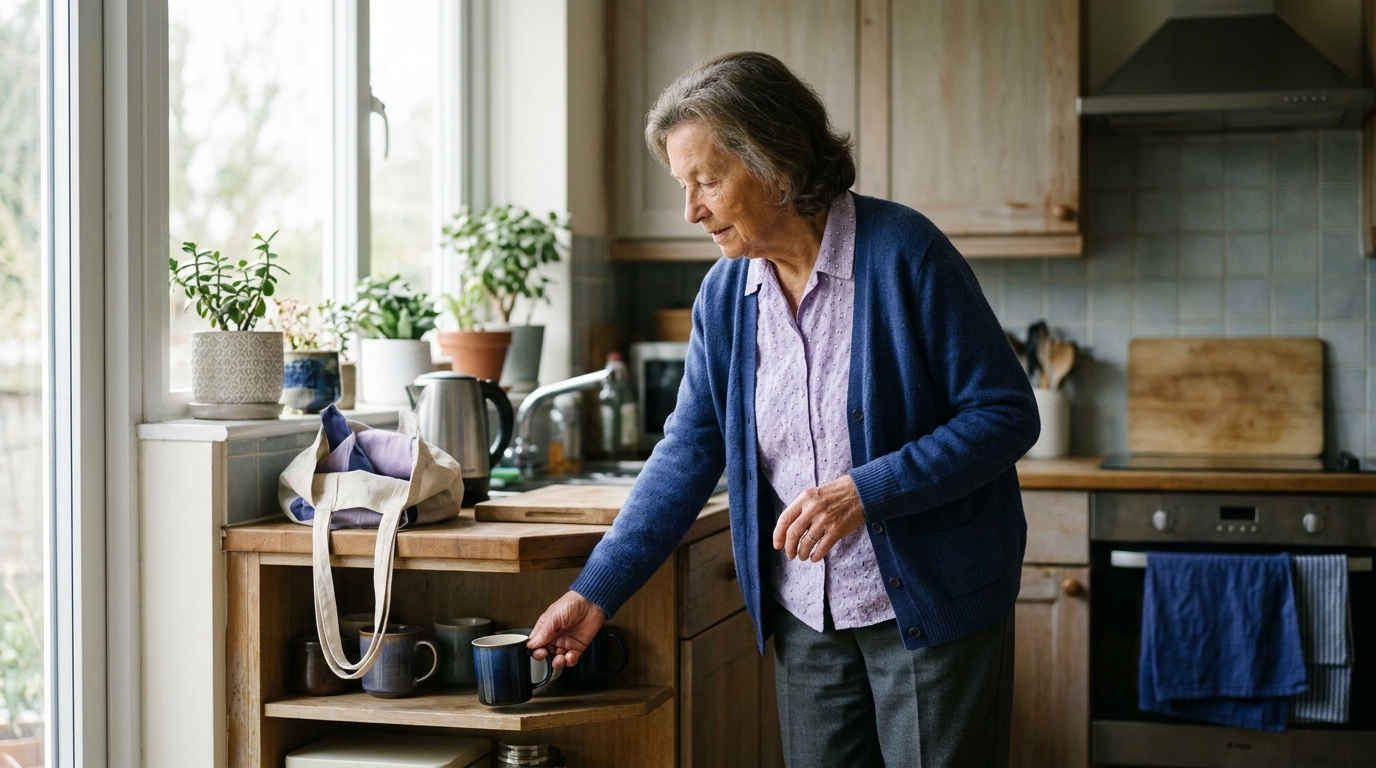
During recovery, reaching overhead or bending to the floor can compromise your balance or violate movement precautions. Essential daily items must be arranged between waist and shoulder height. If you must stoop to grab a pan or stand on your toes to reach a coffee mug, your risk of losing balance increases.
People with balance issues or limited leg strength naturally reach out for support. In an unprepared home, they grab towel racks, shower curtain rods, or lightweight end tables. None of these items are anchored to bear body weight. Support points must be secure, such as professionally mounted grab bars or stable walking aids.
You must have a reliable way to summon help from any room in the house. If you experience unexpected pain or find yourself unable to complete a transfer, calling for assistance is essential. Keeping a charged mobile phone or call device with you at all times provides immediate access to support.
Reviewing your home through these five questions provides a practical structure for recovery. For more general information on healing timelines and tissue repair, you can review our injury recovery and healing resources.
Research provides clear insights into how home environment changes affect safety, particularly for individuals experiencing mobility limitations.
A comprehensive review by the Cochrane Collaboration analyzed studies on home fall-hazard interventions. The evidence showed that modifying home hazards reduces the overall rate of falls by roughly 26 percent in older adult populations. When interventions were targeted specifically to higher-risk individuals, such as those with recent hospitalizations, prior falls, or daily activity limitations, the fall rate was reduced by 38 percent.
Earlier Cochrane research also highlighted that environmental assessments and modifications appear most effective when led or guided by occupational therapists. Occupational therapists evaluate the specific interaction between personal physical limits, prescribed assistive devices, and physical surroundings.
Guidelines from the National Institute for Health and Care Excellence, known as NICE, recommend offering structured home-hazard assessments and interventions to people at elevated risk of falls. NICE notes that using validated assessment tools helps identify hazards that informal walkthroughs might miss.
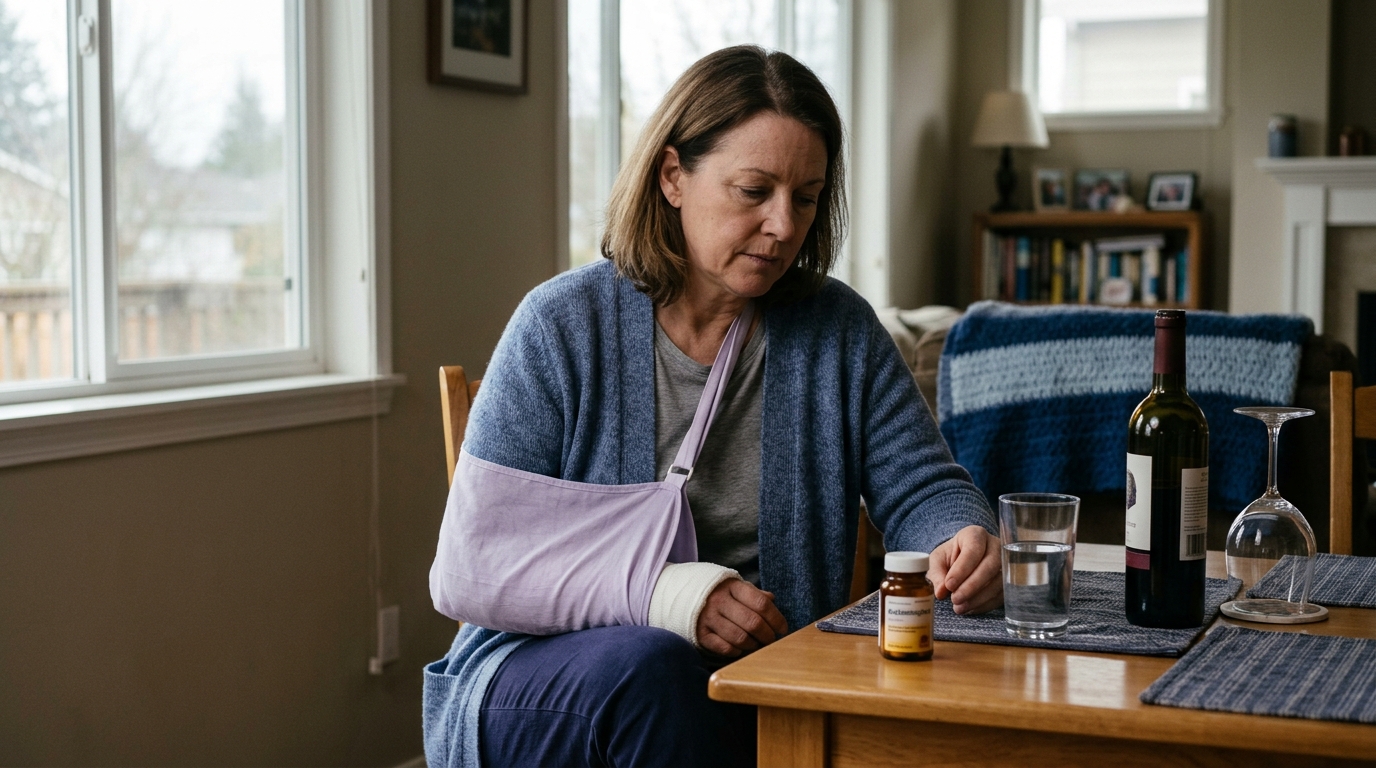
The Centers for Disease Control and Prevention, through its STEADI initiative, emphasizes that home safety is only one part of fall prevention. A comprehensive approach addresses balance, muscle strength, gait changes, medication side effects, and home hazards together. When recovering from an injury, medications like pain relievers can cause dizziness or slower reaction times. This makes environmental safety adjustments even more vital.
It is important to understand the context of these clinical studies. Much of the published research on home safety modifications focuses on older adults. While the exact numbers may not match a younger athlete recovering from knee surgery, the core principles remain identical. Removing physical hazards, establishing stable supports, and improving task ergonomics directly reduce risk for anyone with temporary mobility restrictions.
No two home recovery setups are identical. What works well for one person may fail for another depending on specific physical limits, living arrangements, and property layouts.
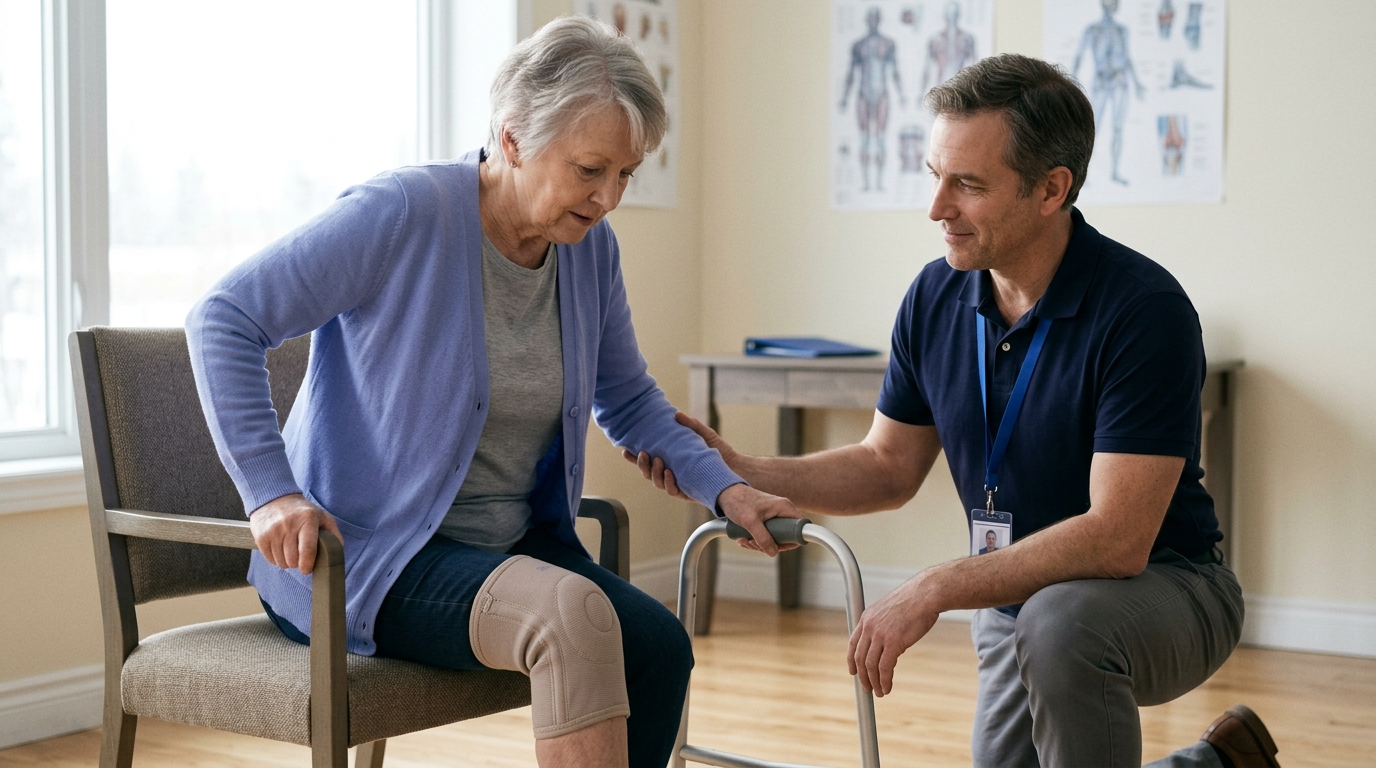
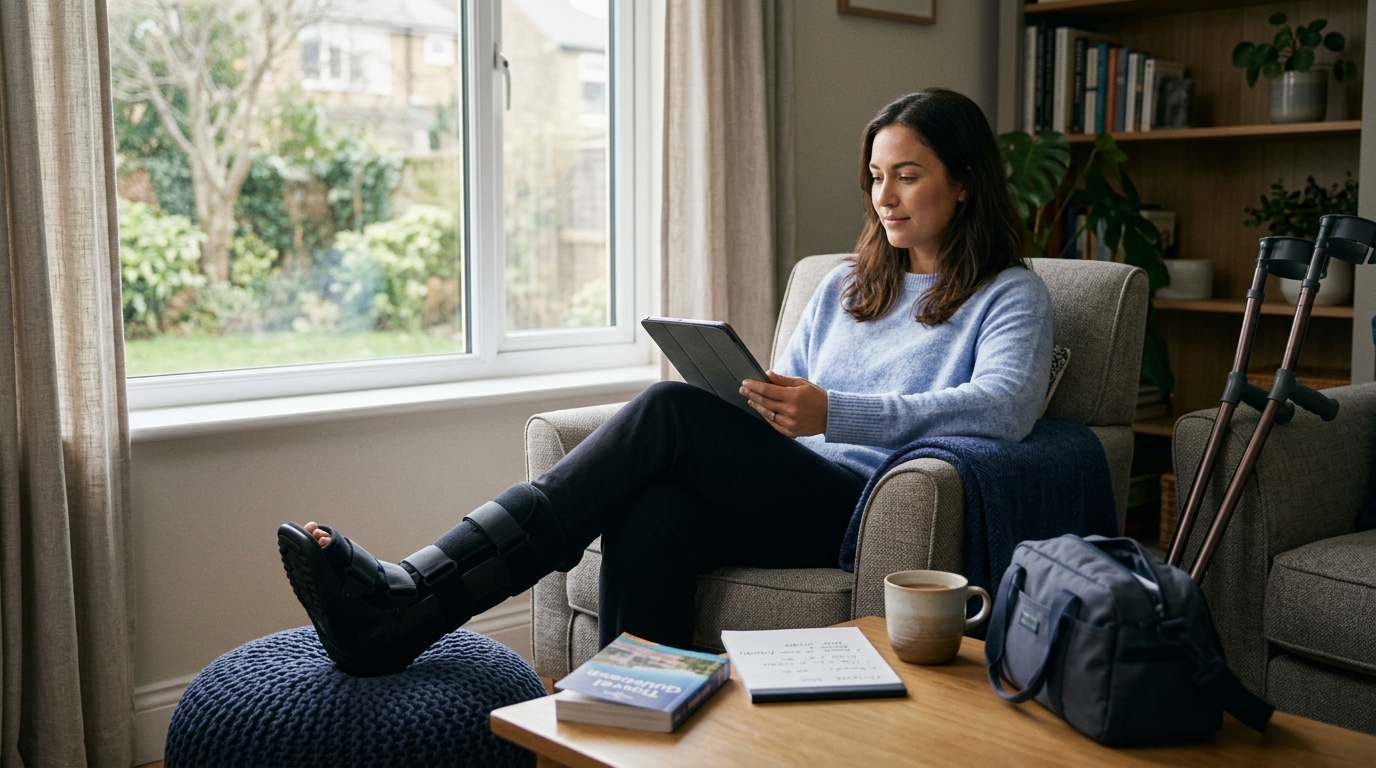
The equipment you use dictates the space you need. A single point cane requires minimal clearance. A standard walker or rollator needs at least 32 inches of clear doorway and hallway width. Axillary crutches require extra width on both sides for arm movement. If you are using a wheelchair or a knee scooter, you will need wider turning radiuses and smooth threshold transitions between rooms.
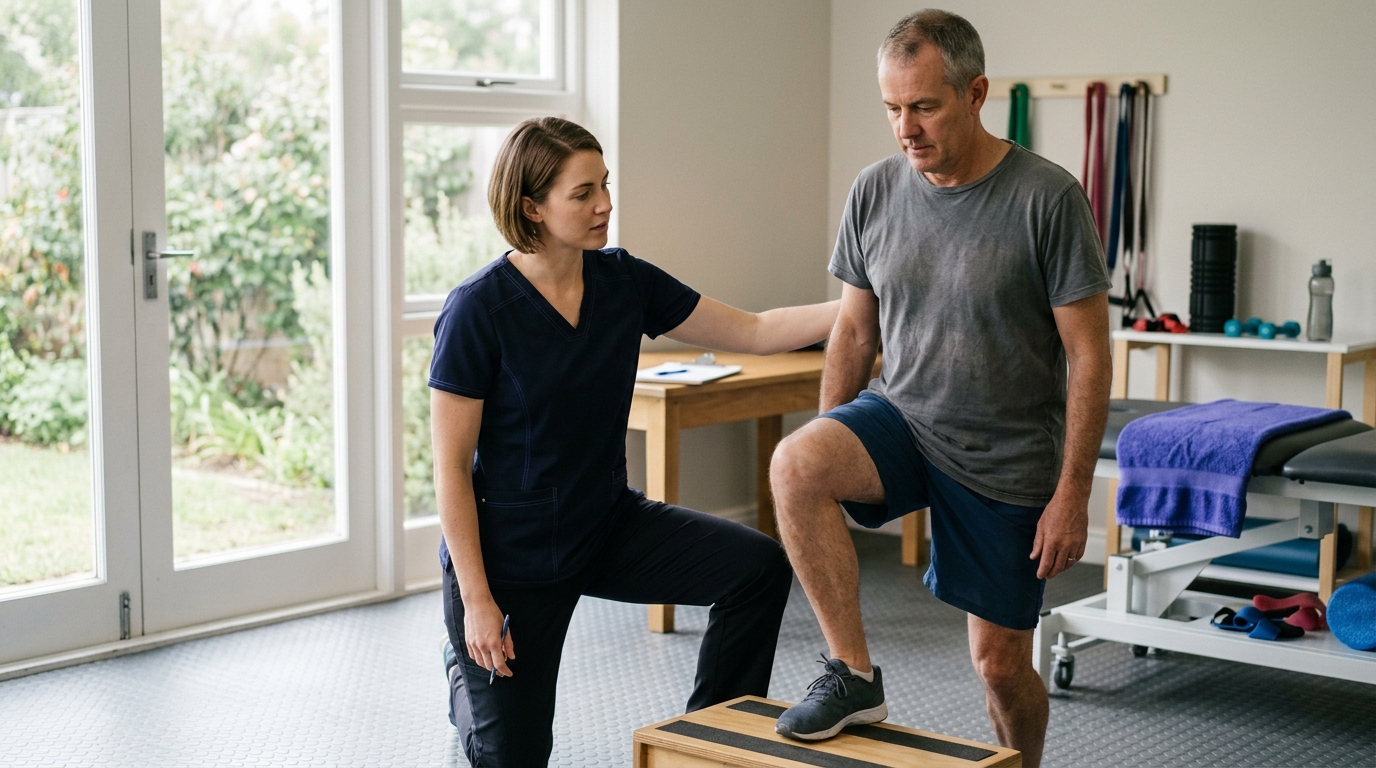
Your orthopedic team will give you a clear weight-bearing status. Being non-weight-bearing requires significantly more upper body strength and changes every transfer. Partial weight-bearing allows some foot contact, making transfers slightly easier but still demanding secure handholds. Your home plan must match your exact weight-bearing orders.
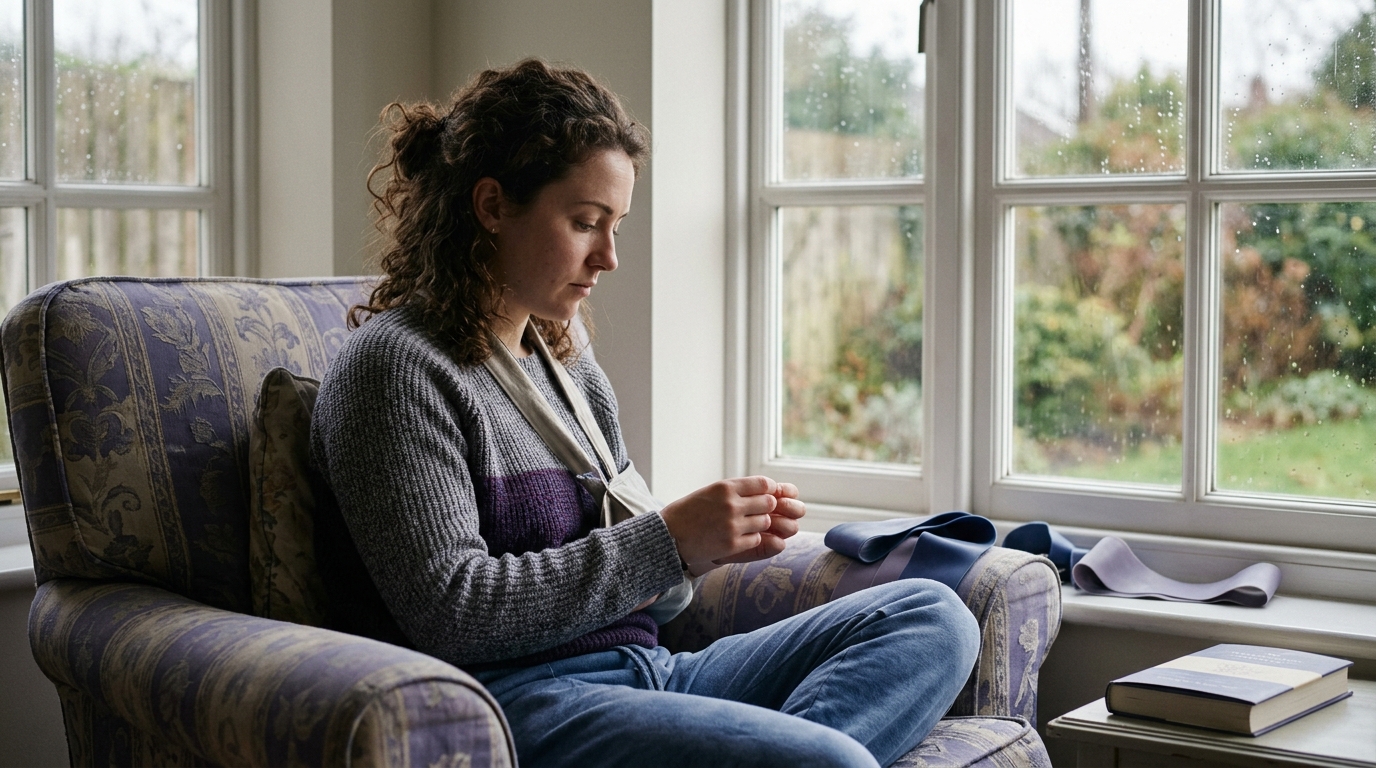
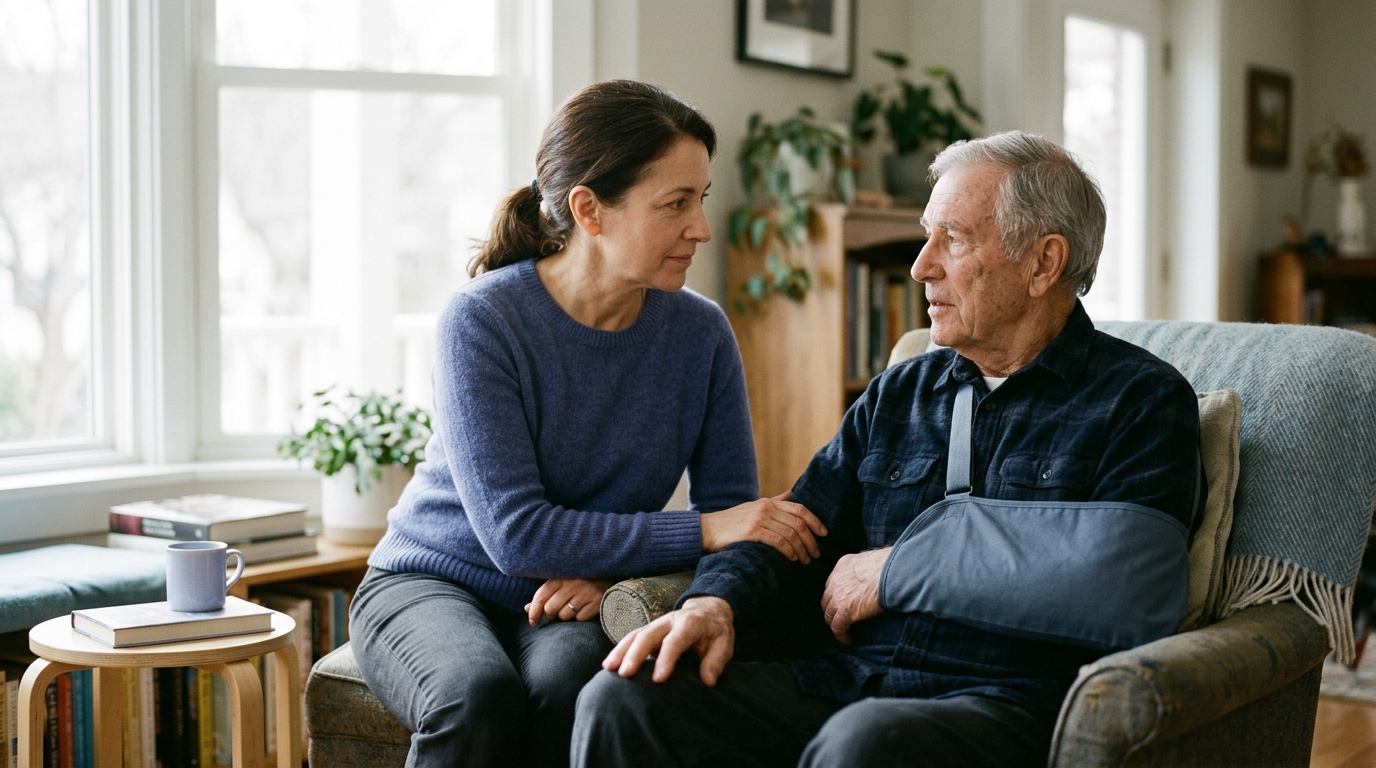
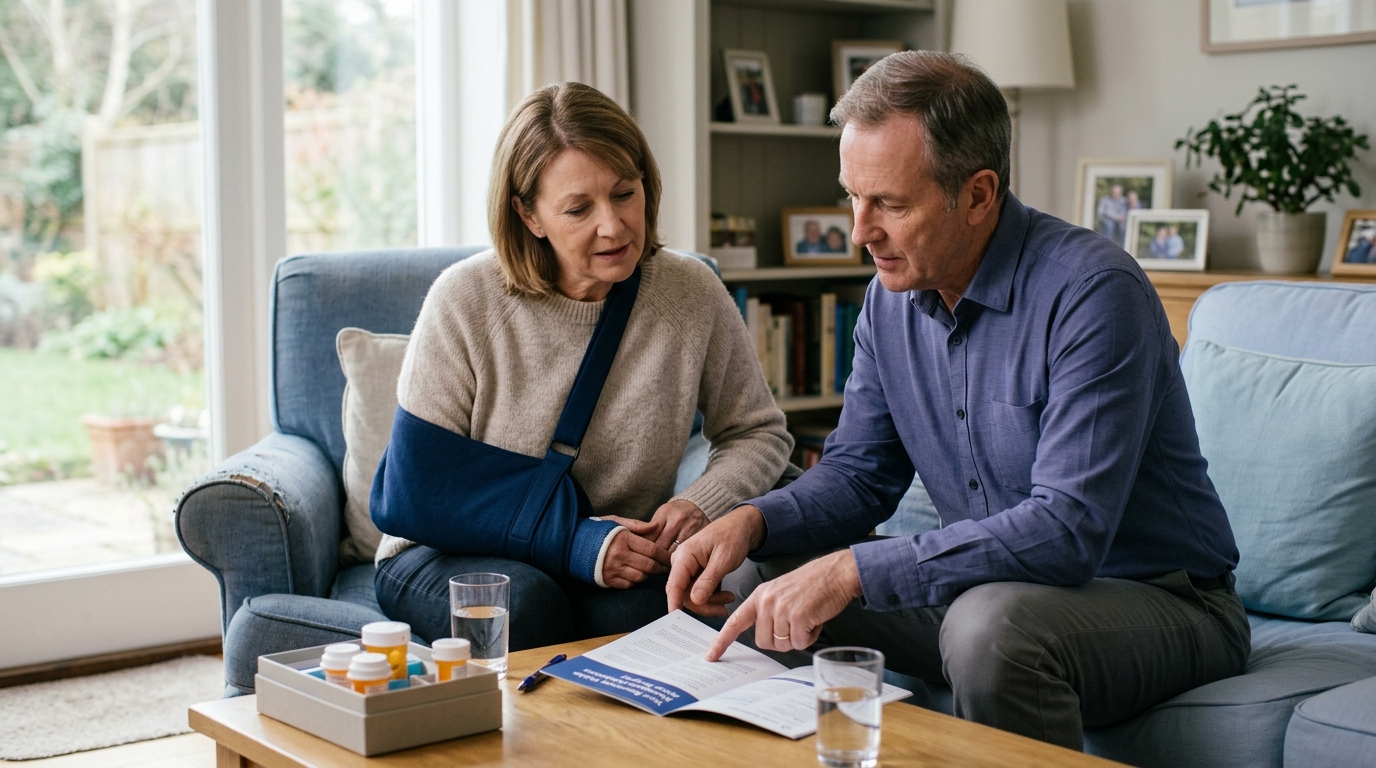
Certain operations come with strict movement limits. Following total hip replacement, you may need to avoid bending your hip beyond ninety degrees. This restriction makes low toilet seats, deep armchairs, and low beds hazardous without special equipment. After shoulder surgery, you may have one arm immobilized in a sling. This makes opening heavy doors or carrying items while walking impossible without specific adaptations.
If you live alone, advance preparation is critical. You must organize meal supplies, laundry, and daily items so you do not have to lift, carry, or bend repeatedly. You also need a reliable emergency plan. If you live with family or roommates, clear communication is necessary. Household members must understand that leaving shoes in walkways or moving furniture can create serious hazards for you.
A single-story home with a walk-in shower requires minimal structural adaptation. A multi-level home with bedrooms upstairs, narrow doorways, and a high-walled bathtub presents significant obstacles. In complex layouts, setting up a temporary main-floor living space is often the safest choice.
For practical advice on movement mechanics and navigating spaces with assistive devices, check our mobility and movement guidance.
The route you take to enter your home and move between primary living zones requires careful planning. These areas often contain the greatest changes in elevation and lighting.
Outdoor steps and porches are common fall locations. Rain, loose leaves, and uneven concrete create unstable surfaces.
Check your entry paths for the following safety items:
Stairs demand significant balance, joint flexion, and strength. MedlinePlus advises practicing stair climbing with your prescribed cane, crutches, or walker before relying on them at home. Your physical therapist will teach you the proper sequence for navigating stairs safely.
When managing interior stairs during recovery, follow these steps:
If your bedroom is upstairs and you have strict weight-bearing limits, talk to your doctor about setting up a temporary bed on the ground floor. Limiting or avoiding stair travel in early recovery reduces fatigue and lowers risk.
Hallways are the high-traffic arteries of your home. They must remain clear and wide enough for your mobility aids.
Evaluate your hallways with these checkpoints:
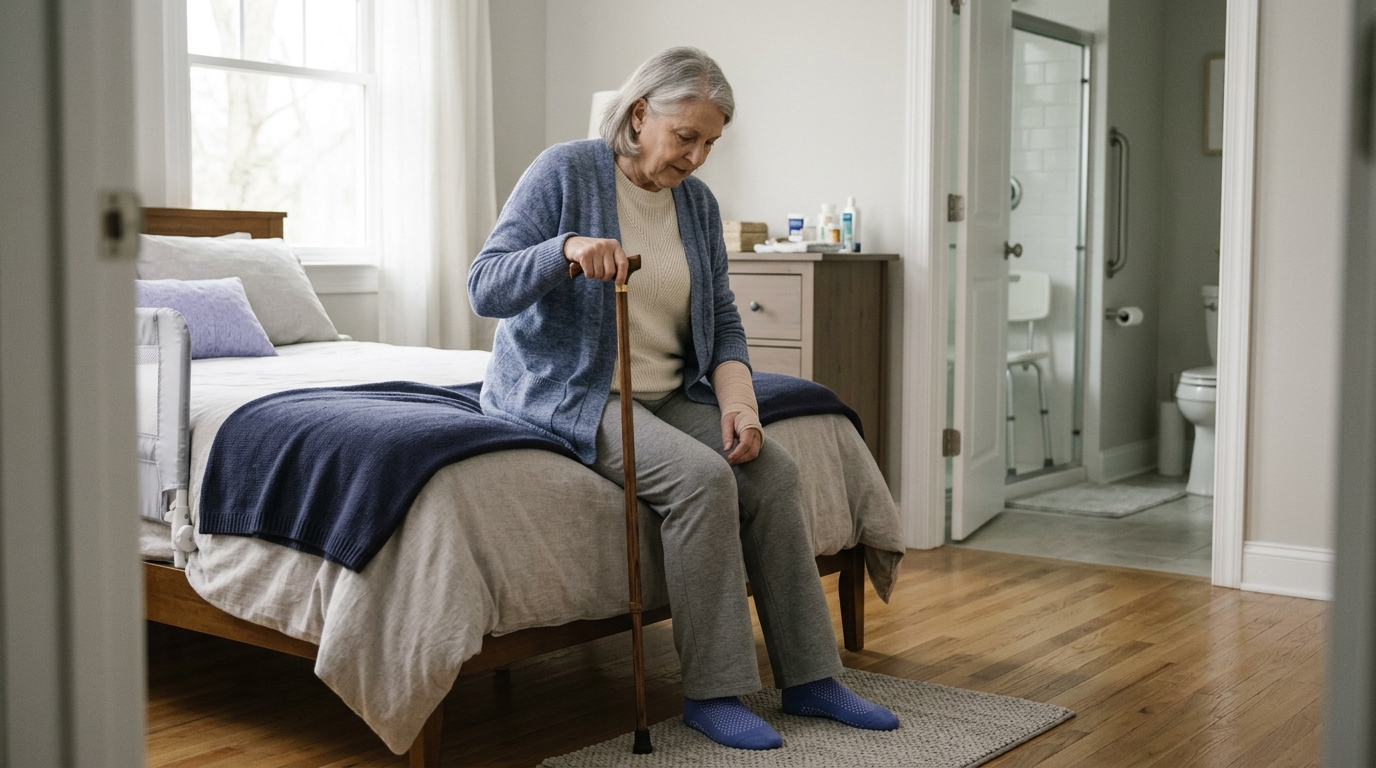
You spend a significant portion of recovery in the bedroom. Getting in and out of bed while groggy, in pain, or in the middle of the night presents distinct challenges.
Getting out of a bed that is too low or too soft requires extreme knee and hip flexion. A mattress that is too high forces you to hop or slide, which can compromise balance.
MedlinePlus recommends adjusting your sleeping surface to meet these standards:
Nighttime waking is a high-risk period during orthopedic recovery. Pain medications, grogginess, and urgent needs to use the bathroom increase the chance of missteps.
Organize your bedside table with these essentials:
Dressing while recovering from lower-extremity or shoulder injuries requires patience and proper positioning.
Prepare your dressing and bedroom space with these recommendations:
Bathrooms present the highest concentration of safety risks in any home. Wet surfaces, hard fixtures, tight spaces, and frequent transfers make this room the most critical to modify.
MedlinePlus and the National Institute on Aging emphasize that standard bathroom fixtures are not designed to support human body weight during a fall or transfer.
Standard residential toilets sit relatively low, usually fourteen to fifteen inches from the floor. Sitting down on a low toilet forces deep hip and knee bending.
To make toilet transfers safer, apply these practical solutions:
Stepping over a high bathtub ledge is dangerous when you cannot bear full weight or have limited joint mobility. Wet tile surfaces reduce traction instantly.
Implement these shower and tub safety measures:
Grab bars provide secure points of contact during transfers. However, they must be selected and installed correctly to provide real protection.
Keep these grab bar rules in mind:
For individuals planning orthopedic procedures, our guide to surgery and rehabilitation planning covers additional pre-surgical preparations.
Preparing food and staying hydrated requires standing, balancing, and carrying. When your hands are occupied by crutches or a walker, standard kitchen routines must be adapted.
Bending to reach low cabinets or stretching for high shelves disrupts balance and can violate joint movement restrictions. MedlinePlus recommends keeping high-use items within a compact vertical zone.
Organize your kitchen storage using these principles:
Standing at a kitchen counter for extended periods leads to leg fatigue, pain, and balance loss. The National Institute on Aging advises preparing food while seated to conserve physical energy.
Set up a seated work station in your kitchen:
When you are using crutches, a walker, or a cane, carrying items in your hands is unsafe. Trying to balance a hot cup of tea or a heavy plate while maneuvering a walking aid is a primary cause of burns and falls.
Use these practical methods to transport items:
The living room is where you relax, perform home rehabilitation exercises, and host visitors. It also contains furniture hazards and shared household items that require management.
Living rooms often feature crowded furniture groupings, low coffee tables, and decorative accents. These create tight corners that snag walking aids.
The American Academy of Orthopaedic Surgeons recommends establishing clear paths through living areas:
Soft, deep sofas and low armchairs are among the most difficult pieces of furniture to exit during recovery. Sinking into deep cushions can bend hips past safe angles and requires excessive arm strength to stand.
Choose seating in your living room based on these standards:
Pets provide comfort during recovery, but they are also unpredictable moving hazards. MedlinePlus notes that small or active pets frequently dart in front of walking aids or wrap leashes around legs.
Protect your balance around household pets with these steps:
Making every change at once can feel overwhelming, especially if your recovery is unexpected. Dividing modifications into priority tiers helps you address the most critical hazards first.
These actions require no special equipment and should be completed before you return home or immediately upon arrival:
These modifications involve temporary recovery aids and minor reorganizations:
These changes involve physical installations or permanent home improvements:
To learn more about rebuilding your physical capacity alongside home adaptations, explore our rehabilitation and movement strategies.
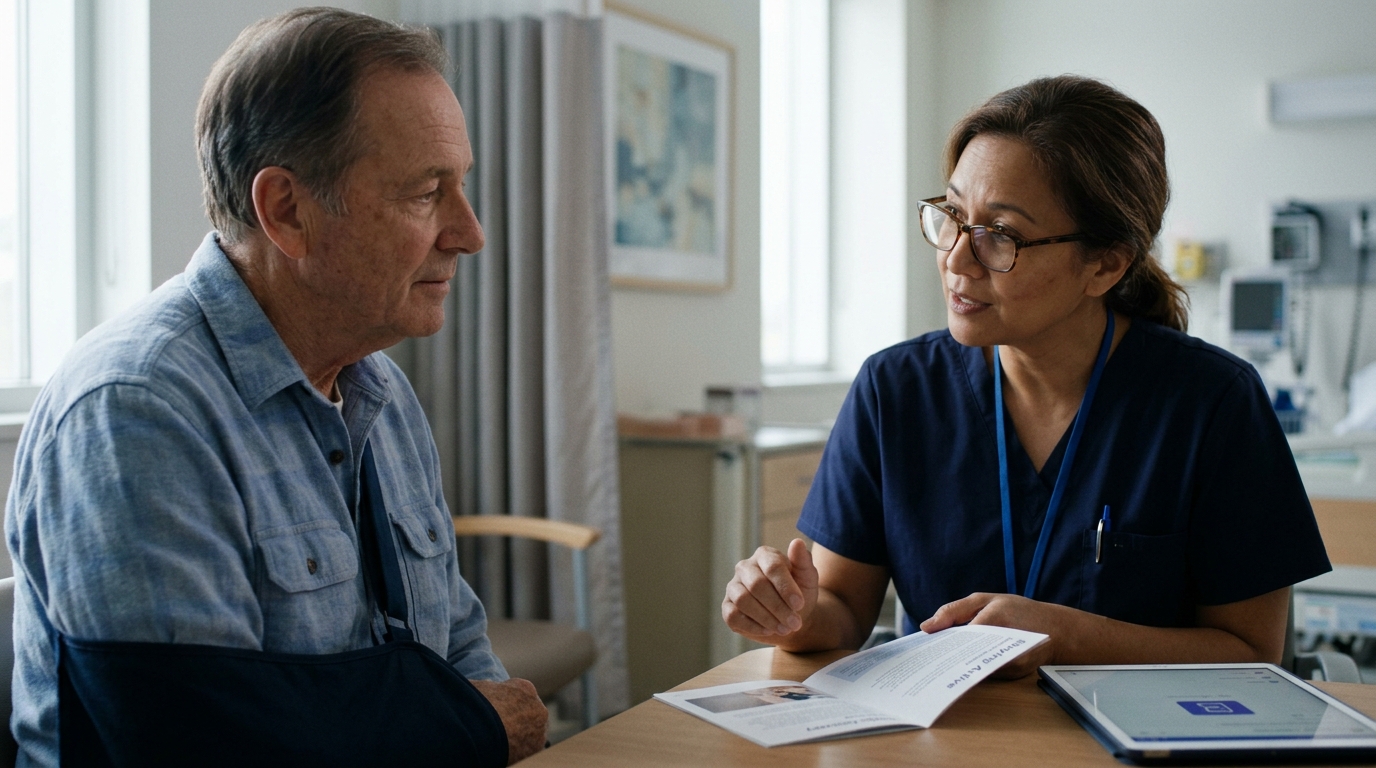
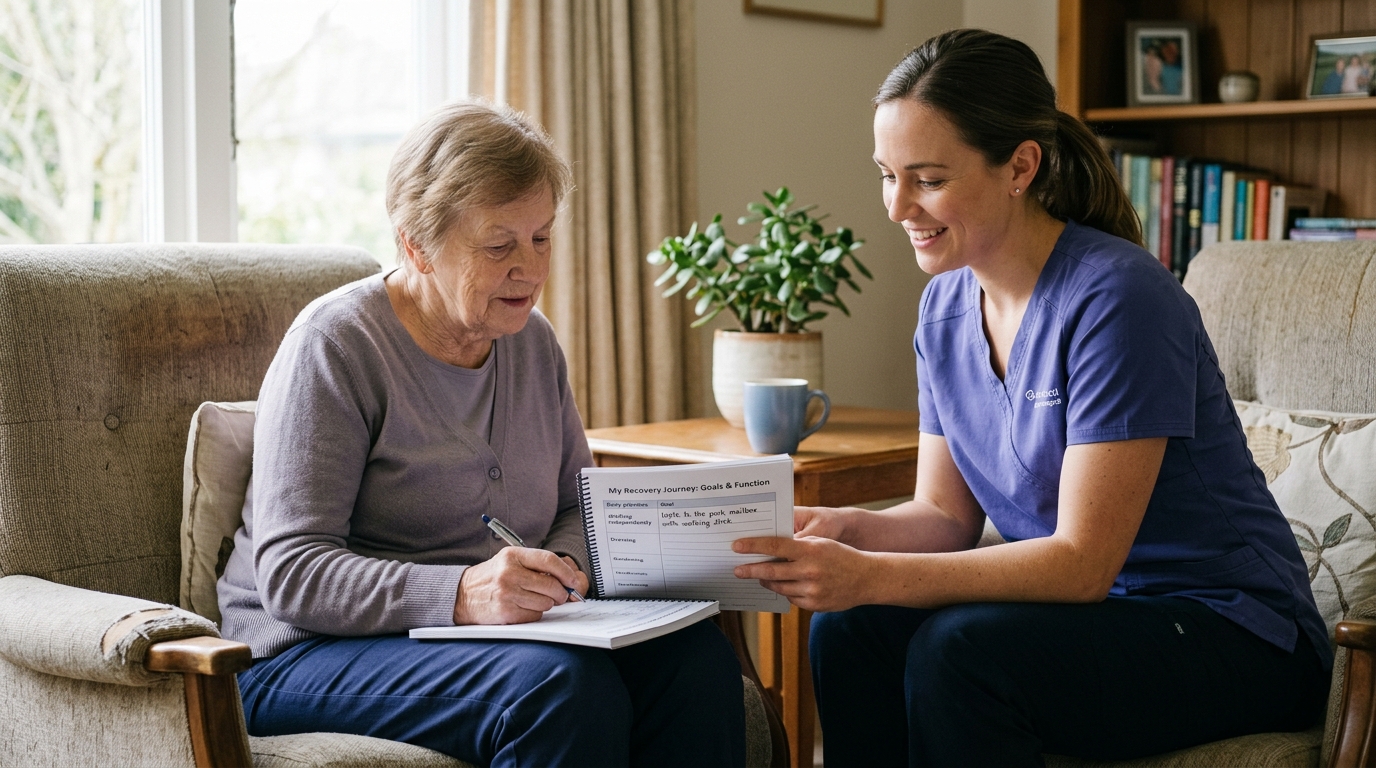
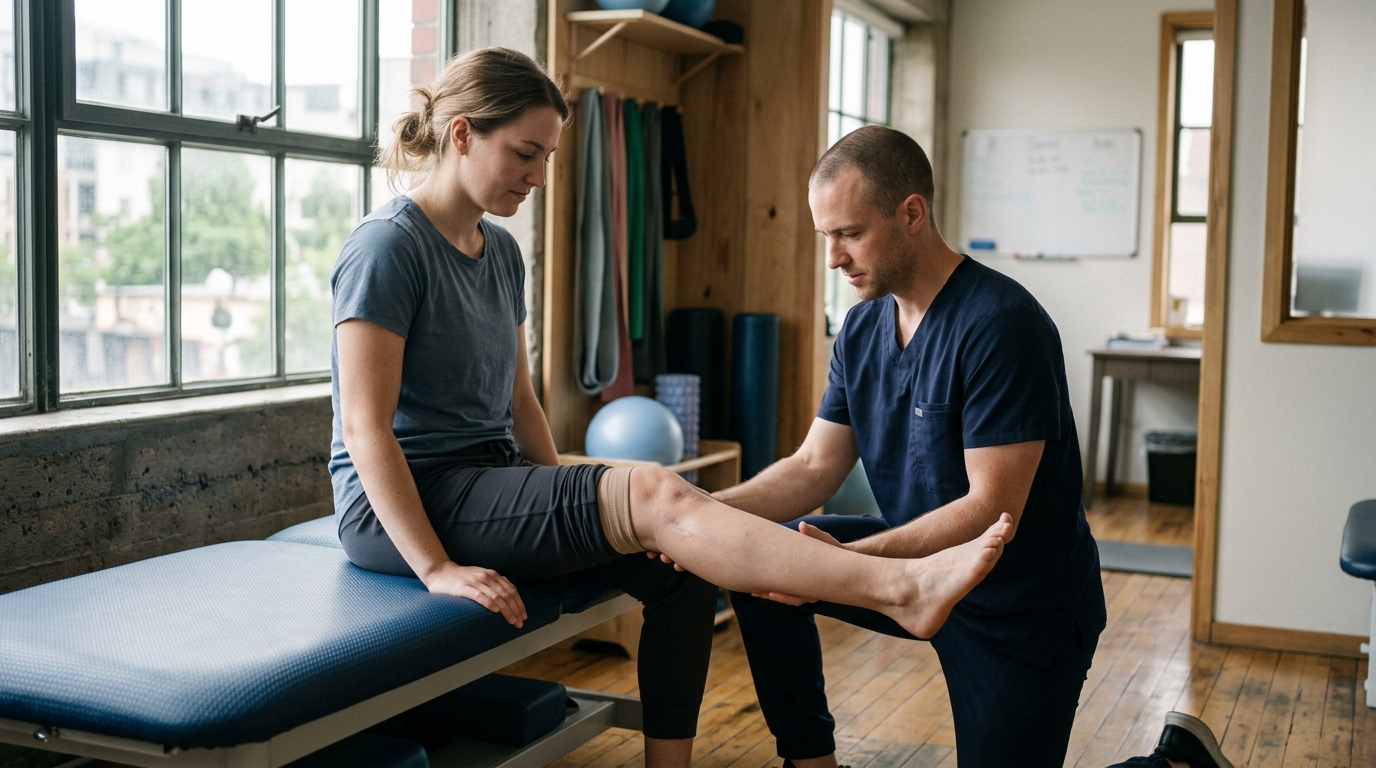
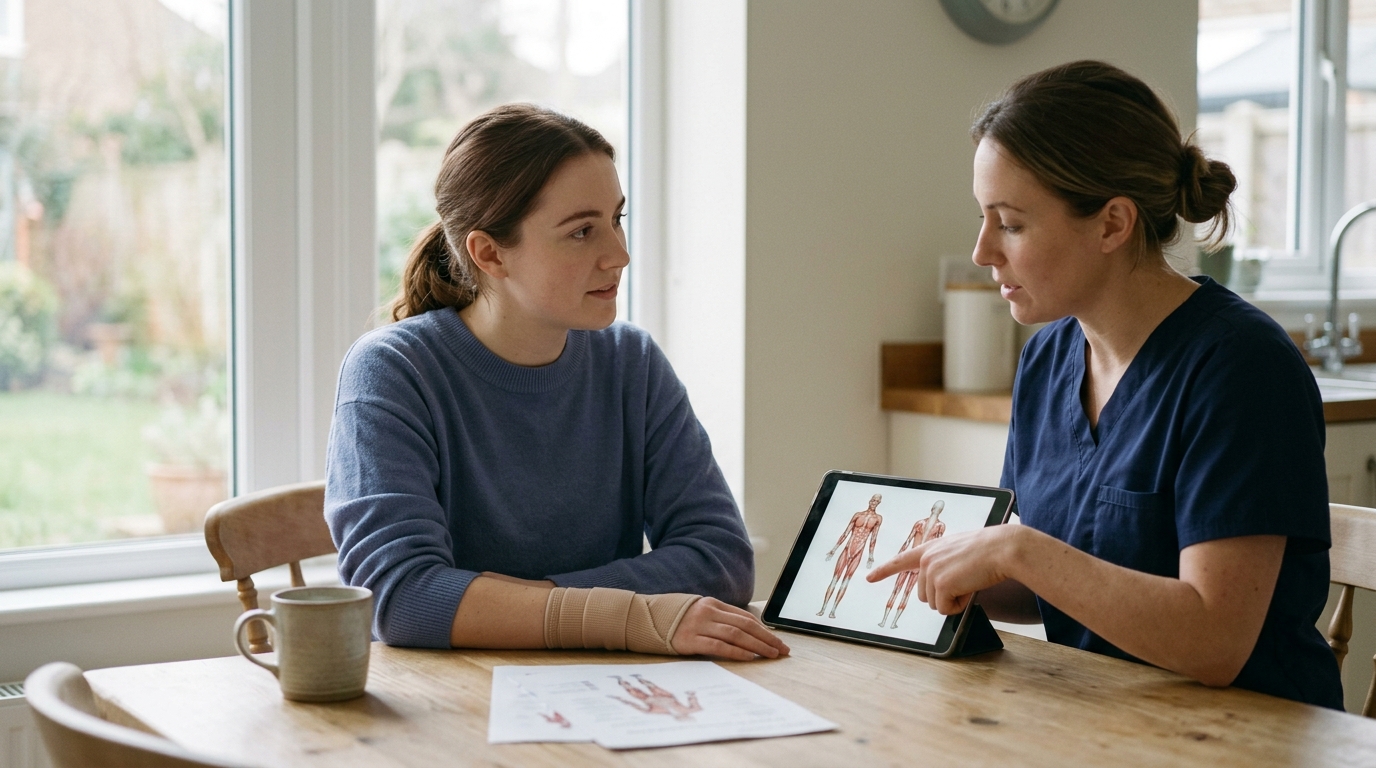
Before leaving the hospital or starting a new rehabilitation phase, review your living situation with your orthopedic surgeon, physical therapist, or occupational therapist. They can tailor home recommendations to your specific clinical status.
Consider asking your care team the following questions:
Creating a safe home during injury recovery is not about turning your house into a hospital. It is about removing predictable obstacles so your body can rest, heal, and rebuild strength. By focusing on clear pathways, safe transfer surfaces, accessible daily supplies, and dependable communication, you protect yourself from preventable injuries.
Take the time to evaluate each room through the lens of your temporary physical limits. Make immediate, low-cost adjustments first, secure the necessary assistive equipment, and work closely with your therapy team to practice moving safely in your home environment.
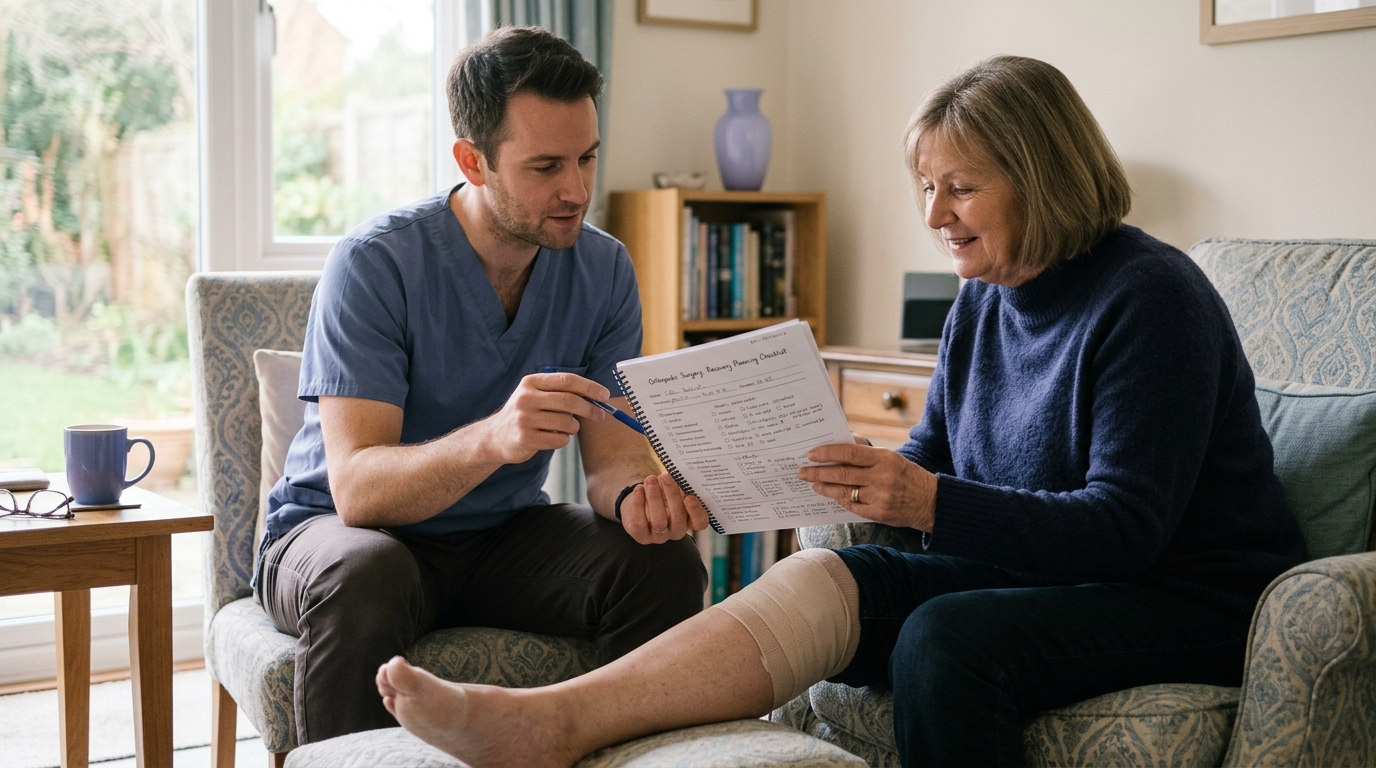
Revisit this room-by-room checklist whenever your recovery reaches a transition point. Review these sections when you change mobility aids, such as transitioning from a walker to a cane, when your weight-bearing status changes, or if you experience a balance change following a medication adjustment.
A safe living space provides the foundation for a steady, confident recovery.

Use ReboundBody resources to understand common recovery stages, rehab terms, movement limits and strength rebuilding. Each guide is designed to make a complex comeback easier to understand.


Read practical guidance on injury recovery, rehabilitation, mobility and rebuilding strength as you work your way back to activity.
Explore Resources