
Hikers returning to the trail can restore lower-body strength, joint stability, and aerobic stamina through a progressive five-stage conditioning plan.





Walking comfortably on a flat neighborhood sidewalk does not mean your body is ready for an outdoor trail. Many people assume that general fitness translates directly to hiking. In reality, trails demand entirely different physical capacities than paved surfaces. Pavement allows predictable, repetitive movement. Trails require continuous adaptations to rocks, roots, changing inclines, and loose soil.
Resuming hiking after an injury, surgery, or a long period of inactivity requires a graded approach. You must rebuild single-leg balance, joint stability, and cardiovascular endurance. You also need eccentric muscle strength to absorb the forces of downhill walking. Trail readiness is not a single fitness test. It is a combination of joint capacity, movement control, confidence, and intelligent route selection.
There is natural uncertainty in any recovery timeline. Healing rates vary based on tissue type, surgical history, and overall conditioning. While general timelines provide helpful structure, your body's specific response to progressive load must guide your return. Rushing back onto steep or unstable trails before restoring basic capacity can cause flare-ups, setbacks, or secondary injuries.
Hiking looks like simple walking, but the underlying mechanics are far more complex. On a paved road, your feet strike a predictable surface at a consistent angle. Your muscles and tendons work in a steady, cyclical rhythm. On a trail, no two consecutive steps are identical. Every step requires rapid micro-adjustments from your feet, ankles, knees, and hips.
Uneven terrain challenges the lateral stability of your lower body. When your foot lands on an angled rock or exposed tree root, your ankle must tilt to accommodate the surface. At the same time, the surrounding ligaments and muscles must contract quickly to prevent rolling. Your hip abductors, especially the gluteus medius, must stabilize your pelvis to keep your center of mass balanced over a shifting base of support. You can read more about rebuilding joint stability in our rehabilitation, mobility and movement guide.
Slopes alter how your muscles generate and absorb force. Walking uphill requires concentric muscle contractions to raise your body against gravity. Your calves, quadriceps, and glutes work as active motors, pushing your center of mass upward with each step. This demands substantial cardiovascular output and high metabolic energy expenditure.
Downhill walking presents the opposite mechanical challenge. When descending, gravity pulls your body downward. Your lower-limb muscles, particularly the quadriceps and calf muscles, must act as shock absorbers. They contract eccentrically, lengthening under tension to decelerate your descent and cushion your joints. Many recovering hikers find downhill walking far more taxing on their joints than climbing.
Carrying a backpack introduces another biomechanical variable. A pack raises your center of mass and increases the total load your lower extremities must support. Even a light daypack alters your posture, requiring sustained trunk and spinal endurance. As fatigue sets in over several miles, poor core endurance can lead to altered mechanics, increasing the stress placed on your knees and lower back.
Laboratory research confirms that walking on gradients fundamentally changes joint loading and muscular work. Biomechanical studies measuring individual limb mechanics show clear differences between level, uphill, and downhill gait.
Walking uphill significantly increases positive mechanical work. In treadmill studies analyzing slope mechanics, the positive mechanical work performed by the lower limbs increases steadily as the incline steepens. Research by scientists studying incline mechanics found that at an incline of nine degrees, total individual-limb positive work was 276 percent higher than during level walking. The calf and quadriceps muscles must produce substantially more force to lift the body forward and upward.
Downhill gait requires the opposite mechanical response. The same mechanical studies found that walking downhill at a nine-degree decline increased total individual-limb negative mechanical work by 283 percent compared to level walking. Instead of producing propulsion, your muscles perform braking work. They absorb energy to prevent uncontrolled downward acceleration.
This negative mechanical work explains why downhill walking causes distinct muscular strain. Studies comparing uphill and downhill walking show that downhill walking produces significantly higher next-day muscle soreness, even when heart rate and perceived effort during the session are relatively low. Eccentric contractions create micro-tears in muscle fibers as they lengthen under heavy load. A hiker may feel completely comfortable during a long descent, only to experience severe quadriceps soreness and joint stiffness twenty-four to forty-eight hours later.
Laboratory studies investigating walking efficiency show that human locomotion relies heavily on pendular energy exchange. On flat surfaces, the body efficiently trades potential and kinetic energy with each step. On steep slopes, this natural pendular mechanism is disrupted, requiring muscles to perform much more active work. Researchers investigating movement economy emphasize that navigating complex, irregular paths requires additional mental processing and motor adjustments to maintain stability.
While these biomechanical findings provide valuable insights into mechanical work, they come with scientific limitations. Most slope studies examine young, healthy adults walking on smooth motorized treadmills in controlled laboratories. They do not fully capture the irregular footing, fatigue, or psychological demands of outdoor trails. However, the evidence clearly shows that gradient changes muscle loading patterns. Downhill capacity must be trained as an independent quality.
Many active adults assume that high cardiovascular fitness guarantees trail readiness. A person might cycle for an hour or swim several times per week without joint pain. While cardiovascular conditioning provides a helpful foundation, it does not prepare the musculoskeletal system for the specific demands of trail walking.
General capacity refers to your baseline aerobic fitness, overall muscular strength, and basic flexibility. The Centers for Disease Control and Prevention recommends that adults achieve at least 150 minutes of moderate-intensity aerobic physical activity per week. They also recommend muscle-strengthening activities on two or more days per week. For older adults, these public health guidelines emphasize adding balance activities to reduce fall risk. These benchmarks support overall health, but they do not measure your readiness to hike over rocky terrain.
Trail-specific capacity involves the precise motor skills and tissue tolerances required for hiking. These specific capacities include:
A stationary bicycle strengthens the quadriceps through smooth, non-impact concentric contractions. It does not challenge ankle stability, nor does it require eccentric deceleration. A flat walk on a paved greenway builds basic aerobic tolerance, but it does not load the hip stabilizers across multiple planes.
Recognizing the difference between general conditioning and trail-specific preparation prevents common recovery errors. If you only train on flat surfaces, your muscles and tendons will be unprepared for the multi-directional forces of outdoor terrain. Building specific physical qualities ensures that your joints can handle the unpredictable demands of the trail. Explore our strength and return to sport resources to learn how specific movement training supports active recovery.
A safe return to hiking relies on progressive overload across multiple variables. Instead of jumping straight to a challenging hike, adjust one variable at a time: duration, surface predictability, incline, and carried load.
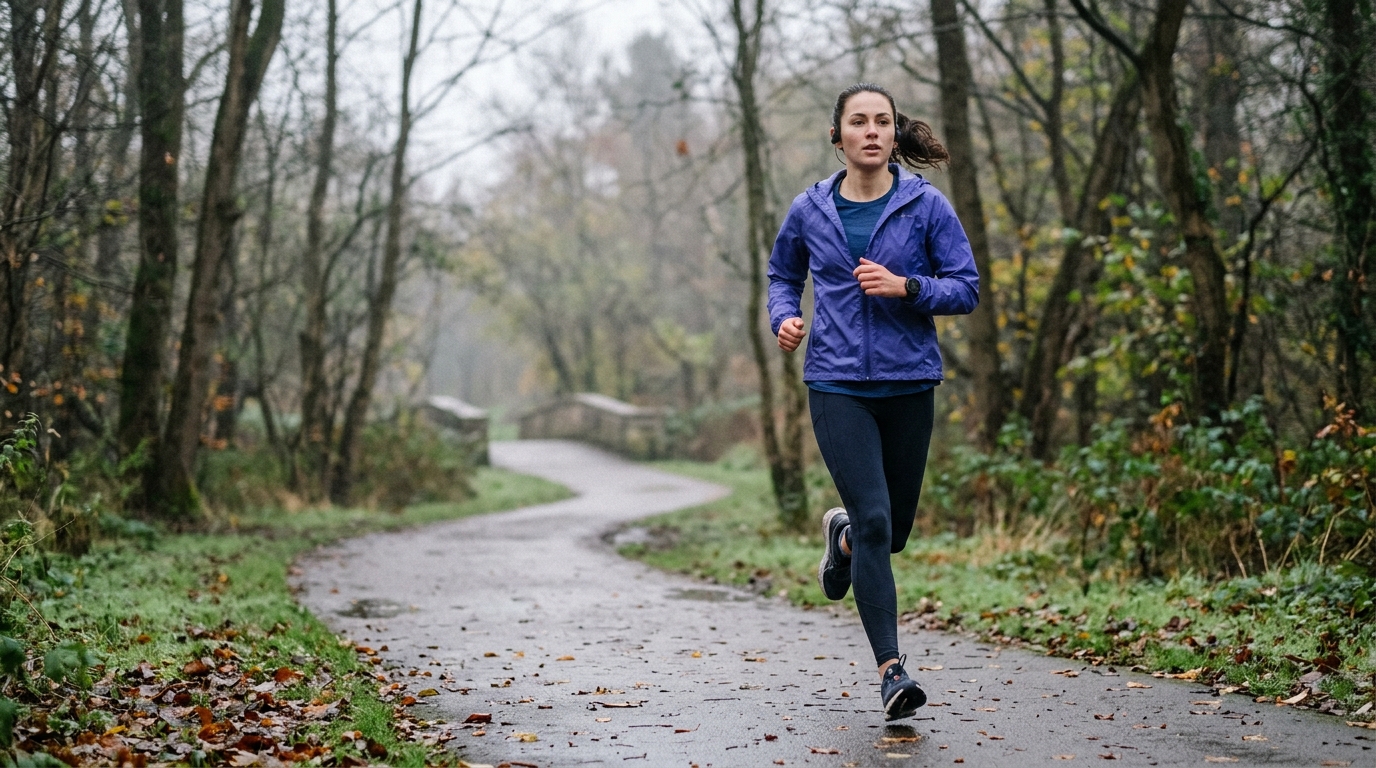
Begin by testing your baseline tolerance on flat, predictable surfaces. Walk on smooth pavement, running tracks, or packed turf for 15 to 20 minutes without carrying any extra weight. Pay close attention to how your body feels during the walk and over the next 48 hours.
If you complete multiple flat walks without pain, swelling, or gait alterations, gradually extend your walking time. Aim to comfortably sustain 30 to 45 minutes of continuous flat walking before adding terrain complexity. This stage builds foundational tissue tolerance and confirms that your baseline joint mechanics are stable.
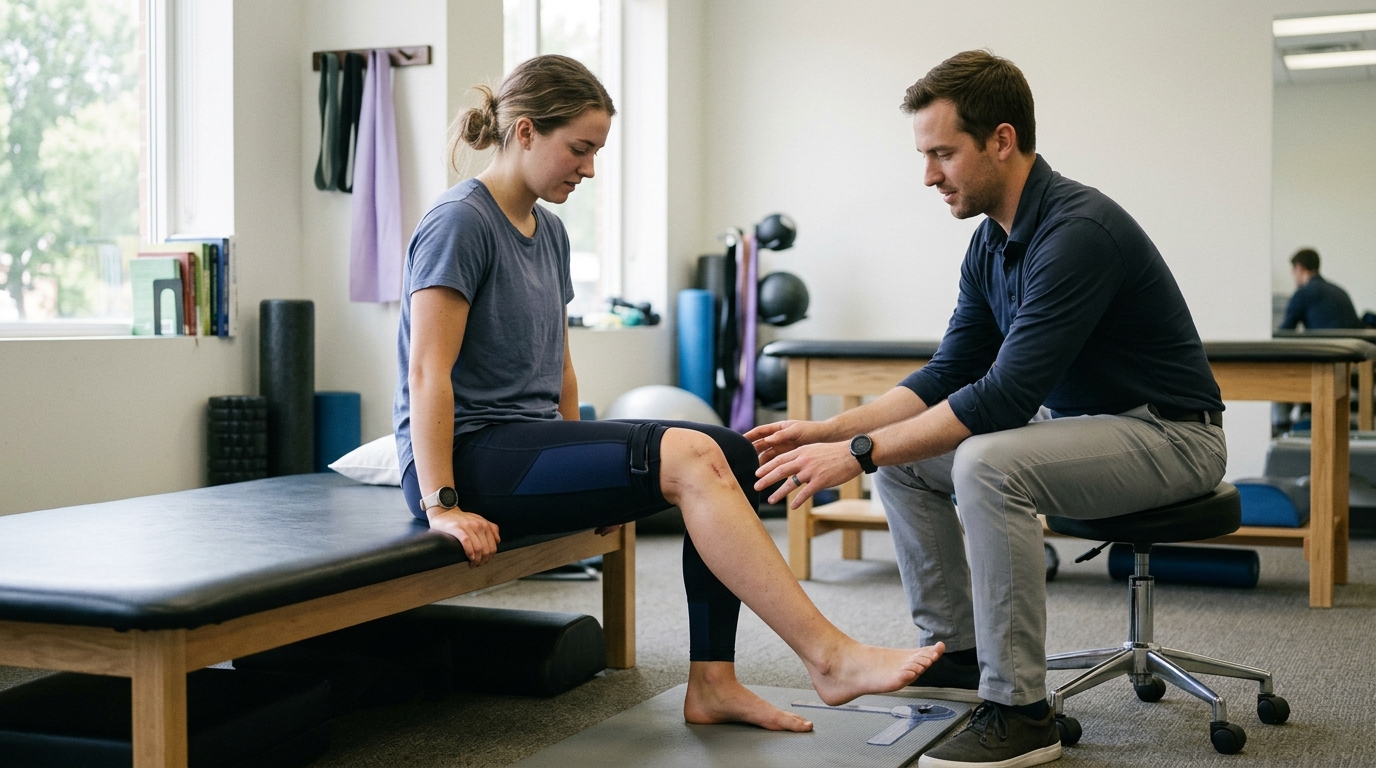
While maintaining your flat walking routine, begin targeted strength and balance training at home or in the gym. Focus on movements that replicate the joint angles and loading patterns of trail walking.
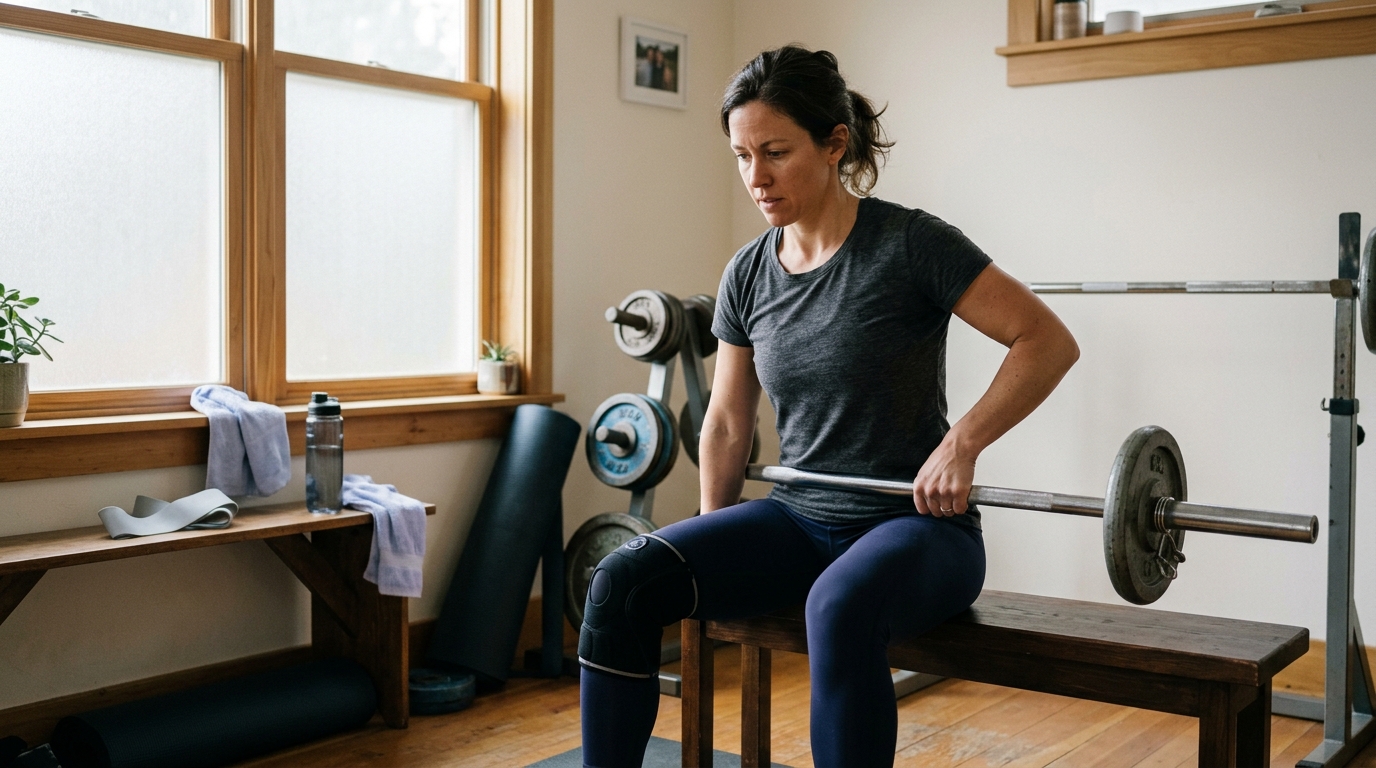
Prioritize single-leg stability exercises, step-down drills, and hip strengthening. Incorporate calf raises and foot-strengthening movements to build ankle resilience. Training your core and spinal extensors will prepare your posture for carrying a pack. Spend three to four weeks reinforcing these foundation qualities before progressing to more complex environments.
Once you have established baseline strength and flat-walking endurance, begin introducing modest elevation changes. Use a gym treadmill set to a gentle incline, or walk on outdoor hills with smooth footing.
Next, transition your walks to mild outdoor surfaces. Grassy parks, packed gravel paths, and wide dirt trails offer subtle irregularities that challenge balance without high fall risks. Keep your sessions relatively short, around 20 to 30 minutes, when first introducing these new demands. Always evaluate your joint response the following day before increasing the distance or gradient.
Gear alters how your body moves. Hiking boots and trail shoes have stiffer soles and different heel-to-toe drops than standard road running shoes. Stiff footwear changes ankle mechanics and shifts force dissipation upward toward the knee and hip.
Begin wearing your intended trail footwear on your neighborhood walks and mild trail outings. Once your body adapts to the shoes, introduce a small daypack or hydration vest. Start with a light weight, such as three to five pounds, containing water and basic essentials. Gradually increase the pack weight over several weeks until you match your anticipated trail load.
You are now ready for dedicated trail outings. Choose a short, well-maintained trail with modest elevation gain. Ensure the path has clear bail-out points or easy turn-around options in case your body shows early signs of fatigue.
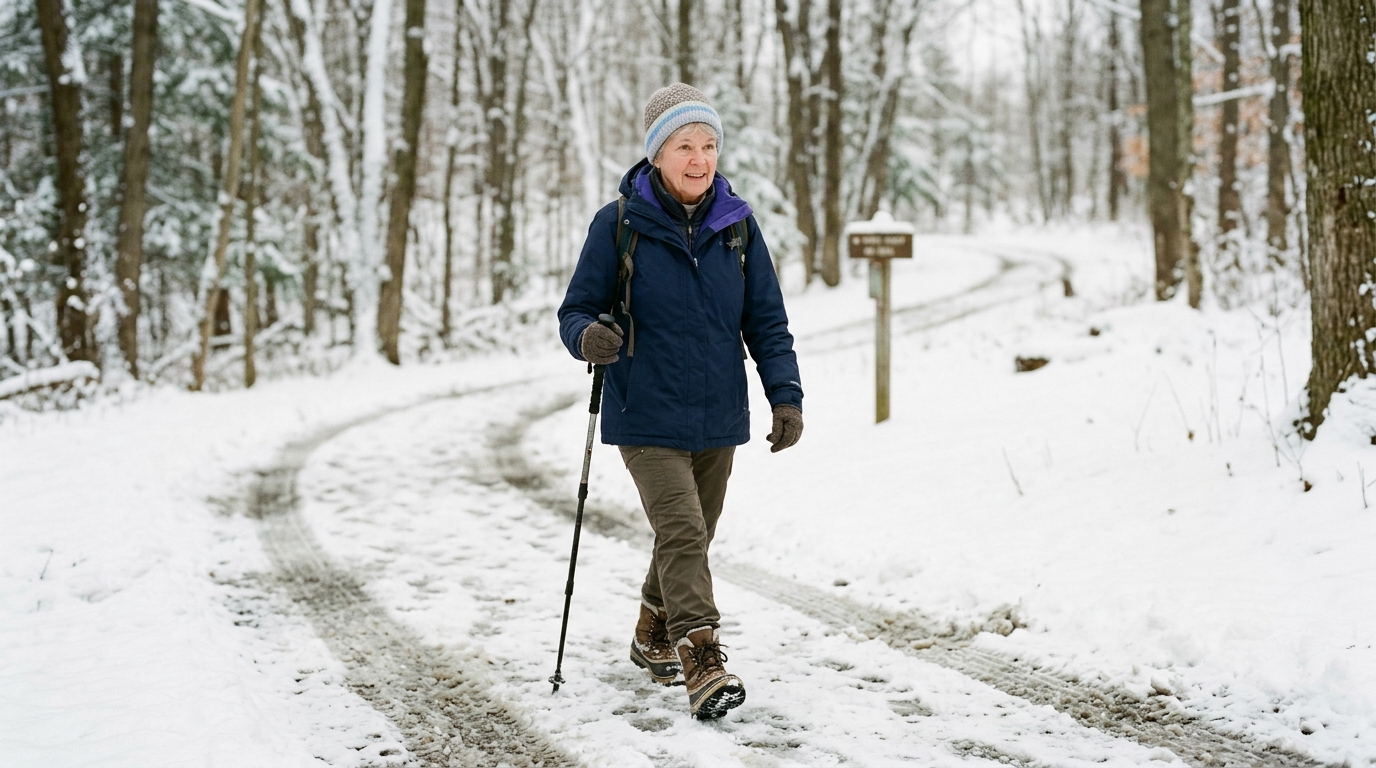
Treat your first few trail outings as training sessions rather than recreational tests. Maintain a deliberate, controlled pace. Use trekking poles to assist with balance and reduce joint impact during descents. Track your recovery over the following two days. If you experience no lingering joint pain or swelling, you can slowly increase the route length and elevation on future outings. Check out our articles on active aging and injury prevention for additional strategies on maintaining physical resilience over time.
Targeted strength and balance exercises help prepare your joints for the physical forces encountered on the trail. A well-rounded preparation program focuses on single-leg stability, eccentric control, ankle reactivity, and postural endurance. Perform these exercises two to three times per week, allowing adequate rest between sessions.
Trail walking requires you to spend significant time balancing on one leg. When your foot strikes an uneven surface, your nervous system must react instantly to keep you upright.
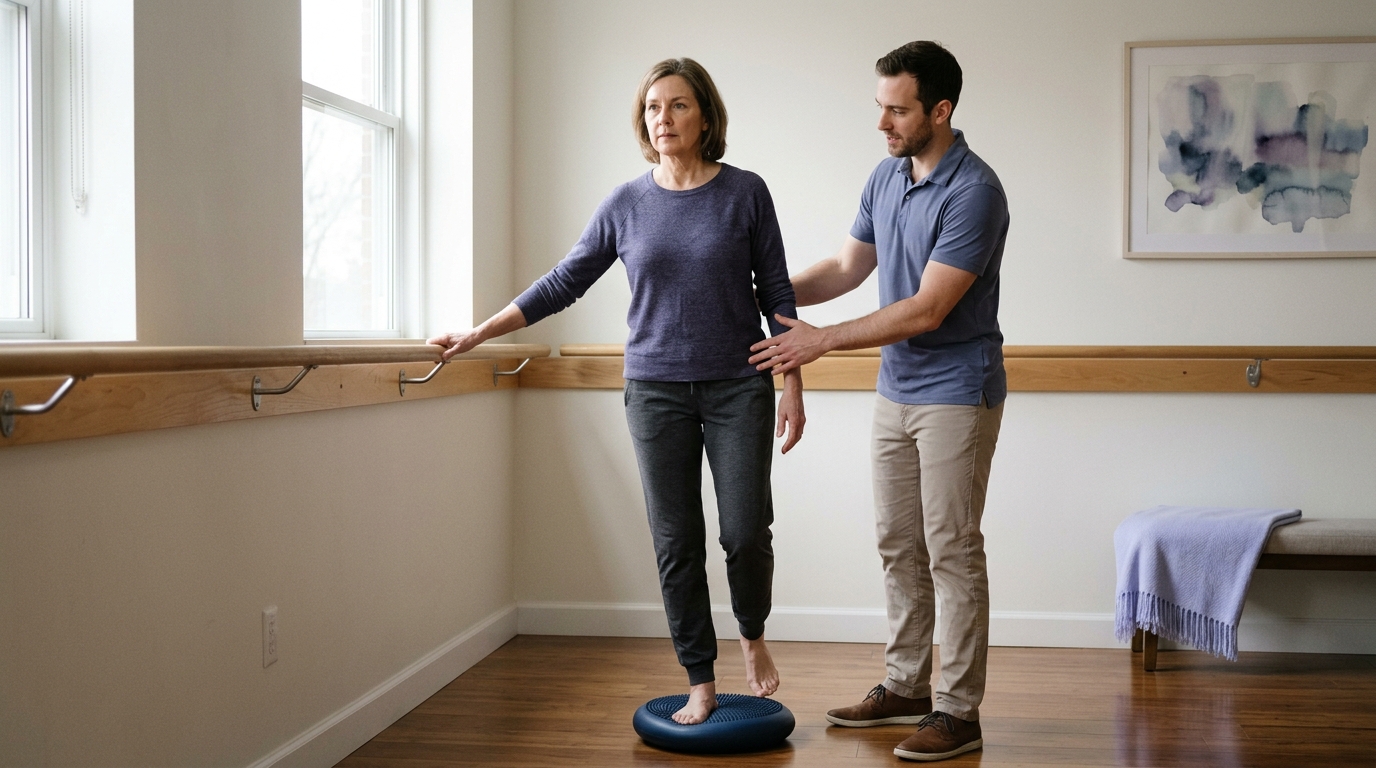
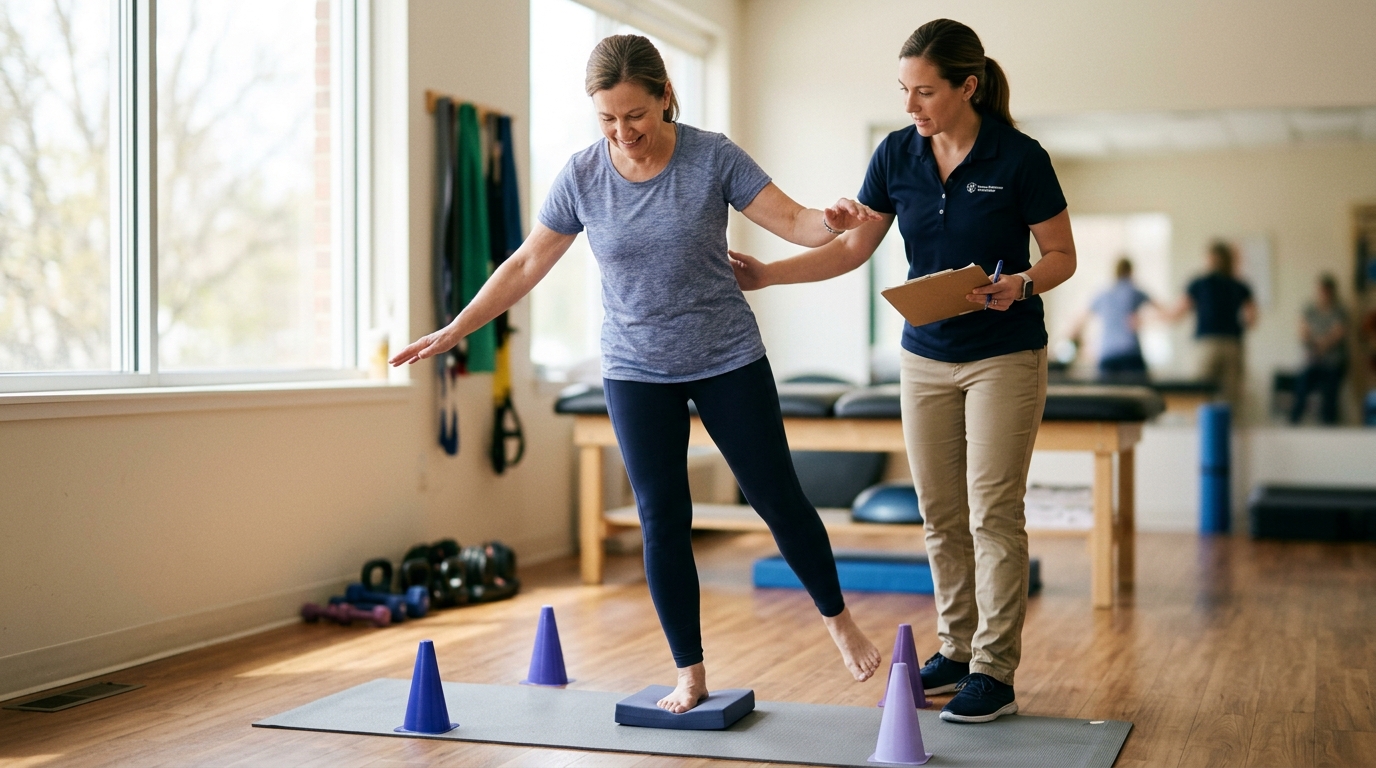
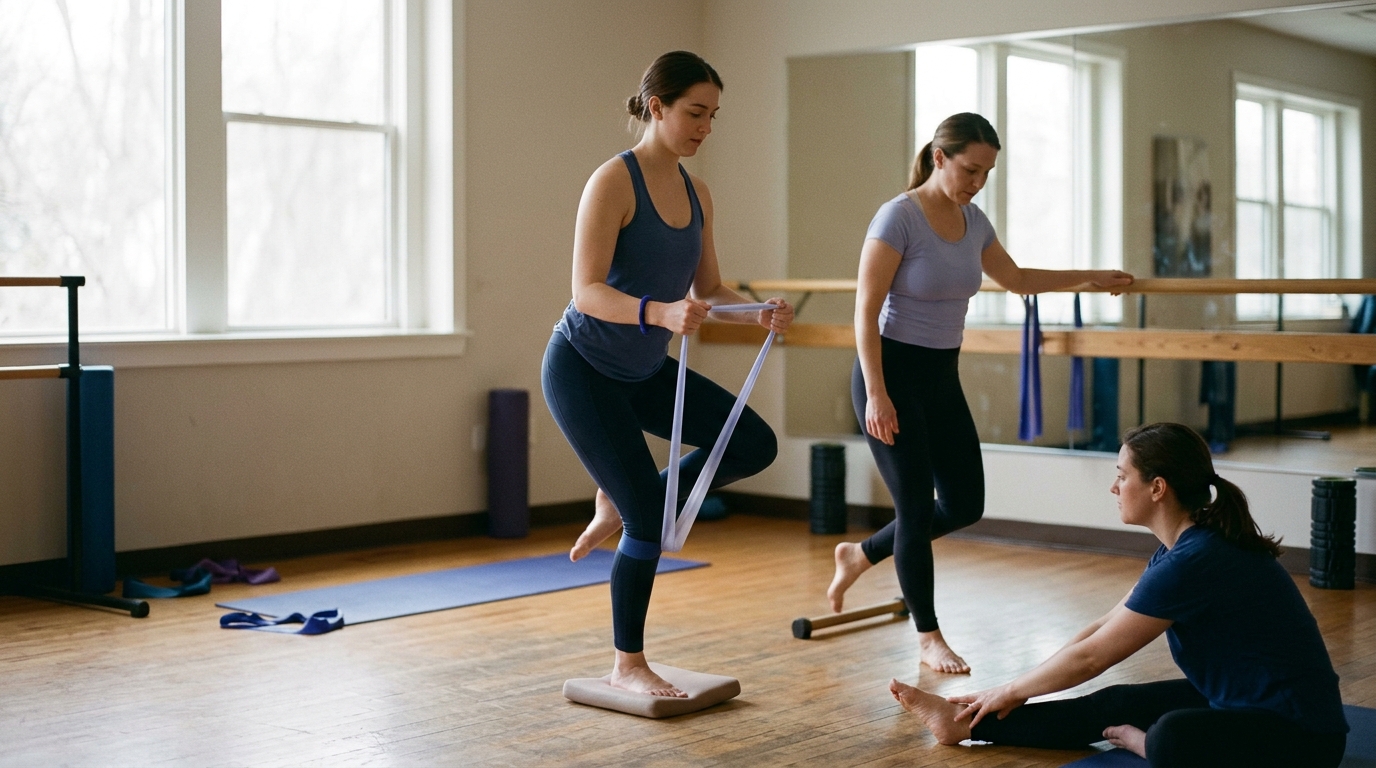
Begin with basic single-leg balancing on a firm floor. Stand on one leg with a soft, unlocked knee and maintain your balance for 30 seconds. To increase the challenge, close your eyes or balance on a slightly compliant surface, such as a foam balance pad or folded towel.
Progress to dynamic balance drills. While standing on one leg, slowly reach your opposite foot forward, to the side, and backward in a clock pattern. This drill forces your hip stabilizers and ankle muscles to control your center of mass across multiple planes.
Controlled descents require strong quadriceps that can absorb force while lengthening. Step-down drills directly mimic the mechanics of descending rock steps or steep trails.
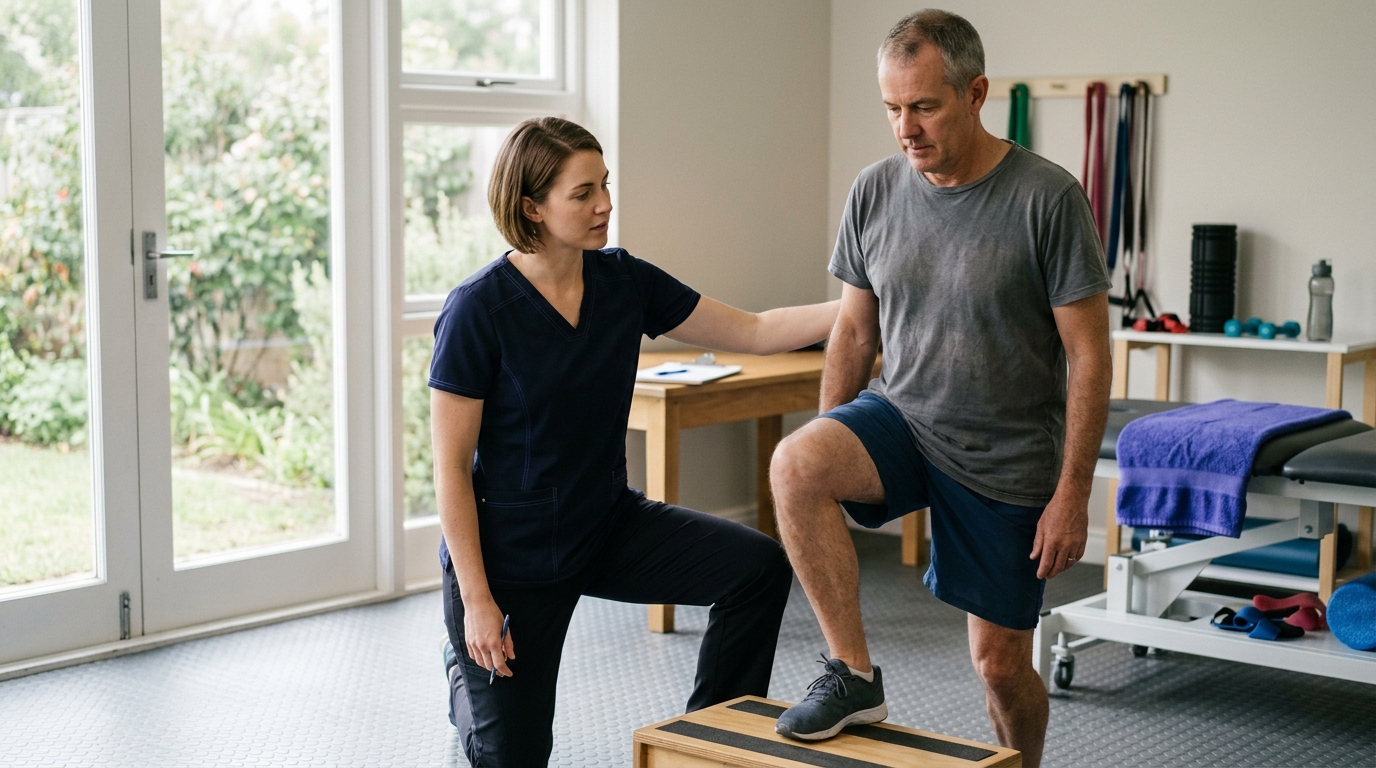
Stand on a low step or sturdy wooden block measuring two to four inches in height. Keeping your weight on the stance leg, slowly bend your knee and lower the opposite heel toward the floor. Touch the floor lightly without resting your weight on it, then press through your stance leg to return to the starting position.
Perform the movement slowly, taking three to four seconds to lower down. Ensure your stance knee tracks in line with your middle toes rather than collapsing inward. As your strength improves, gradually increase the step height to six or eight inches.
Ankle sprains and lateral joint strains are common trail injuries. Strengthening the muscles surrounding the ankle joint helps protect against unexpected rolls on loose stones.
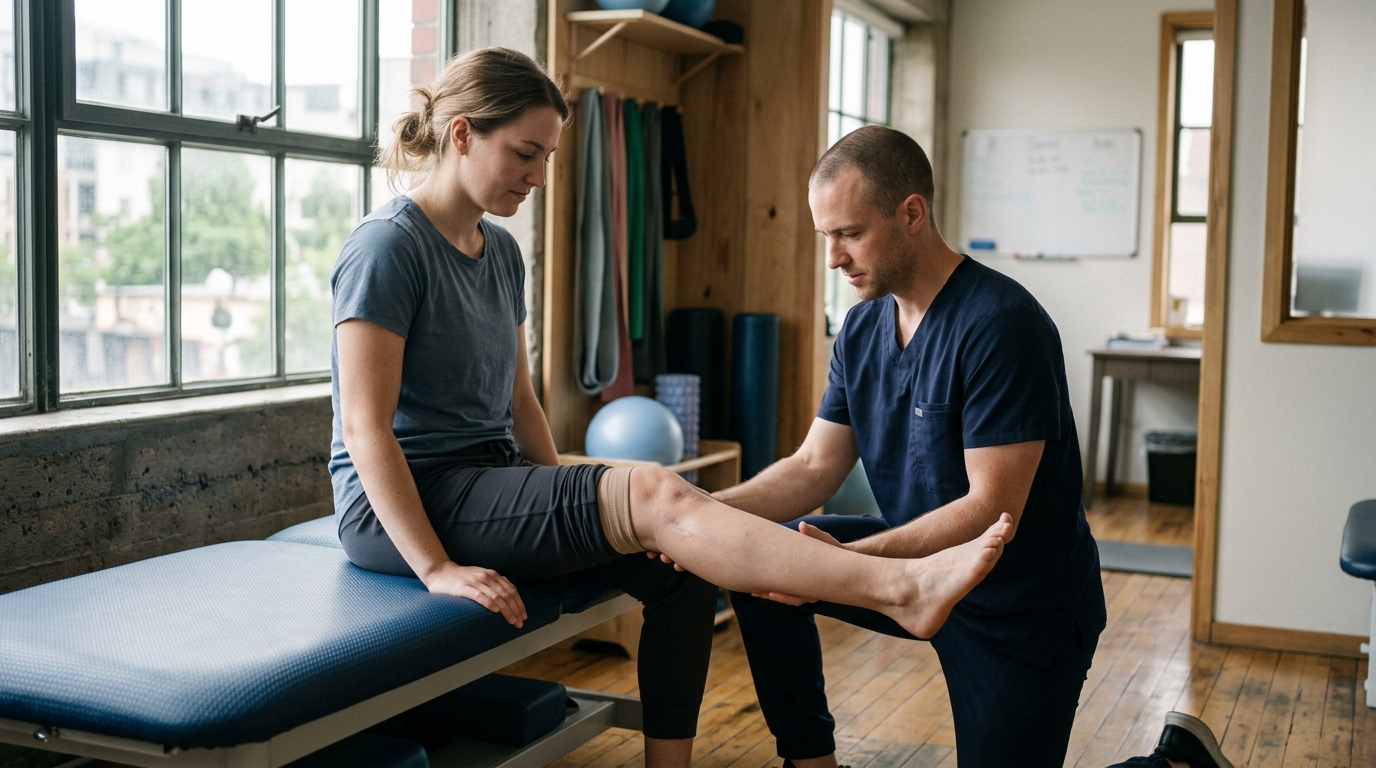
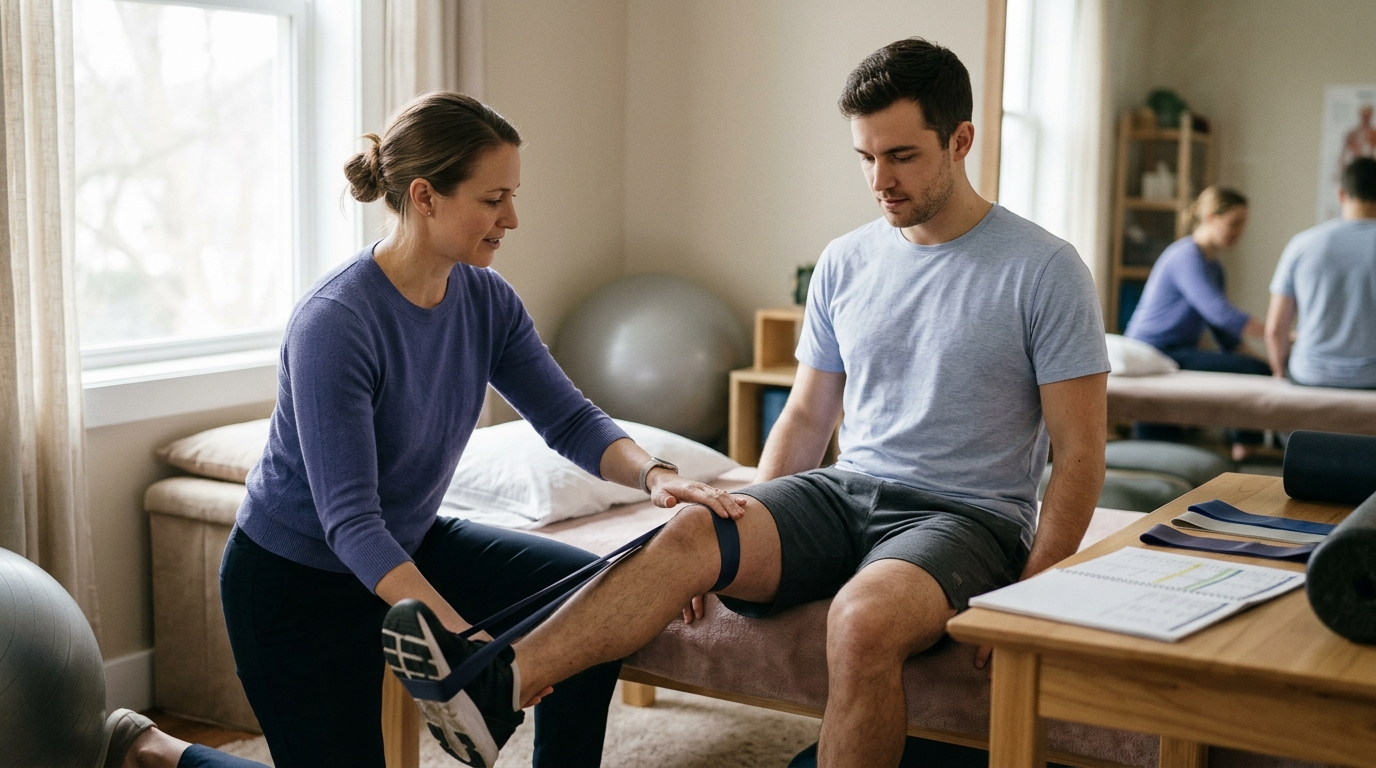
Use an elastic resistance band to train ankle movements. Sit on the floor with your legs extended. Loop the resistance band around your forefoot to create resistance as you move your foot inward (inversion) and outward (eversion). Perform two to three sets of 12 to 15 controlled repetitions in each direction.
Add calf raises to strengthen the gastrocnemius, soleus, and Achilles tendon. Perform double-leg calf raises on the edge of a step, lowering your heels below the step level for a full stretch. Progress to single-leg calf raises to build unilateral strength and endurance.
Carrying a backpack for several hours places continuous demands on your spinal erectors, abdominals, and scapular stabilizers. A strong, stable trunk prevents excessive forward lean and protects your lower back.
Incorporate isometric core exercises into your routine:
For more comprehensive guidance on functional movement patterns, browse our mobility and movement resources.
The equipment you choose plays a significant role in managing joint forces and reducing fatigue on the trail. Understanding how gear affects your movement mechanics allows you to make informed decisions for your recovery.
Hiking footwear generally falls into three categories: trail running shoes, low-cut hiking shoes, and mid-to-high-cut hiking boots. Each option presents distinct biomechanical trade-offs.
Trail runners are lightweight and flexible, allowing natural foot articulation and requiring less energy per step. However, they provide less torsional rigidity and lateral support when navigating rocky terrain. Sturdy hiking boots offer increased ankle support and protective, rigid outsoles. The trade-off is added weight, which increases the metabolic cost of walking over long distances.
Choose footwear that matches your current joint capacity and the demands of your chosen trail. If you are recovering from an ankle injury, a shoe with greater lateral support may offer helpful stability. Always break in new footwear on short, familiar walks before embarking on a prolonged trail outing.
Trekking poles are valuable tools for managing lower-extremity joint stress. Biomechanical research shows that using trekking poles redistributes force away from your lower limbs and into your upper body and trunk.
A study analyzing experienced hikers walking downhill with various pack weights found that using trekking poles significantly reduced joint moments at the ankle, knee, and hip. Pole use also lowered peak power absorption at the ankle and knee during descents. A comprehensive review of trekking pole biomechanics concluded that poles reduce overall lower-extremity joint loading during both downhill and level walking.
By transferring a portion of each step's impact force through your arms and shoulders, poles reduce cumulative stress on your knees and hips. They also provide two additional points of contact, improving stability on loose scree, wet mud, or river crossings. However, poles do not replace the need for strong legs, balance, and careful foot placement. They should be used as a support tool rather than a substitute for physical preparation.
Carrying excess weight accelerates muscular fatigue and increases joint compression forces. When preparing to hike again, keep your pack as light as safely possible while carrying necessary safety essentials.
Use a backpack with a padded hip belt. A properly fitted hip belt transfers up to 70 to 80 percent of the pack's weight directly to your pelvis, sparing your shoulders and upper spine. Pack heavy items close to your back and centered between your shoulder blades to prevent the load from pulling your center of mass backward. Discover more strategies for physical rebuilding in our strength and performance collection.
Every recovery journey is unique. Your path back to hiking will depend on several personal factors, including your specific injury history, the duration of your physical downtime, and your baseline conditioning.
Recovery timelines cannot be generalized across all individuals. Several variables shape how quickly your body can adapt to trail demands:
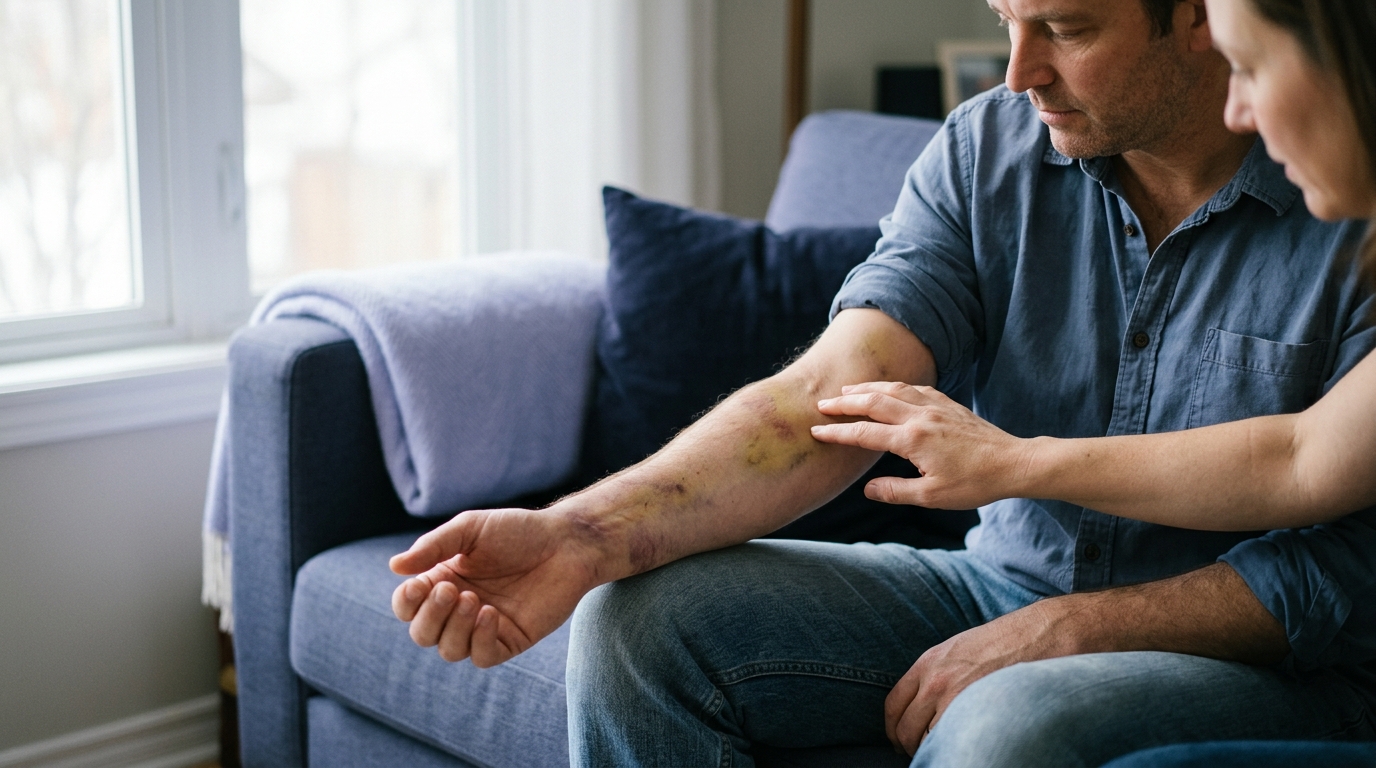
Progress is rarely linear. It is completely normal to experience occasional mild muscle fatigue or minor stiffness as you introduce new challenges. However, certain symptoms indicate that you are overloading your tissues and need to modify your plan:
The National Health Service provides sensible guidance for returning to activity after injury. If you encounter sharp pain, significant swelling, or a sudden loss of joint function, pause your progression and consult a medical professional. Modifying your plan early prevents minor flare-ups from becoming chronic setbacks.
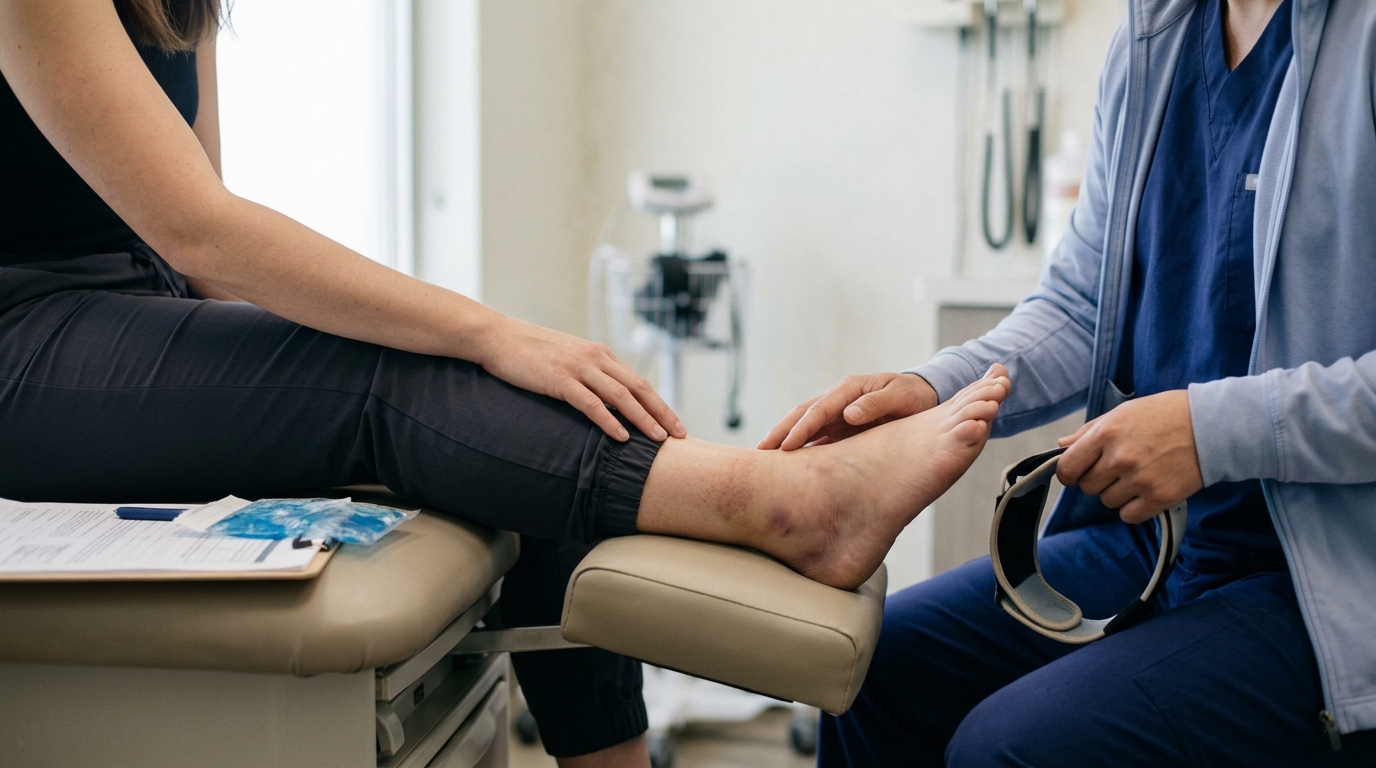
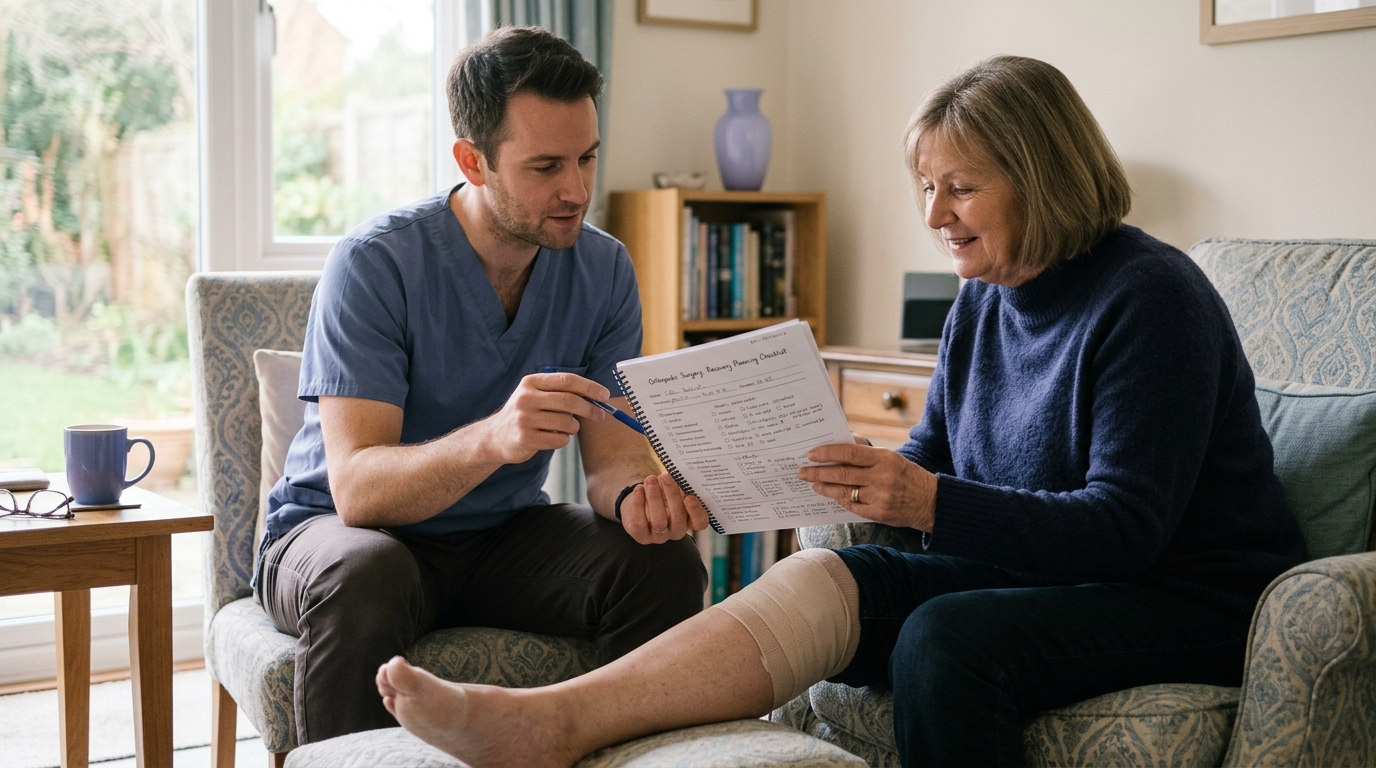
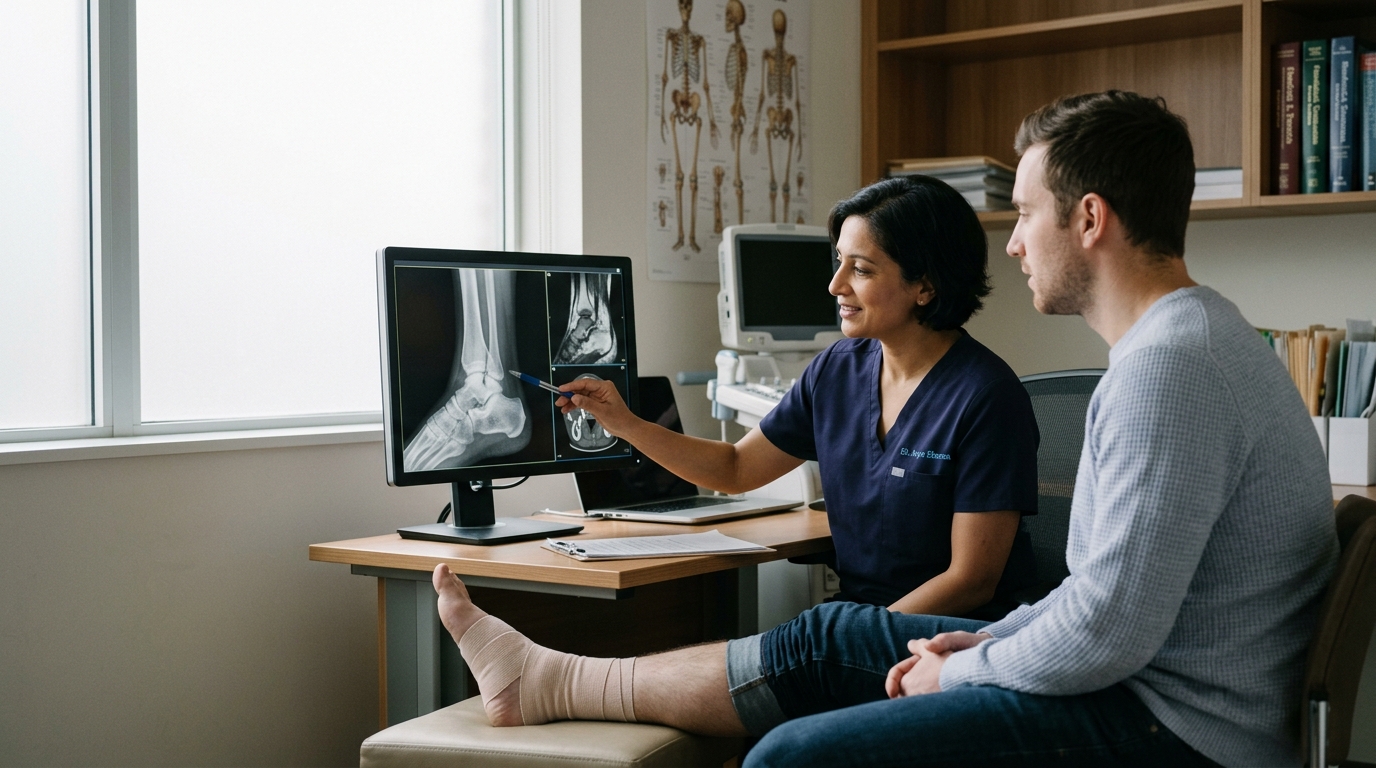
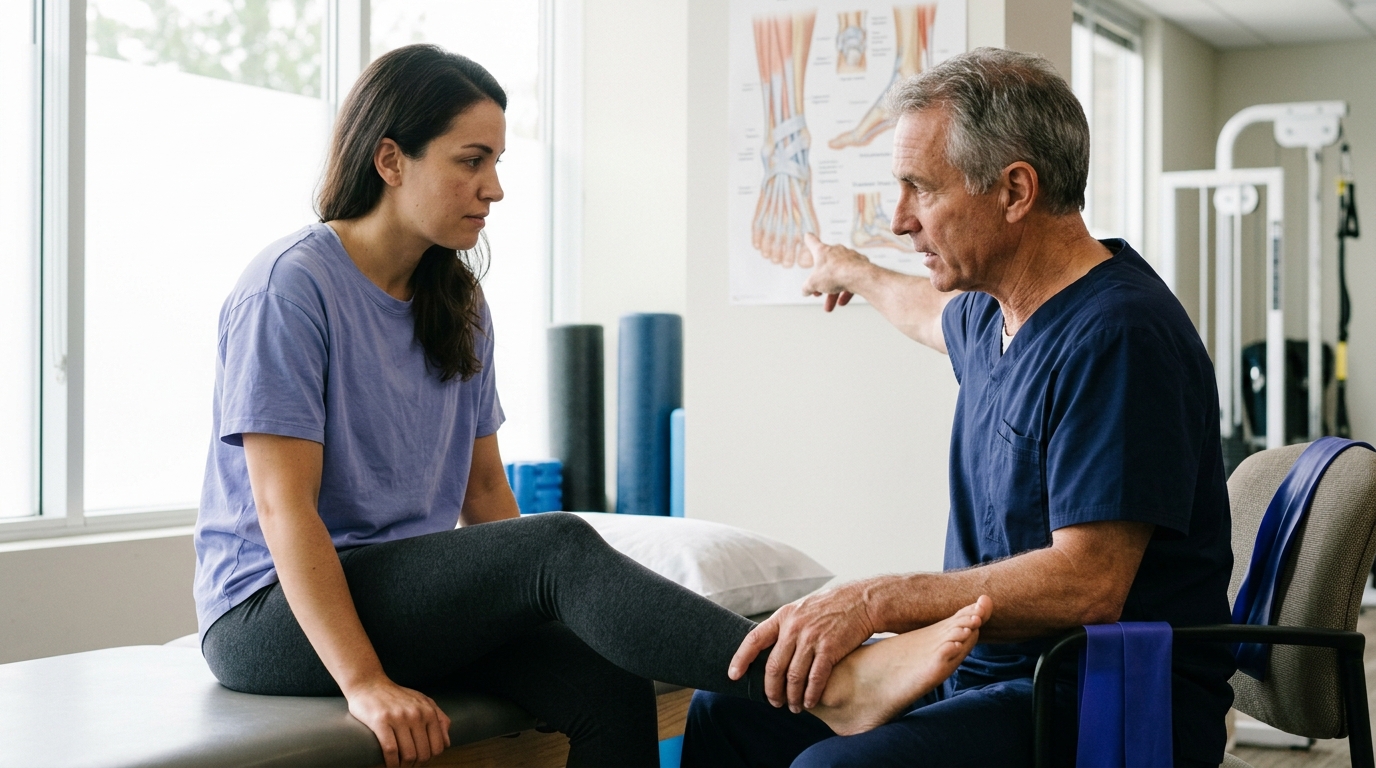
Before returning to outdoor trails, especially following surgery or a major orthopedic injury, discuss your plans with your physical therapist, orthopedic surgeon, or sports physician. A collaborative conversation ensures that your personal goals align with your current stage of tissue healing.
Bring specific details about your intended hike to your clinical appointments. Discuss the trail length, estimated elevation gain, terrain type, and expected pack weight. This information allows your clinician to assess whether your current physical capacity matches the specific demands of your target outing.
Consider asking your healthcare provider the following practical questions:
Open communication with your medical team provides clarity and confidence. Your clinicians can help you fine-tune your progression plan and address any underlying physical limitations before you head outdoors.
Preparing to hike again requires a deliberate transition from general fitness to trail-specific readiness. Walking on uneven ground, managing steep gradients, and carrying a pack place unique demands on your musculoskeletal system. Downhill walking creates substantial negative mechanical work and eccentric muscle loading, which can cause significant delayed soreness if not properly trained.
Respecting tissue healing, building single-leg balance, strengthening the lower body, and gradually introducing elevation changes will help you return to the outdoors safely. Progress at your body's natural pace, choose routes that match your current physical capacity, and use appropriate gear to support your joints along the way.
With careful preparation, progressive loading, and realistic expectations, you can rebuild the strength and confidence needed to navigate outdoor trails safely.

Use ReboundBody resources to understand common recovery stages, rehab terms, movement limits and strength rebuilding. Each guide is designed to make a complex comeback easier to understand.


Read practical guidance on injury recovery, rehabilitation, mobility and rebuilding strength as you work your way back to activity.
Explore Resources