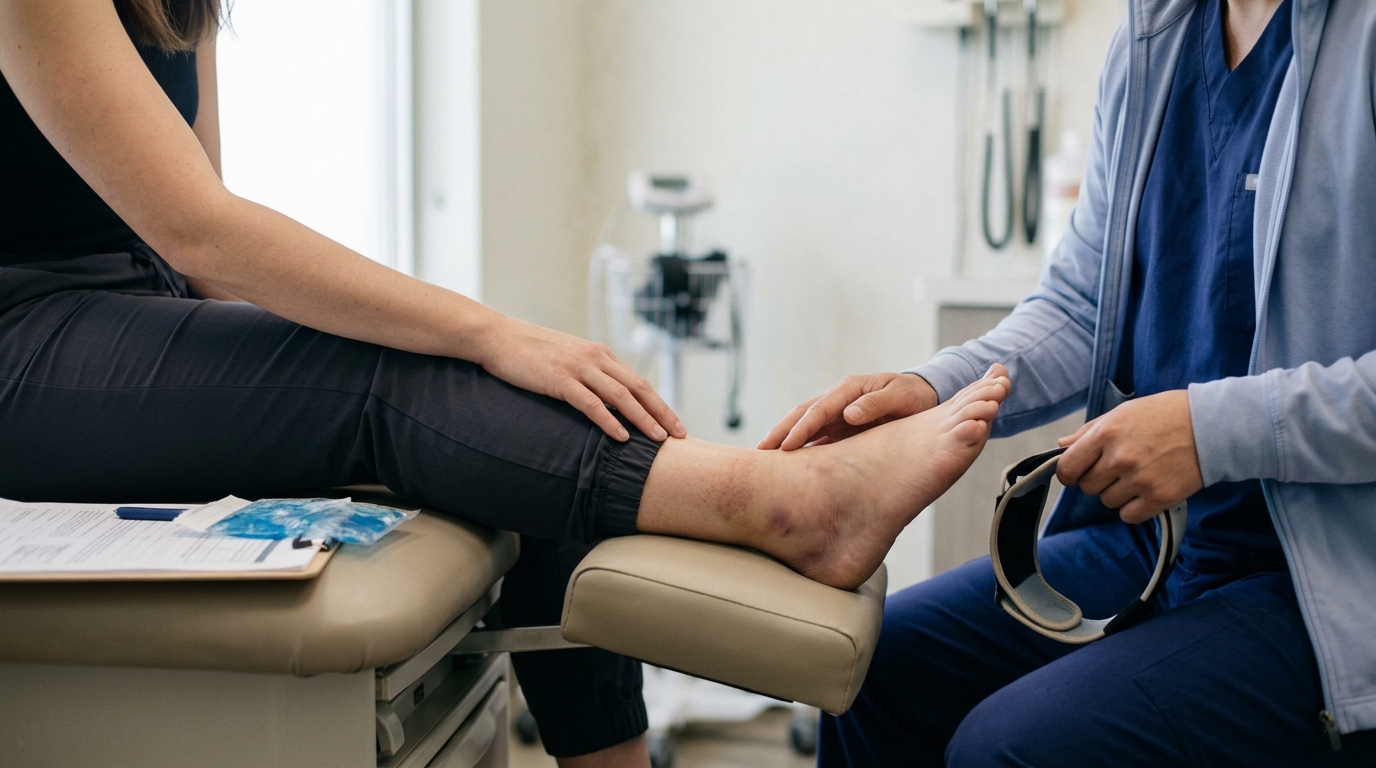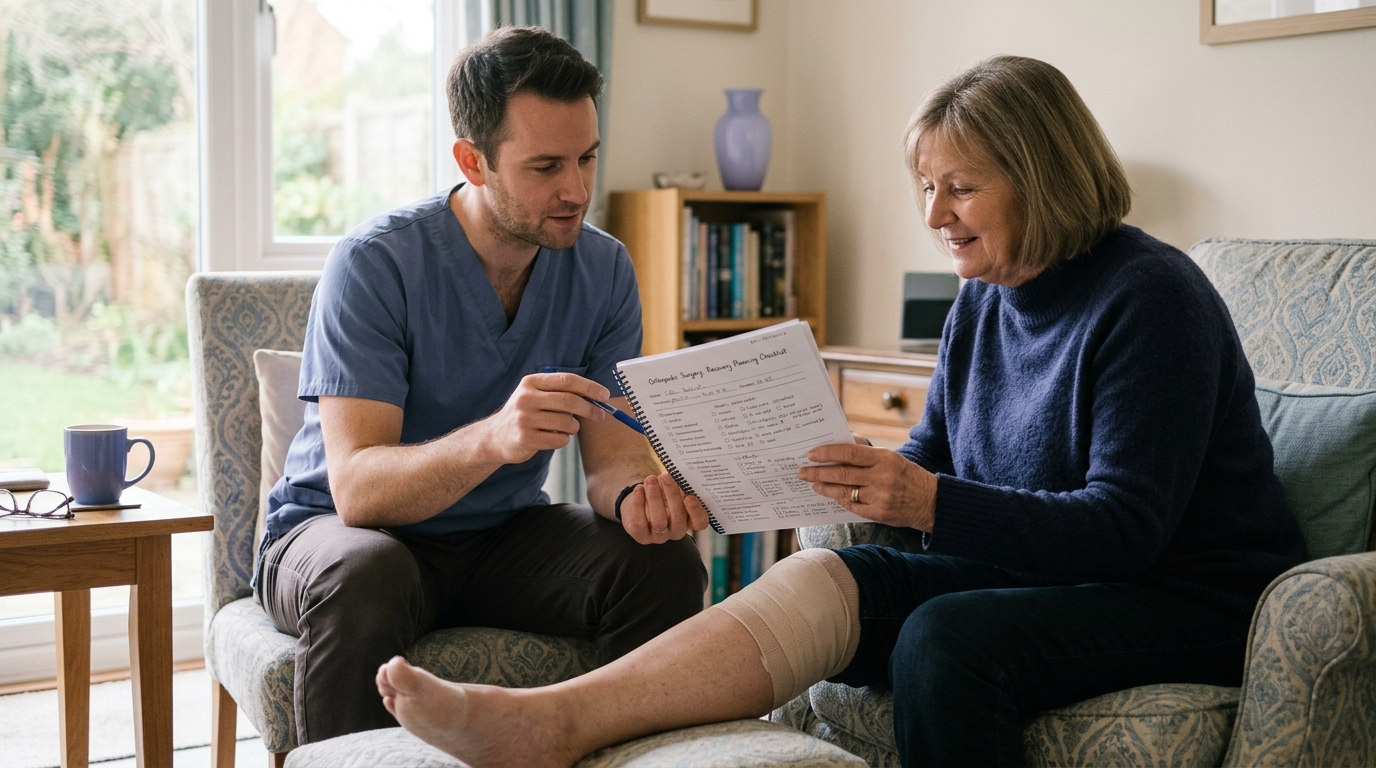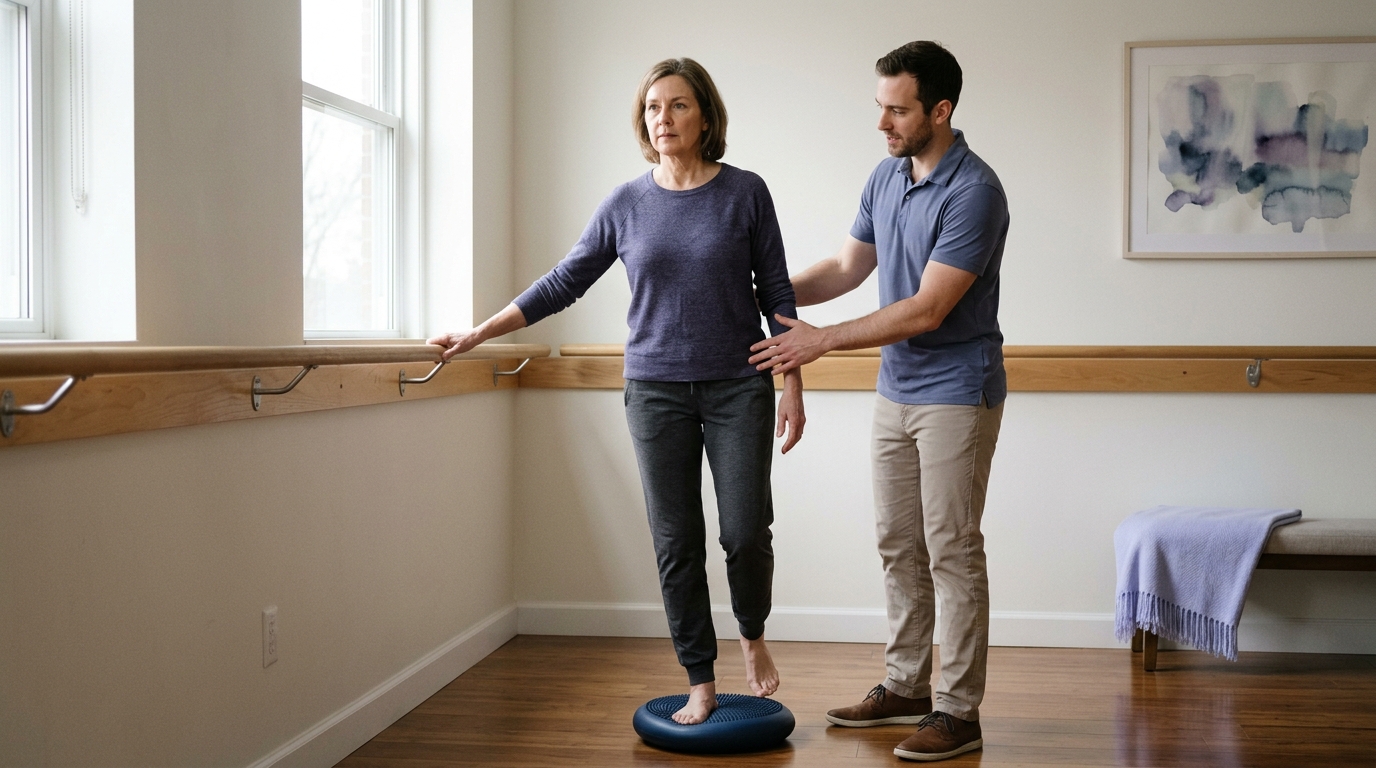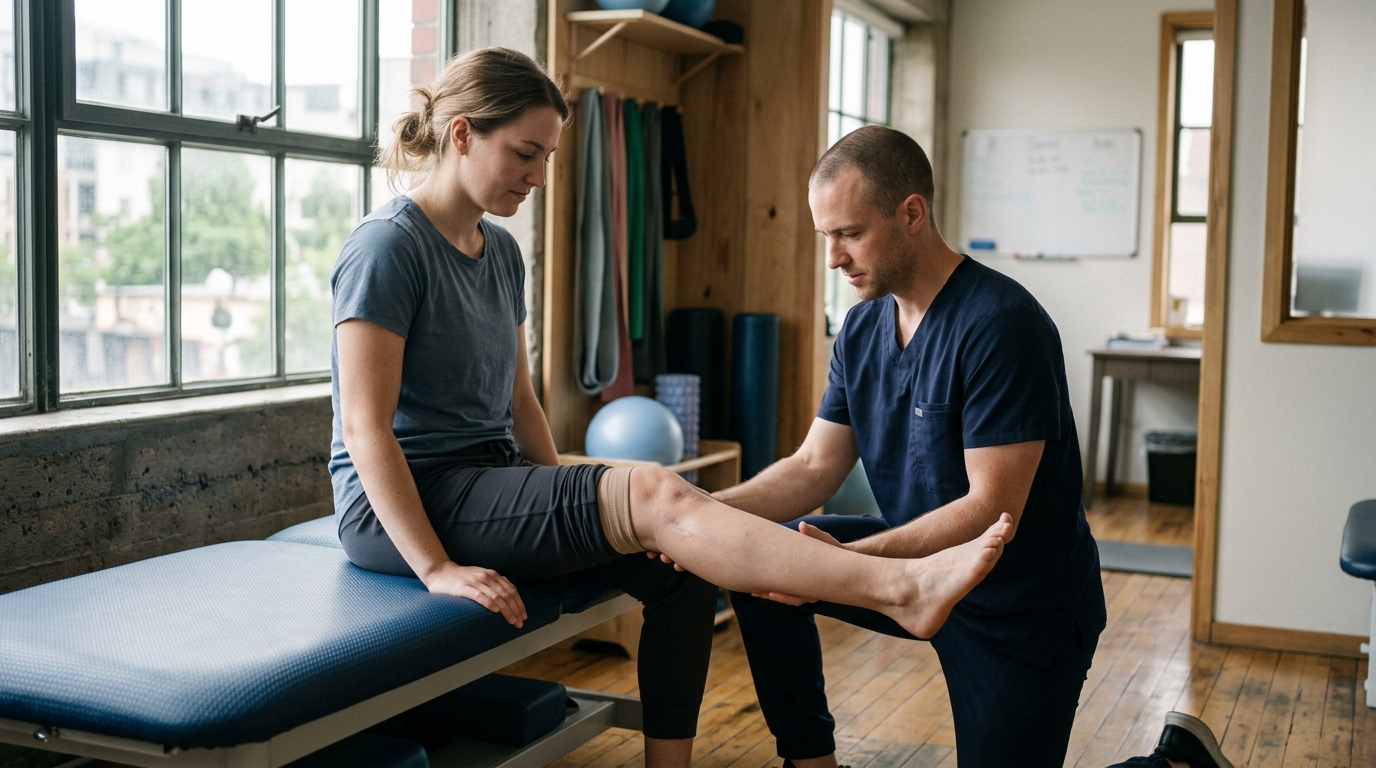

Five distinct travel stages require strategic planning to safely manage mobility aids, prevent blood clots, and protect your healing body away from home.





You have a family wedding, a work conference, or a long-planned trip on the calendar. A few weeks before departure, you break a bone, tear a ligament, or undergo joint surgery. You are left wondering if you can still go, how you will navigate the airport, and whether sitting for hours could set your recovery back.
There is no universal safe date for traveling after an injury or orthopedic surgery. Whether you can travel safely depends on your specific injury, your medical history, how you are getting there, and how long the journey takes.
Being medically allowed to travel is also different from being physically able to handle the trip. Even if your surgeon says you are clear to fly, you may still struggle with long airport corridors, heavy luggage, tight airplane bathrooms, or cobblestone streets. Planning ahead for your mobility, comfort, and medical needs helps you protect your healing tissues while avoiding unnecessary setbacks.
Travel places unique physical demands on your body that you do not encounter in a controlled home environment. When you are recovering from an injury, your tissues need consistent blood flow, controlled loading, and regular rest. Long transit days interrupt these normal recovery conditions.
Sitting in a cramped seat for hours causes fluid to pool in your lower extremities. This pooling increases swelling around healing joints, surgical incisions, and soft tissue repairs. Swelling can lead to stiffness, increased pain, and a higher risk of complications.
Transit also exposes your body to sustained vibration and sudden movements. Jolts from turbulence, train tracks, or bumpy roads force your muscles to contract to stabilize your joints. For an injured limb or recovering spine, this extra muscle activity can lead to fatigue, muscle spasms, and sharp discomfort.
Extended walking through large transit hubs adds sudden physical strain. Navigating an airport terminal can easily require walking more than a mile across hard surfaces. If your body is not ready for that distance, you risk overloading your healing tissues or compensating with poor movement mechanics. If you are currently working through healing from an orthopedic injury, understanding these physical stresses is the first step toward building a realistic travel itinerary.
Scientific research and clinical guidelines provide clear insights into the real risks of traveling while recovering from an injury or surgery. Distinguishing proven physiological risks from general travel inconveniences helps you prioritize your safety preparations.
One of the most documented medical concerns during travel is venous thromboembolism, often called VTE. This condition includes deep vein thrombosis, which is a blood clot in a deep vein, and pulmonary embolism, which happens when a clot travels to the lungs.
According to guidance from the Centers for Disease Control and Prevention (CDC), anyone traveling for more than four hours by airplane, car, bus, or train faces an increased risk of blood clots. The risk is not restricted to flying. Any journey where your legs remain still and bent for extended periods slows down blood circulation through your veins.
Recent surgery, traumatic injury, and limited mobility are major factors that amplify this risk. The CDC notes that having a cast, using a brace, or recovering from a recent orthopedic procedure creates a compound risk when combined with long travel times. Other personal health factors also contribute, including older age, obesity, active cancer, pregnancy, hormone use, or a previous personal or family history of blood clots.
Clinical recommendations for preventing travel-related blood clots depend on your individual risk profile. The CDC recommends that all travelers on journeys longer than four hours move their legs frequently and exercise their calf muscles while seated. Getting up to walk every one to two hours is advised whenever it is safe to do so.
For travelers at substantially higher risk of clots, such as those with recent major surgery or multiple health risks, specialized interventions might be considered. Guidelines from the American Society of Hematology suggest that clinicians may consider graduated compression stockings or preventive blood-thinning medications, such as low-molecular-weight heparin, for long-distance travelers at substantially increased risk.
However, the American Society of Hematology classifies this recommendation as conditional, noting that the certainty of the supporting evidence is very low. The CDC explicitly advises that travelers should not start taking aspirin or prescription blood thinners on their own to prevent travel clots. You should always discuss preventive measures directly with your clinician.
Medical authorities do not use a single timeline to clear patients for travel after surgery. The UK Civil Aviation Authority provides general reference windows to illustrate how recovery times differ by surgical complexity:
Orthopedic procedures often require significantly longer waiting periods due to the high risk of swelling and blood clots. Some National Health Service (NHS) trusts advise patients to avoid journeys lasting more than four hours for up to three months after a total hip or knee replacement. Other NHS clinical sources indicate that major operations on the legs or pelvis may require delaying long flights for up to 12 weeks.
These published timelines are broad clinical examples rather than personal clearance dates. Your individual surgeon may give you different instructions based on your healing progress, surgical approach, and overall health.
A common travel mistake is focusing entirely on the flight or the drive while ignoring the physical demands of getting to and from your destination. A safe travel plan evaluates every stage of the journey from the moment you leave your house until you unpack in your room.
Your trip starts at your front door. You need to consider how you will transfer into a vehicle, who will load your bags, and how long the drive to the airport or station will take. If getting into a car causes sharp pain or requires bending an immobilized joint past its safe limit, you may need a different vehicle type.
Airports and train stations require navigating large, crowded spaces with hard floors. Standing in long check-in and security lines can quickly overwhelm a healing spine, hip, or ankle.
Under U.S. Department of Transportation regulations, airlines must provide assistance to passengers with disabilities, including wheelchair transfers and guided escorts through terminals. Using terminal assistance prevents premature fatigue, even if you can walk short distances at home.
Boarding a plane or train requires managing narrow aisles, steep ramps, or entry stairs. Once in your seat, your legroom may be constrained by the seat in front of you or under-seat baggage. You must consider whether your injured limb can remain comfortably bent or if you need an aisle seat to stretch safely without obstructing others.
Deplaning often involves waiting in crowded aisles while standing still. Collecting heavy luggage from a baggage carousel puts sudden rotational forces on your back and shoulders. You should arrange in advance for travel companions, porters, or transport services to handle all heavy bags.
Once you arrive at your hotel or rental property, physical barriers can still disrupt your recovery. Consider the following questions before confirming your reservation:
The CDC Yellow Book emphasizes that travelers with temporary or permanent mobility limitations should verify accessibility across the entire itinerary, rather than assuming accommodations will be available upon arrival. Checking these details early prevents difficult physical setbacks far from home.
Traveling with crutches, a walker, a wheelchair, or a supportive brace requires extra coordination with transit operators. Understanding your legal protections and transport rules makes managing mobility equipment straightforward.
The U.S. Department of Transportation (DOT) protects the rights of travelers with disabilities on commercial flights. In general, airlines cannot require you to provide advance notice simply because you are traveling with a disability or using a mobility aid. However, giving the airline advance notice is strongly recommended to ensure smooth service.
Airlines may require up to 48 hours of advance notice for specific accommodations that involve specialized equipment or advance preparation. These include transporting electric wheelchairs with certain battery types or accommodating non-standard medical equipment.
Assistive devices do not count toward your standard carry-on baggage allowance on U.S. airlines. Wheelchairs, crutches, canes, and walkers can generally be brought to the gate. Many aircraft have dedicated closet space to stow one folding manual wheelchair on a first-come, first-served basis. If your device must be checked at the gate, airline personnel will return it to you at the aircraft door upon arrival.
The Transportation Security Administration (TSA) has clear protocols for screening travelers with injuries, casts, and mobility devices. A temporary injury, such as a broken bone in a plaster cast, will not prevent you from passing through security checkpoints.
You do not need to remove casts, braces, or splints for security screening. Instead, inform the TSA officer about your injury and any mobility aids before screening begins.
If you cannot stand or walk through the advanced imaging scanner or metal detector, the officer will conduct a modified screening procedure. This may include a manual pat-down, visual inspection, and chemical swabs of your hands, braces, or mobility equipment to test for explosive residue. You can request a private screening area at any point if you prefer.
If you are traveling with a motorized wheelchair or mobility scooter, you must know the specifications of your device. Airlines need to know the overall dimensions, total weight, and battery chemistry (such as spillable, non-spillable, or lithium-ion).
Lithium-ion batteries face strict transport regulations due to fire safety rules. In many cases, the battery must be removed from the device, protected from short circuits, and carried into the passenger cabin. Checking your airline's specific battery policies before departure avoids unexpected delays at the ticket counter.
Keeping your medications organized and accessible is essential when traveling during recovery. Missing a dose of an anti-inflammatory, pain reliever, or blood thinner can cause a surge in symptoms or compromise your health.
The CDC, FDA, and TSA all strongly advise keeping all essential medications in your carry-on bag rather than your checked luggage. Checked bags can be delayed, lost, or subjected to extreme temperature fluctuations in the cargo hold.
Always carry enough medication to cover the duration of your trip, plus an extra supply for three to five days in case of unexpected flight cancellations or travel delays. Keep all medications in their original prescription bottles with the pharmacy label clearly showing your name, dosage, and prescribing doctor.
TSA enforces a standard rule limiting liquids in carry-on bags to containers of 3.4 ounces (100 milliliters) or less. However, medically necessary liquids, gels, and creams are exempt from this size restriction.
You are permitted to carry larger quantities of liquid medications, topical creams, pain relief gels, and sterile wound-care washes. You do not need to fit these items into a single quart-sized bag.
To ensure smooth screening, declare these items to the TSA officer at the start of the security checkpoint. Remove them from your carry-on luggage so they can be screened separately. Officers may open containers or conduct additional tests on the liquids.
Carrying proper medical documentation prevents misunderstandings during travel. For domestic travel within the United States, keeping medications in original labeled containers is usually sufficient.
For international trips, medical documentation requirements are much stricter. The U.S. Department of State warns that medications that are commonly prescribed in the United States may be restricted or strictly illegal in other countries. This frequently applies to:
If you are traveling internationally with prescription medications, carry a signed letter from your doctor written on clinic letterhead. The letter should describe your diagnosis, the necessity of the medication, the generic and brand names, and the exact dosage. Check with the embassy or consulate of your destination country well before your departure date to verify that your medications are legal to import.
Every injury recovery follows a unique trajectory. Several critical factors influence when you can travel safely and what accommodations you will require along the way. Reviewing our recovery articles can provide broader context on how individual health factors influence rehabilitation.
Upper-extremity injuries, such as a wrist fracture or shoulder repair, generally pose fewer transit challenges than lower-extremity injuries. A traveler with a broken arm can typically walk through terminals and use standard seating without significant difficulty, though managing heavy luggage remains an obstacle.
Lower-extremity injuries, including knee ligament tears, ankle fractures, and hip replacements, directly limit your ability to walk, stand, and bend your leg. Sitting with a bent knee or hip for long periods increases tissue pressure and venous pooling. Non-weight-bearing restrictions require strict reliance on crutches, walkers, or wheelchairs, which significantly increases physical effort during transit.
The nature of your surgical procedure directly dictates your travel readiness. Minimally invasive arthroscopic procedures involve small incisions and relatively low tissue disruption, allowing for earlier travel clearance.
Major open reconstructions, joint replacements, and spinal surgeries involve substantial soft tissue trauma, higher blood loss, and longer healing times. Incisions must remain clean, dry, and protected from friction. Traveling before surgical staples or sutures are removed increases the risk of wound breakdown, infection, and excessive swelling. If you are recovering from surgery, you can read our surgical rehabilitation guidance for more details on tissue healing timelines.
The mode of transport you choose changes the mechanical stresses placed on your body:
Your baseline health influences how well your body handles travel stresses. A younger adult with no chronic health conditions who is recovering from a mild ligament sprain faces lower systemic risks during transit.
Conversely, an older adult with a history of cardiovascular disease, diabetes, or previous blood clots faces a higher risk of complications. Chronic vascular insufficiency, obesity, and active smoking further impair circulation, requiring a more cautious travel timeline and stricter preventive measures.
Adapting your transit routine to your specific mode of travel minimizes discomfort and protects healing tissues. Here is how to plan for the most common travel scenarios.
If your care team clears you for air travel, small adjustments can improve your in-flight comfort and circulation:
Car travel provides flexibility, but long hours in an automobile can still trigger significant joint stiffness:
Do not guess whether you are ready to travel. Schedule a dedicated conversation with your orthopedic surgeon, primary care doctor, or physical therapist before making non-refundable travel bookings.
Take this list of practical questions to your next clinical appointment:
Navigating travel during recovery involves several counterintuitive challenges. Being aware of common pitfalls helps you avoid unnecessary complications.
A common misunderstanding is assuming that a surgeon's medical clearance to fly means you can participate in all planned vacation activities. A clinician may clear you to sit on a plane because your surgical incision is healed and your clot risk is manageable.
However, that clearance does not mean your body can handle walking several miles across an amusement park, hiking uneven trails, or carrying heavy bags up hotel stairs. Separate your transit clearance from your activity clearance, and plan plenty of rest time at your destination.
Some recovering individuals decline airport wheelchair assistance because they want to prove their independence or test their physical progress. An airport terminal is not the place to test your physical limits.
Walking long distances on hard terminal floors can exhaust your stabilizing muscles, increase swelling, and leave you in severe pain before your flight even departs. Accept mobility assistance through transit hubs so you preserve your energy for your destination.
Many travelers believe that taking an over-the-counter aspirin before a flight is a harmless, universal way to prevent blood clots. The CDC states that most travelers should not use aspirin or blood-thinning medications on their own to prevent travel-related deep vein thrombosis.
Aspirin can cause gastrointestinal irritation and bleeding risks, especially if taken alongside other non-steroidal anti-inflammatory drugs (NSAIDs) prescribed for your injury. Always follow your doctor's specific recommendations for clot prevention.
Travel-related blood clots do not always develop during the trip itself. Symptoms of deep vein thrombosis can appear days or even weeks after you arrive at your destination or return home.
According to the CDC, you should seek immediate emergency medical care if you develop any of the following warning signs:
Traveling while recovering from an orthopedic injury or surgical procedure is entirely possible with thorough planning and realistic expectations. There is no single universal timeline for when travel becomes safe. Your readiness depends on the type of injury you have, the length of your journey, your personal health profile, and how well you manage your mobility needs.
Focus on the entire journey from door to door rather than just the flight or drive. Secure necessary mobility assistance in advance, keep your medications in your carry-on luggage, and stay consistent with seated movement breaks to encourage healthy circulation. Most importantly, consult your care team to establish clear movement boundaries and an individualized safety plan before you depart.
When to revisit this resource: Review these checklists and planning steps four to six weeks before any scheduled trip, and bring the care-team discussion questions to your pre-travel clinical follow-up.
Taking a methodical, research-backed approach to travel logistics ensures you can reach your destination comfortably without compromising your long-term recovery.

Use ReboundBody resources to understand common recovery stages, rehab terms, movement limits and strength rebuilding. Each guide is designed to make a complex comeback easier to understand.


Read practical guidance on injury recovery, rehabilitation, mobility and rebuilding strength as you work your way back to activity.
Explore Resources