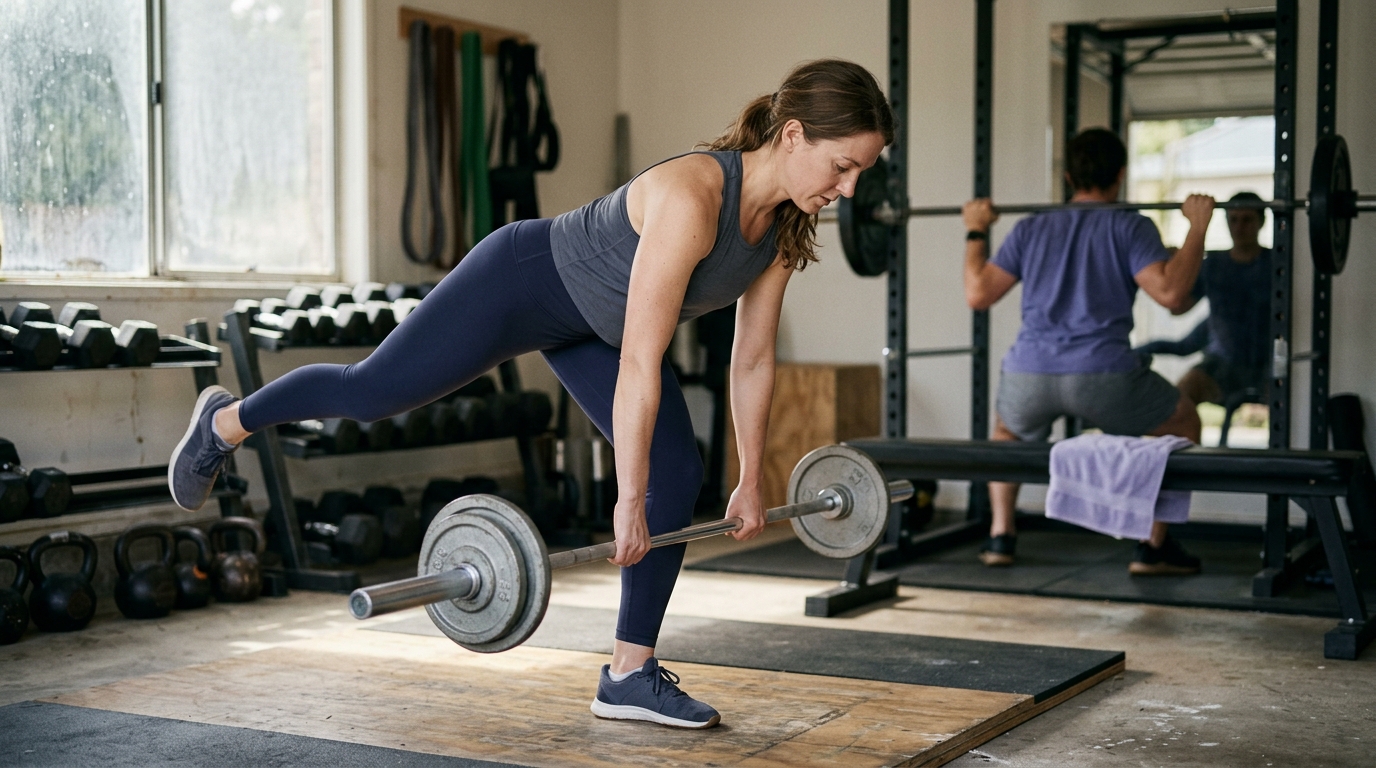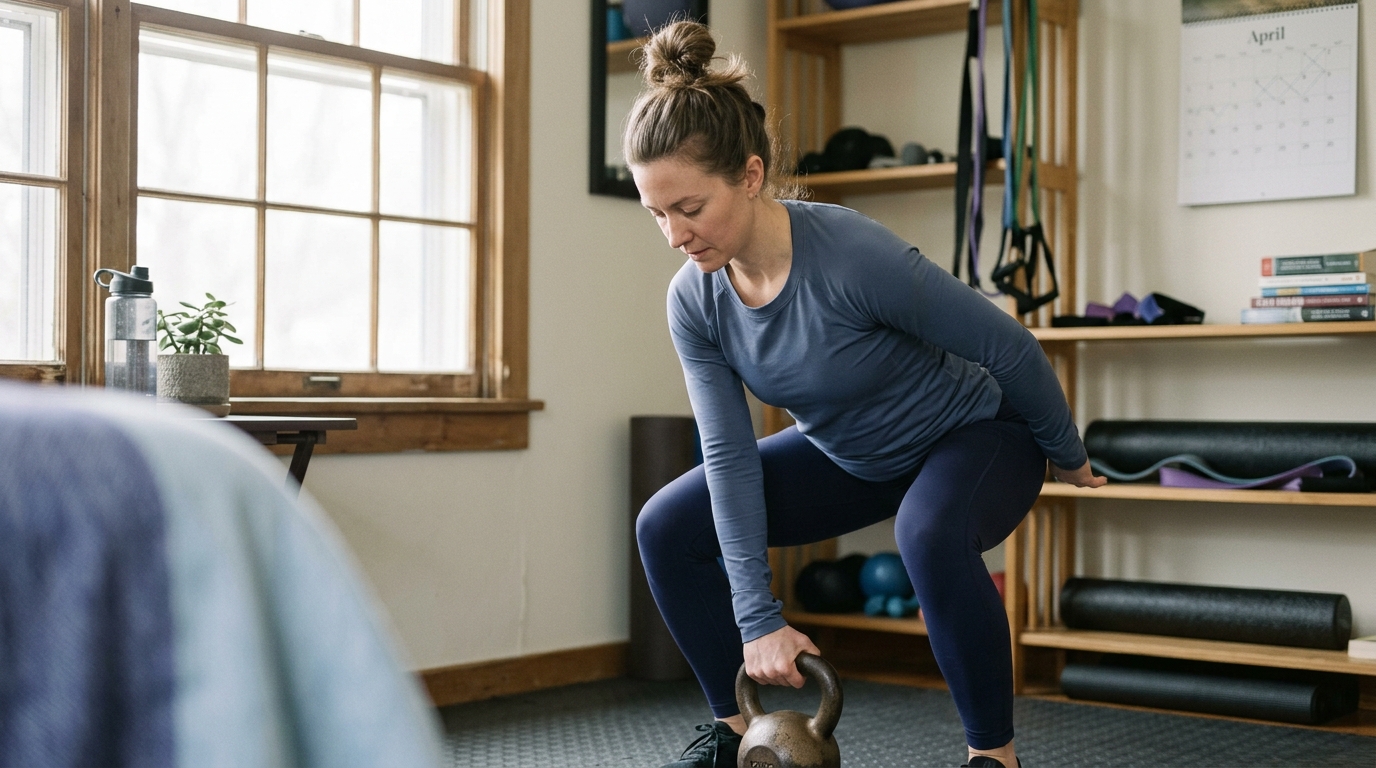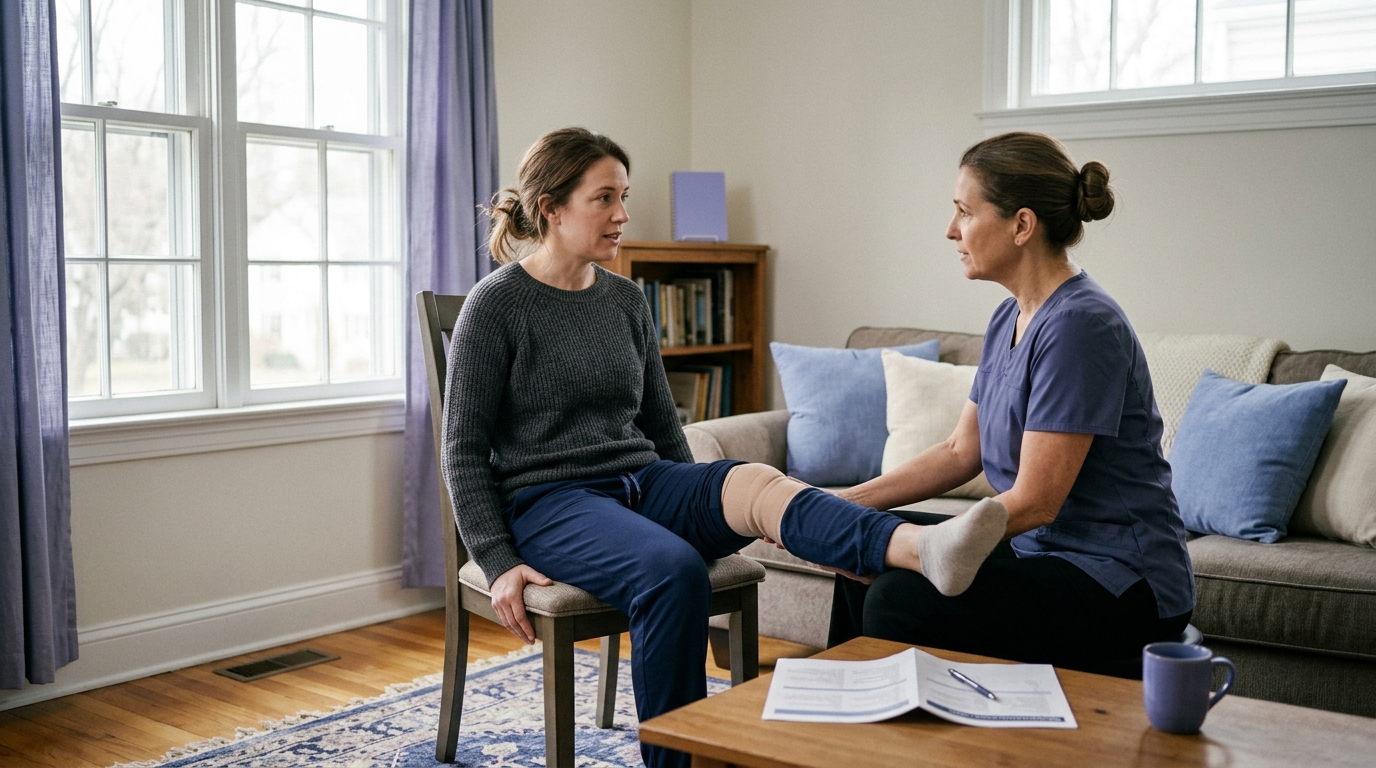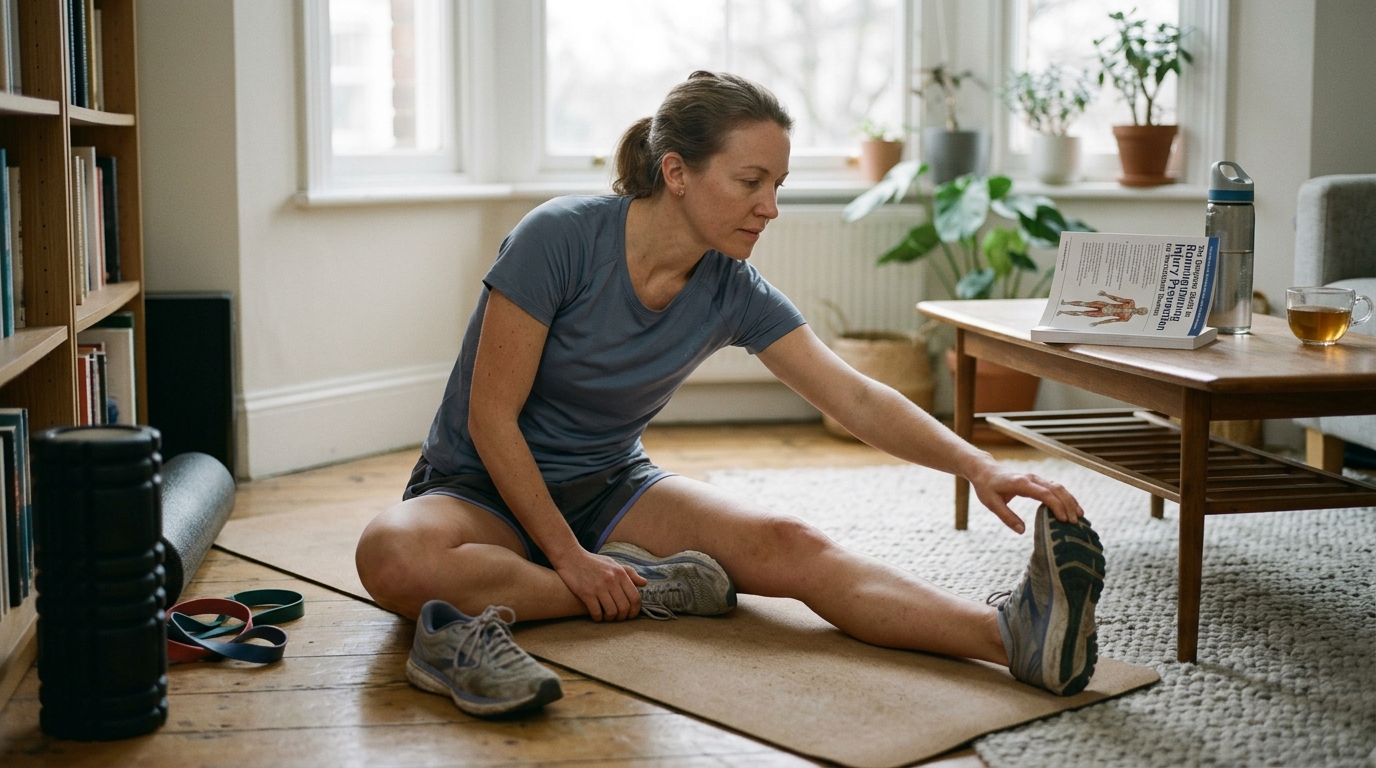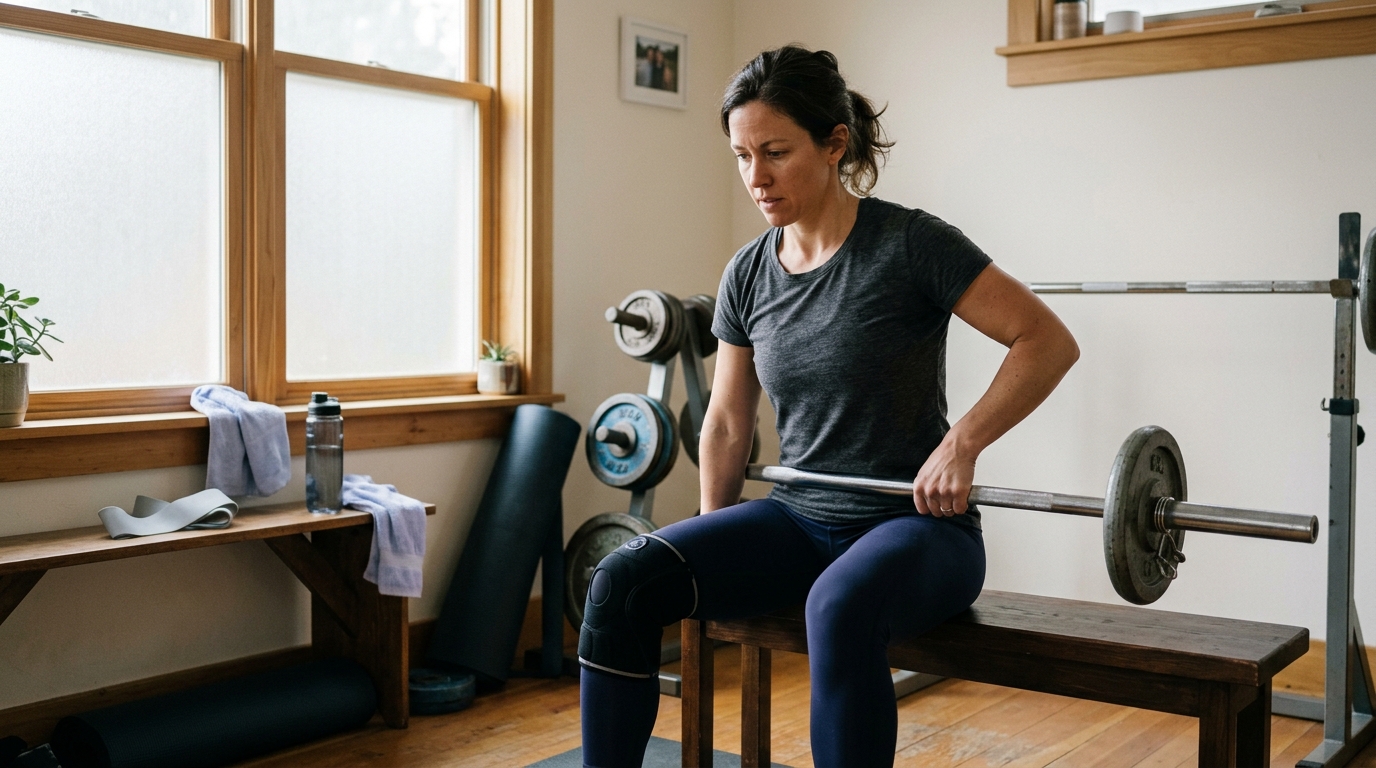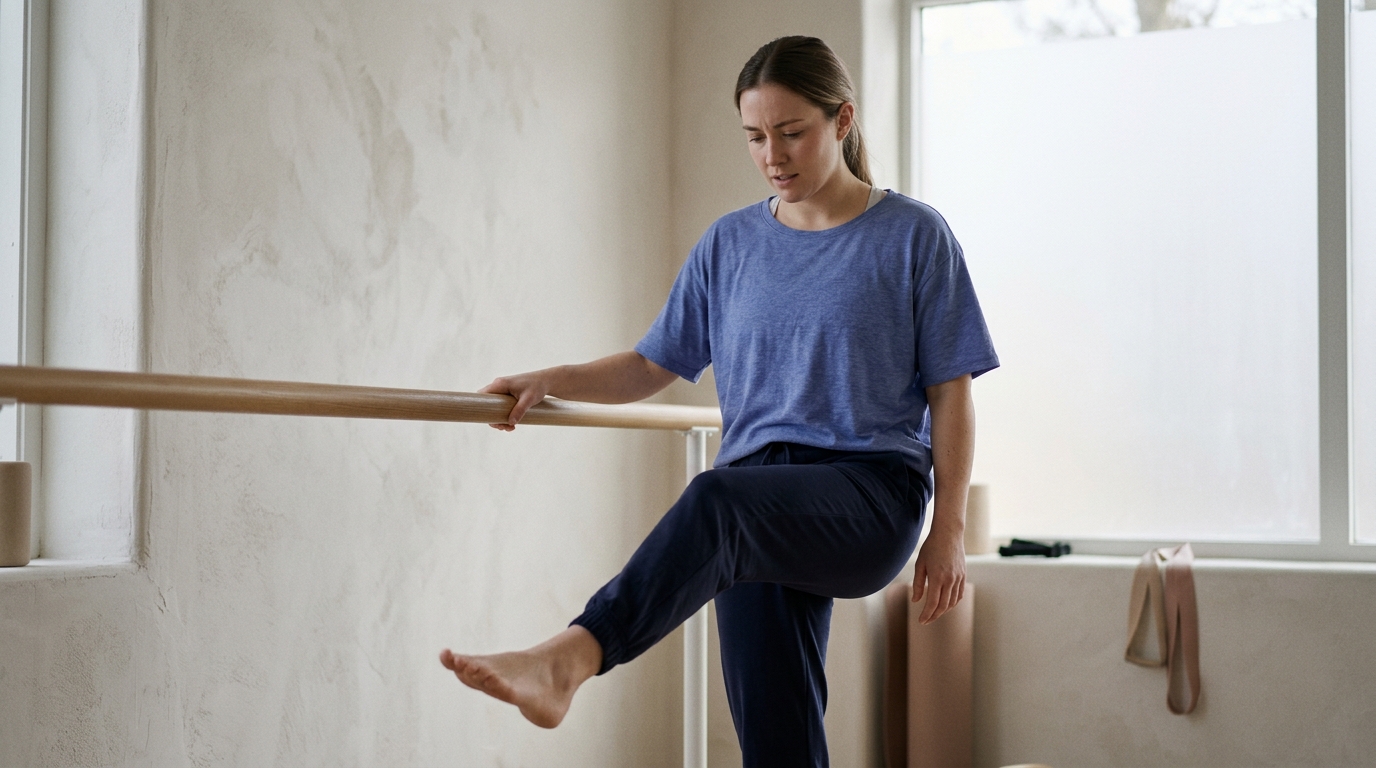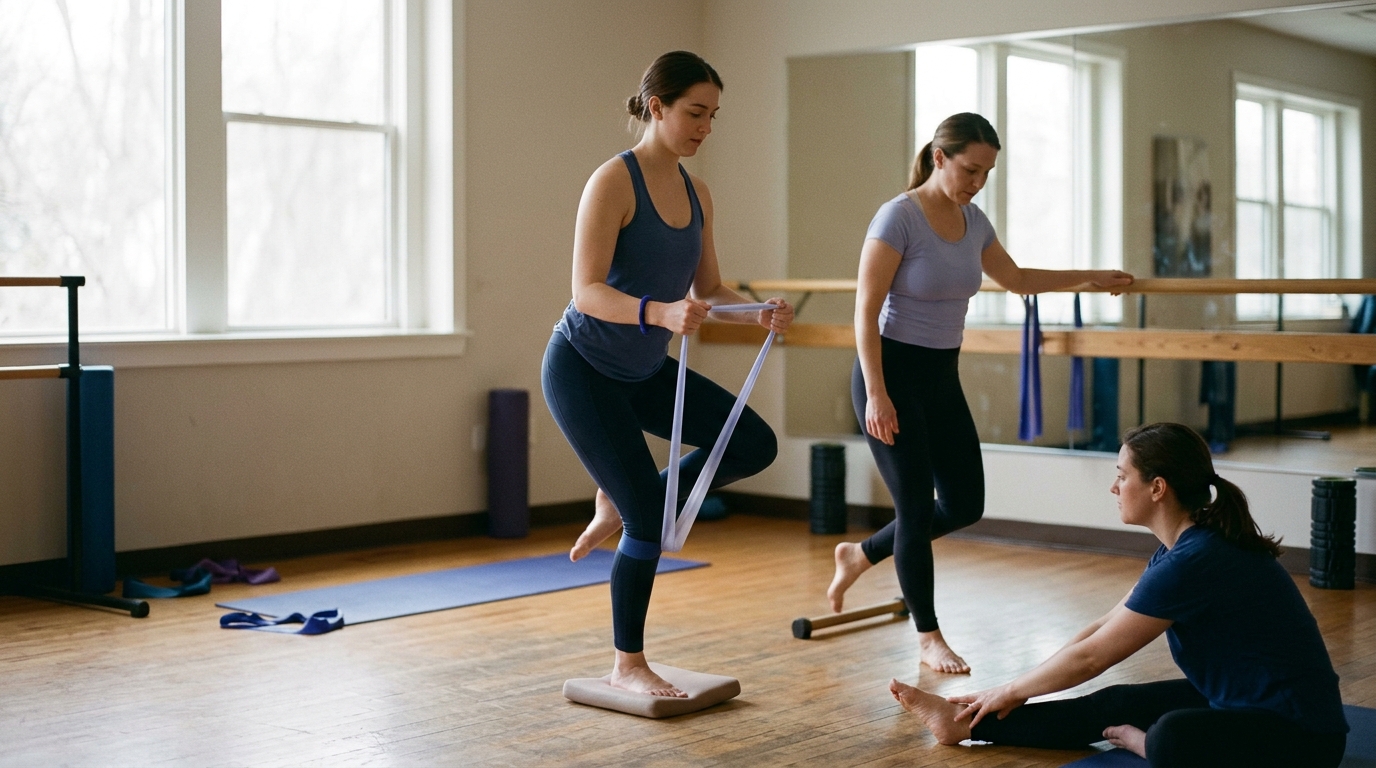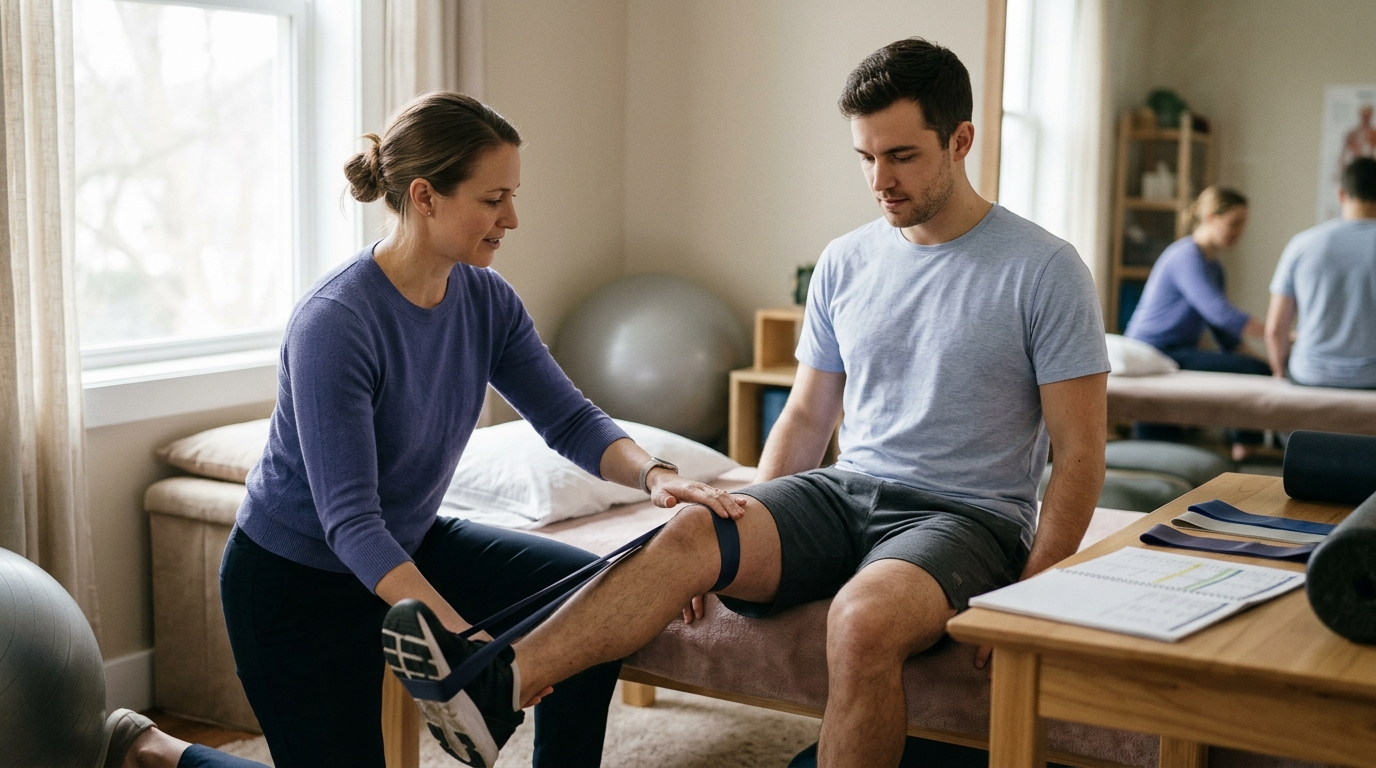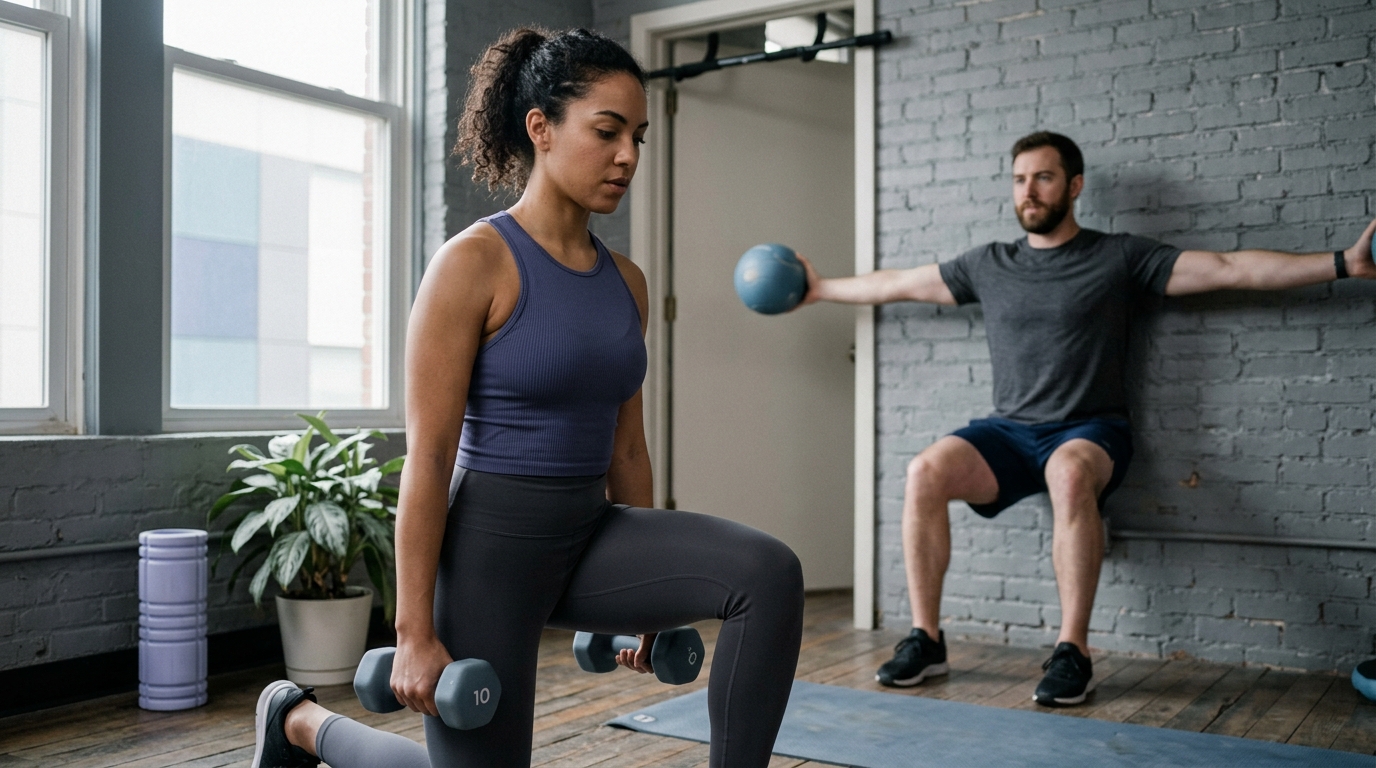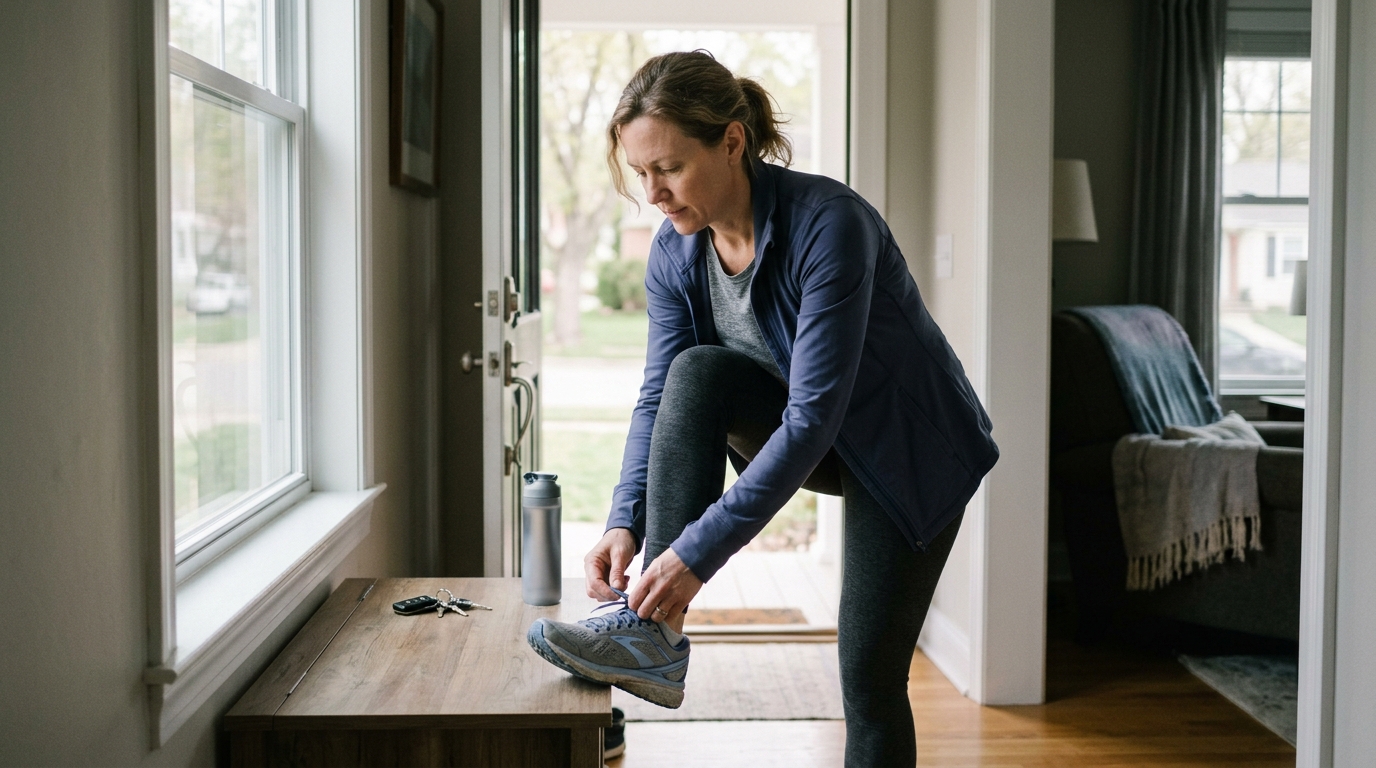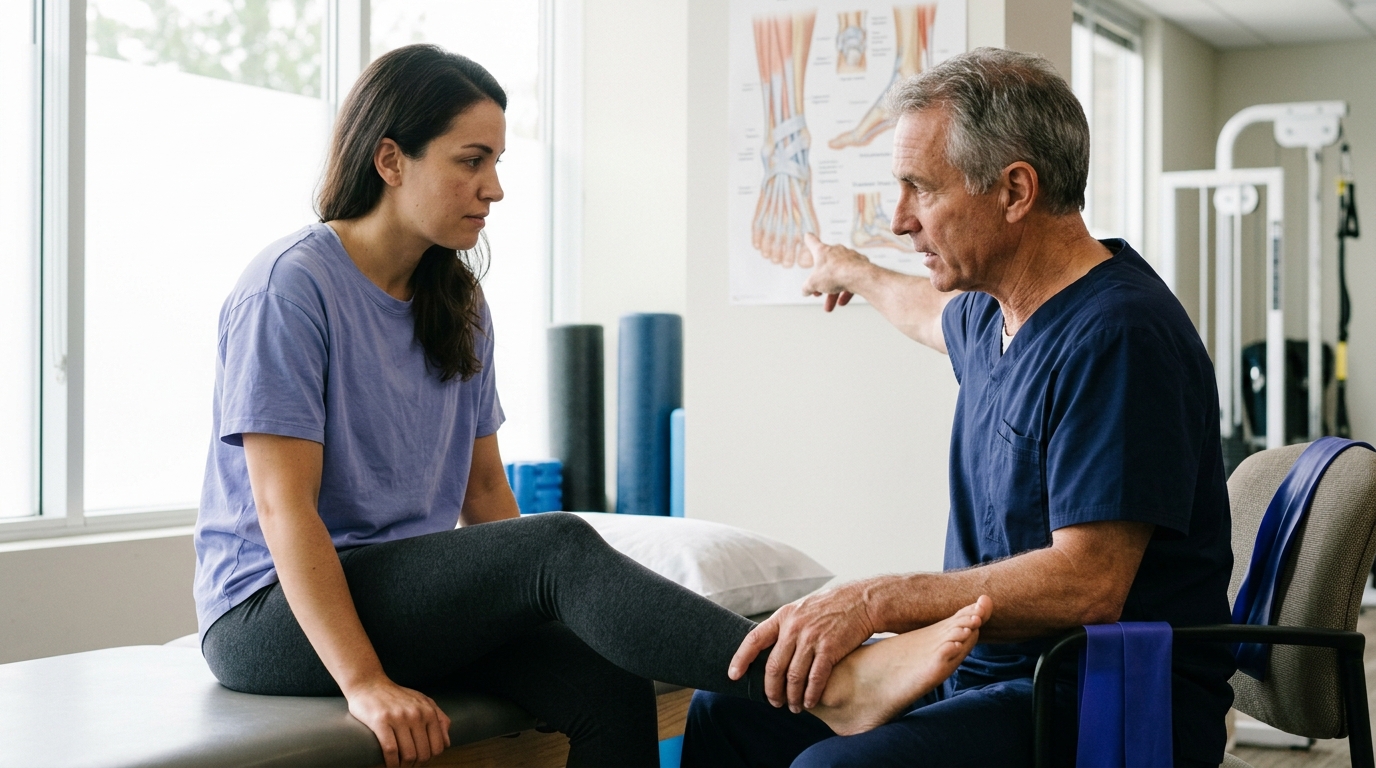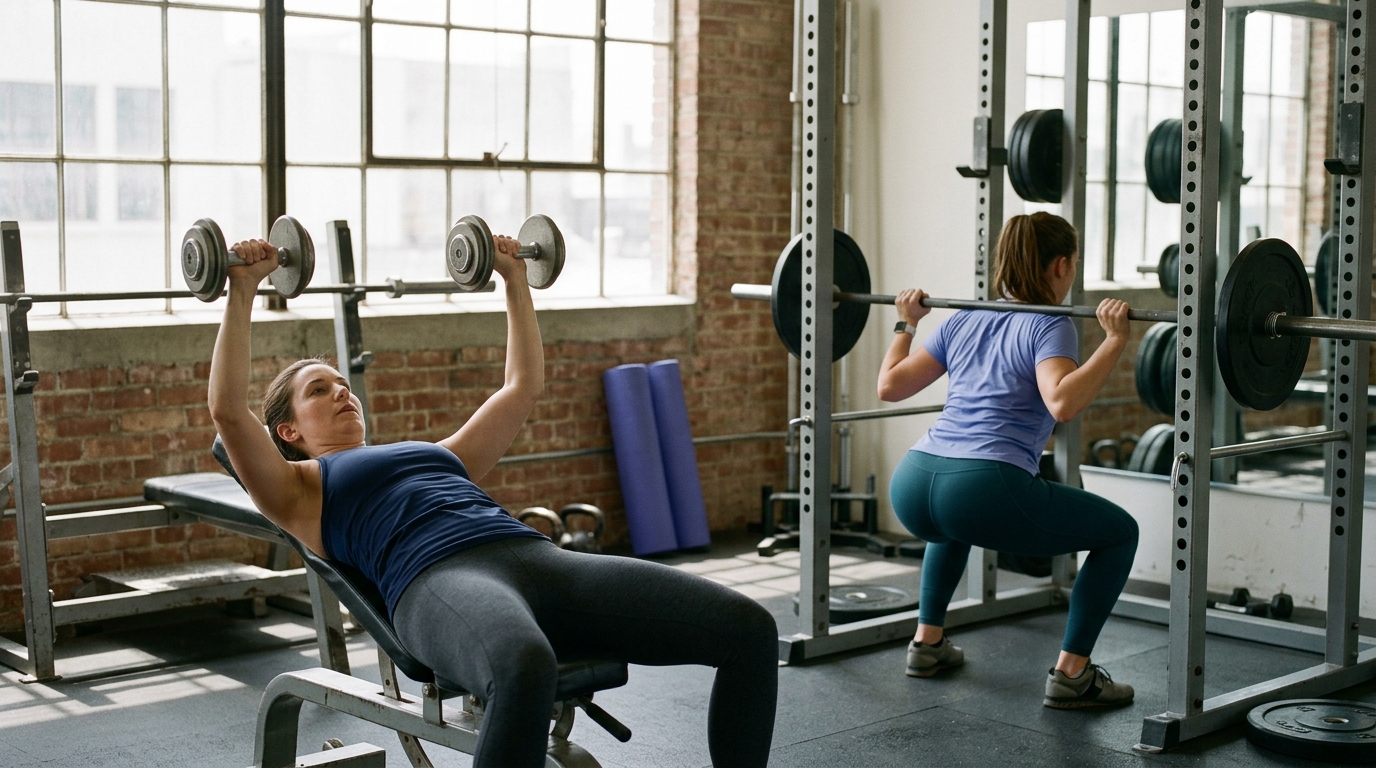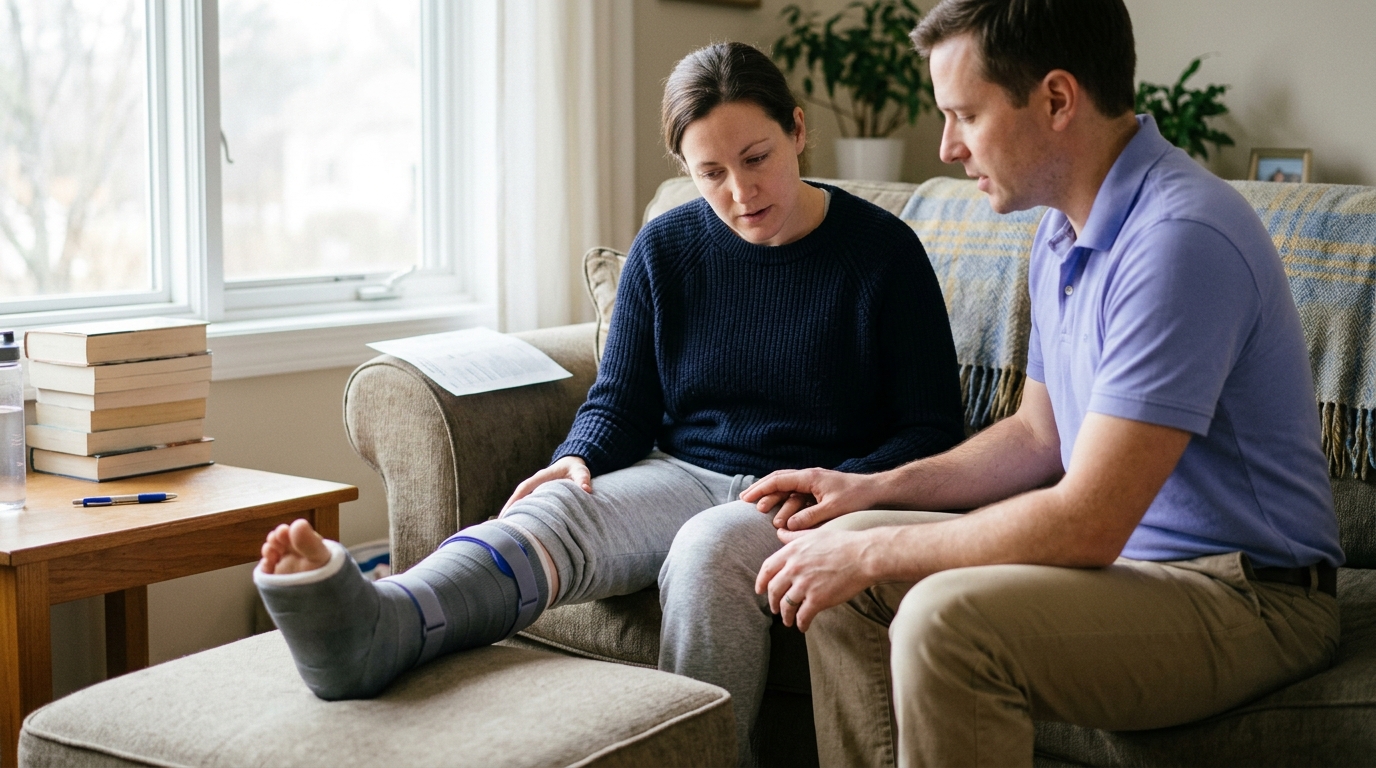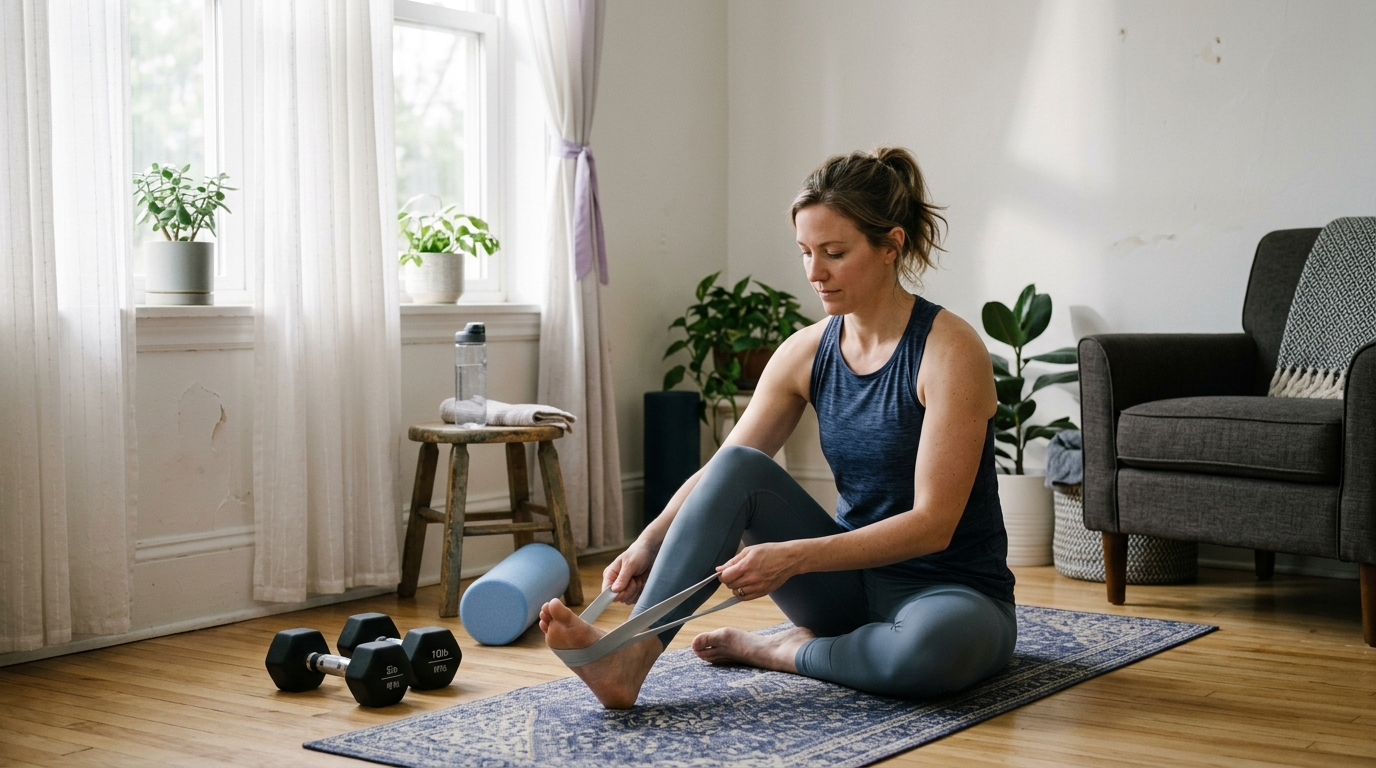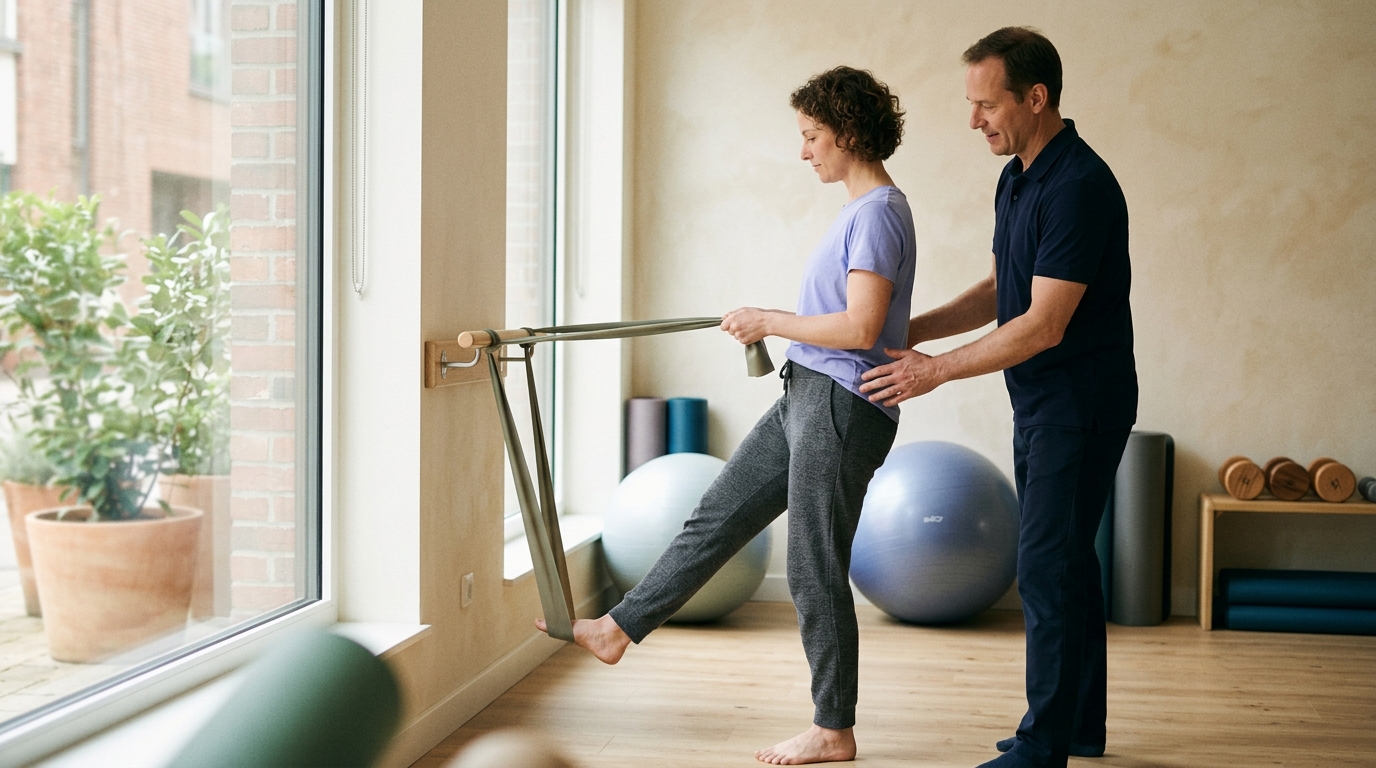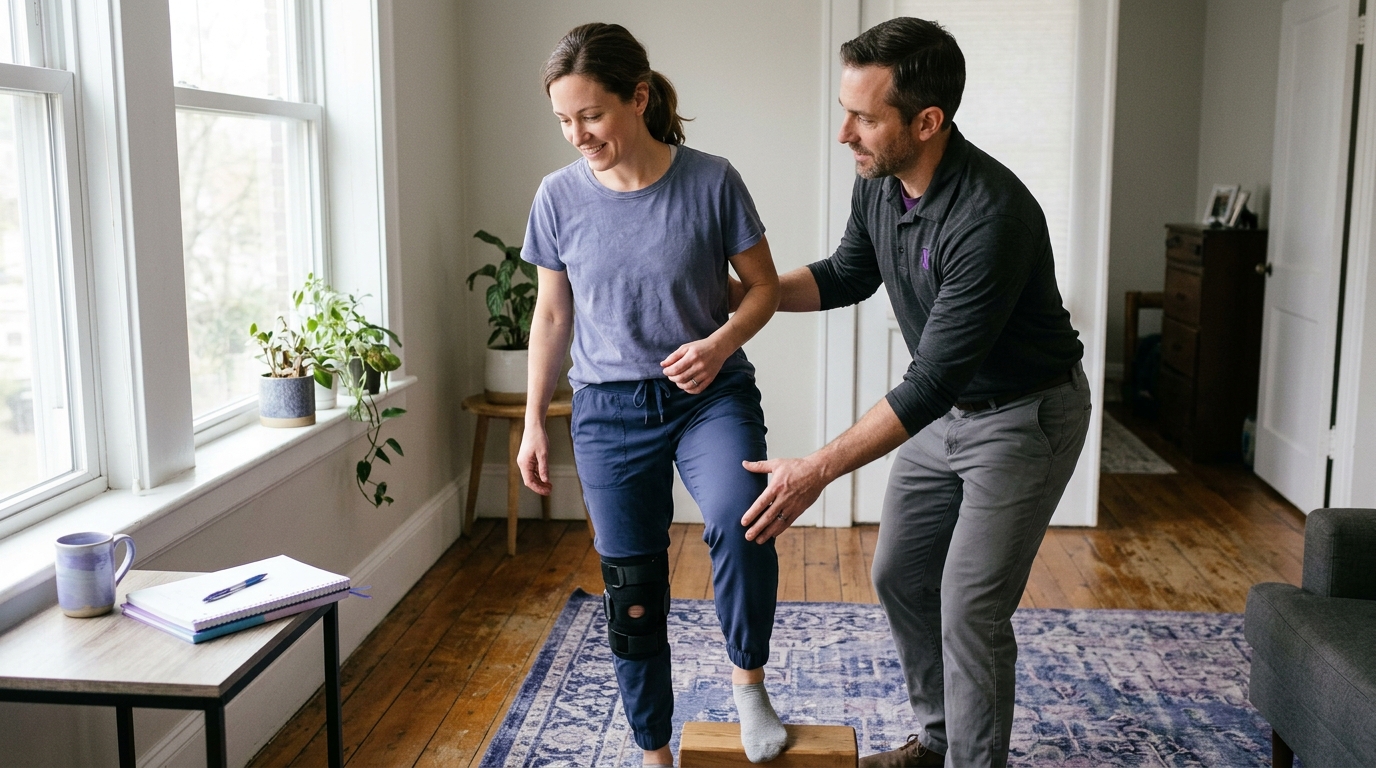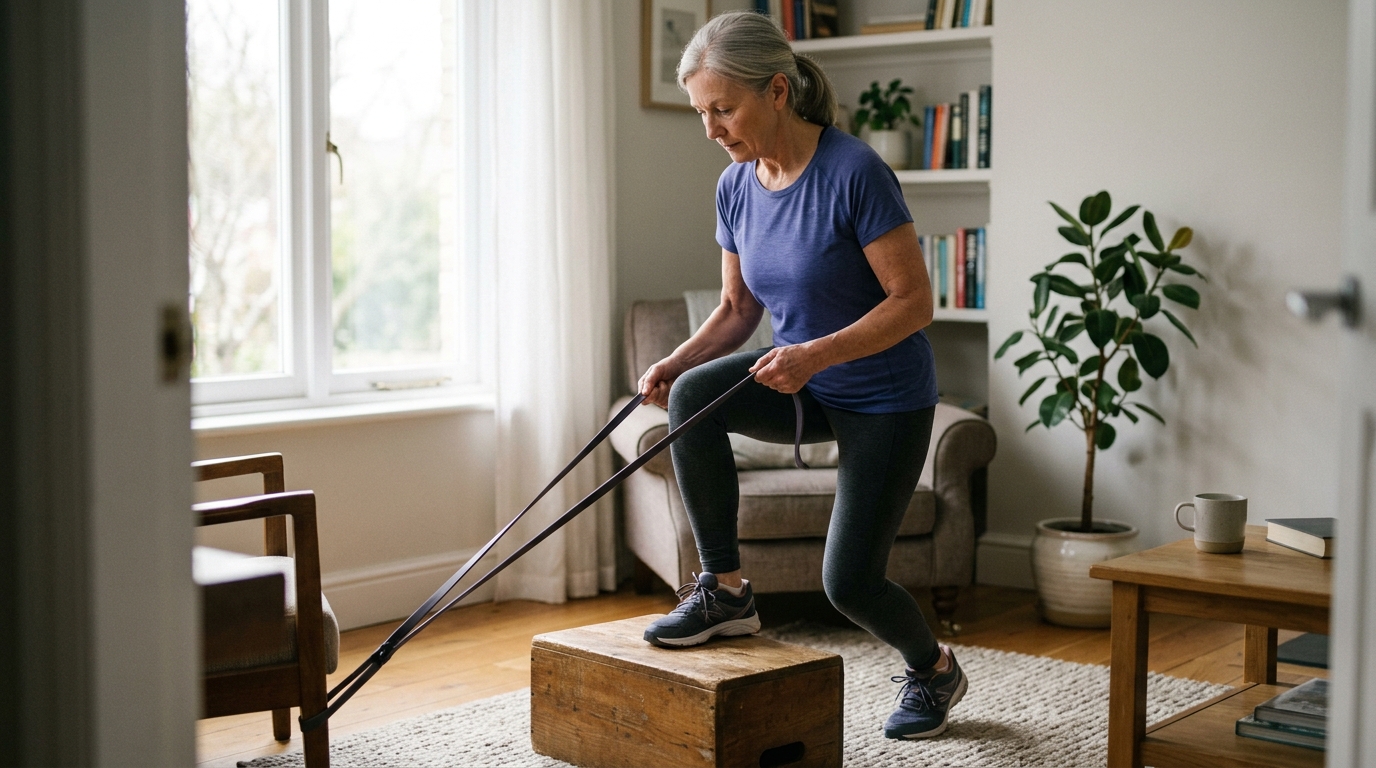

Five core movement capacities and a four-step framework help you rebuild practical lower-body strength for essential daily activities like rising from a chair.





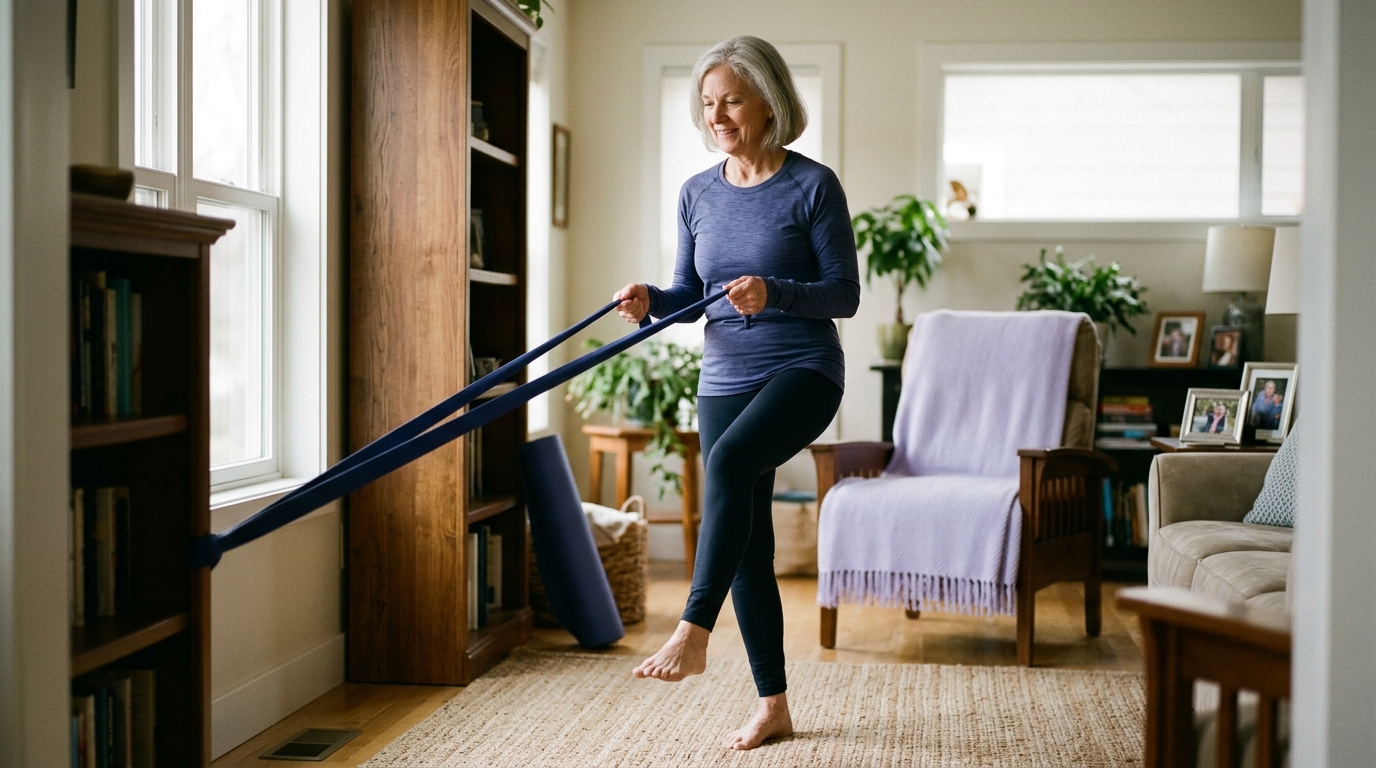
Many people assume that rebuilding lower-body strength requires lifting heavy weights in a gym. In everyday life, pure muscle force is rarely the only missing ingredient. Daily tasks demand a blend of joint mobility, balance, coordination, and sustained endurance.
You can have enough muscle to press a heavy machine yet still struggle to stand up from a deep couch. You might walk easily on flat pavement but feel uncertain stepping down a steep curb. Rebuilding functional capacity means training your body for the physical demands of your home and community.
Directly answered, rebuilding lower-body strength for daily life means developing sufficient force, balance, joint control, and movement confidence to perform specific functional tasks. It is not about chasing arbitrary numbers on gym equipment. It is about matching your physical capacity to real activities like rising from chairs, navigating stairs, walking on uneven ground, and carrying loads.
There are natural limits to this process. Progress varies based on past injuries, joint wear, surgical history, and overall health. Rebuilding capacity takes consistent practice over weeks and months rather than quick adjustments.
(Note: Visual representation replaced by structured text below to match standard reading flow.)
Understanding how to bridge the gap between structured exercise and daily activity requires a closer look at movement science. By breaking down daily tasks into distinct movement capacities, you can create a safe, progressive path toward physical independence.
Physical capacity is what your muscles and joints can produce under controlled conditions. Daily performance is what you actually do in your living room, on the sidewalk, or at the grocery store. These two concepts are related, but they are not identical.
A person might generate substantial force during a seated leg extension exercise. That same person may struggle to steady themselves when stepping off a curb in the rain. Daily life rarely isolates a single muscle group across a fixed track.
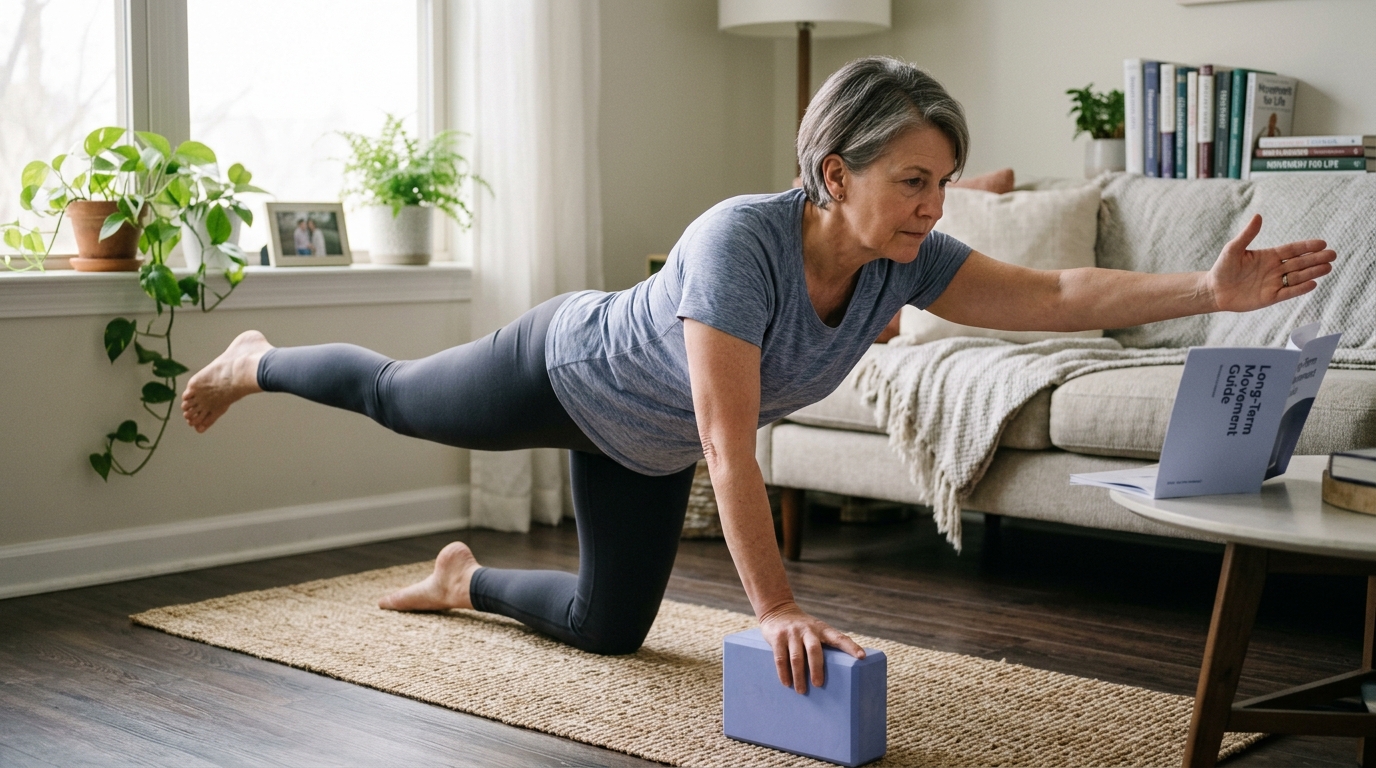
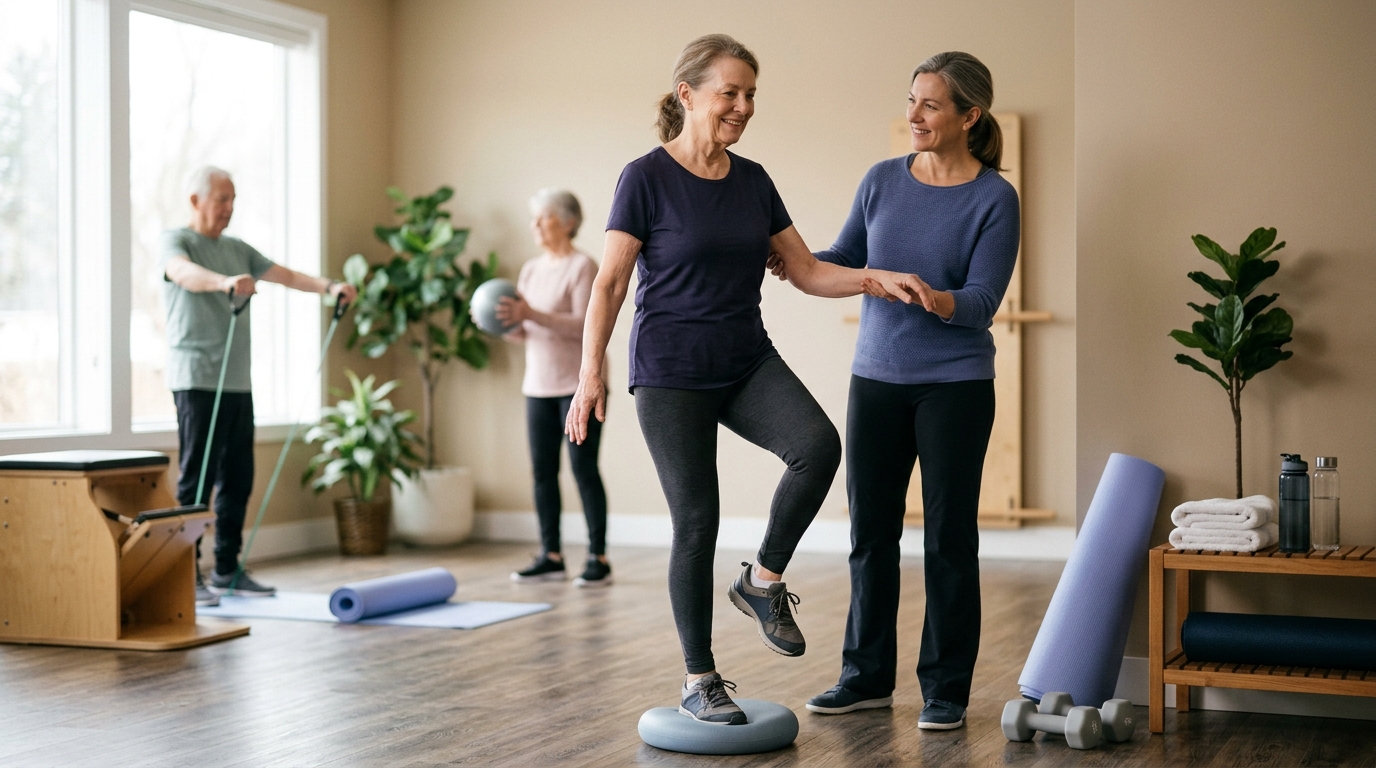
To build lasting function, your routine must address several interacting capacities. Research from the World Health Organization highlights that functional recovery relies on multicomponent physical activity. Strength training should be combined with balance and coordination training to support independence and reduce fall risk.
Force production is your ability to generate muscular tension against gravity. You need adequate force to stand up from a low seat, push up an incline, or step onto a high bus platform. Without baseline force, everyday movements feel exhausting or impossible.
Muscular endurance is the capacity to repeat a movement or hold a posture without losing control. Walking several blocks or preparing a meal at a kitchen counter requires your postural muscles to work continuously. When endurance fades, movement quality declines, increasing joint stress and fatigue.
Power is the rate at which you generate force, while coordination is the timing of muscle activation. Stepping quickly to catch your balance after a trip requires power. Coordination ensures that your hips, knees, and ankles work together smoothly during transitions.
Postural control allows you to keep your center of mass over your base of support. Balance is dynamic rather than static. It involves reacting to shifts in terrain, turning your head while walking, and adjusting to sudden external forces.
Walking adaptability is the skill of altering your gait to match the environment. Real-world surfaces are rarely completely flat or predictable. Adaptability requires your nervous system to adjust step length, foot clearance, and muscle stiffness on demand.
To explore how these movement components interact after an injury, review our recovery science principles. Understanding these foundations helps you design a plan that matches your daily routine.
Rebuilding lower-body strength works best when organized around clear movement goals. Instead of asking which muscle needs training, ask which task you want to improve. A structured framework helps you move from identification to safe execution.
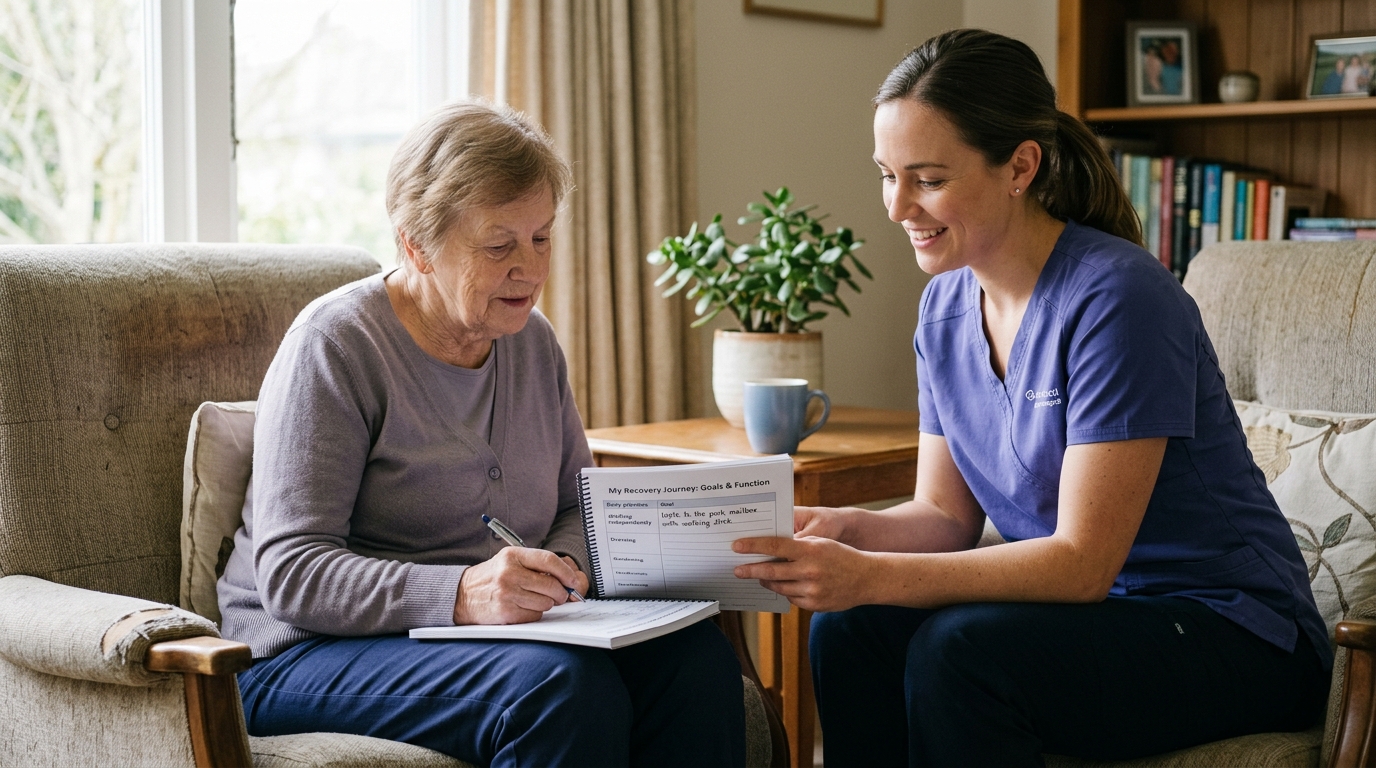
Start by defining the exact real-world activity that feels difficult or limited. Examples include getting out of a favorite low armchair, walking down the basement stairs, or carrying laundry across the yard. Vague goals like getting stronger make it hard to choose the right exercises.
Break down why the task is challenging. Is the movement limited by raw leg force, balance, joint stiffness, or fear of falling? Identifying the weak link allows you to target the actual barrier rather than guessing.
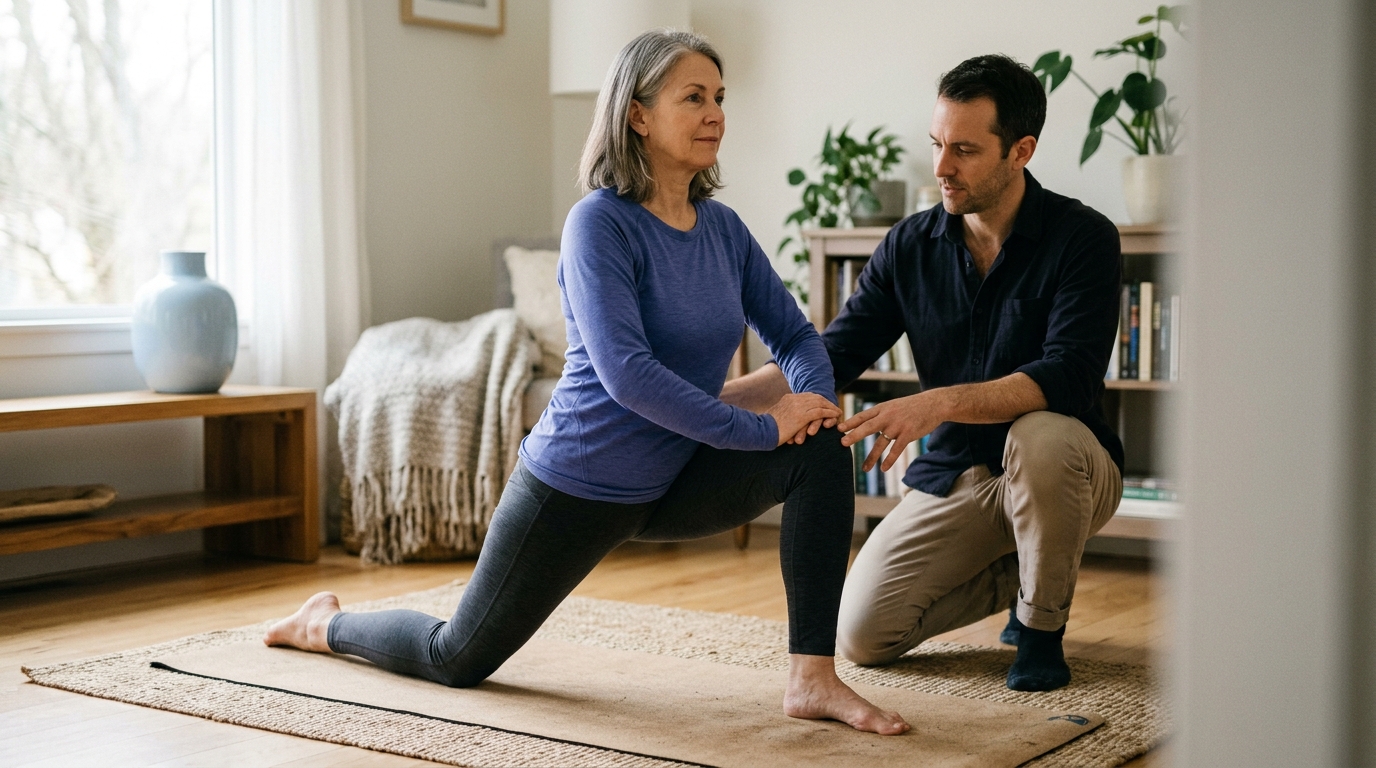
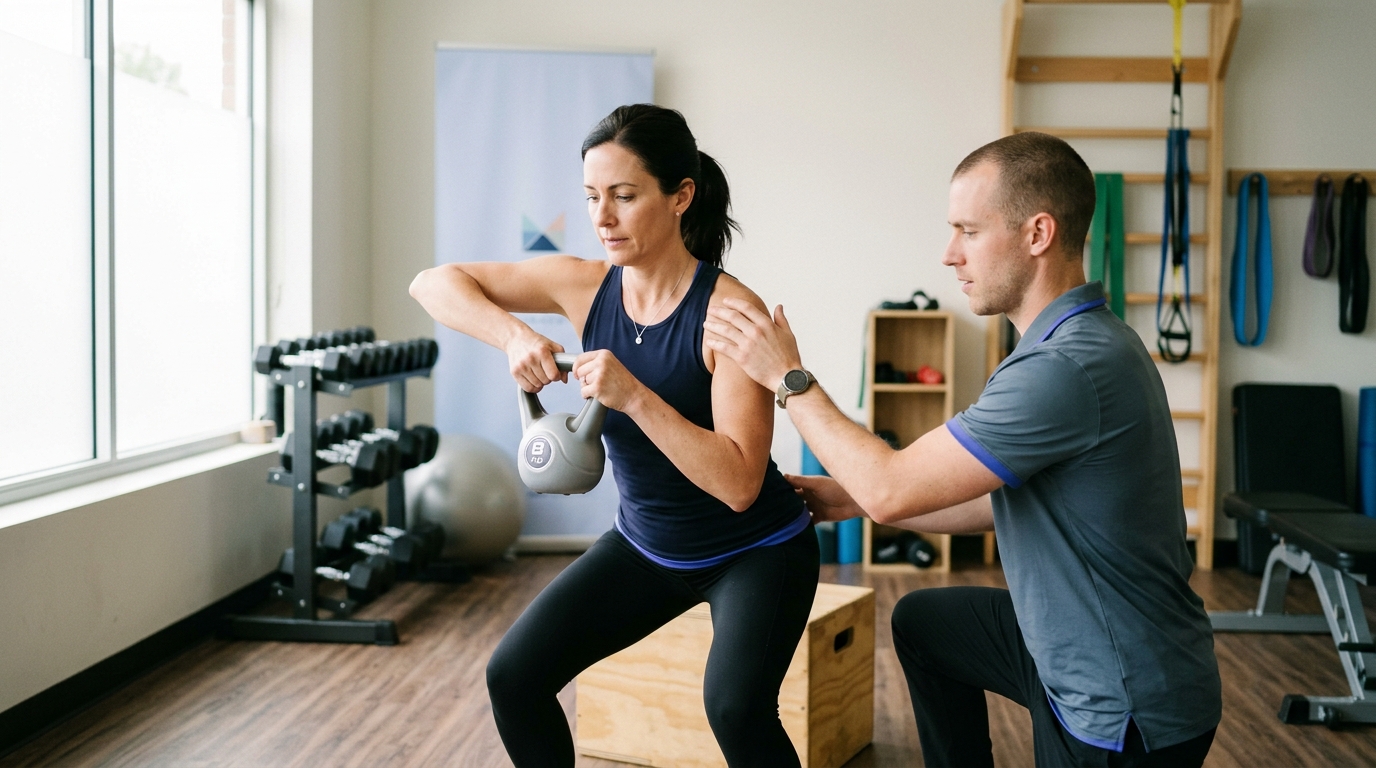
Select exercises that safely mimic the demands of the task. If a full movement is too difficult, modify the environment or reduce the load. This allows you to practice the movement pattern while building the required physical capacity.
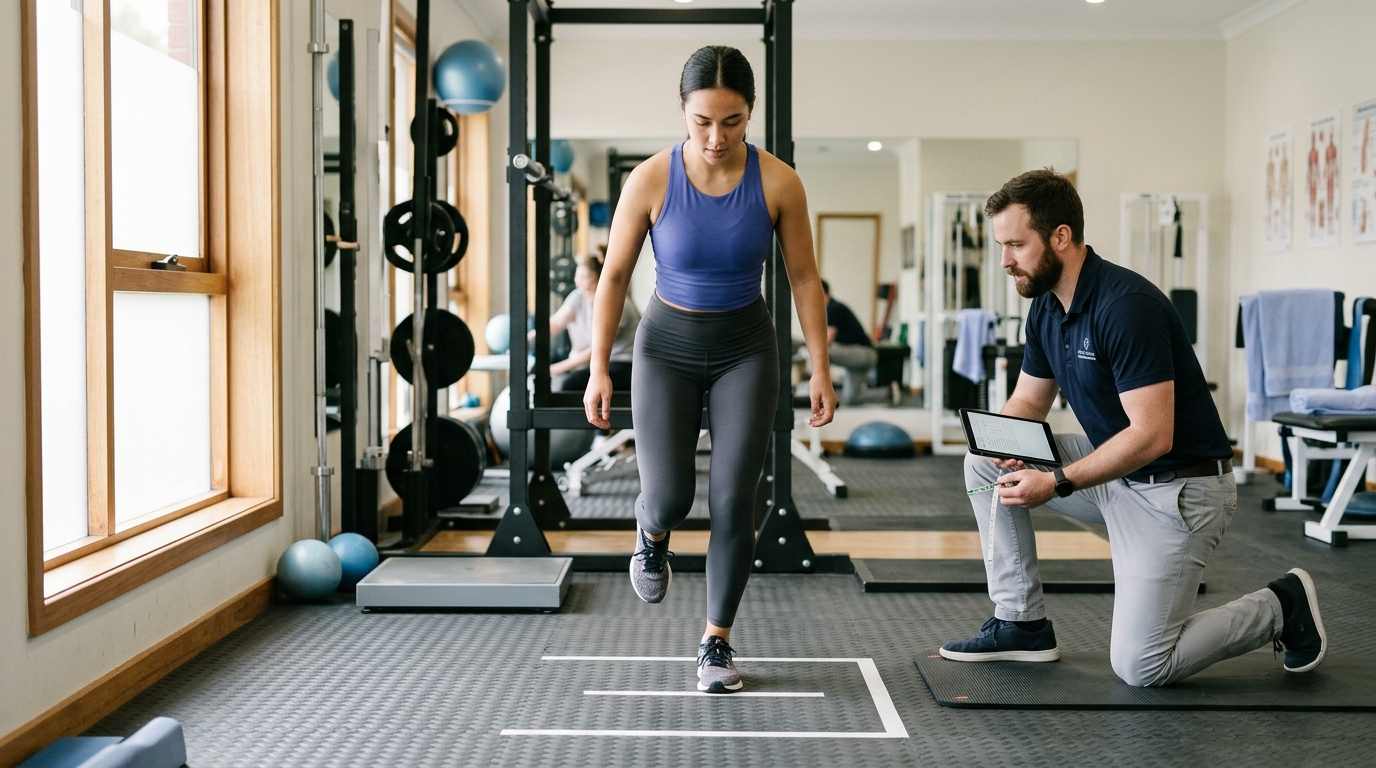
Re-evaluate your ability using functional benchmarks over time. Testing your progress on the actual task shows whether your training is transferring to real life. If progress stalls, you can adjust the exercise variables accordingly.
This framework aligns with established rehabilitation guidelines. It encourages progressive, individualized training that targets your personal needs and functional baseline. For additional movement routines, consult our mobility and movement strategies.
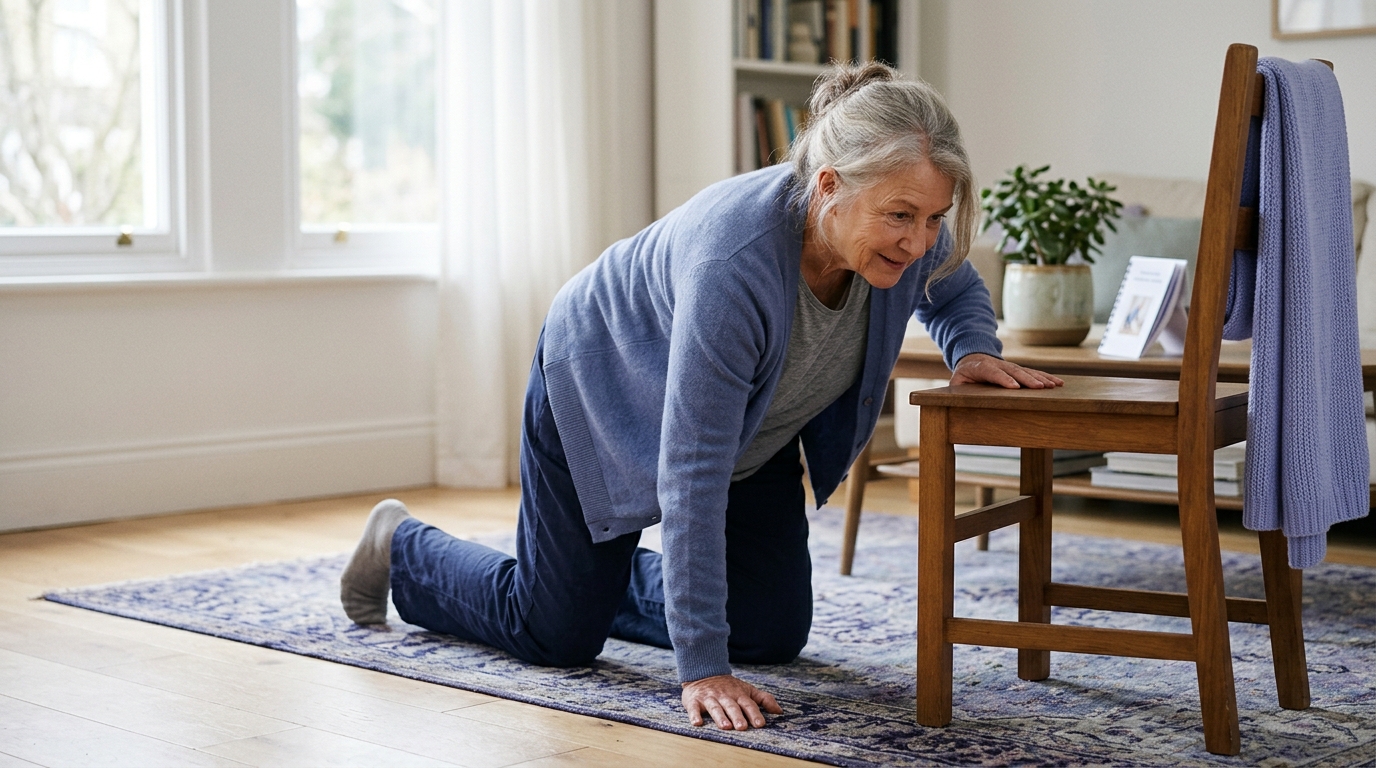
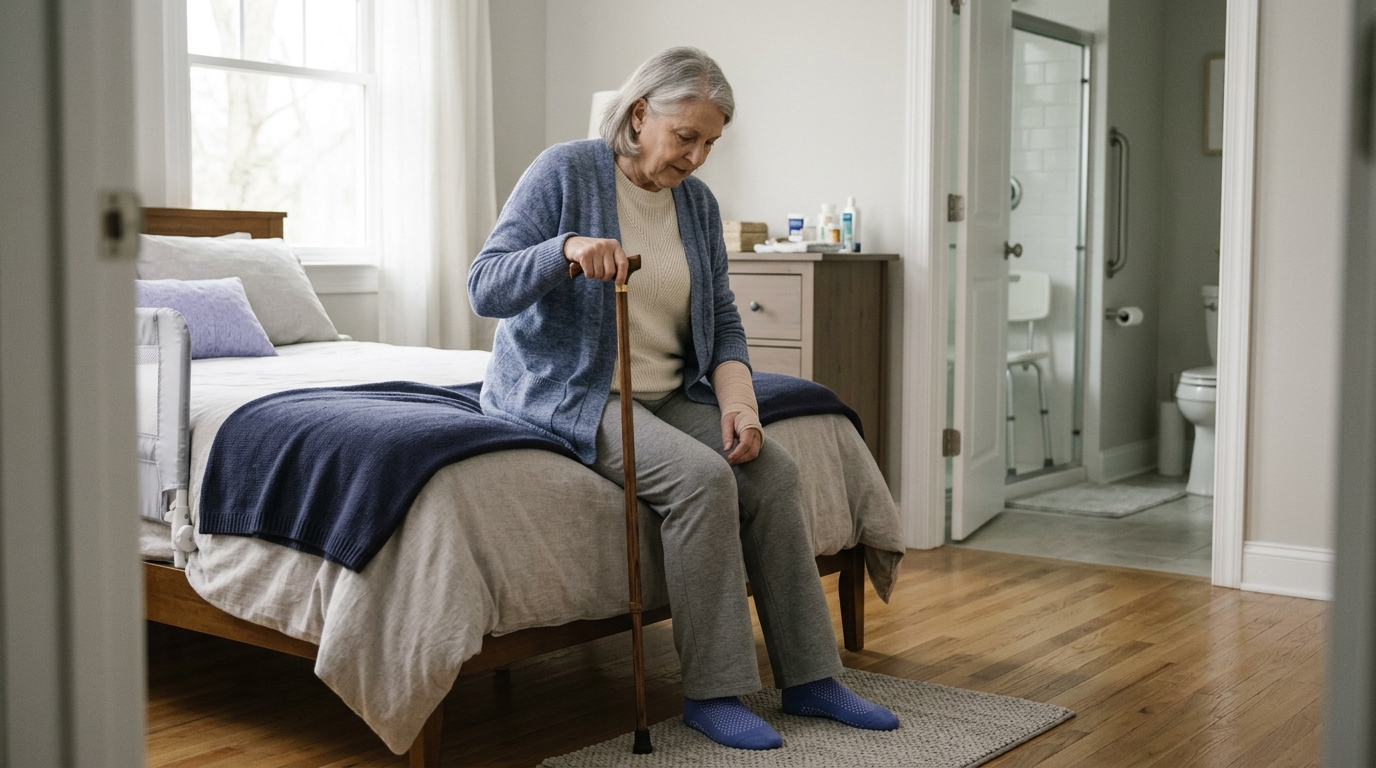
Rising from a seated position is one of the most frequent lower-body tasks performed each day. It requires shifting your upper body forward, driving through your feet, and extending your hips and knees against gravity. When leg strength or joint mobility is limited, standing up can become difficult.
Biomechanical research shows that the physical demands of rising from a chair change dramatically based on how the chair is set up. A study by Janssen and colleagues on the determinants of the sit-to-stand movement found that chair height significantly alters joint forces. Raising seat height reduced knee moments by up to 60 percent and hip moments by up to 50 percent.
When a seat is low, your body must lean further forward to generate momentum. This increases the muscular force required from your quadriceps and hip extensors. By adjusting your setup, you can train the sit-to-stand pattern safely at your current capacity.
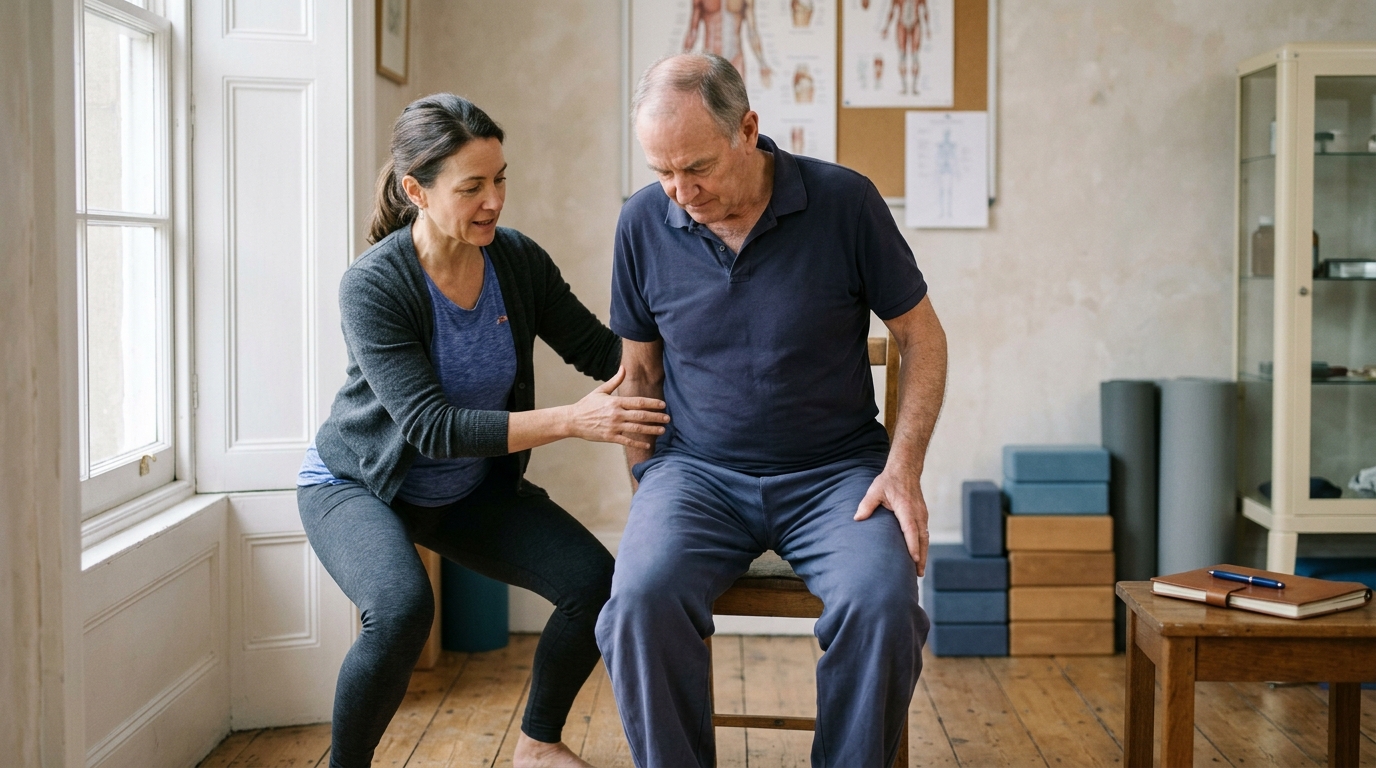
Small changes in your body position can make standing up easier. Bring your feet slightly back toward the chair so your heels stay firmly planted. Lean your trunk forward from the hips so your shoulders move over your knees before you push.
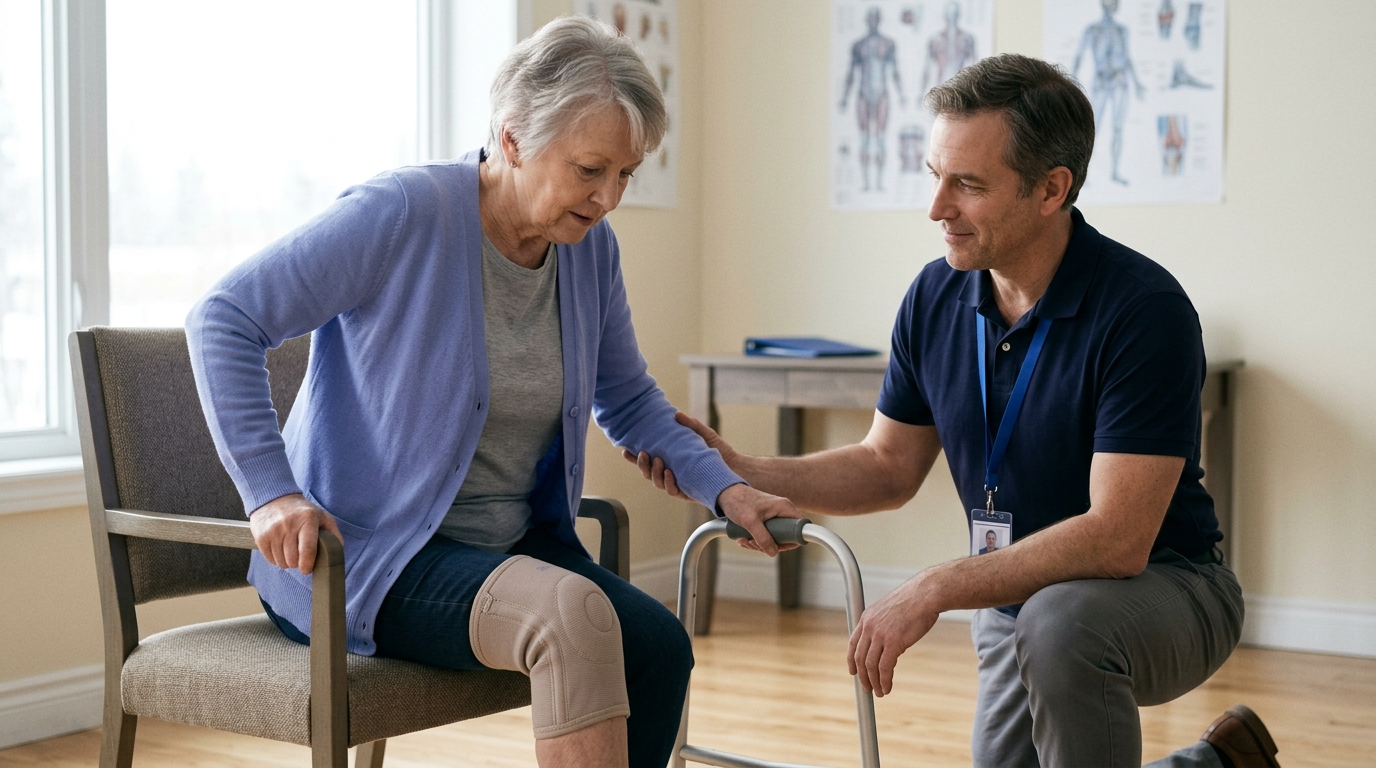
Using armrests is an effective way to manage transfers while rebuilding baseline capacity. Relying on your arms is not a failure of technique. It is a practical strategy that allows you to stay mobile while your legs regain strength.
The Centers for Disease Control and Prevention includes the 30-Second Chair Stand test in its fall risk assessment tools. This test counts how many times you can stand fully and sit down in 30 seconds with arms crossed over your chest. It provides a standardized measure of lower-body strength and endurance.
In daily life, you do not need to avoid using your arms if you require them for safety. The standardized test rules exist for measurement consistency, not as a restriction for everyday movement. If you need arm support to stand safely, use it while gradually working on your leg strength.
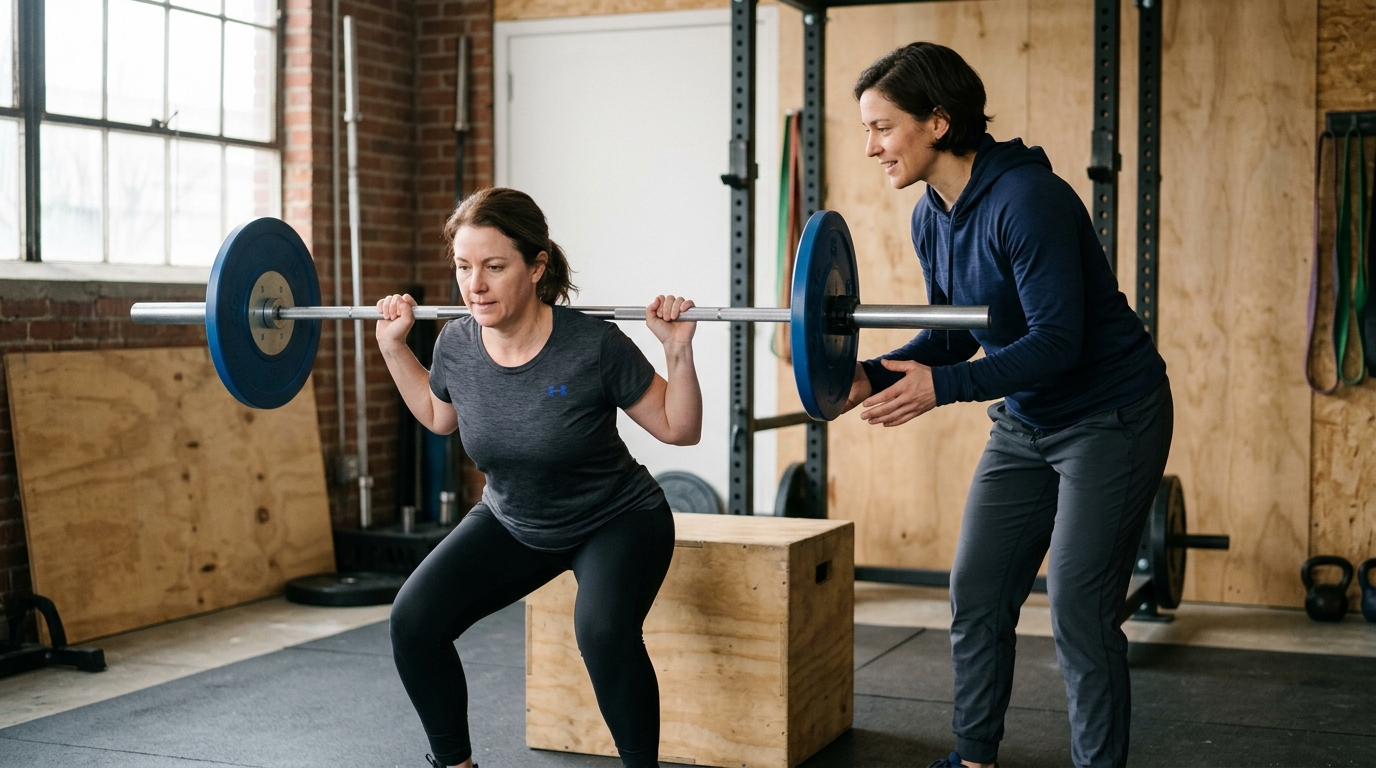
To build sit-to-stand strength, begin with a chair height that allows you to stand with control. Place a firm cushion on the seat if the chair is too low. Practice rising slowly, pausing briefly at the top, and lowering yourself back down under control.
As your strength improves, practice from slightly lower seats. You can also reduce how much you push with your hands. Over time, this builds the force and coordination needed for softer chairs and deeper seats.
Climbing stairs is often treated as simply walking on an incline. In reality, navigating stairs places far higher mechanical demands on your legs than level walking. Research reviewing lower-limb mechanics shows that negotiating stairs requires a substantial percentage of maximum muscle capacity in older adults.
During stair ascent, older adults may utilize up to 90 percent of their maximum ankle strength and 75 percent of their maximum knee strength. Stair descent requires approximately 75 percent of maximum ankle strength and 42 percent of knee strength. Because these tasks push closer to your physical maximums, walking easily on flat ground does not guarantee stair readiness.
Ascent and descent present completely different biomechanical challenges. Going up is an act of propulsion, while going down is an act of controlled braking.
Going up stairs requires concentric muscle actions, where muscles shorten to produce upward force. Your quadriceps, gluteal muscles, and calf complex must lift your entire body weight with each step.
Stair ascent also demands adequate hip and ankle flexibility to place your foot flat on the next tread. If your ankle is stiff, you may find yourself pushing off your toes, which increases strain on the knee.
Going down stairs requires eccentric muscle actions, where muscles lengthen under tension to absorb landing forces. Research indicates that descending stairs requires elevated lower-limb joint-moment-generating capability to decelerate the body smoothly.
Eccentric control is often harder to master after injury, surgery, or joint pain. If your quadriceps cannot brake effectively, your body may drop quickly onto the lower step. This sudden impact can irritate joints and challenge your balance.
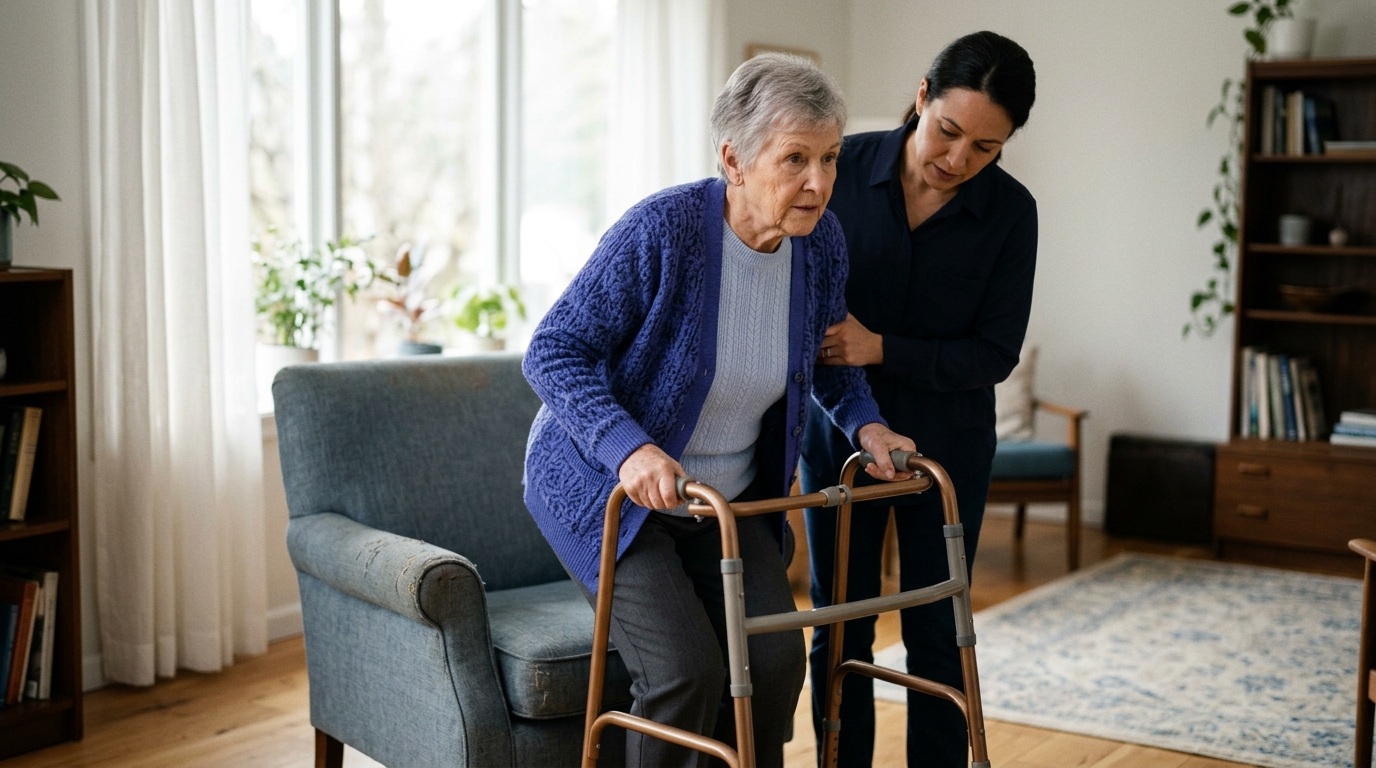
When rebuilding stair capacity, treat going up and going down as separate skills. Start with a single, secure step before attempting a full flight. Always ensure a sturdy handrail is available.
Practice stepping up with your stronger leg first when ascending to reduce joint strain. When descending, step down with your recovering leg first so your stronger leg controls the lowering phase. As your capacity returns, you can transition toward a more natural step-over-step pattern.
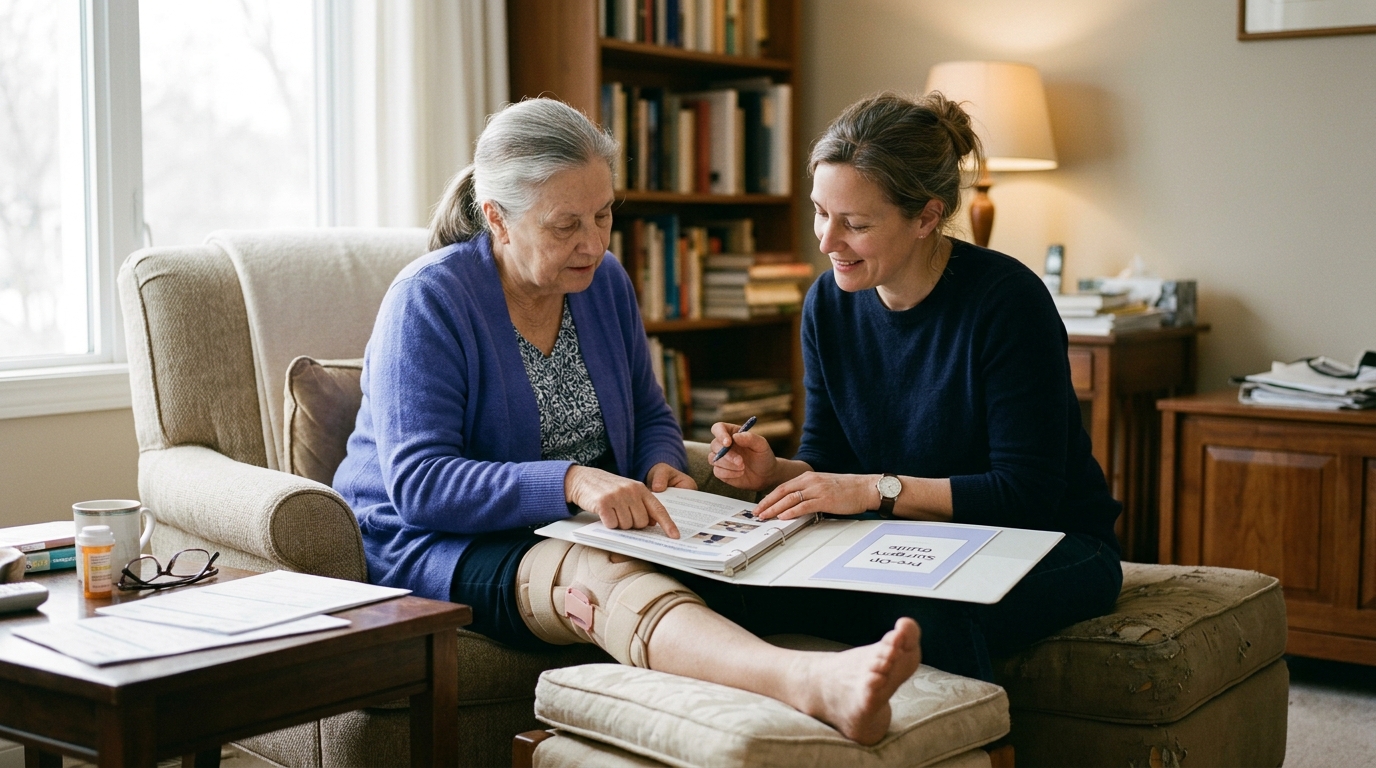
For individuals recovering from joint replacement or orthopedic procedures, check our surgical rehabilitation resources for further guidance.
Walking outdoors exposes your body to constant environmental shifts. Cracks in the sidewalk, gravel driveways, thick grass, and sloping terrain require continuous adjustments.
Research on uneven-terrain walking demonstrates that healthy adults alter their gait mechanics when moving across irregular surfaces. These natural adaptations include:
These adjustments help protect your joints and prevent falls on unpredictable surfaces. However, they also increase the muscular effort required to walk.
When muscle strength or joint proprioception is reduced, making these rapid adjustments becomes harder. Walking on grass can feel exhausting or unstable if your lower leg muscles fatigue quickly. Rebuilding stability requires exposing your body to varied surfaces in a controlled, progressive manner.
Straight-line walking on a smooth track builds basic cardiovascular capacity. To prepare for daily life, you must gradually introduce multi-directional stability and surface changes.
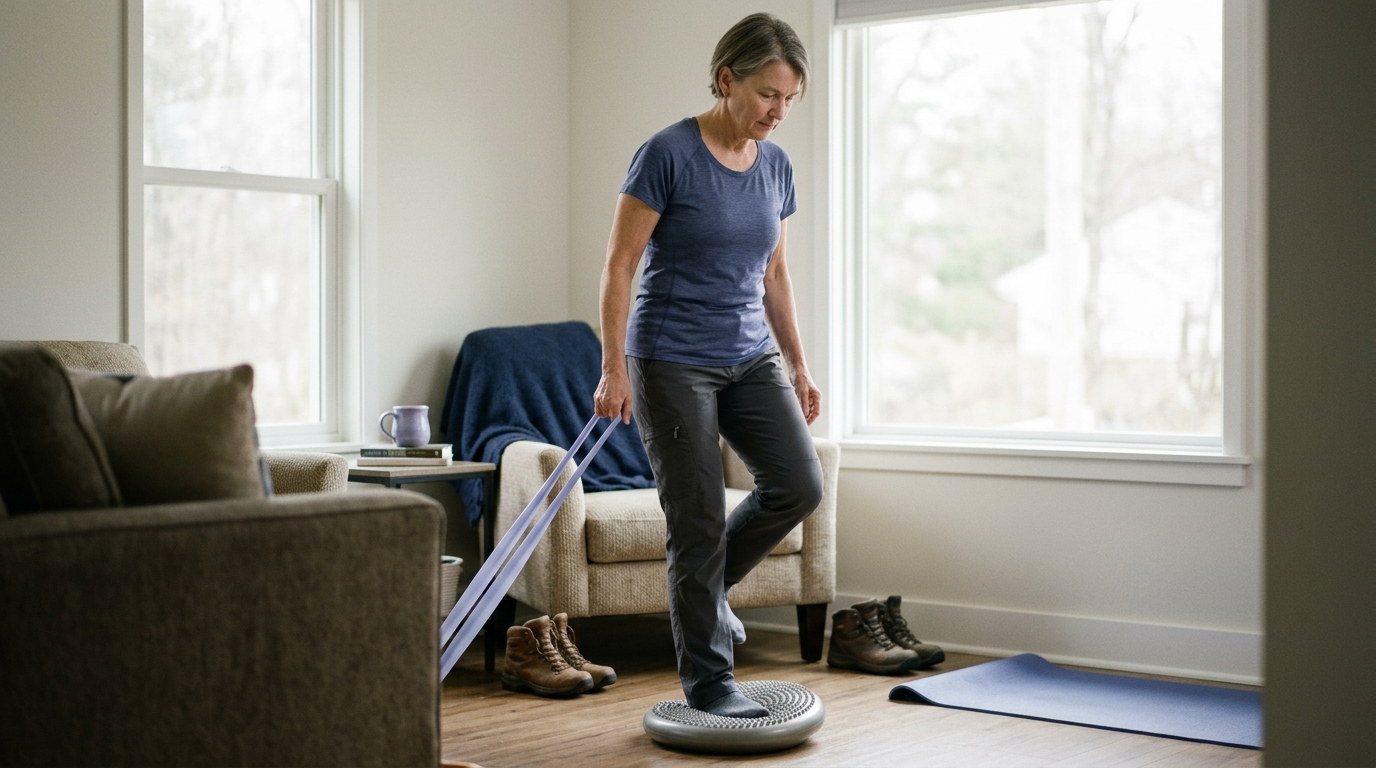
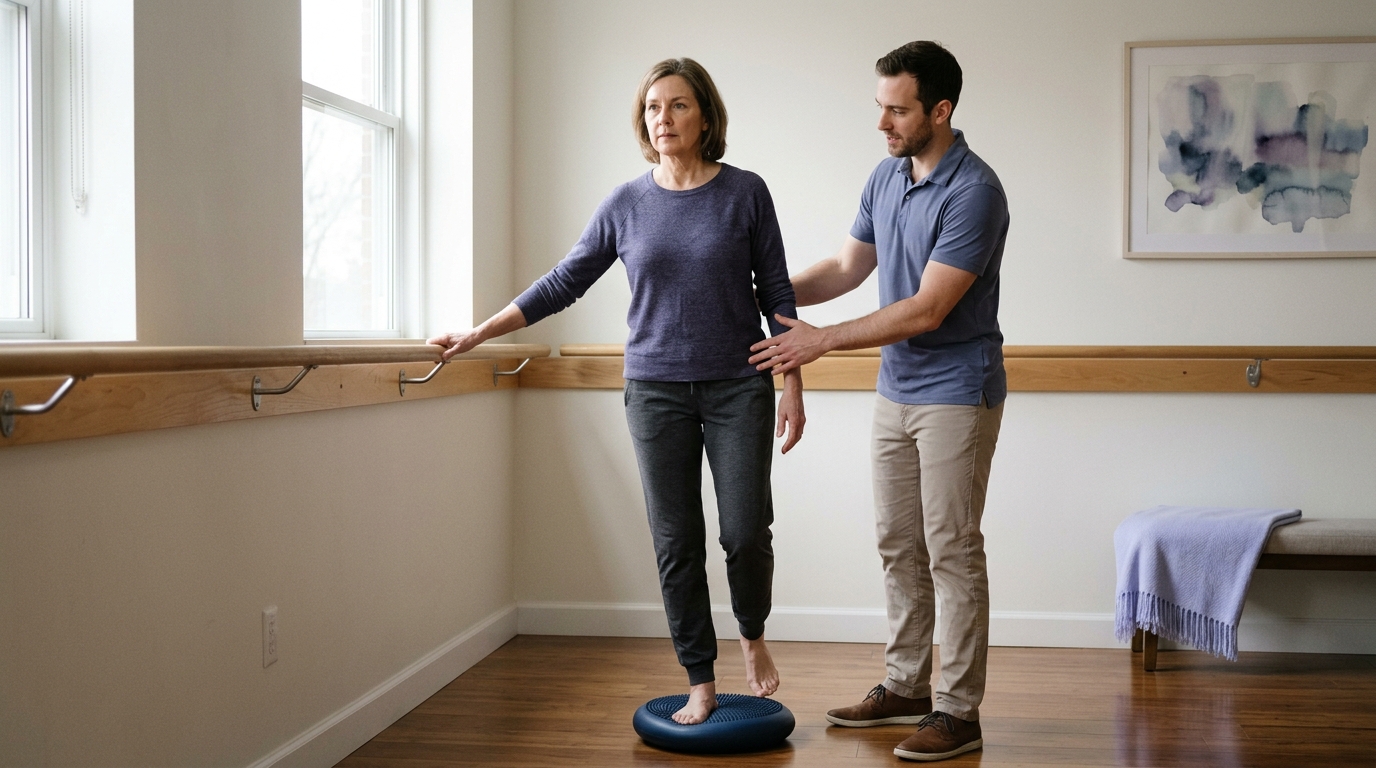
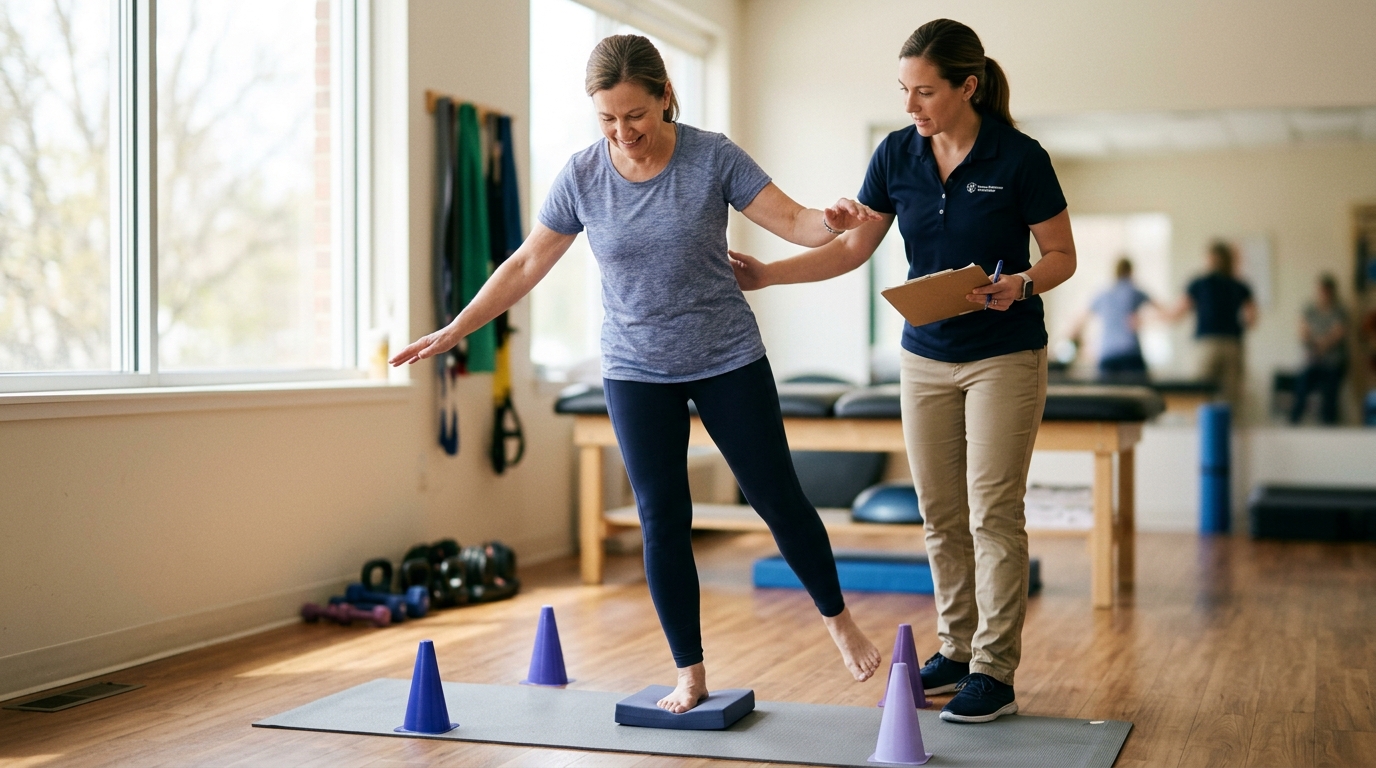
Begin by practicing weight shifts and balance exercises on firm, level surfaces. Once you feel stable, try standing on softer surfaces like a thick yoga mat or a patch of flat grass near a wall. This challenges the stabilizing muscles around your ankles and hips.
Pay attention to foot clearance as you walk across softer terrain. Practice picking your feet up cleanly rather than shuffling your feet along the ground. Shuffling increases your risk of catching a toe on raised edges or uneven pavers.
For more information on preserving stability throughout the lifespan, visit our active aging and fall prevention section.
Walking across a room is relatively simple when your hands are free. The challenge increases when you add a heavy bag of groceries, a laundry basket, or a box. Carrying objects is a fundamental daily task that changes how your lower body operates.
Holding a load shifts your center of mass away from its normal position. Carrying a bag in one hand pulls your trunk to the side, forcing the opposite hip and core muscles to work harder. Carrying a box in front of you shifts your weight forward, increasing demand on your lower back, gluteal muscles, and hamstrings.
Carrying objects also restricts your arm swing. Natural arm swing helps balance your body during walking. When your arms are occupied, your hips and legs must manage balance shifts without upper-body assistance.
To rebuild your carrying capacity, break the activity into manageable parts. Do not rush to carry heavy loads across long distances right away.
Keep carried objects close to your body to reduce strain on your spine and hips. Ensure that any item you hold does not block your view of the floor ahead. If you need to navigate stairs while carrying items, keep at least one hand free to hold the handrail.
Explore our strength and performance rebuilding resources for structured approaches to functional loading.
No two people rebuild lower-body strength at the exact same pace. Your recovery timeline and functional capacity depend on multiple individual and environmental factors. Recognizing these variables prevents frustration and helps you set realistic milestones.
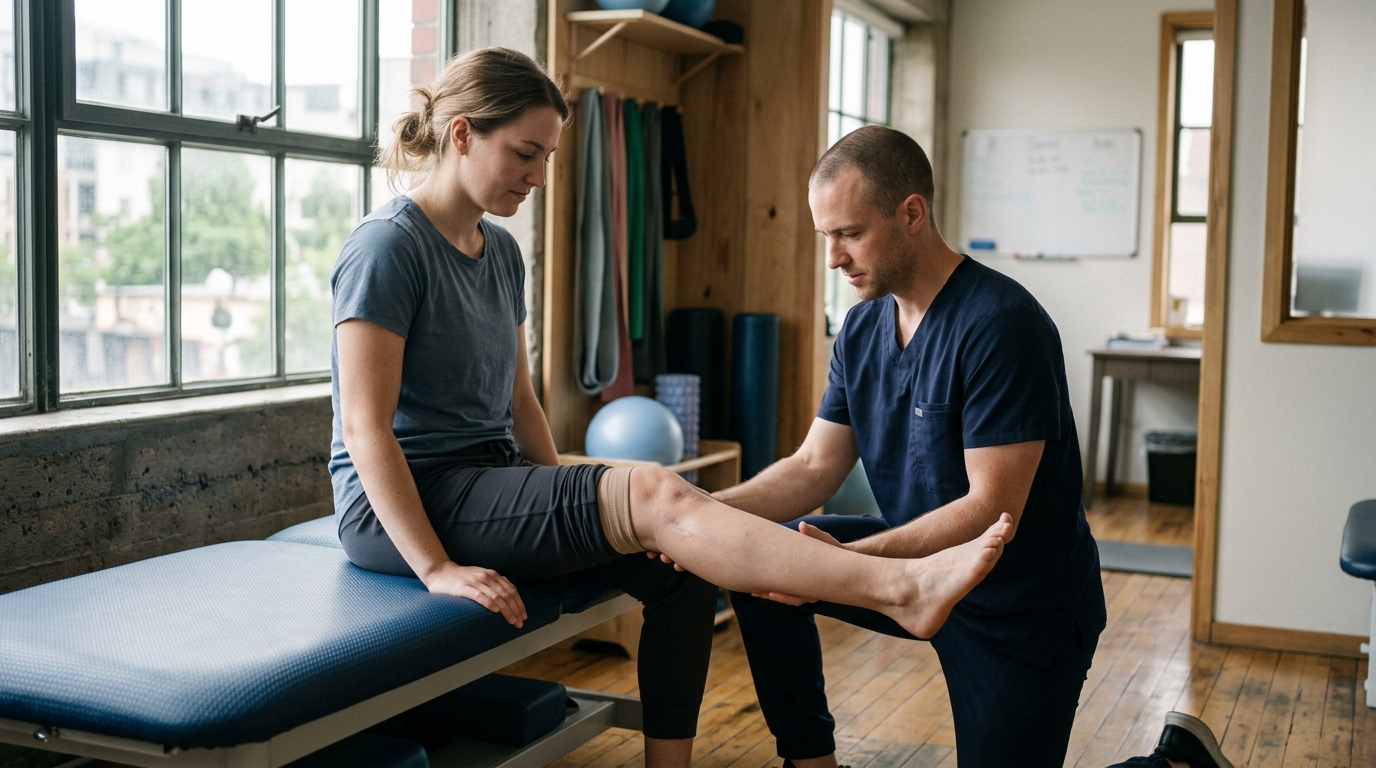
Individual physical characteristics play a major role in how quickly you regain strength. Joint health, cartilage wear, and past surgical interventions dictate how much load your body can tolerate. Soft tissue healing takes time, and joint structures need adequate recovery between training sessions.
Neuromuscular adaptations occur before visible muscle growth. In the first few weeks of training, strength gains come primarily from your brain learning to recruit muscle fibers effectively. Structural muscle rebuilding takes several weeks of consistent, progressive effort.
Psychological factors also influence movement outcomes. A previous fall or injury can create fear of movement, leading to guarded, stiff walking patterns. Rebuilding confidence through small, successful movement experiences is just as important as building physical muscle.
When progressing your routine, alter only one variable at a time. If you increase the number of repetitions, do not increase the resistance or change to a harder surface on the same day. Changing multiple variables at once makes it difficult to tell what caused fatigue or discomfort.
The following examples illustrate common movement challenges and practical ways to address them. These scenarios represent typical functional patterns rather than personalized medical prescriptions.
A person walks half a mile daily without issues but relies heavily on their arms to stand up from a low sofa. When examining the task, the limitation is not cardiovascular endurance. It is peak knee and hip extensor force combined with torso positioning.
The practical approach involves raising the seat height with a firm cushion to reduce joint moments. The individual practices controlled sit-to-stand movements from this higher surface, focusing on leaning the trunk forward before pushing. Over several weeks, the cushion thickness is gradually reduced as leg strength improves.
An individual ascends stairs without pain but experiences hesitation and knee discomfort when descending. Stair ascent relies on concentric power, whereas descent requires eccentric quadriceps control and ankle mobility to lower the body smoothly.
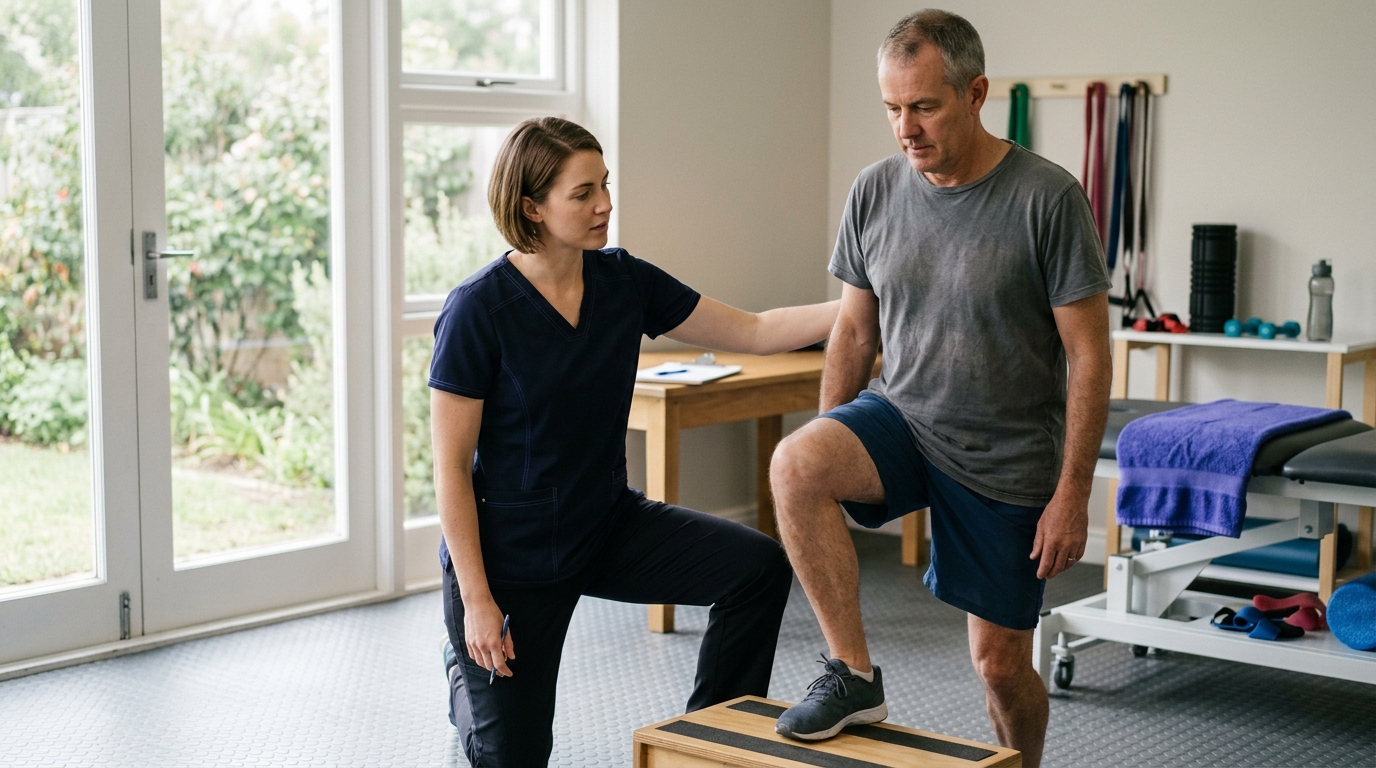
The movement strategy focuses on practicing single-step lowering drills using a sturdy handrail. The person stands on a 4-inch step and practices lowering their opposite heel lightly to the floor before stepping back up. This develops the eccentric braking capacity needed for safe stair descent.
A person walks comfortably on paved neighborhood streets but avoids walking across parks or uneven yards due to unsteadiness. Smooth pavement requires minimal gait adaptation, whereas uneven ground demands rapid ankle stabilization and higher foot clearance.
Practice begins with standing balance exercises on a soft mat while holding a secure counter. The individual then progresses to walking short distances on flat, cut grass alongside a companion or near a sturdy fence. This safely trains the nervous system to adapt to surface variability.
An individual finds that holding a full laundry basket causes them to lose balance and shuffle their feet. The basket blocks their view of the floor, restricts natural arm swing, and shifts their center of mass forward.
The initial practice involves carrying a smaller, lighter basket held firmly against the chest to keep the line of sight clear. The individual practices walking along a clear, well-lit hallway. As postural control improves, the load in the basket is gradually increased over time.
A person who experienced a fall has become increasingly sedentary due to fear of falling again. This reduction in activity has led to muscle weakness, which further increases their fall risk.
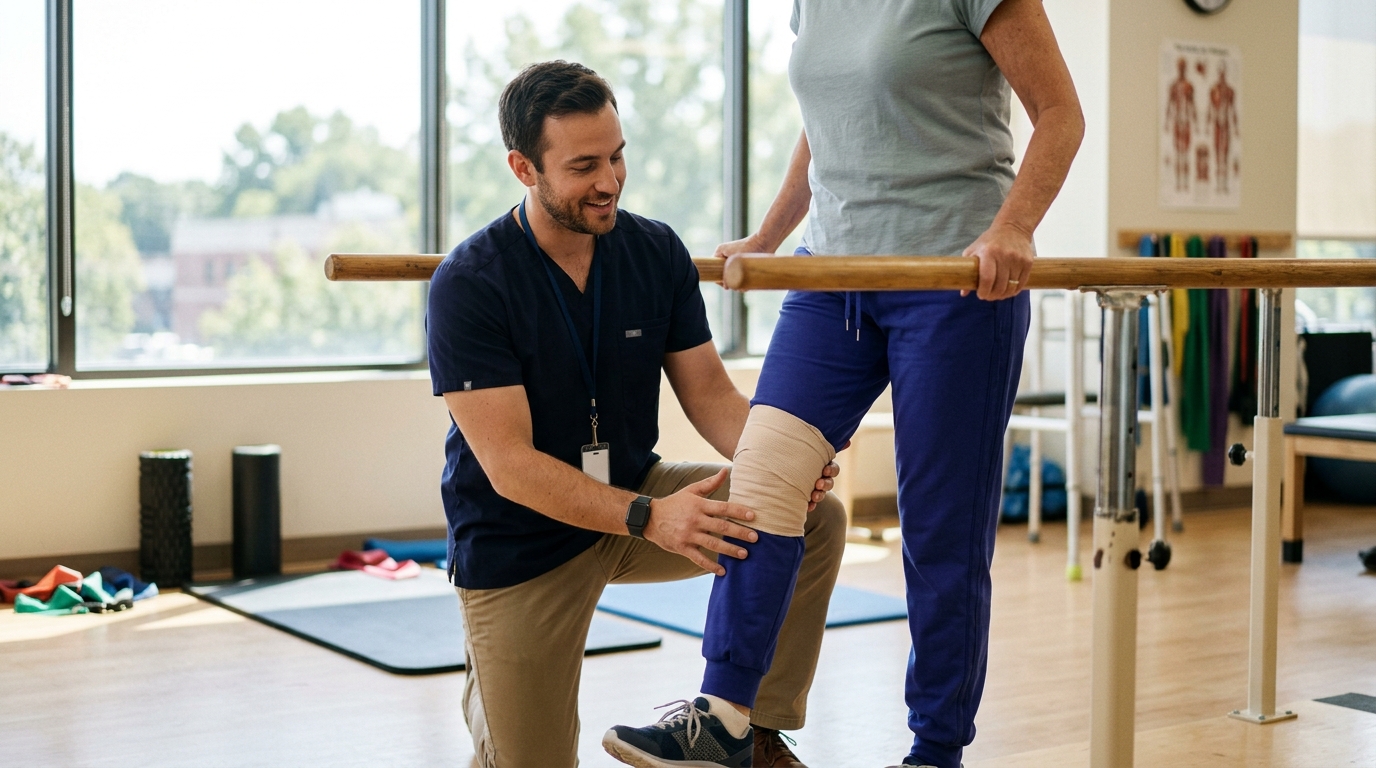
Guidelines from the National Institute for Health and Care Excellence recommend that individuals with a fall history receive a tailored, progressive exercise program delivered by trained professionals. The individual begins by working with a physical therapist to address specific balance and strength deficits in a supervised setting.
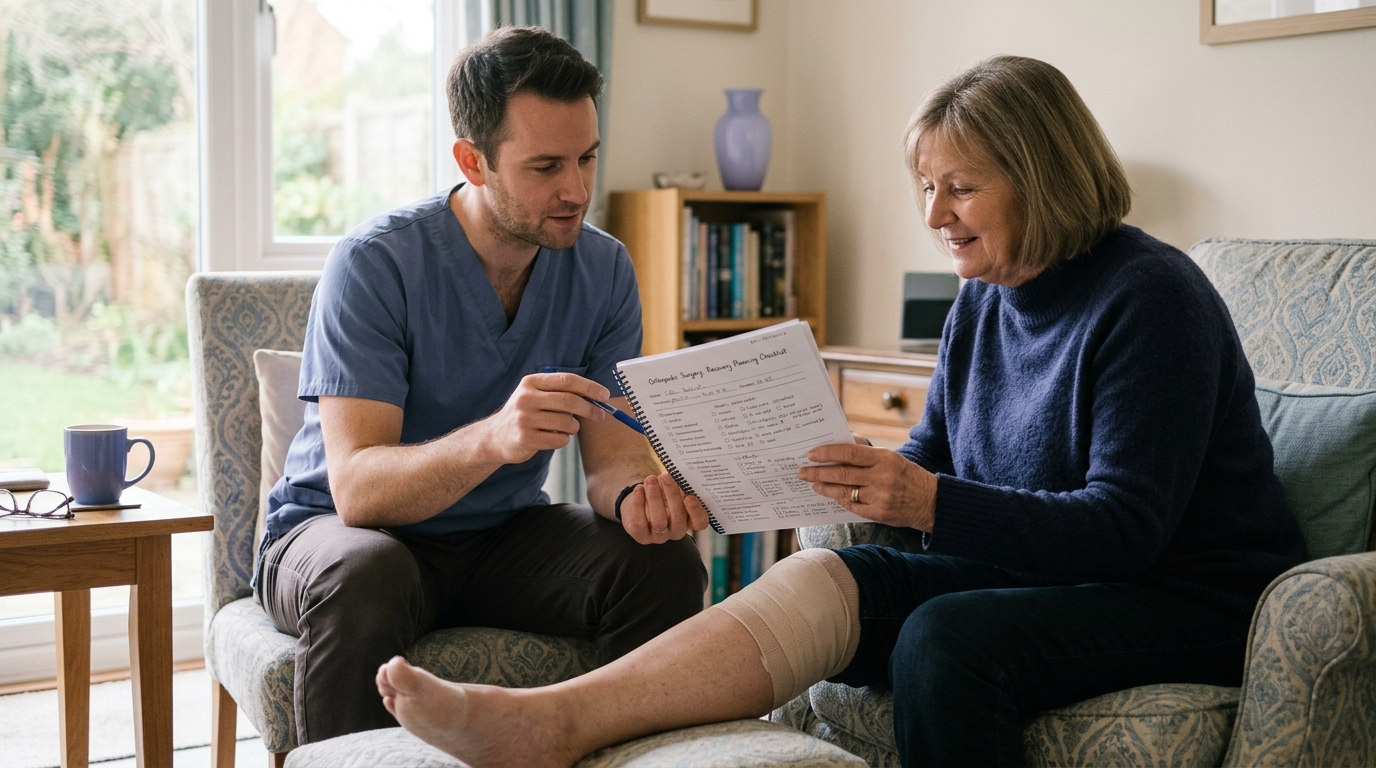
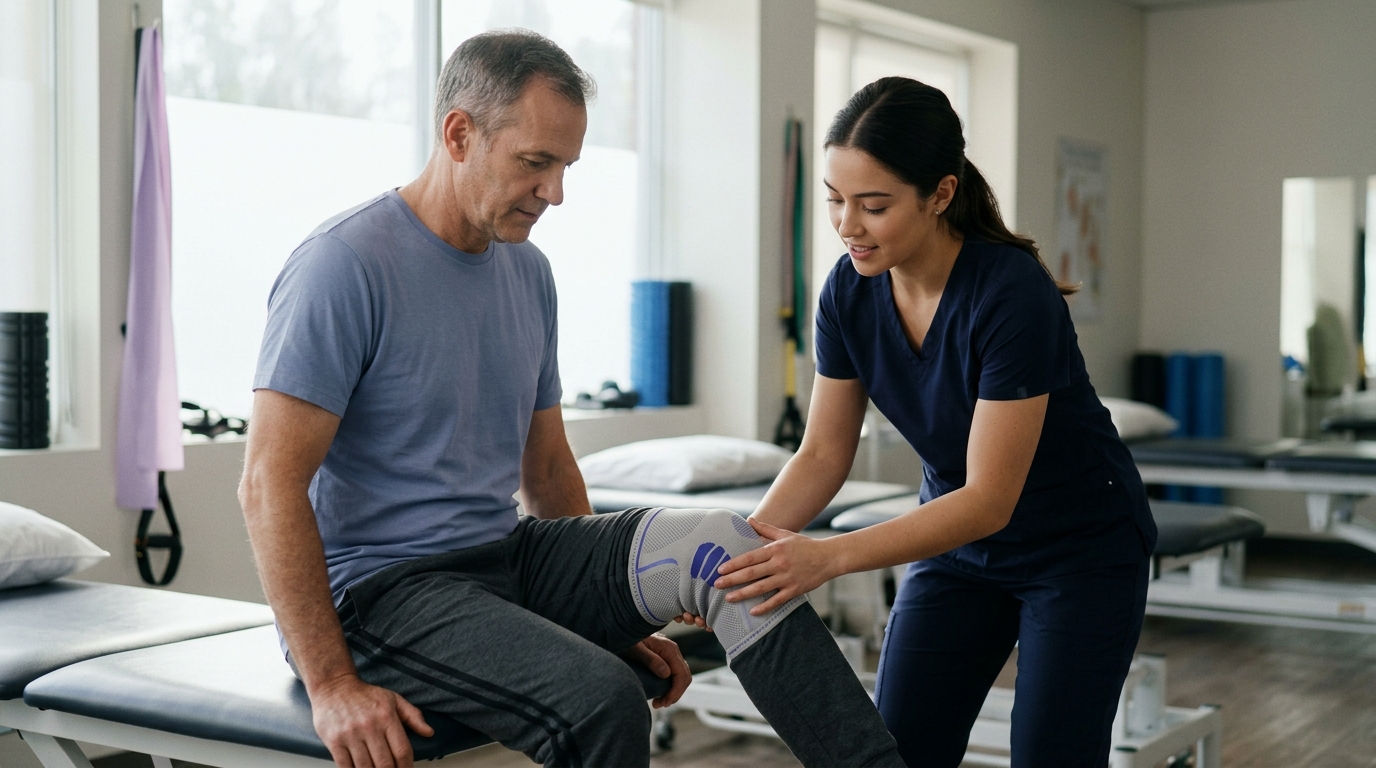
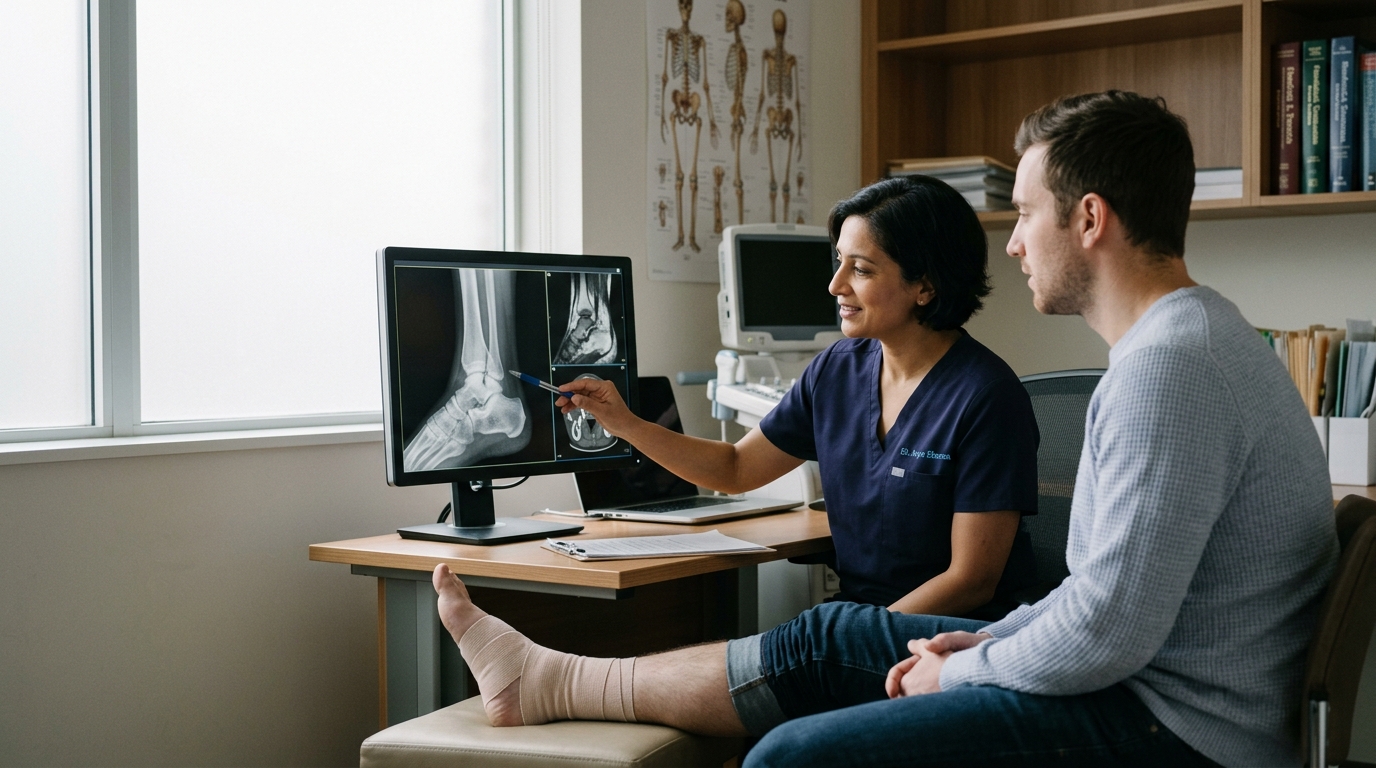
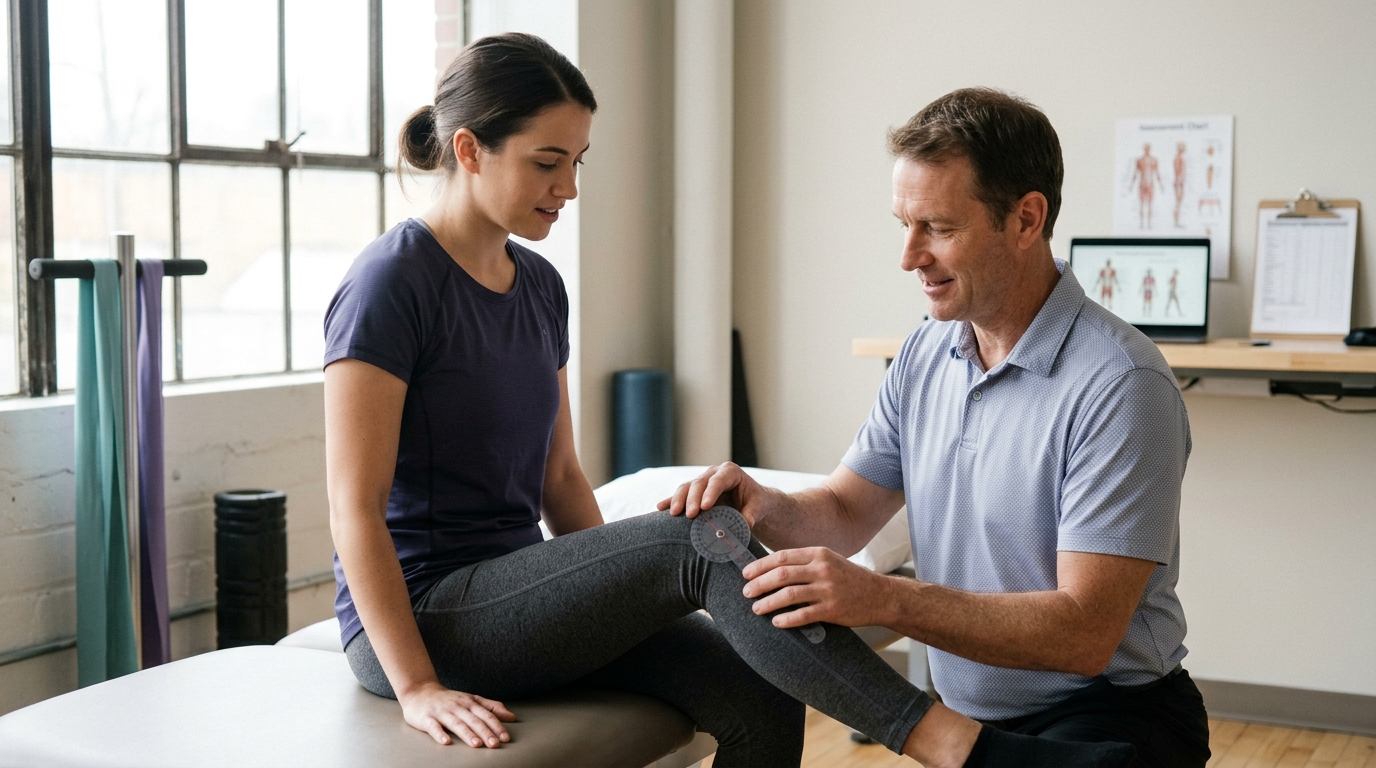
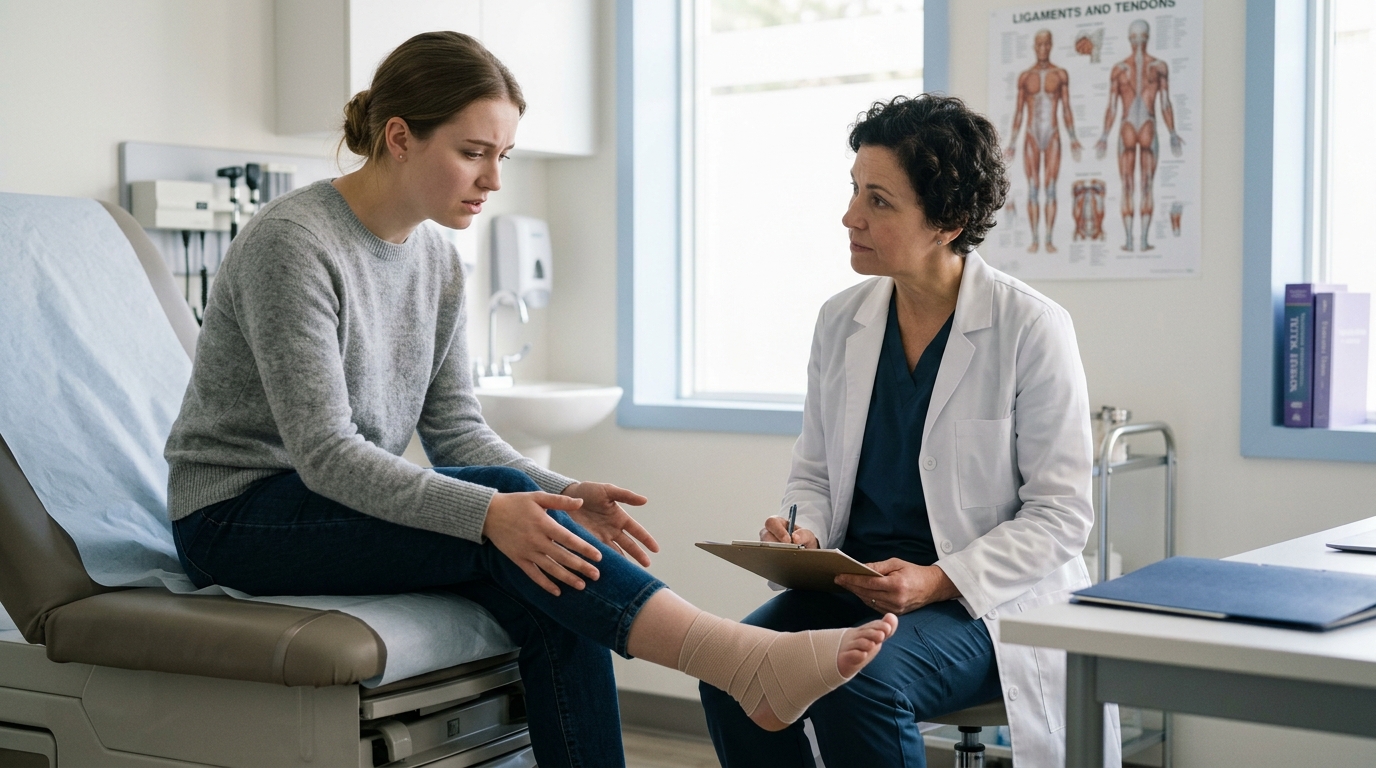
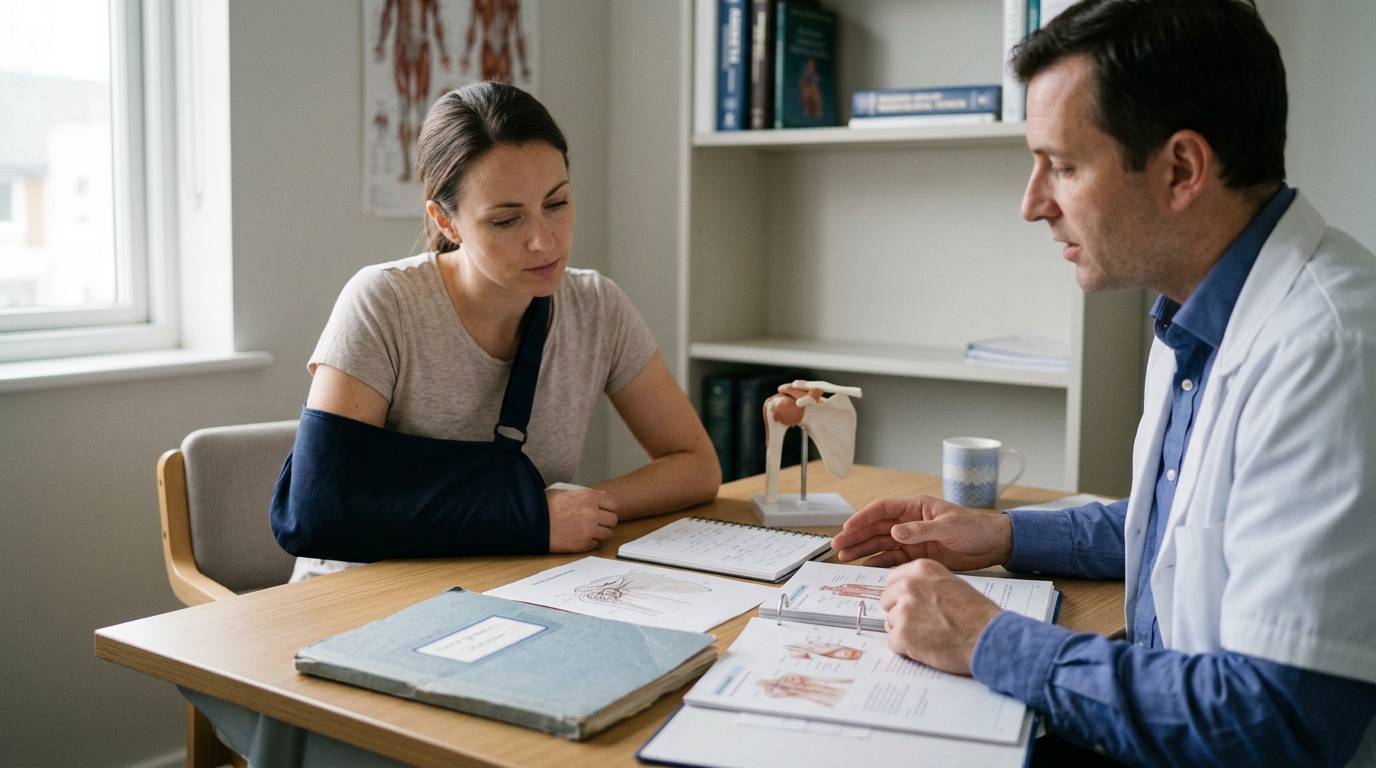
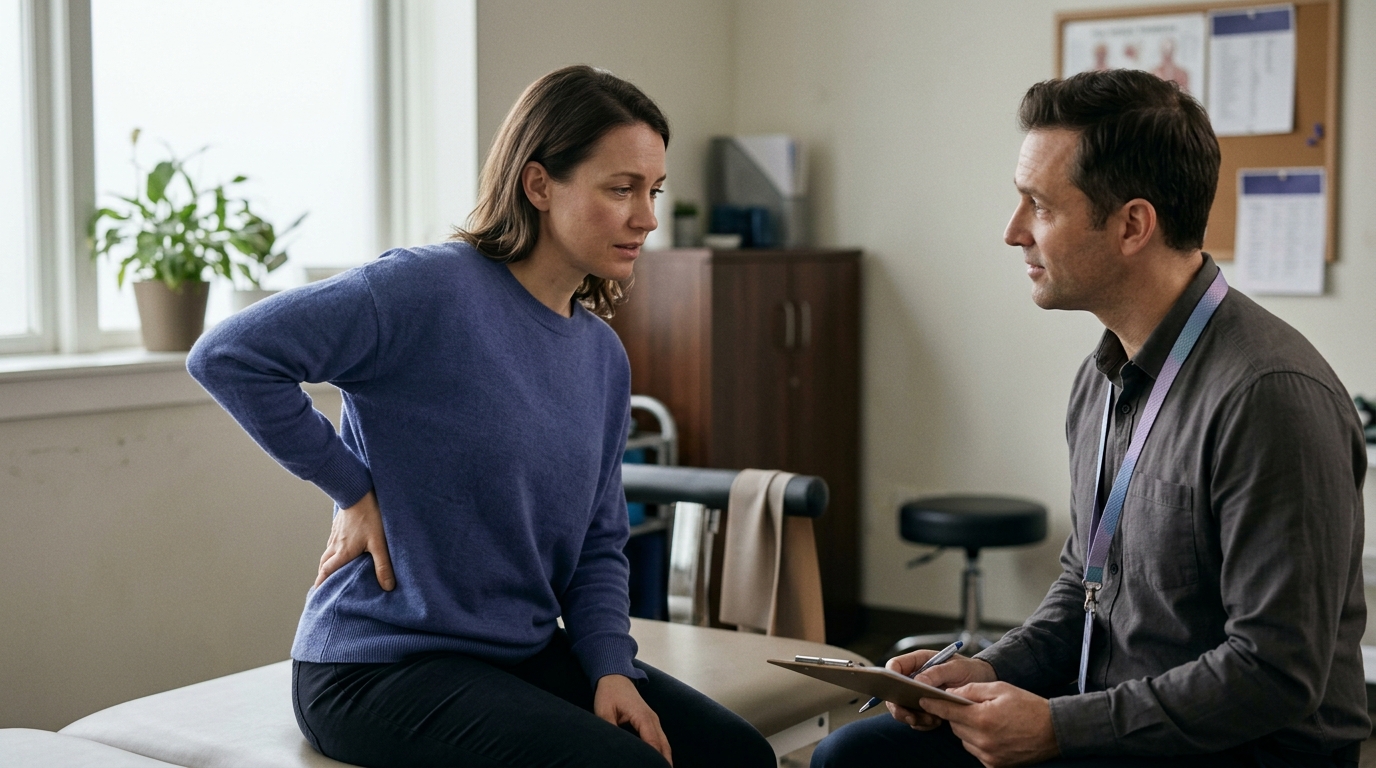
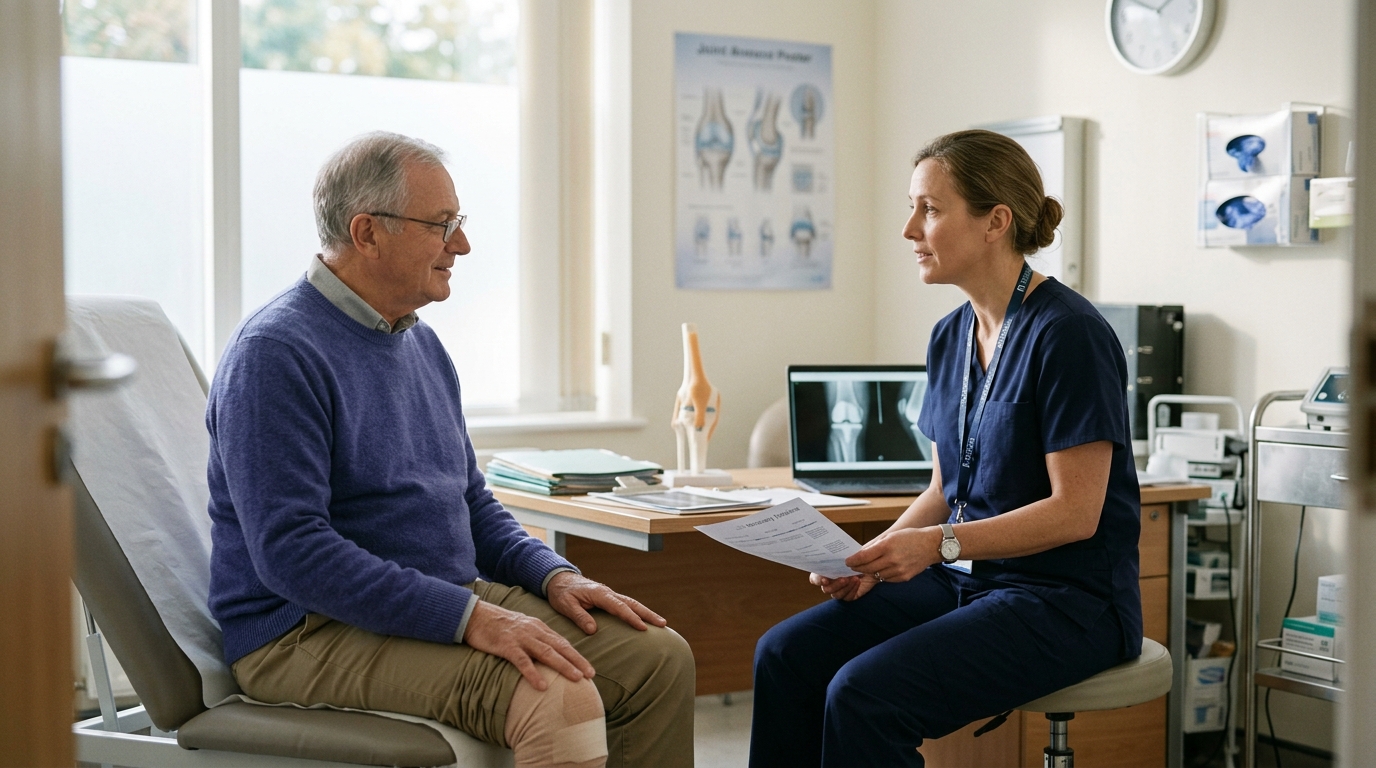
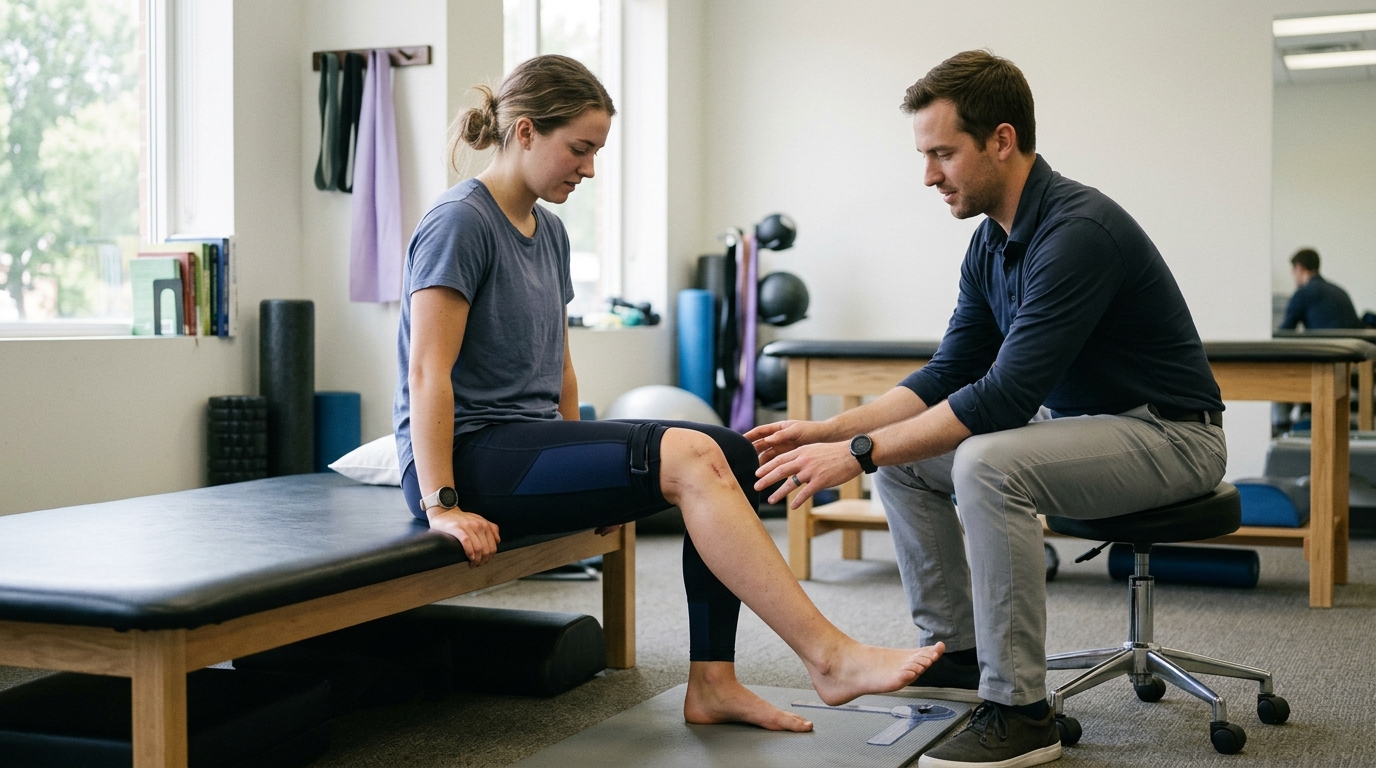
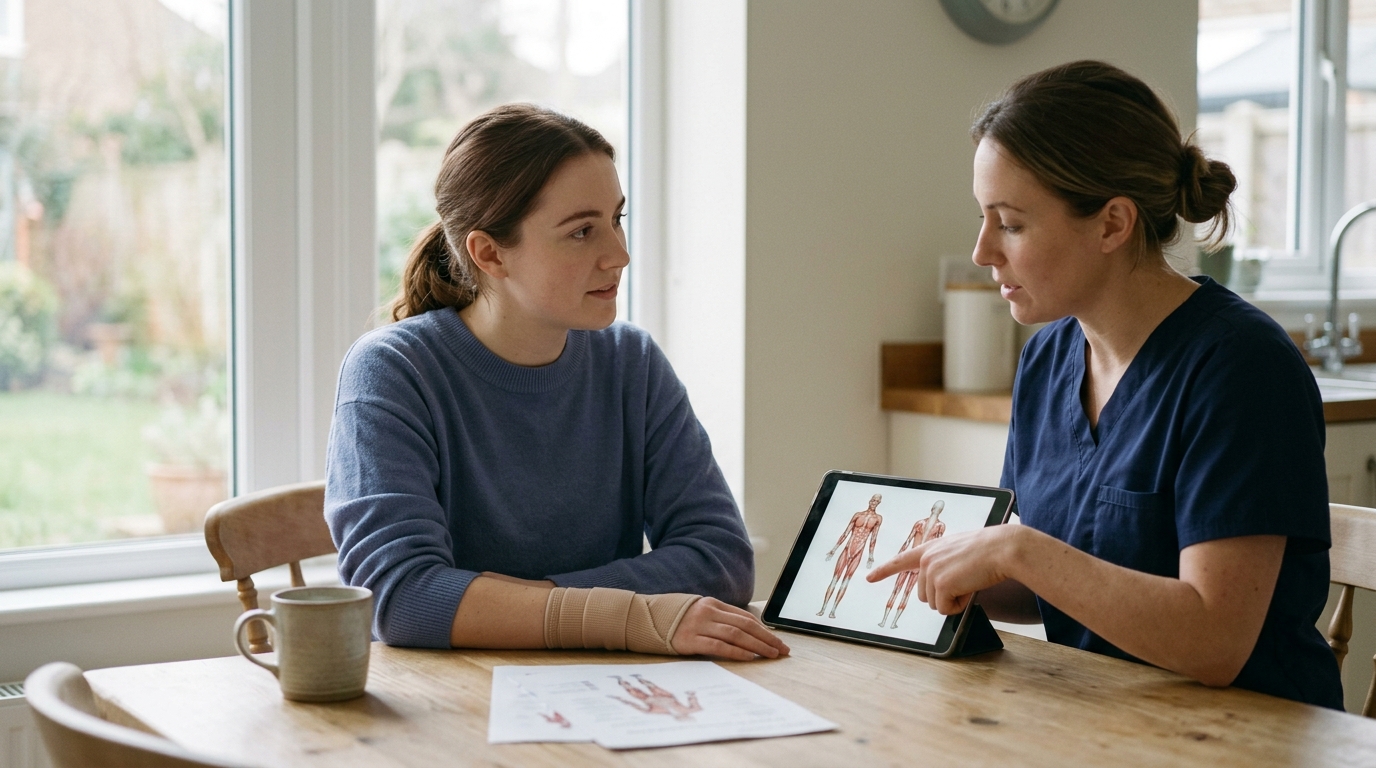
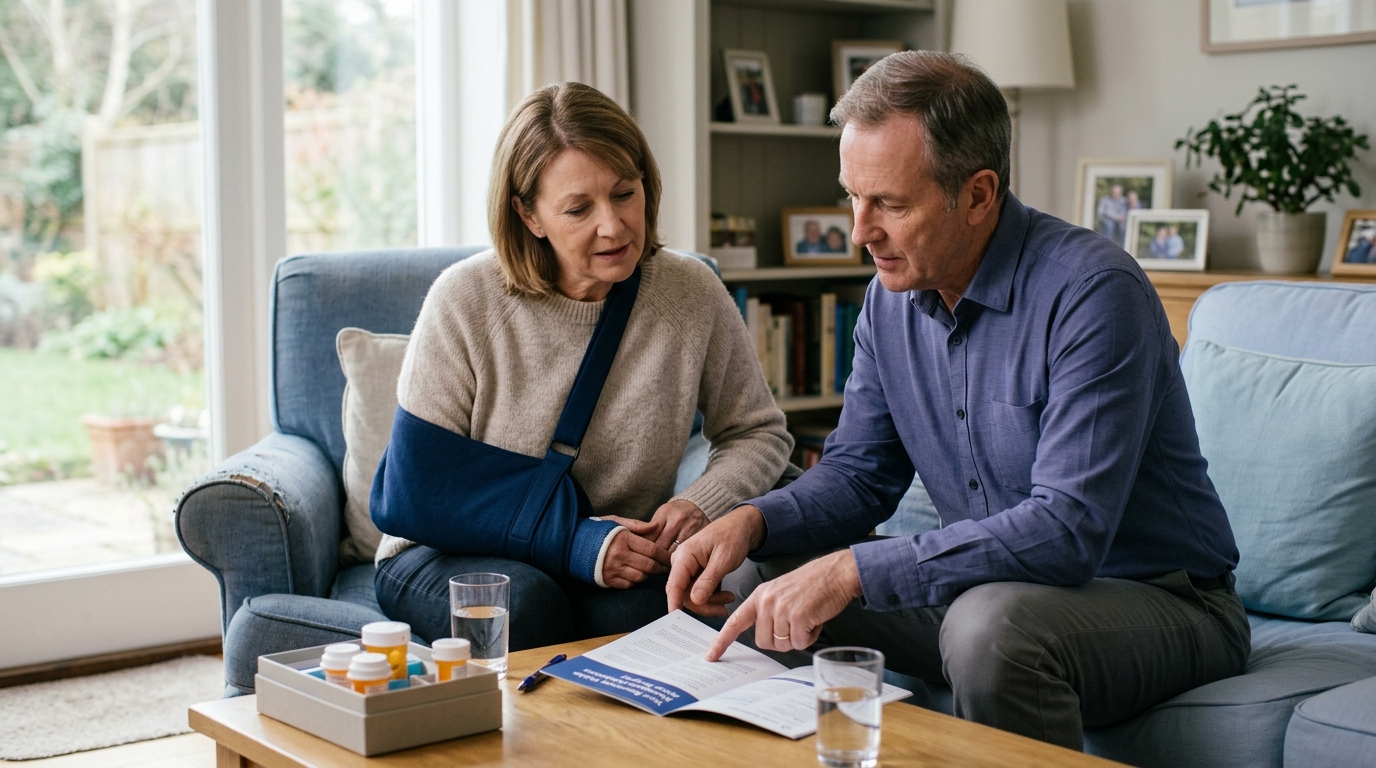
While general physical activity is beneficial, working with a qualified clinician ensures that your movement plan is safe, effective, and tailored to your history. Physical therapists and orthopedic doctors can identify underlying joint restrictions, muscle imbalances, and neurological factors that influence daily movement.
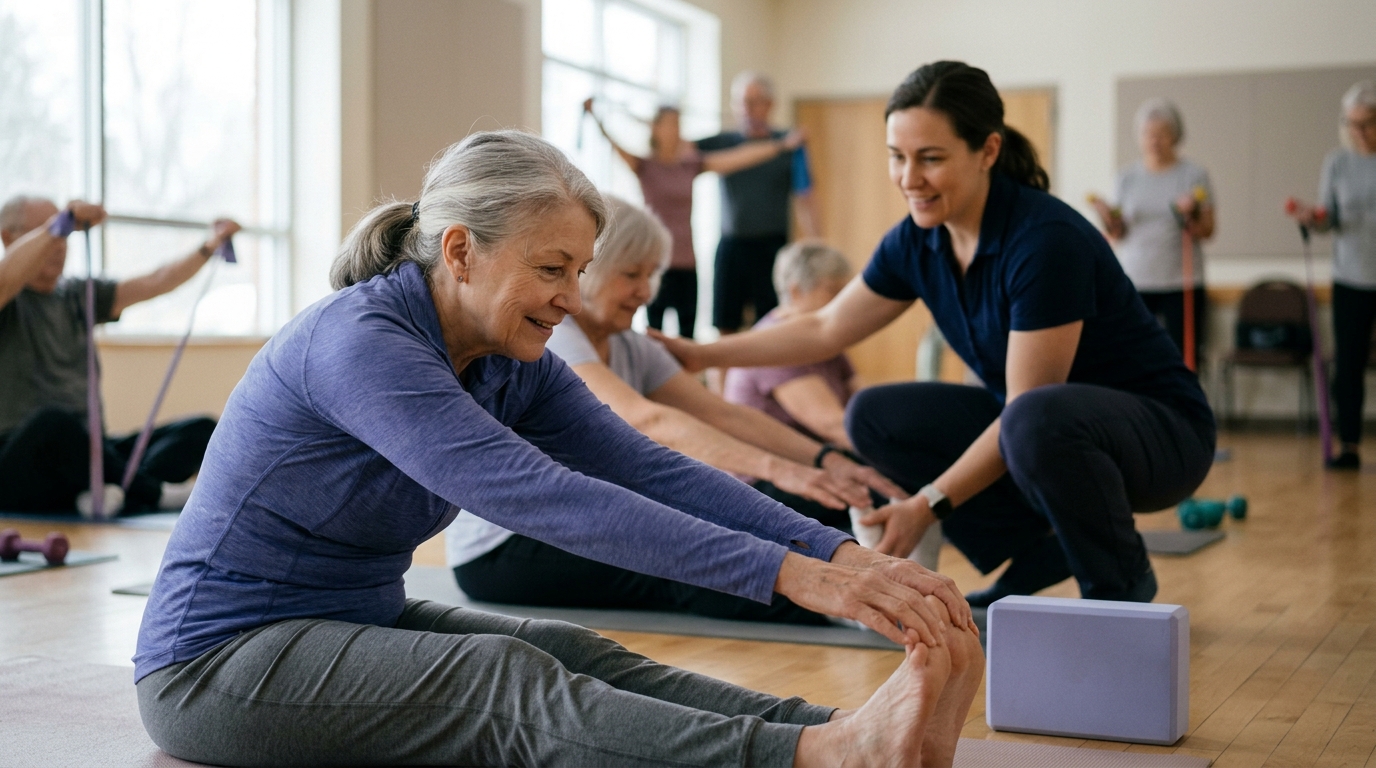
The World Health Organization physical activity guidelines recommend that adults accumulate 150 to 300 minutes of moderate-intensity aerobic activity per week, along with muscle-strengthening activities on two or more days. For older adults, guidelines emphasize varied multicomponent activity on three or more days per week to enhance functional capacity and prevent falls.
NICE guidance on fall prevention highlights the importance of individualized, progressive exercise programs that are reviewed regularly. If you have experienced a fall, have persistent joint pain, or are recovering from surgery, a clinical assessment is an essential first step.
Preparing specific questions helps you get the most out of your clinical appointments:
A collaborative relationship with your healthcare provider ensures that your exercise routine builds capacity without exceeding tissue tolerance.
Rebuilding functional lower-body capacity is a gradual process of helping your body meet the real-world demands of your daily environment with control and confidence.

Use ReboundBody resources to understand common recovery stages, rehab terms, movement limits and strength rebuilding. Each guide is designed to make a complex comeback easier to understand.


Read practical guidance on injury recovery, rehabilitation, mobility and rebuilding strength as you work your way back to activity.
Explore Resources