
Four distinct biomechanical phases define the sit-to-stand movement, helping you master chair transfers by optimizing setup, muscle strength, and clinical test performance.





You are sitting at the dinner table after a long meal, or settling into a deep living room chair after an active day. When it is time to get up, you might lean forward, plant your feet, and push off the armrests. Perhaps your knees feel stiff, or your legs feel slightly hesitant. For many adults recovering from an injury, managing joint pain, or navigating the normal changes of aging, getting out of a chair is no longer automatic.
The sit-to-stand movement is one of the most fundamental physical transitions in human life. It is not just a simple test of thigh strength. Rising from a chair requires shifting your body weight forward from a wide, stable seat to a narrow base of support over your feet. It demands coordinated effort from your legs, hips, spine, and nervous system.
Understanding how this movement works can help you rebuild confidence and daily function. When you know which factors change the difficulty of getting up, you can adjust your environment, refine your technique, and work safely toward your goals.
At its core, the sit-to-stand movement is a mechanical transfer. You start in a seated position where your center of mass is fully supported by a chair. To stand, you must project that mass upward and forward while keeping your balance over two feet.
This transfer relies on four distinct physical capabilities working at the same time:
Because so many systems are involved, difficulty rising from a chair rarely stems from a single cause. Weak leg muscles can make the lift harder, but stiff ankles or poor balance can also disrupt the movement. Furthermore, the environment plays a massive role. Rising from a tall, firm chair with sturdy armrests requires far less effort than standing up from a low, plush couch.
When you practice or evaluate this movement, the goal is not to force a single rigid posture. Instead, the goal is to build a reliable, safe transfer that fits your body and your daily living environment.
Biomechanical researchers often divide the chair rise into four sequential phases. Breaking the movement down helps explain why someone might struggle at a specific point in the transfer rather than across the entire action.
The movement begins before your hips ever leave the seat. During the flexion-momentum phase, you tilt your upper body forward at the hips. This action generates forward momentum and shifts your center of mass closer to your feet.
Your trunk muscles, hip flexors, and spine work together to create this forward lean. If you do not lean forward enough, your center of mass stays behind your feet, making it almost impossible to lift your body without pulling on a nearby surface.
The momentum transfer phase begins the moment your buttocks lift off the chair, often called "seat-off." This is the most demanding transition in the entire sequence. Your base of support abruptly shifts from the wide surface of the chair to the small area beneath your feet.
At seat-off, the forward momentum generated by your trunk must transfer into vertical lift. This phase requires precise coordination between your hip extensors, knee extensors, and ankle stabilizers to prevent you from falling forward or dropping back onto the seat.
Once your body is airborne, the extension phase drives you upward to full height. Your quadriceps straighten your knees, your gluteal muscles extend your hips, and your back extensors straighten your spine.
This phase demands the greatest amount of raw muscular work from the lower limbs. If your leg muscles lack endurance or force, the upward ascent may slow down, stall, or require assistance from your arms.
The movement is not finished when your knees lock straight. The stabilization phase occurs right after you reach standing height, as your body makes small muscular corrections to become steady.
During stabilization, your calf muscles, ankle joints, and sensory systems work together to control sway. If your balance is challenged, you may feel a brief wobble during these first few seconds of upright posture.
A wide body of rehabilitation research explores the mechanics of rising from a chair. Clinical researchers have evaluated how muscle strength, joint mobility, and age influence this everyday skill.
A comprehensive review of 39 experimental studies published in Physical Therapy examined the primary biomechanical determinants of rising from a chair. The researchers found that chair rise performance depends heavily on task constraints, movement strategy, and individual physical capacity. The review emphasized that chair-rise ability should not be viewed solely as a test of isolated muscle strength.
Systematic reviews examining age-related biomechanics highlight several common shifts in how older adults stand up compared to younger individuals. On average, older adults show:
These findings describe general group trends, not an unavoidable outcome for any single person. Many older adults maintain excellent rising mechanics, while younger individuals recovering from joint surgery may display similar compensations. Exploring active aging and injury prevention resources can provide helpful context on maintaining functional mobility over time.
Research also shows that hip and knee joint loads change dramatically based on how you move. When you rise without using your arms, your knee and hip extensors must overcome the entire weight of your upper body. When you modify your technique or use supportive surfaces, you can reduce those joint forces significantly.
The effort required to stand up is not fixed. Small changes in your environment or body position can either double the physical demand or cut it in half.
Seat height is one of the most critical factors in chair-rise biomechanics. When a chair is low, your hips and knees must bend into deeper angles, placing your muscles at a mechanical disadvantage.
The review in Physical Therapy noted that lowering the seat increases the joint moments required at the hip and knee. In contrast, raising a seat can reduce hip extension demands by up to 50% and knee extension demands by up to 60%. If a seat is too low, the physical demand may exceed a person's available strength, making an unassisted rise impossible.
Where you place your feet before standing alters your leverage. When your feet are tucked slightly behind your knees (a posterior foot position), your center of mass is already closer to your base of support.
Research shows that placing feet farther back shortens total movement time and reduces the joint forces needed at the hip. Placing your feet far out in front increases the forward lean required to reach seat-off. While coaching "feet under you" is a common strategy, your ideal foot placement will depend on your ankle mobility and knee comfort.
Using your hands to push off armrests or your thighs is a practical way to manage joint stress. Biomechanical data show that using armrests can reduce the muscular demand on the hips by approximately 50%.
Pushing with the arms is often viewed incorrectly as a sign of failure. In clinical reality, using your arms is an effective adaptation that allows safe, independent movement while you rebuild lower-body strength.
The speed at which you stand changes the physical forces involved. Standing up quickly uses momentum to carry your body through the difficult seat-off phase, but it also increases peak forces at the knee and ankle.
Moving fast can also challenge your balance during the stabilization phase. Practicing at a controlled, moderate pace allows you to maintain coordination and stability throughout the entire transfer.
Because the chair rise reflects so many aspects of mobility, physical therapists and medical providers use standardized chair-stand tests to measure physical function. Understanding these tests can help you interpret your clinical progress.
The Five Times Sit-to-Stand test measures the time in seconds it takes to stand up and sit down five times as quickly as possible. The American Physical Therapy Association (APTA) notes that the 5TSTS is a valuable tool for tracking functional changes in transitional movements.
During the test, participants typically sit with their arms crossed over their chest to isolate lower-body effort. Clinicians use stopwatches to record the exact duration from the initial command to the final seated position.
Published cutoffs for the 5TSTS vary based on the specific group being tested:
These cutoffs are reference ranges rather than absolute rules. A slower time does not automatically mean you will fall, and a fast time does not guarantee perfect balance. The NeuroPT 5TSTS pocket guide explicitly emphasizes that cutoff scores must always be interpreted alongside a complete physical evaluation.
Developed as part of the CDC STEADI (Stopping Elderly Accidents, Deaths, & Injuries) initiative, the 30-Second Chair Stand test counts how many full stands you can complete in half a minute. Like the 5TSTS, the standard protocol requires crossing your arms over your chest.
According to the CDC protocol:
MedlinePlus highlights that the 30-second test provides a clear snapshot of both lower-body strength and dynamic balance. However, the standardized test is an assessment tool, not a mandatory starting point for daily home exercise.
Standardized tests provide helpful data, but they have built-in limitations. A clinical test uses a standard, armless, rigid chair on a flat floor. Real life involves soft sofas, crowded restaurant booths, and low car seats.
Furthermore, laboratory tests isolate the chair rise as a single event. In daily life, standing up is almost always linked to another task, such as walking across a room or carrying an object. For more insights on movement testing, review our rehabilitation, mobility and movement resources.
People often adopt specific movement strategies when getting out of a chair. Recognizing these patterns can help you understand what your body is doing without jumping to conclusions.
This is a classic example of environmental constraints at work. Dining chairs are typically high, firm, and supportive. Sofas are low, soft, and allow your hips to sink below your knees.
When you sink into a soft couch, the joint moments needed to initiate seat-off increase dramatically. The issue is rarely a sudden loss of strength. Instead, the deeper joint angle and unstable surface simply demand more force than your muscles currently produce.
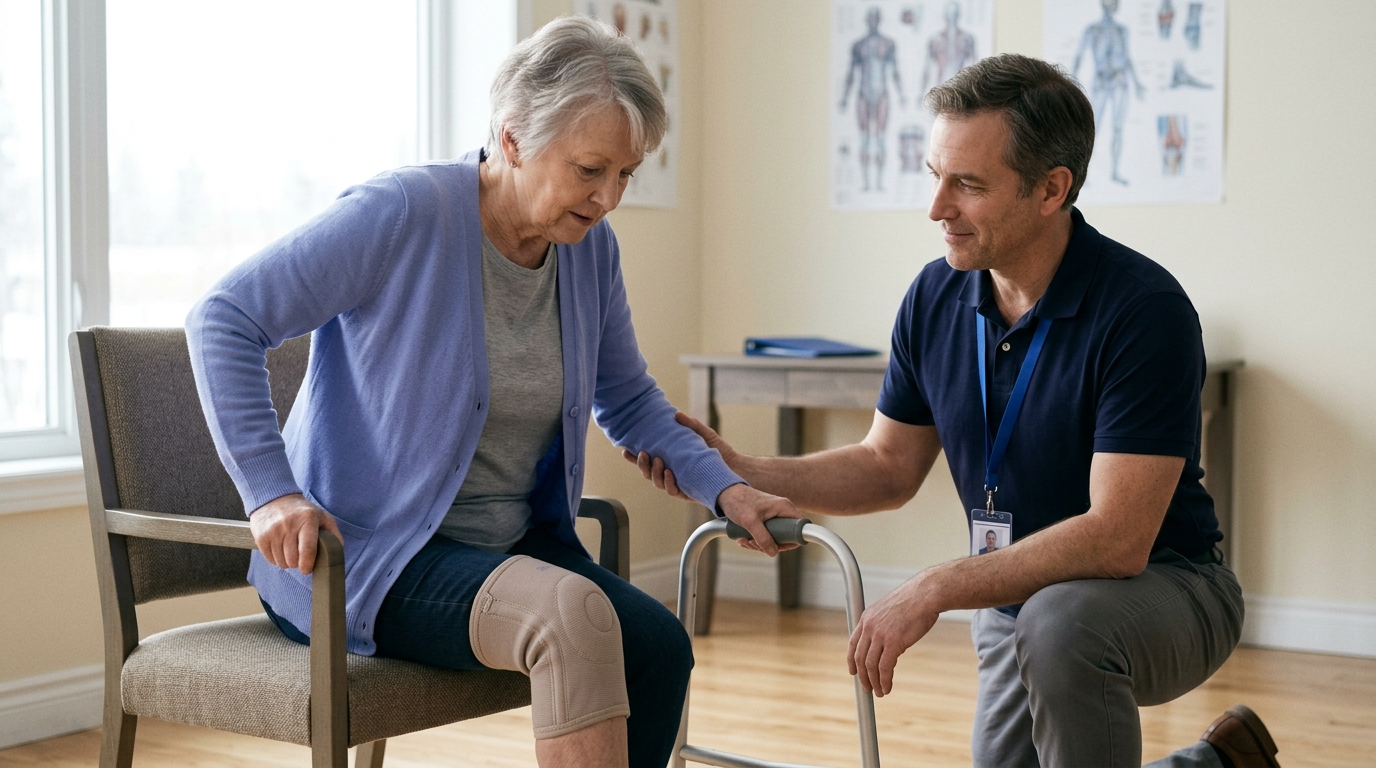
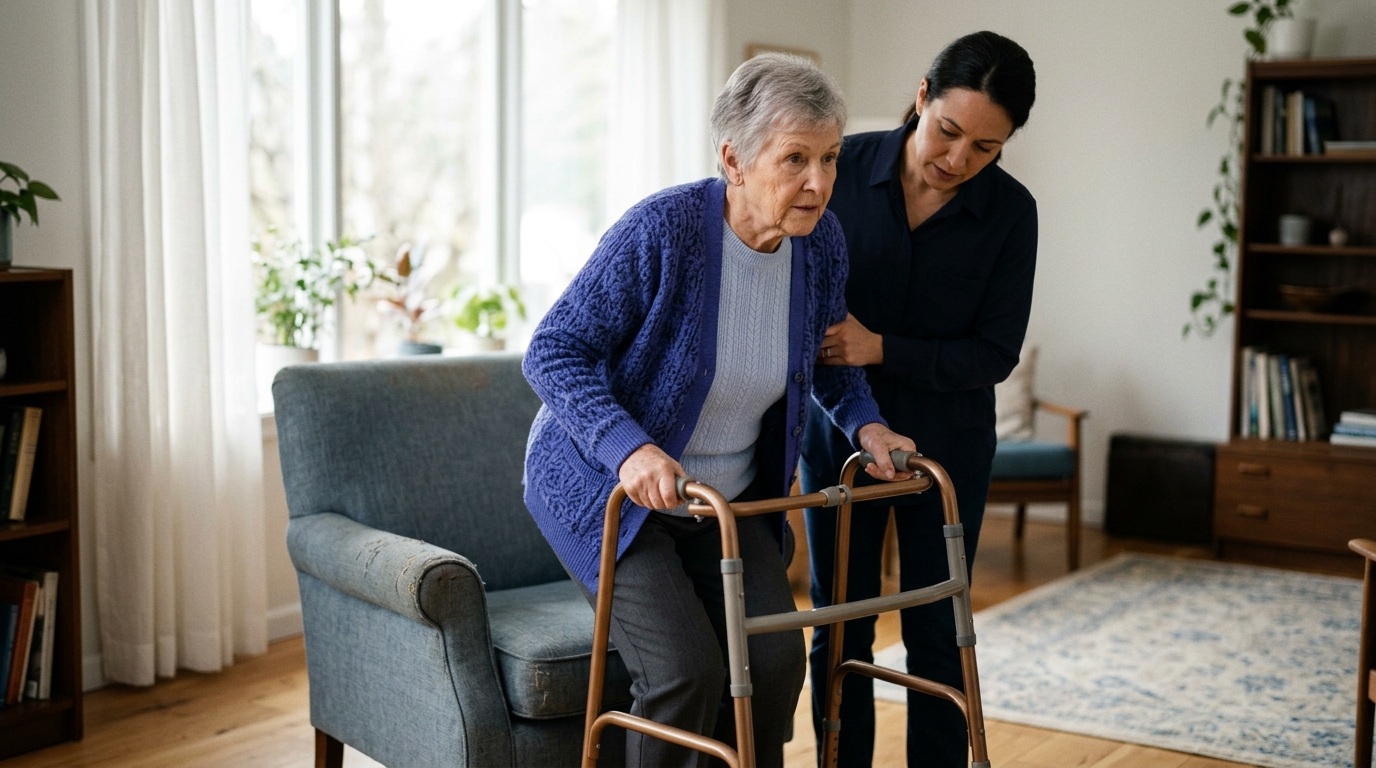
Using your hands to push off a chair or your knees means your upper body is assisting your leg muscles. As research shows, arm support offloads the hips and knees by up to half their mechanical requirement.
This pattern is a sensible strategy, especially during post-surgical rehabilitation or flare-ups of joint pain. Pushing with your hands allows you to practice the movement pattern safely without overloading healing tissues.
If you can lift your body easily but wobble after standing, your challenge is likely in Phase 4: Stabilization. Rising up creates momentum that must be brought to a controlled stop over your feet.
This unsteady feeling often relates to balance integration, inner ear signals, or ankle stiffness rather than leg weakness. Paying attention to how you settle your weight once standing is just as important as the upward drive.
Being able to stand up once requires peak strength, while standing up repeatedly demands muscular endurance and energy efficiency. Fast, repetitive rises introduce muscular fatigue, which alters movement mechanics.
If repeated chair stands cause your technique to deteriorate, your training target might be pacing and steady volume rather than just raw lifting power.
If you place your feet far out in front of your knees, your center of mass has a long way to travel before it sits over your base of support. You must lean aggressively forward to avoid falling back.
Tucking your feet slightly backward shortens that distance and makes the lift more direct. If stiff ankles prevent you from bringing your feet back, improving ankle mobility can make standing up significantly easier.
Bending deeply at the waist before standing is a common strategy to generate forward momentum. Research confirms that older adults and people rebuilding strength often use greater trunk flexion to assist seat-off.
Leaning forward is not inherently incorrect. It is a natural mechanical compensation that helps move your weight over your feet. However, if the forward bend is excessive, it may indicate that your quadriceps are seeking help from your hip and back muscles.
Rebuilding your sit-to-stand ability does not require complicated equipment. By manipulating chair height, arm support, and repetitions, you can create a safe progression that matches your current ability.
You can think of sit-to-stand practice as a progressive ladder. You do not need to advance through every rung immediately. Work at the level where you can move with control and confidence.
Start on a firm, tall chair, or place a dense foam cushion on the seat. Use sturdy armrests to assist both the upward push and the descent. Focus on shifting your weight forward smoothly before pushing up.
Practice on a standard dining chair with arms. Use your hands to push off, but try to let your legs do slightly more of the work. Stand fully upright, pause for two seconds to stabilize, and lower down under control.
Return to a slightly elevated seat, but reduce how much you use your arms. You might place just your fingertips on the armrests or cross one arm across your chest. This challenges your legs while keeping safety support nearby.
Sit in the middle of a standard, stable chair. Cross your arms over your chest, place your feet flat on the floor, lean forward at the hips, and rise smoothly to standing. Settle your balance before sitting down slowly.
Once you can perform a clean, unassisted rise, practice completing multiple repetitions at a comfortable pace. Focus on landing softly on the chair rather than dropping onto the seat. For broader guidance on functional conditioning, see our articles on rebuilding everyday strength.
In daily life, you rarely stand up just to stay still. Practice rising from a chair, establishing stable balance for one second, and then taking three smooth steps forward. This bridges the gap between static exercise and daily activity.
Using simple mental cues can help you coordinate the four phases of the movement without overthinking the mechanics.
Before you begin to stand, slide your feet back so your heels are flat and positioned slightly behind your knees. This shortens the distance your body must travel to reach seat-off.
As you initiate the movement, fold forward at your hips and bring your chest over your thighs. Bringing your "nose over toes" ensures your center of mass moves cleanly over your feet before you try to push upward.
Drive your feet into the floor and straighten your hips and knees until you reach full height. Look straight ahead rather than down at the floor, which helps you stabilize your posture.
The descent is just as valuable as the ascent. Reach your hips back toward the chair and lower yourself slowly. Resisting gravity on the way down builds eccentric strength in your quadriceps and protects your joints.
Practicing functional movements at home should always prioritize safety. A few simple precautions can help prevent slips, trips, or excessive strain.
Follow these baseline recommendations from health guidelines:
Exercise guidance from the UK National Health Service (NHS) emphasizes listening to your body during home movement. You should stop your practice, sit down, and rest if you experience:
If any of these warning signs persist, contact a healthcare professional promptly for individualized medical guidance.
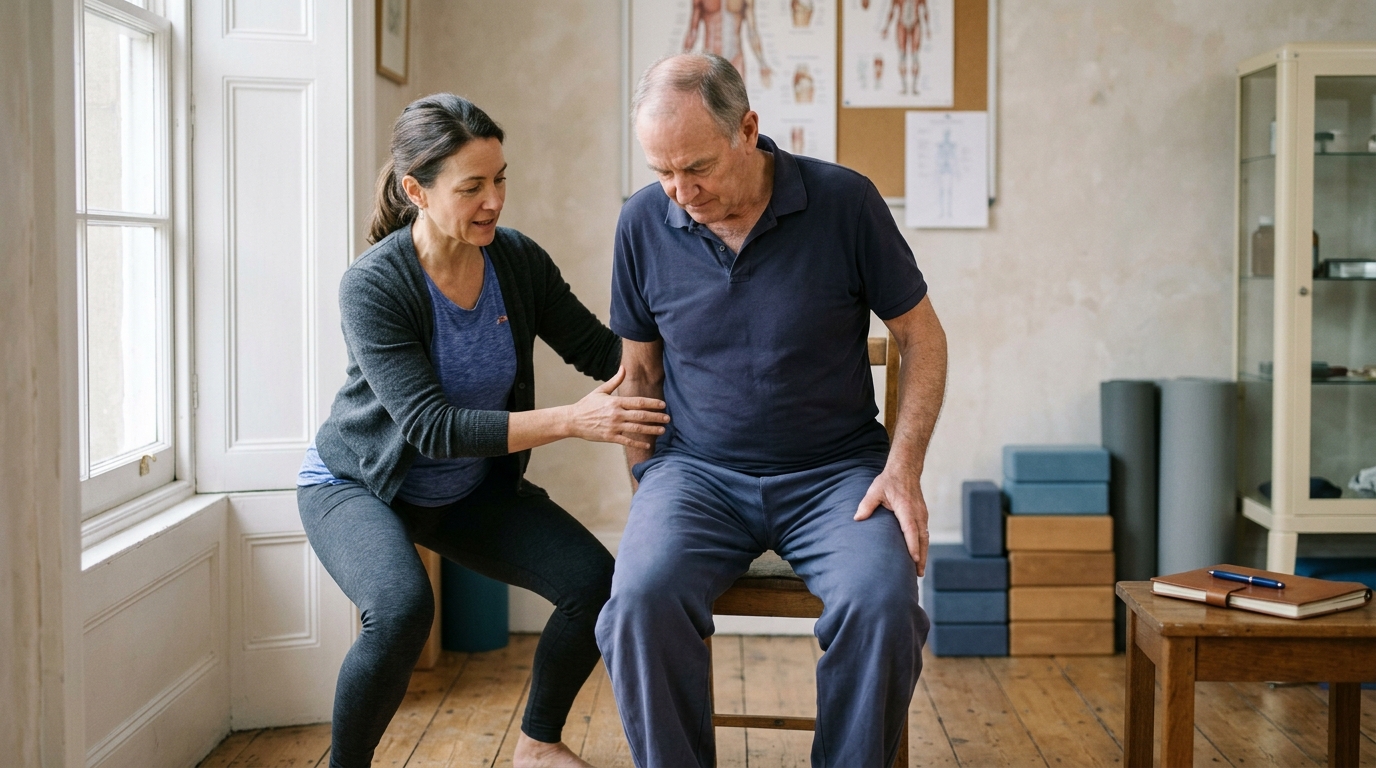
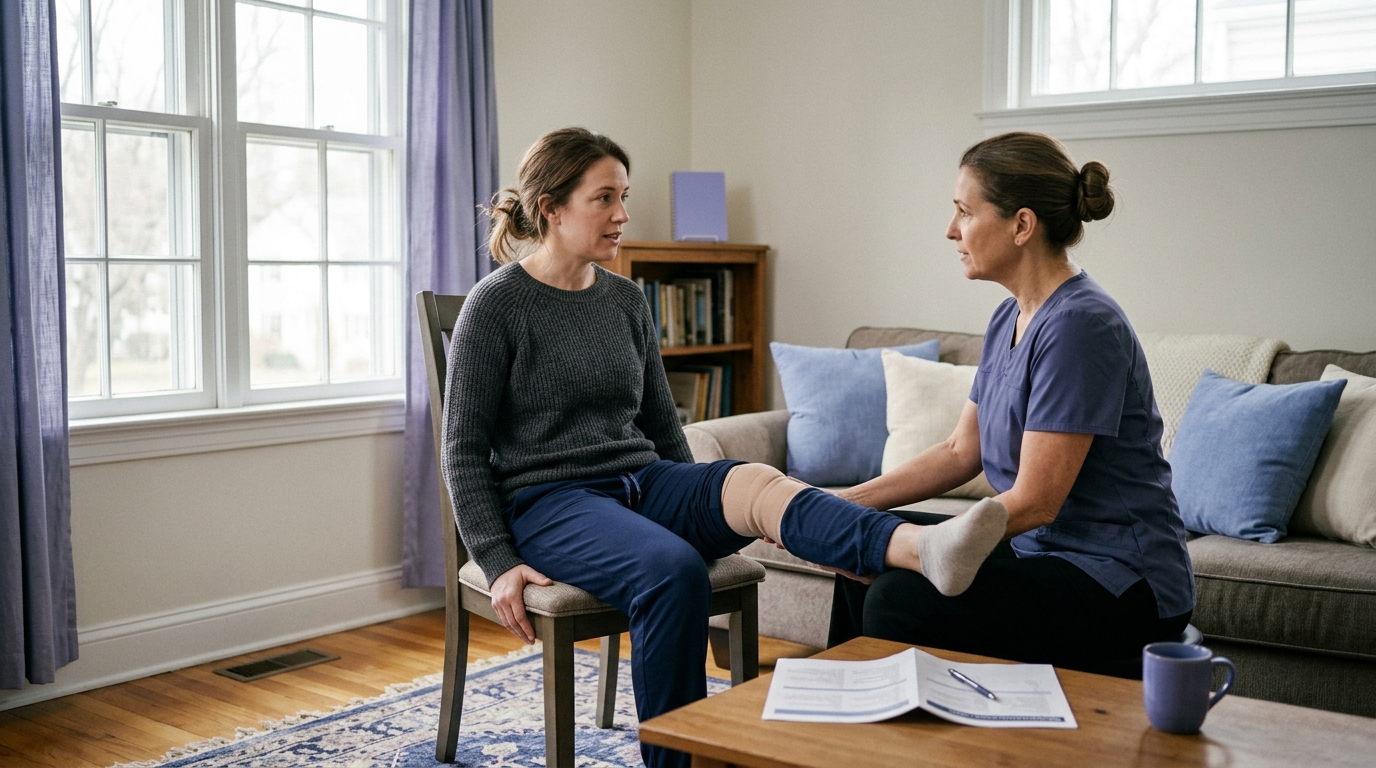
If you find standing up difficult or unsteady, discussing your symptoms with a physical therapist or medical provider is an important step. Here are practical questions you can ask during your next visit:
For individuals who have fallen or experience noticeable instability while walking, CDC guidelines recommend a comprehensive fall-risk assessment. This evaluation may include reviewing medications, testing sensation and nerve function, checking vision, examining footwear, and evaluating cardiovascular health.
The sit-to-stand movement is a foundational daily skill that connects lower-limb strength, joint motion, coordination, and dynamic balance. Being able to rise comfortably from a chair supports personal independence, recreational activities, and overall quality of life.
Difficulty getting up is rarely an all-or-nothing problem. It is a functional puzzle shaped by your seat height, foot placement, arm support, and pacing. By making small, progressive adjustments to your setup and practicing with control, you can systematically rebuild this essential movement over time.
Review this guide whenever you are changing your home exercise routine, recovering from a minor physical setback, or preparing to discuss functional mobility goals with your healthcare team. Consistent, mindful practice remains one of the most effective ways to maintain steady movement throughout your life.

Use ReboundBody resources to understand common recovery stages, rehab terms, movement limits and strength rebuilding. Each guide is designed to make a complex comeback easier to understand.


Read practical guidance on injury recovery, rehabilitation, mobility and rebuilding strength as you work your way back to activity.
Explore Resources