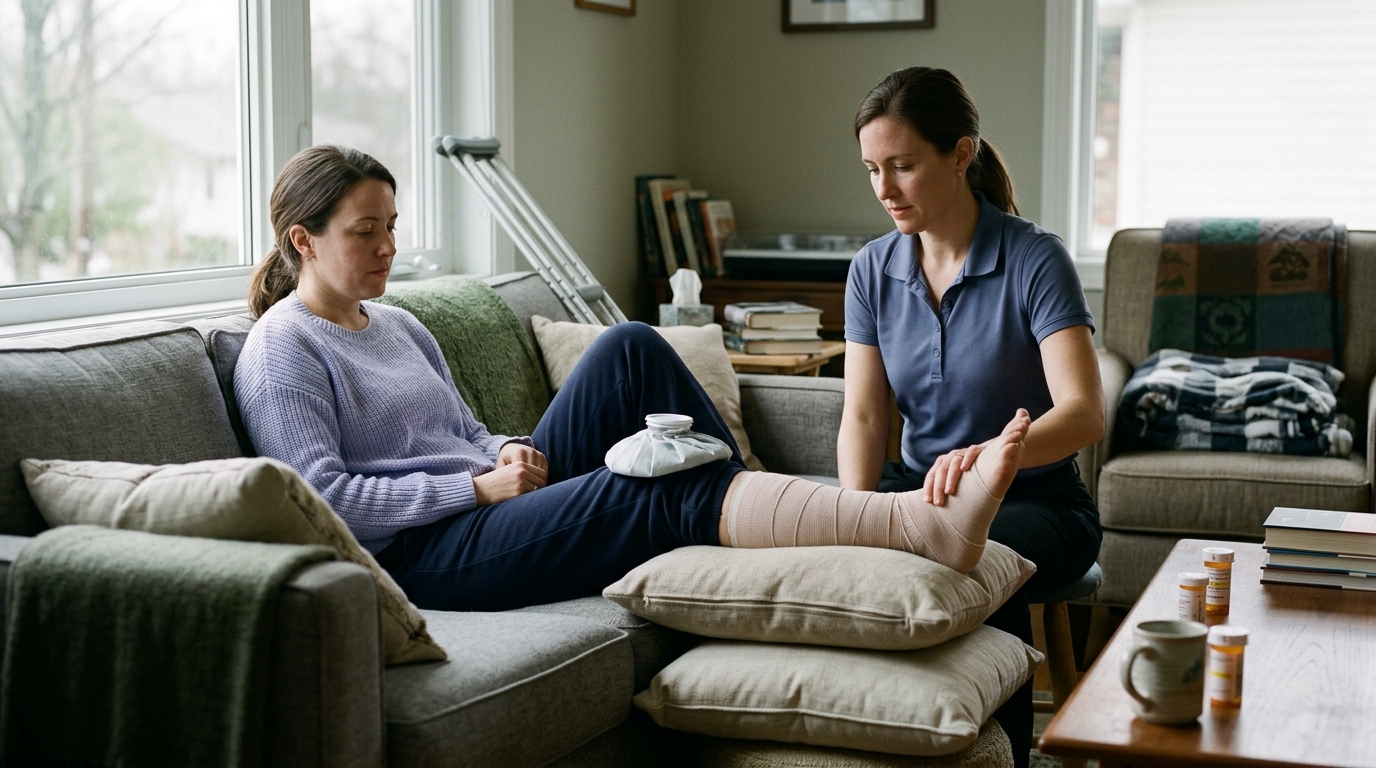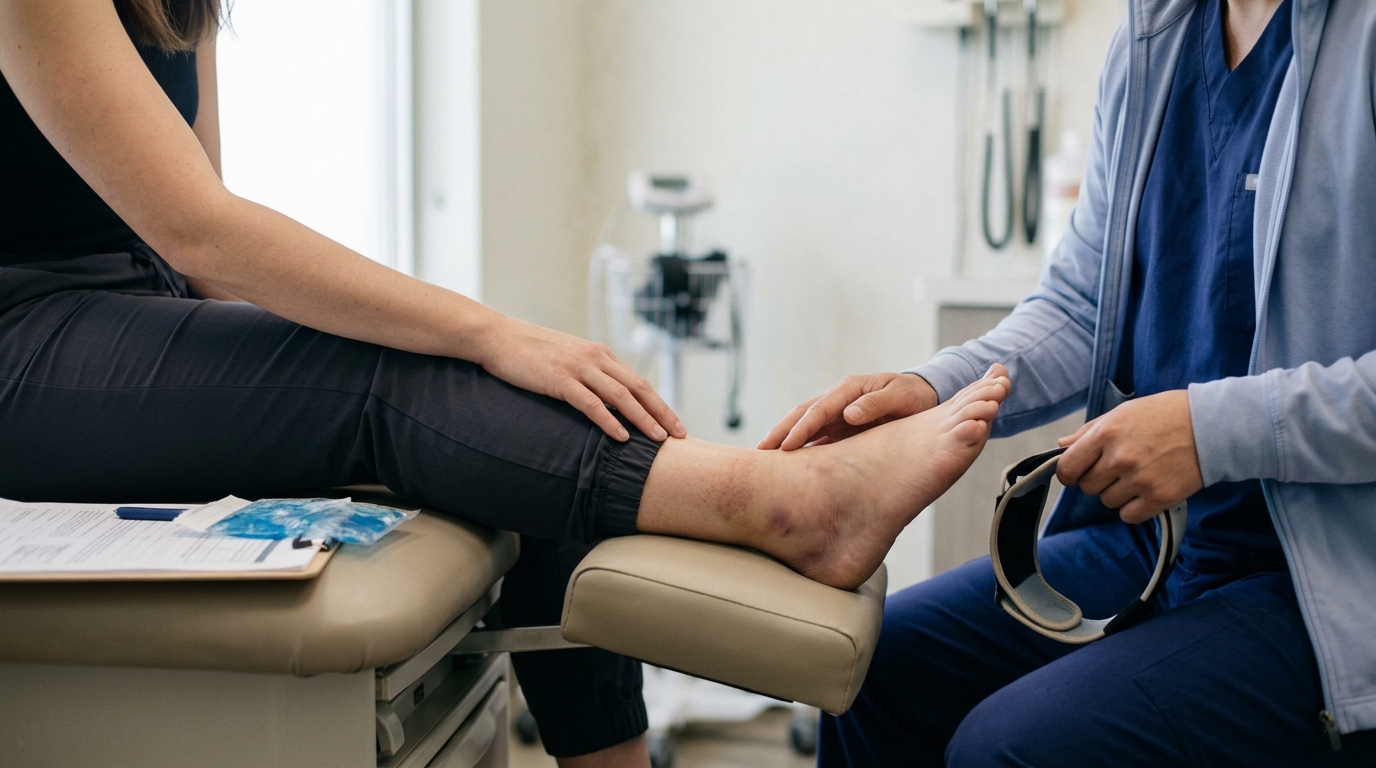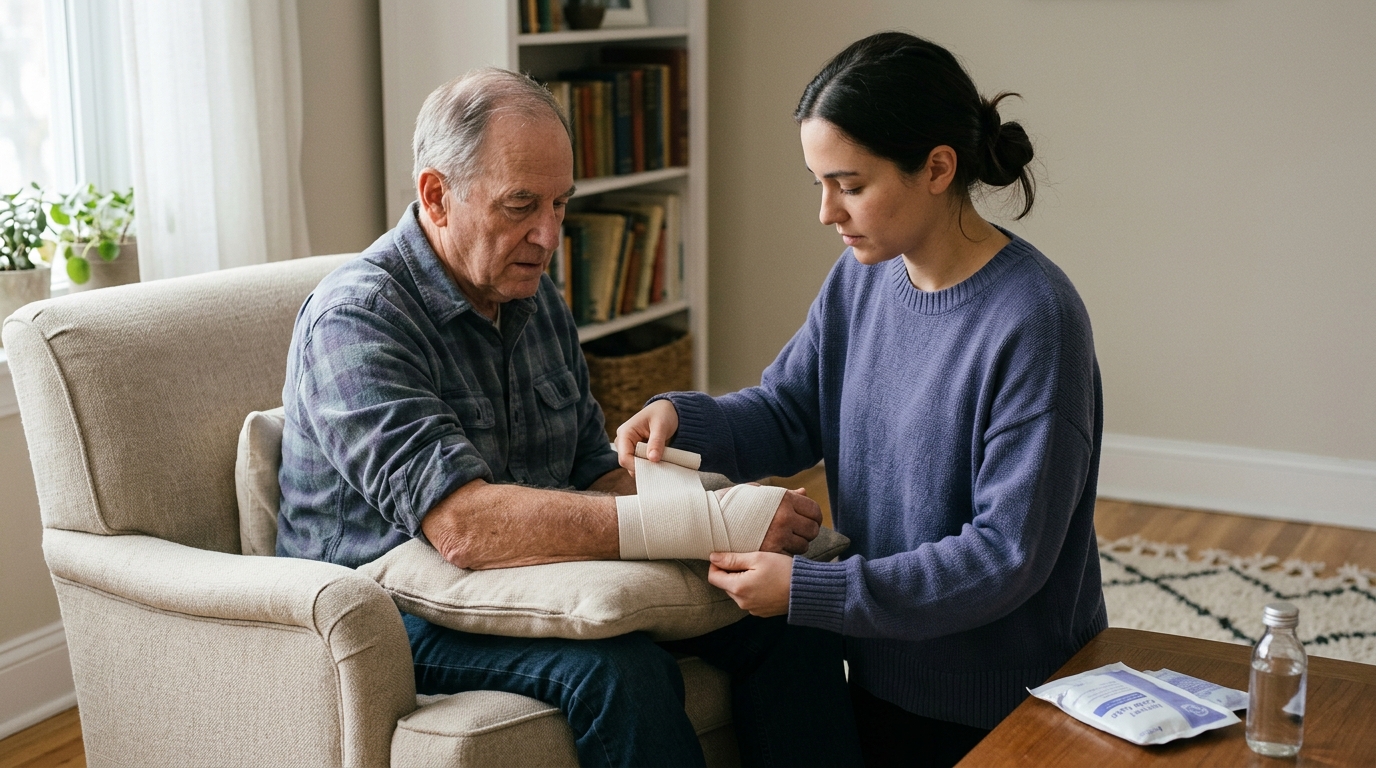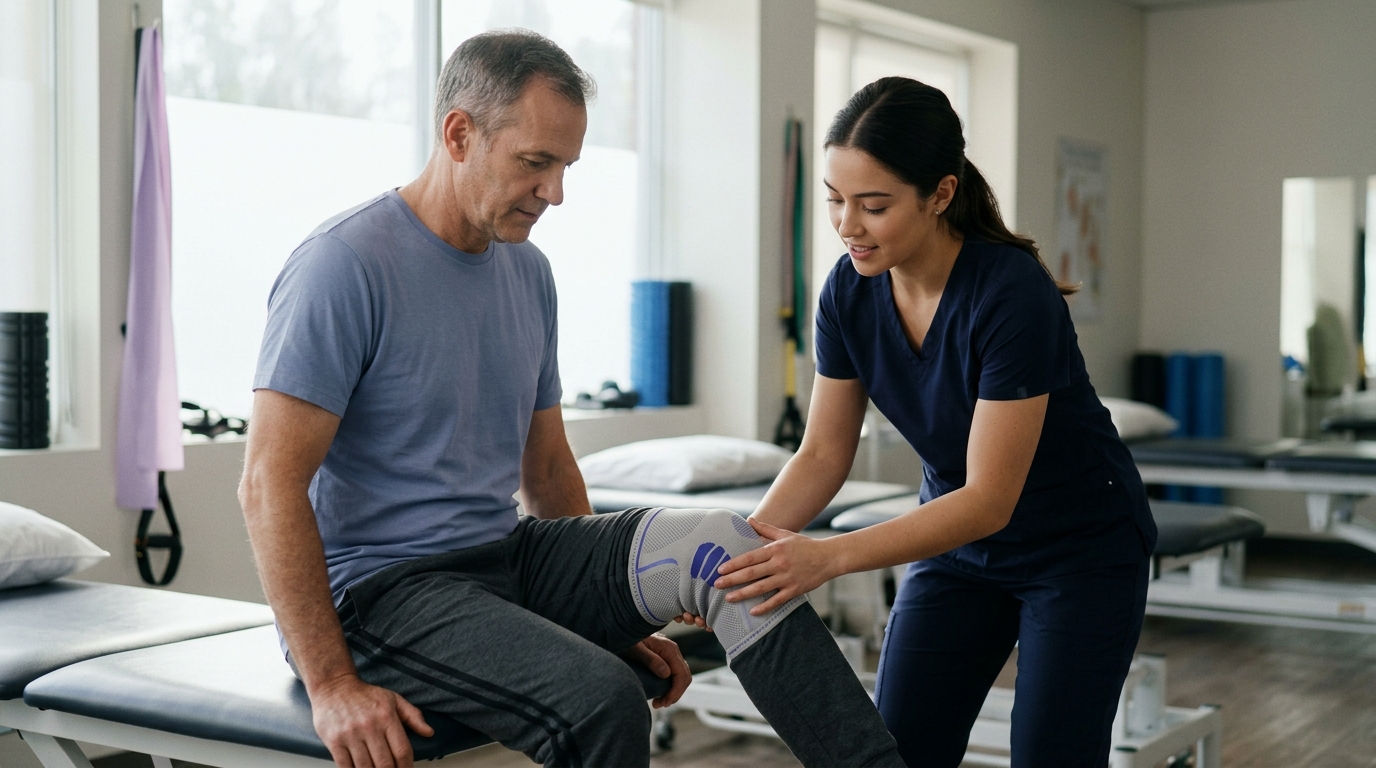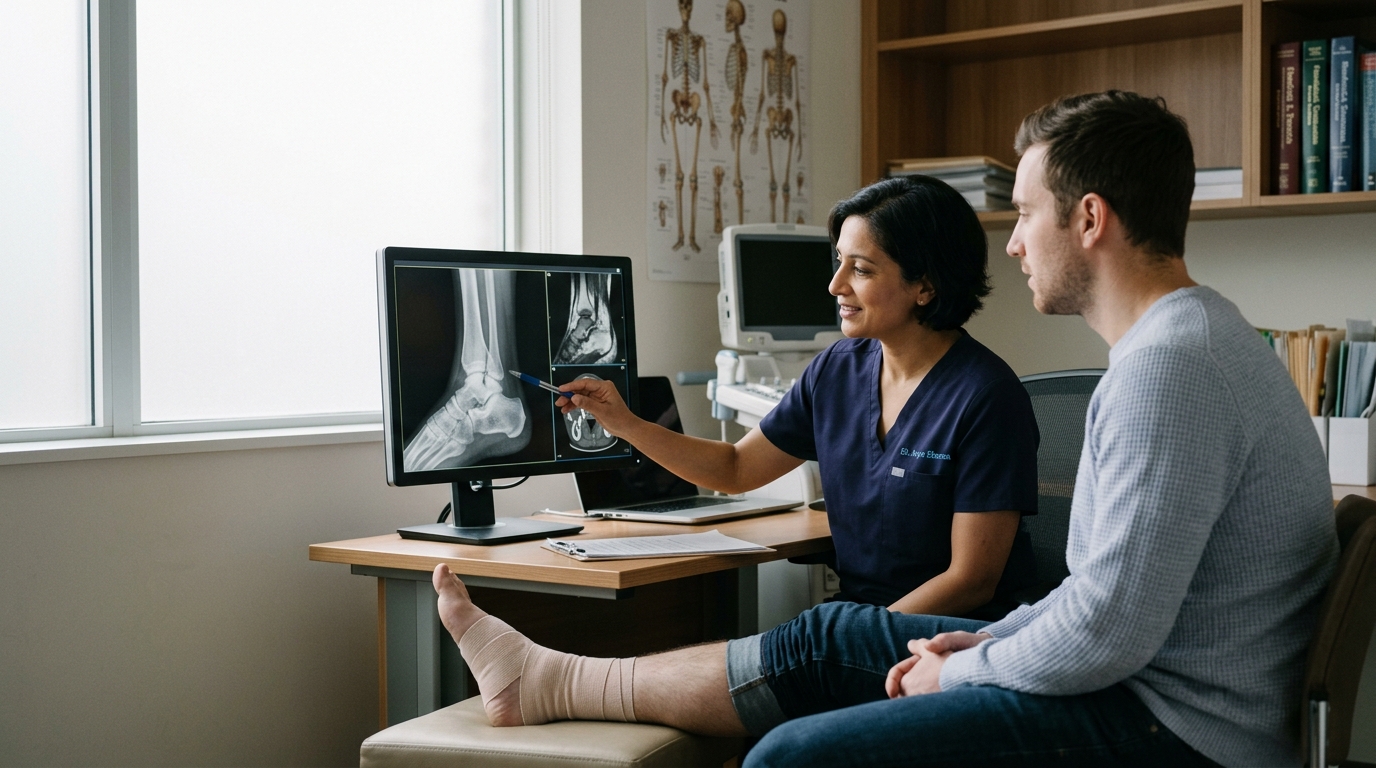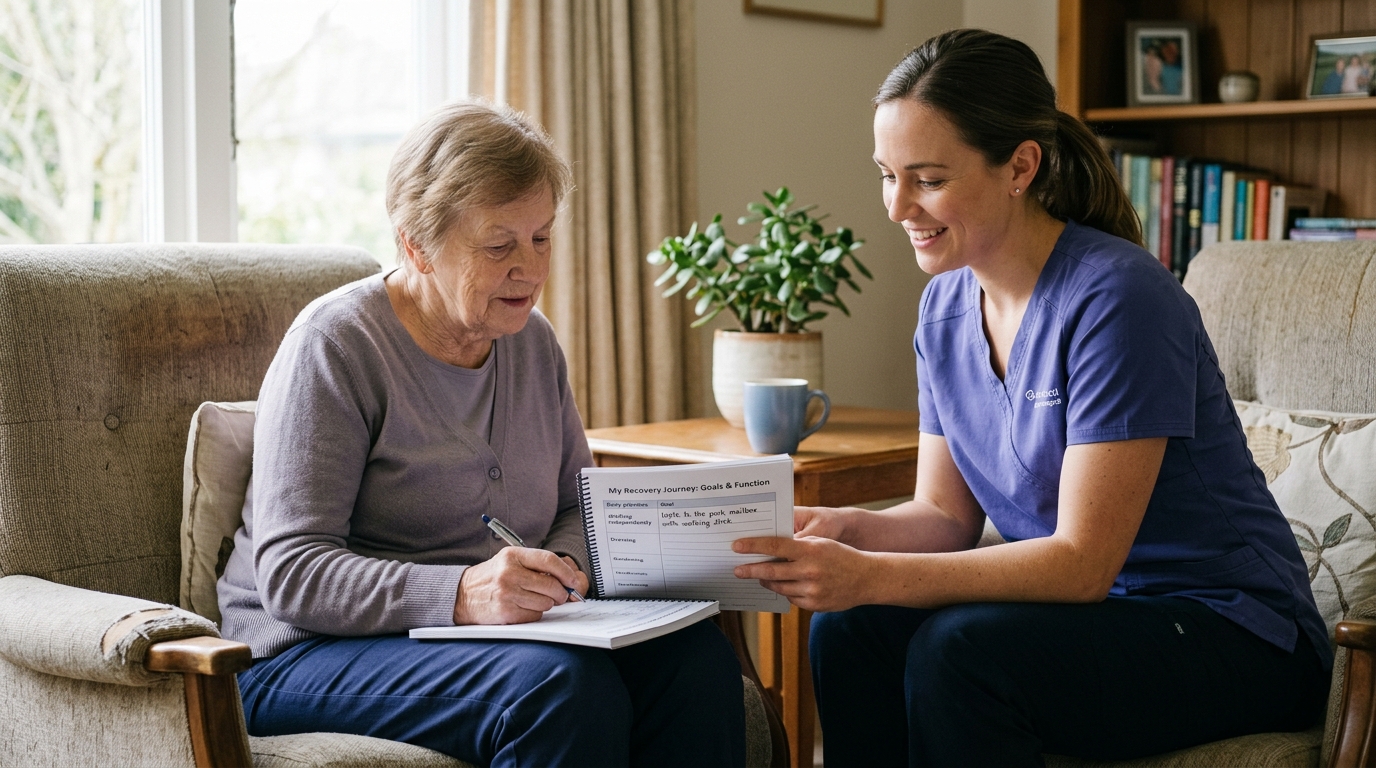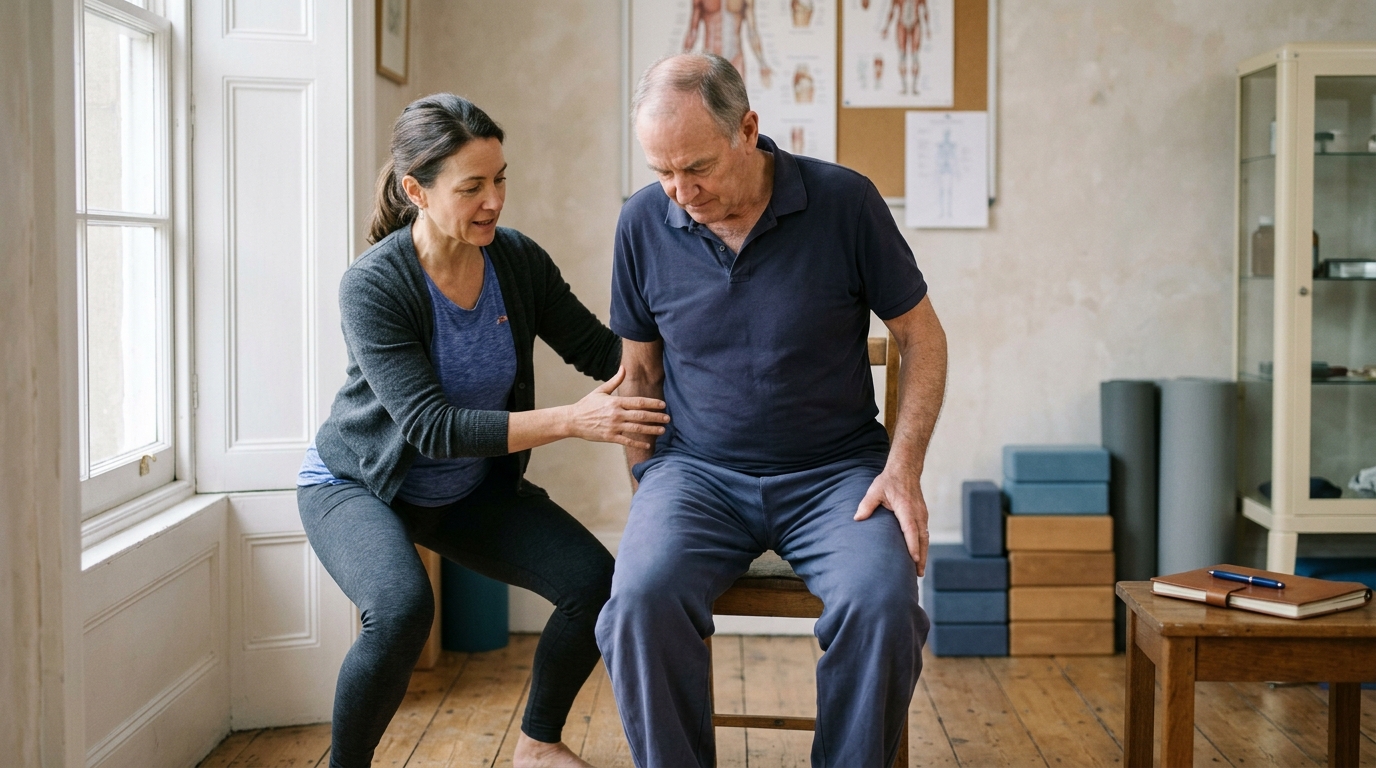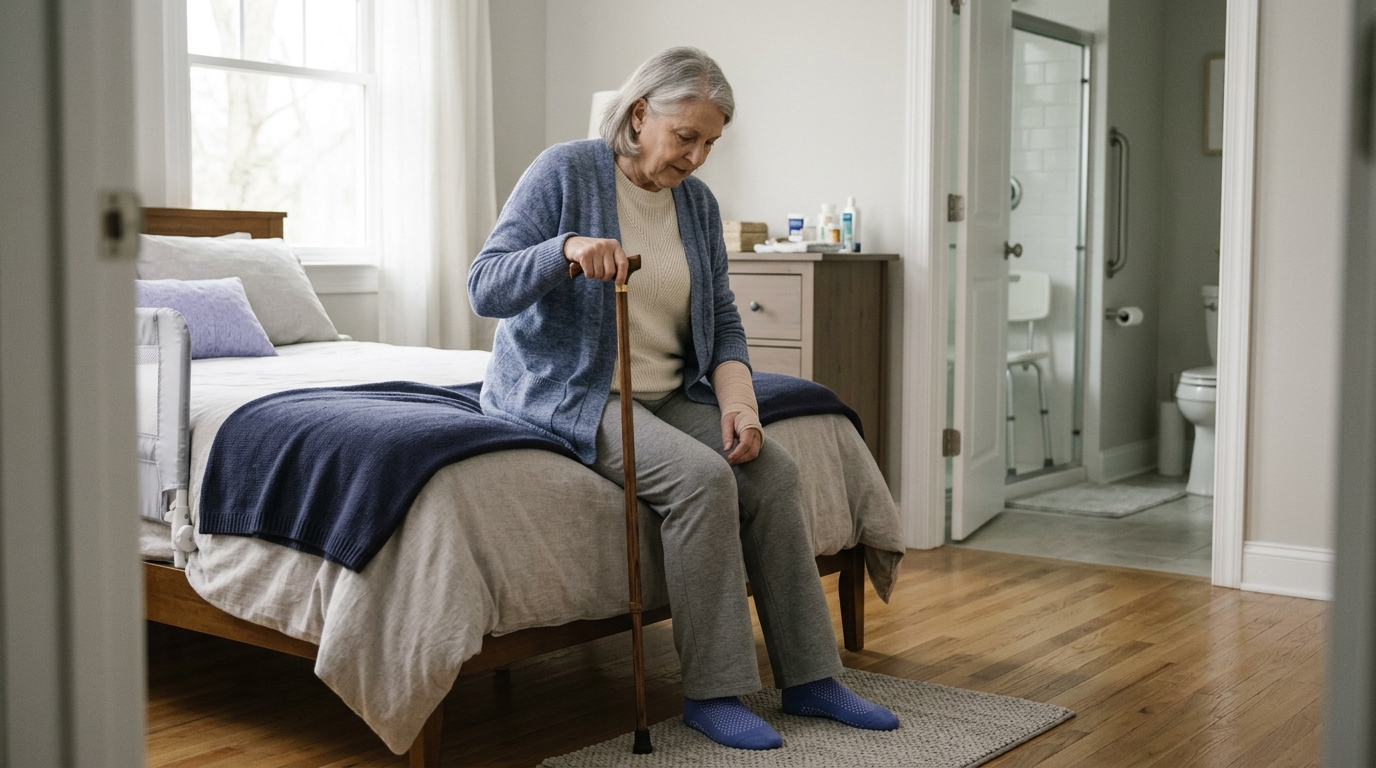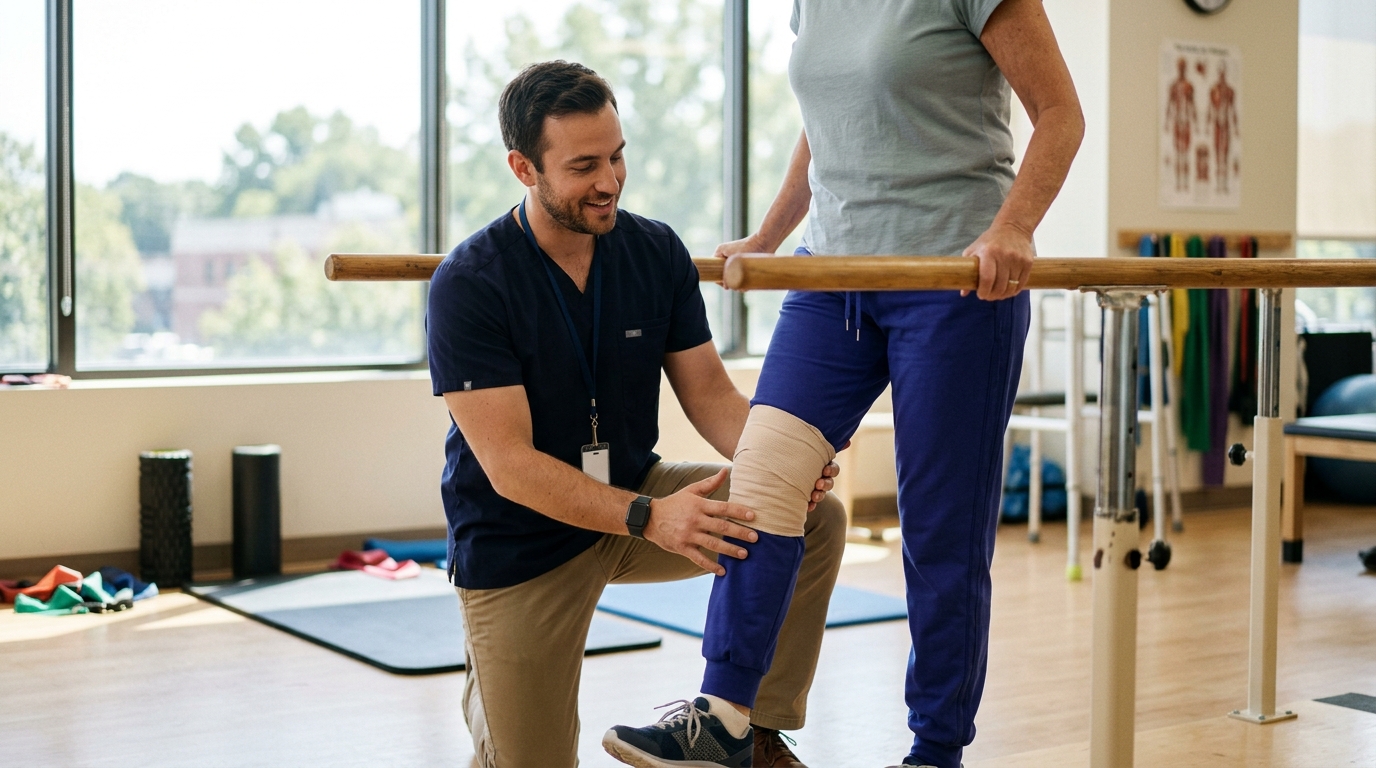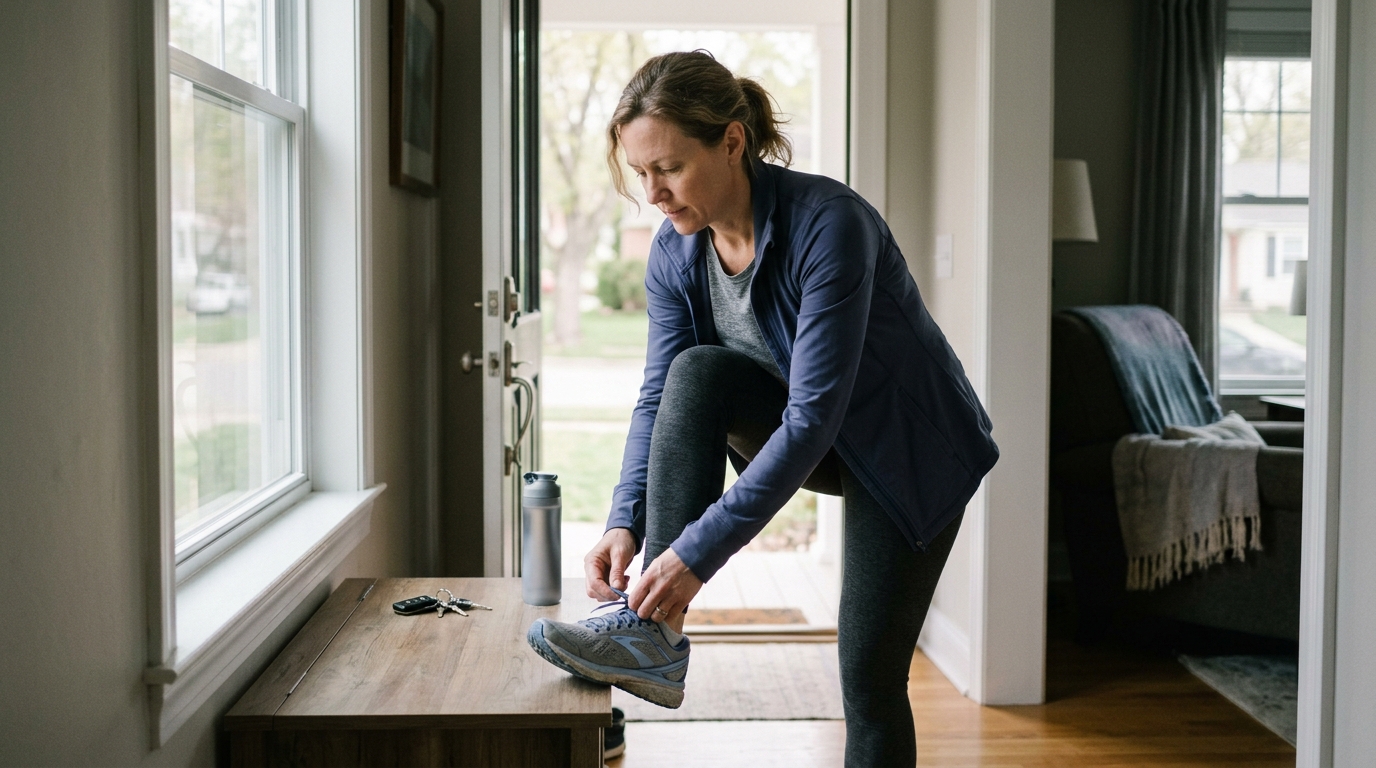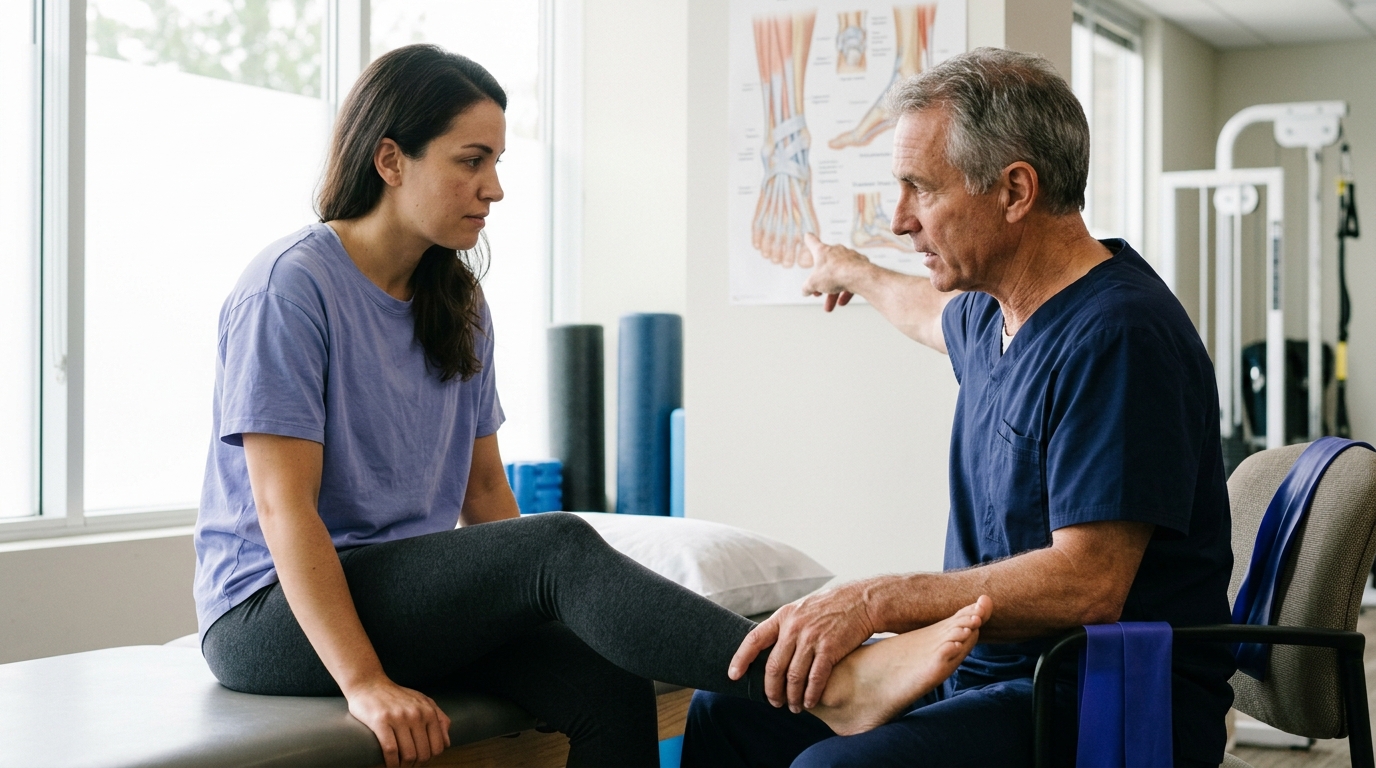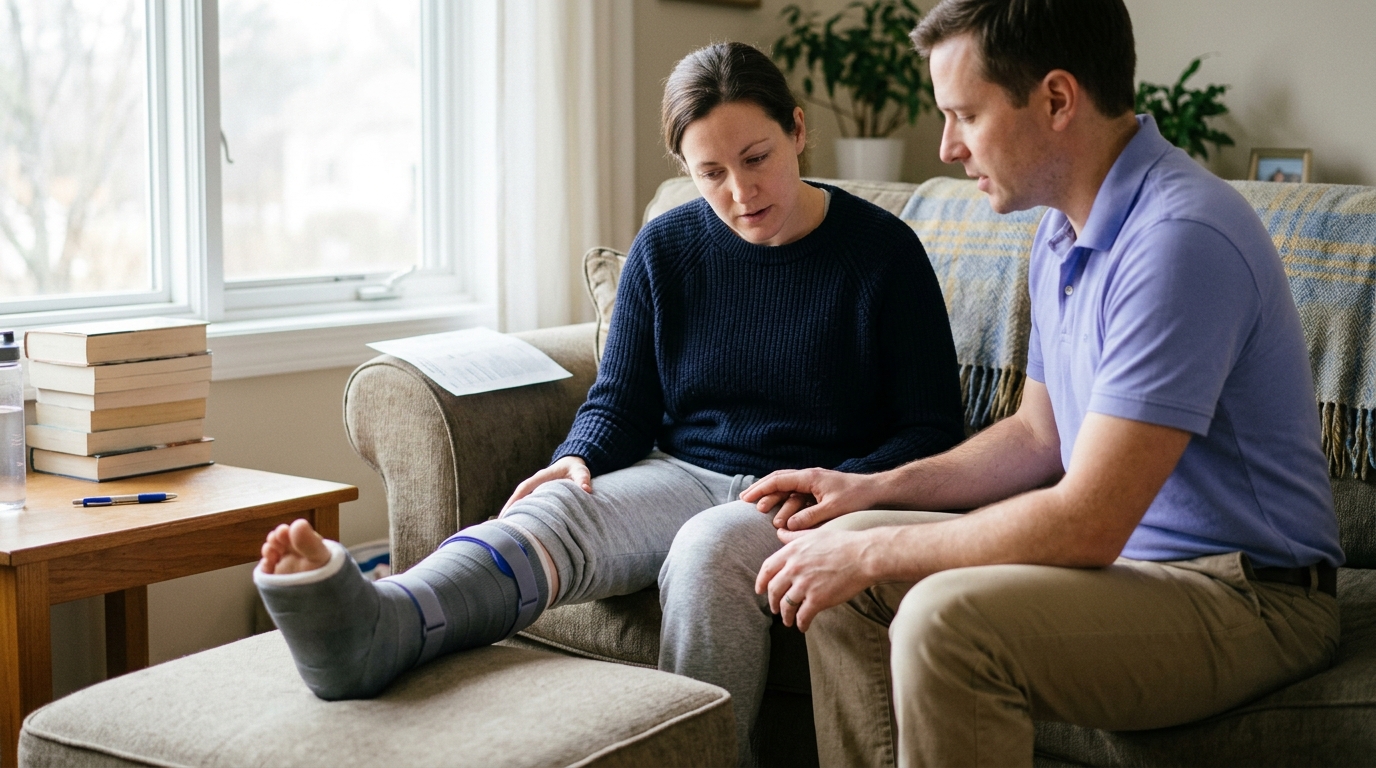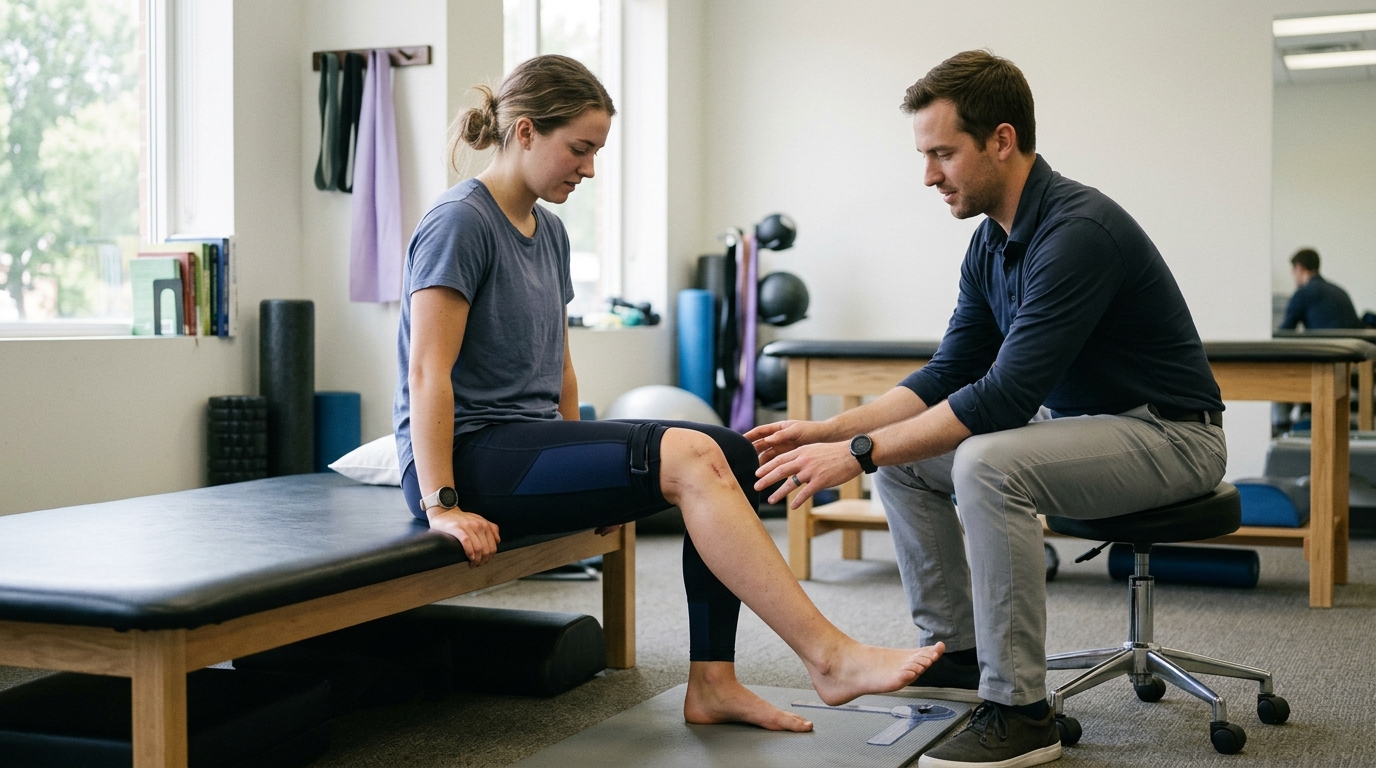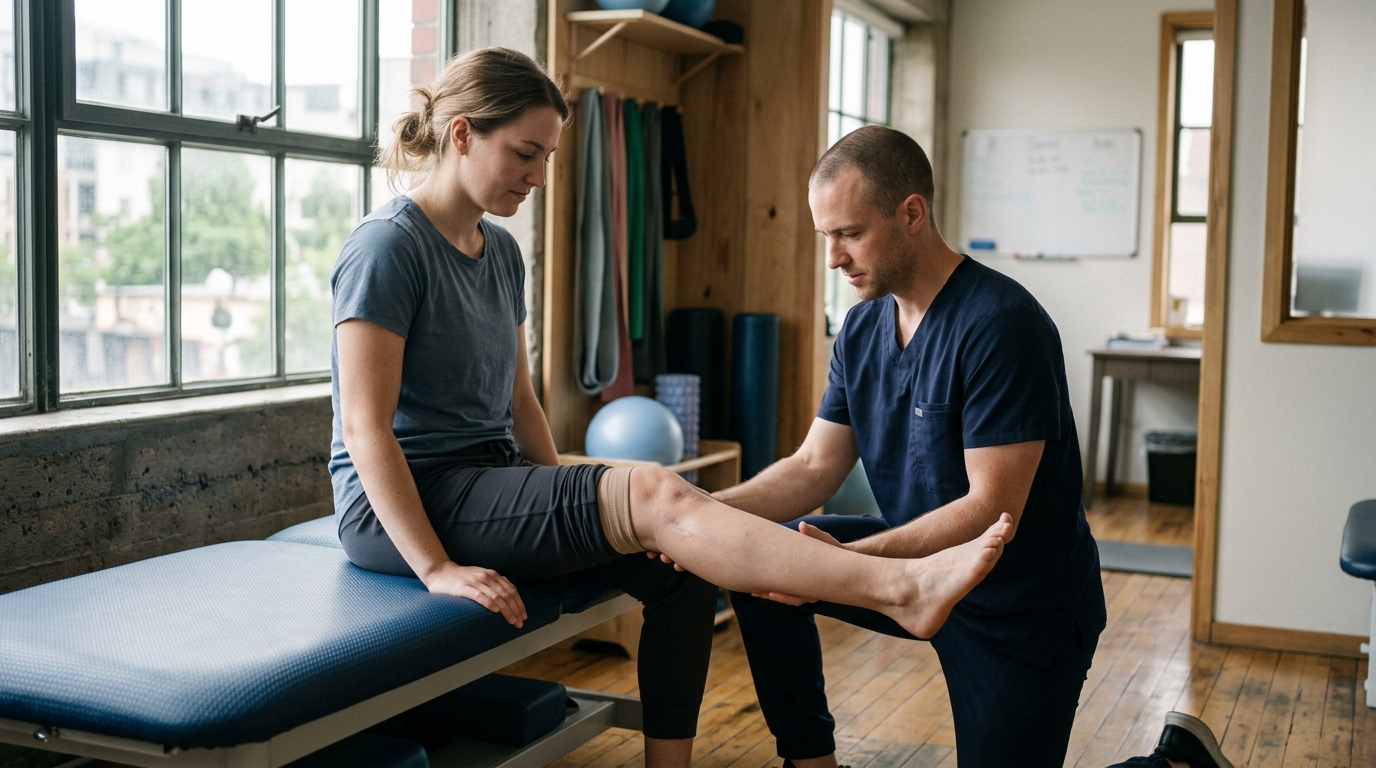

A successful comeback plan helps you transition safely from basic daily function back to full athletic performance after an injury.





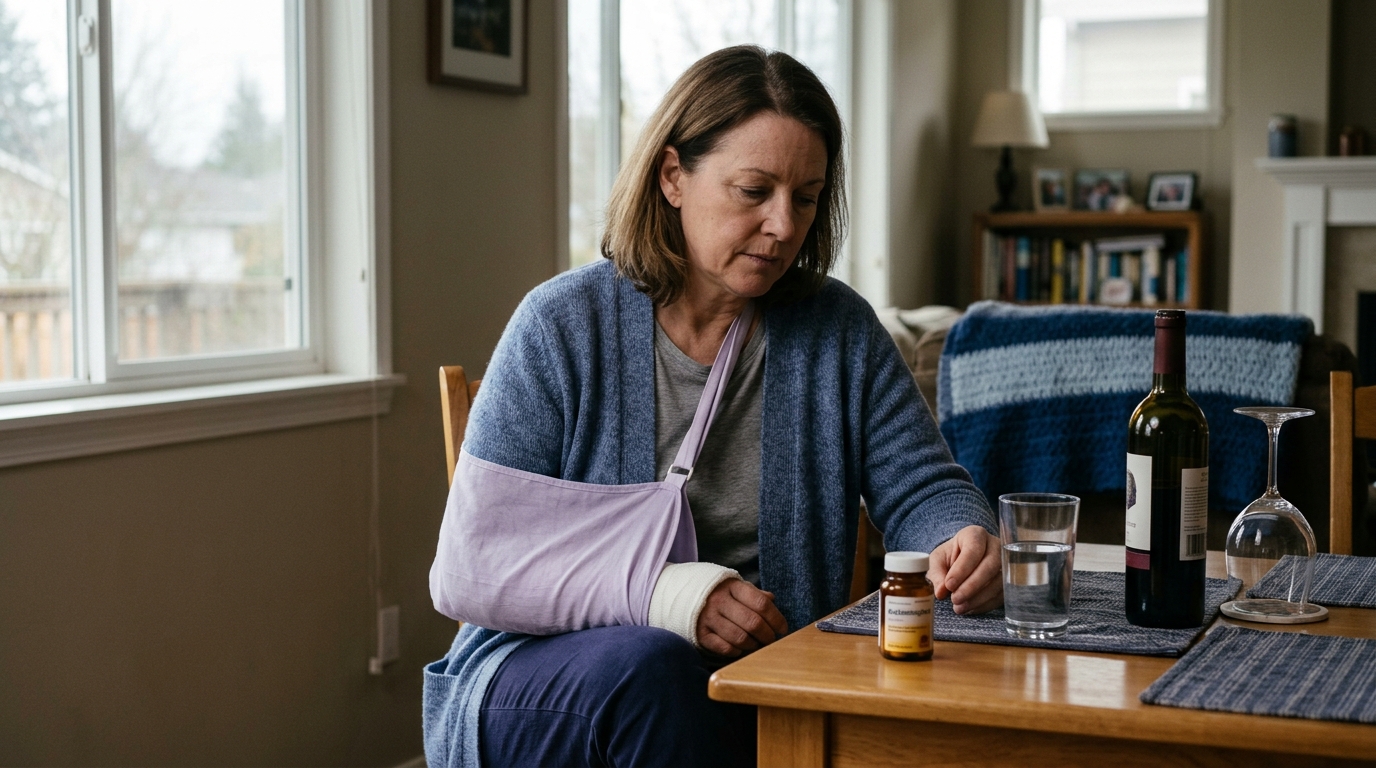
You walk out of your final clinical appointment with a signed discharge paper. The doctor smiles, tells you that the tissue has healed, and says you are cleared to resume normal activity. You head home, put on your walking shoes or step into the gym, and immediately hesitate. Your knee feels stiff, your calf feels weak, and you wonder whether a three-mile walk or a set of squats will undo months of recovery.
Getting medical clearance is an important milestone, but clearance is not the same as physical readiness. Returning to exercise after an orthopedic setback is a staged progression, not an on-off switch. A safe comeback requires matching your current physical capacity to the specific demands of your chosen sport or recreation. It also requires respecting individual clinical restrictions, understanding tissue tolerance, and progressing gradually based on how your body responds.
While general frameworks provide helpful structure, every injury has unique limits. No single schedule or percentage formula works for everyone. By learning how to break down activity demands, monitor symptoms, and adjust training variables one step at a time, you can rebuild confidence and safely resume the activities you enjoy.
In sports medicine, returning to physical activity is viewed as a continuum rather than an isolated event. A consensus statement from the First World Congress in Sports Physical Therapy outlines three distinct phases of recovery. These phases are return to participation, return to sport, and return to performance.
You can adapt these stages for everyday recreation, whether your goal is walking, hiking, cycling, or lifting weights.
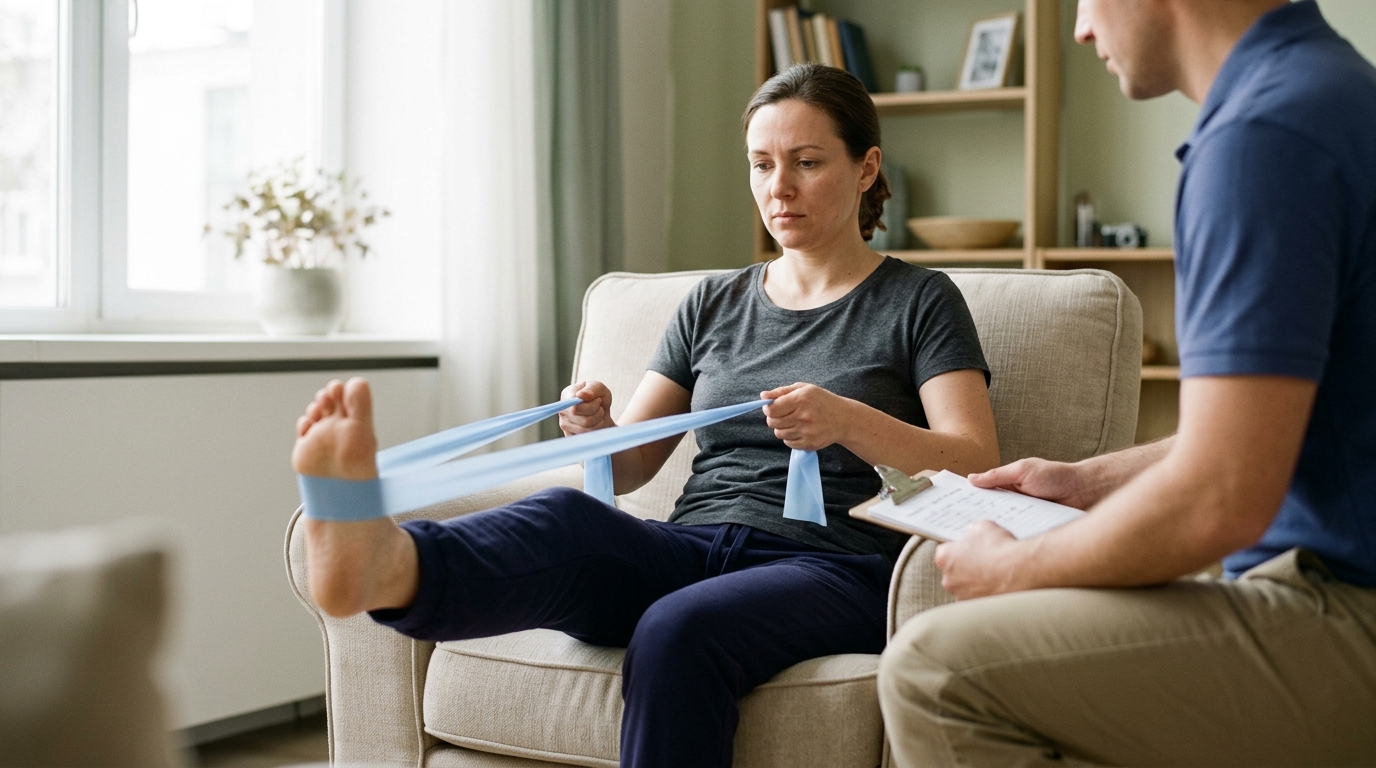
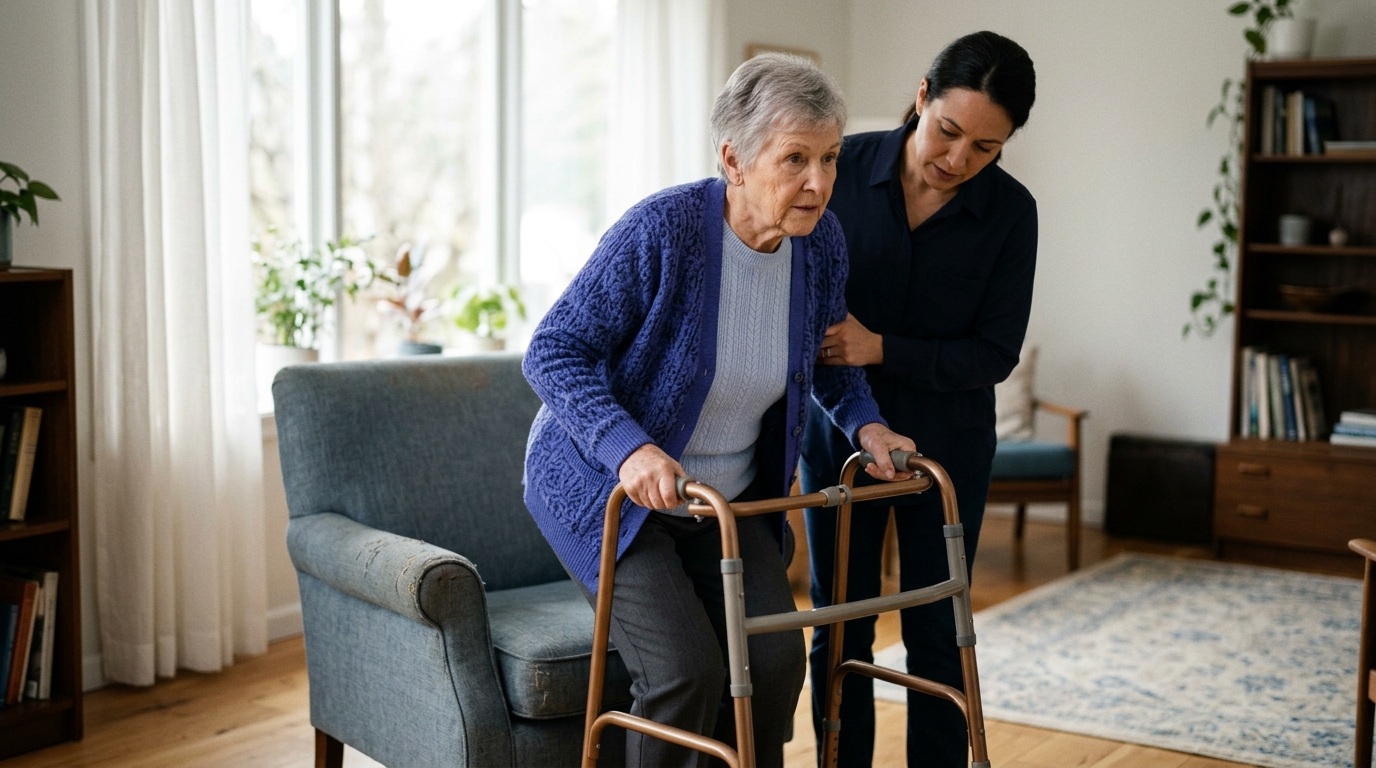
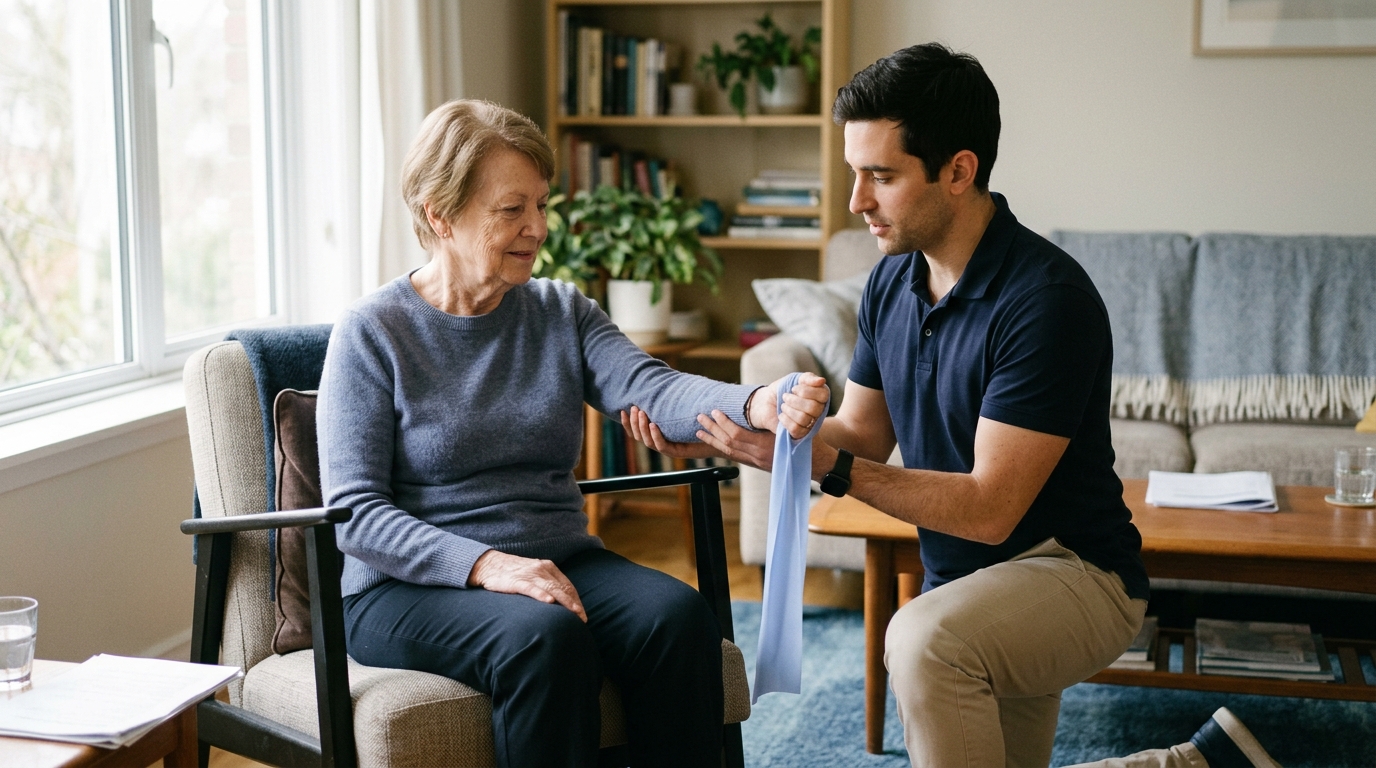
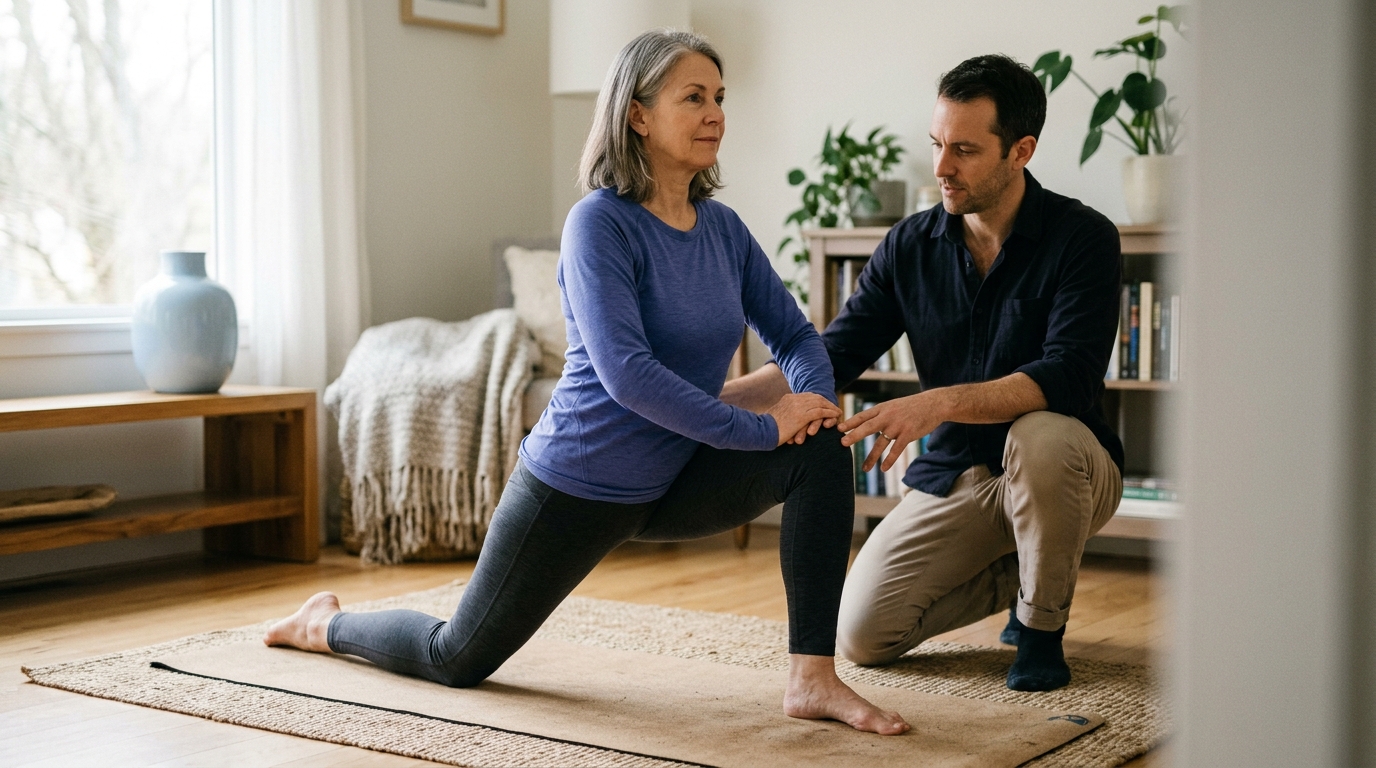
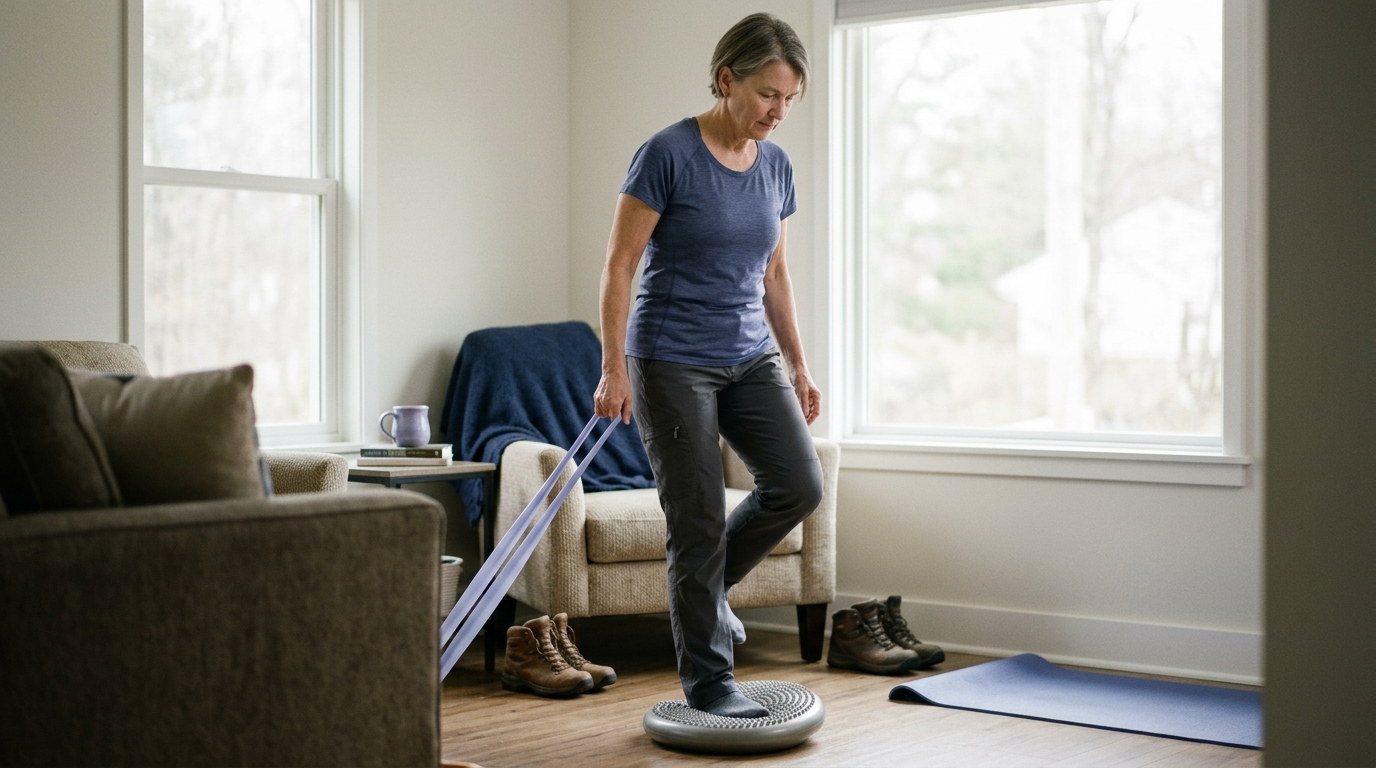
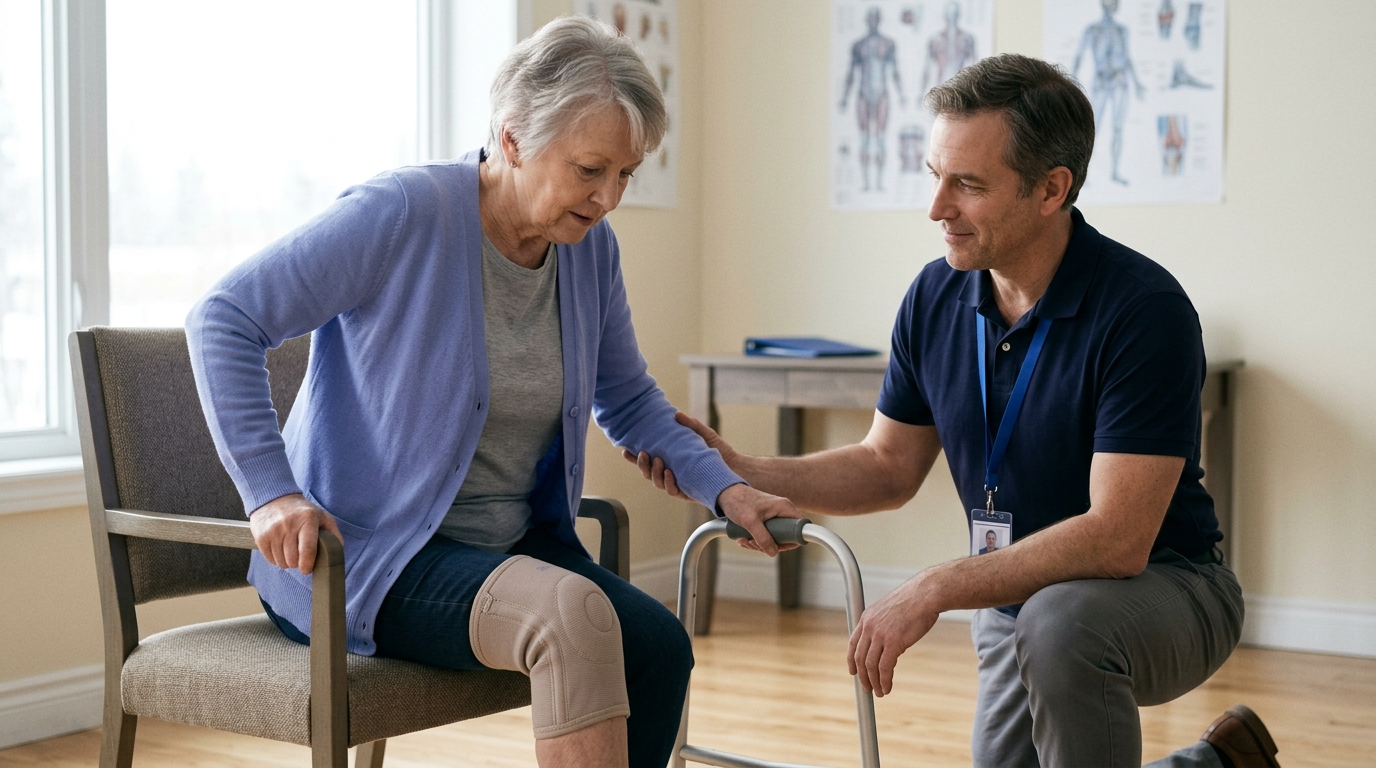
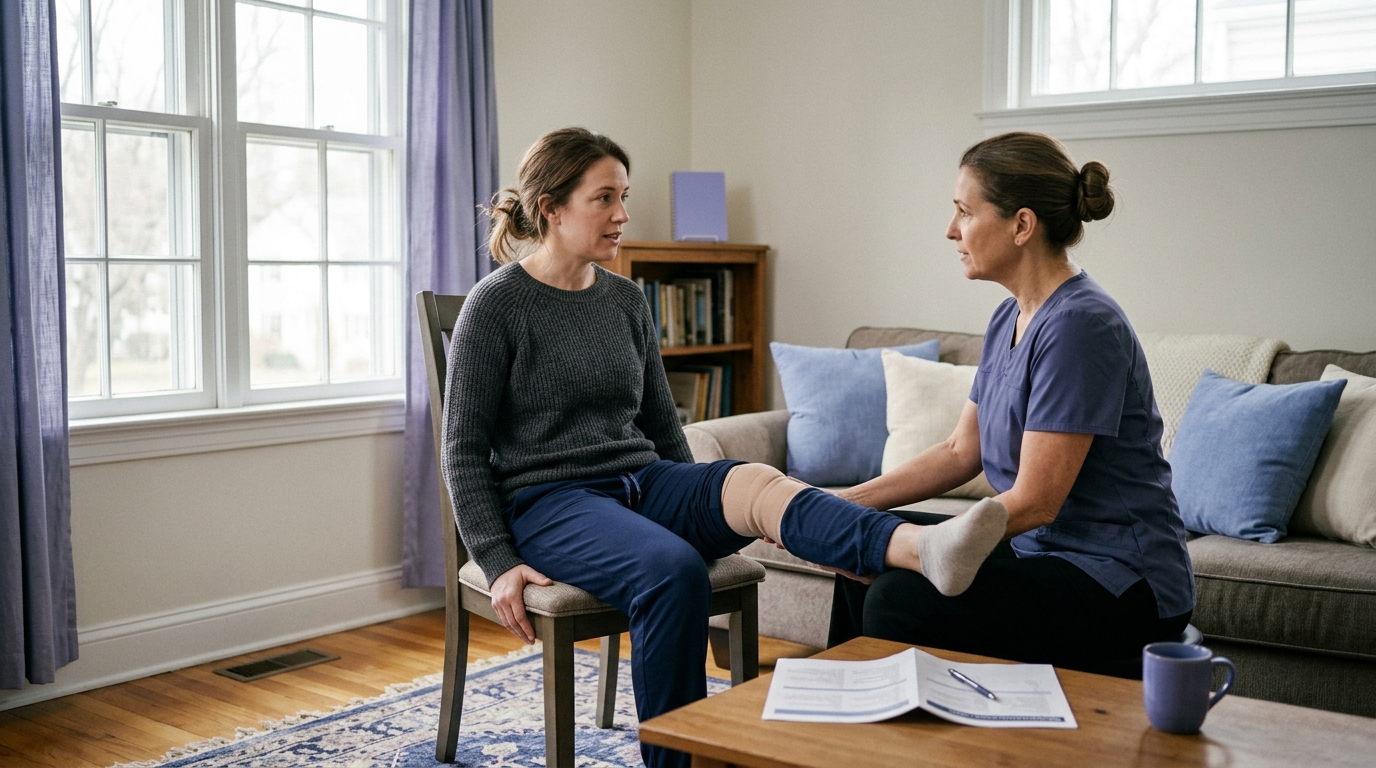
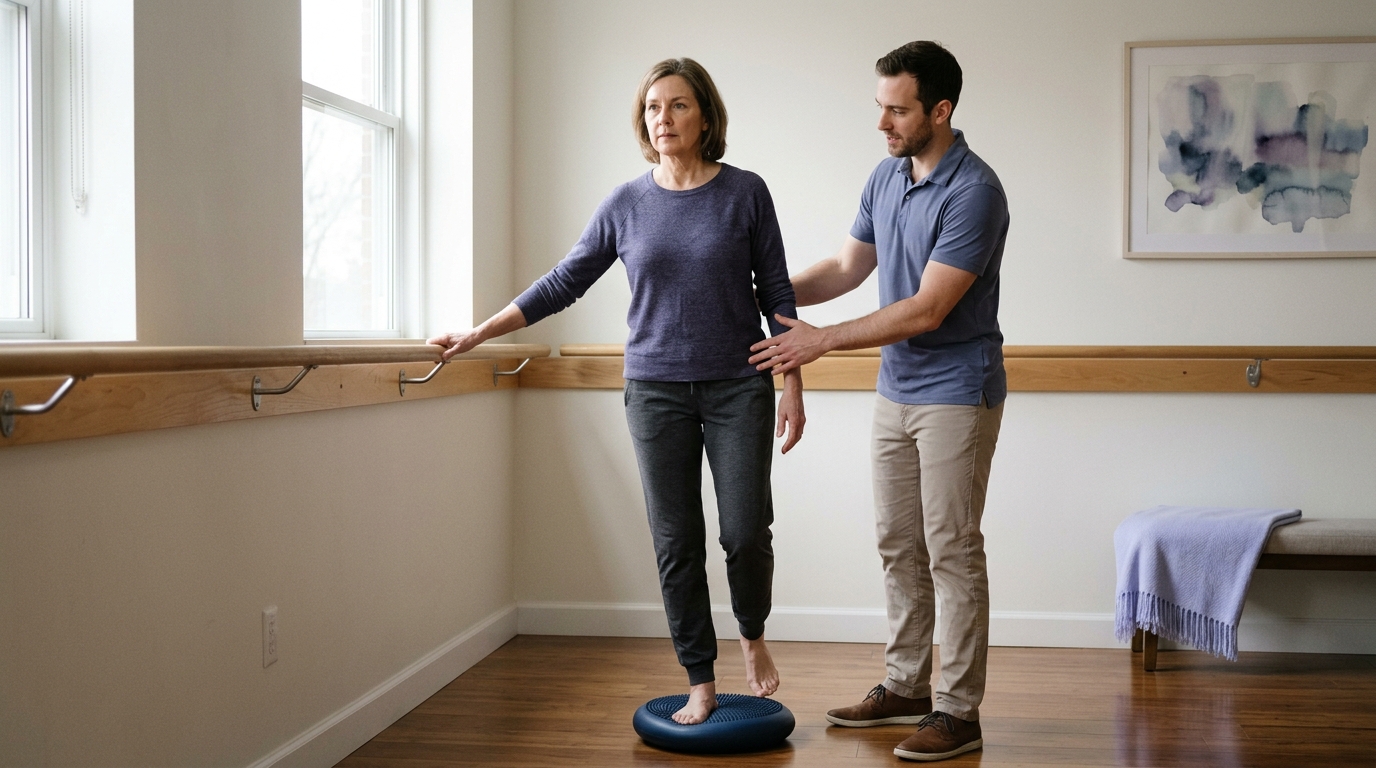
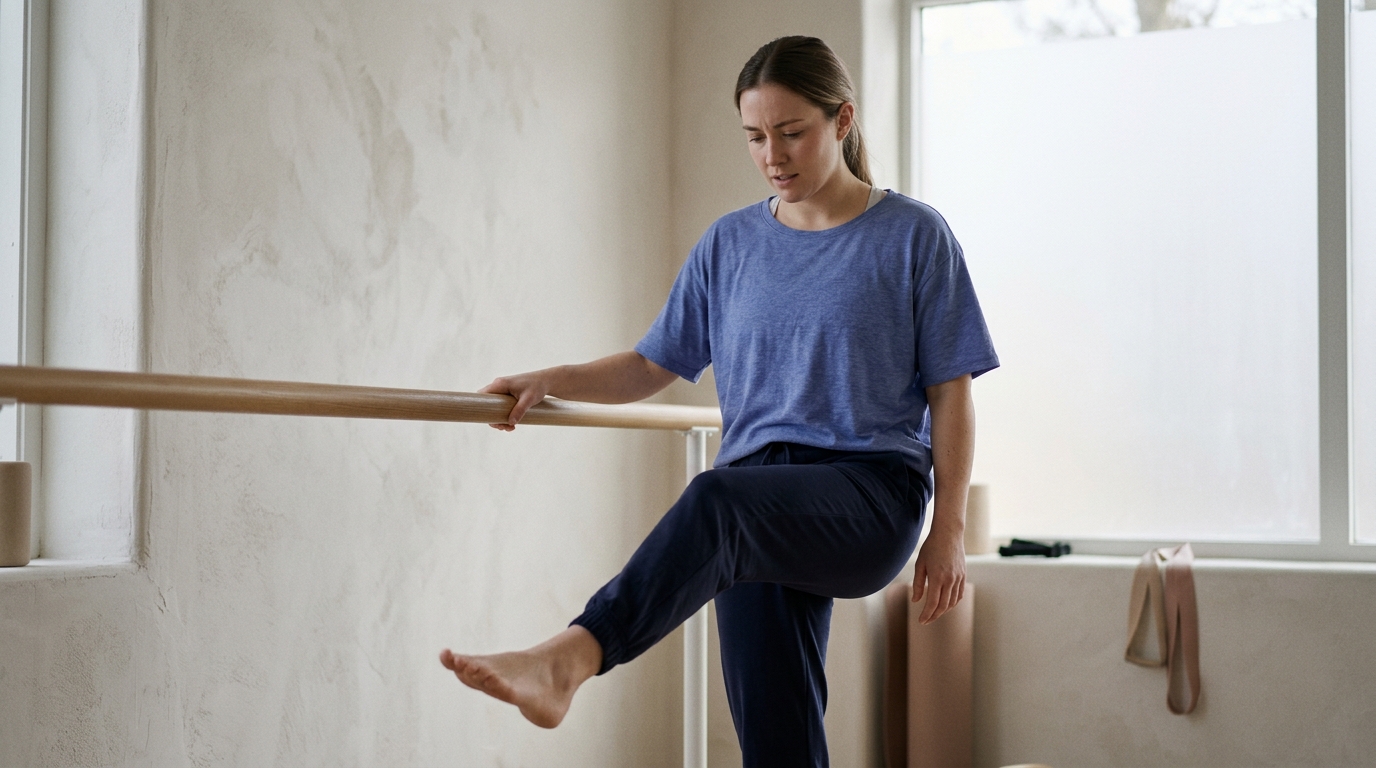
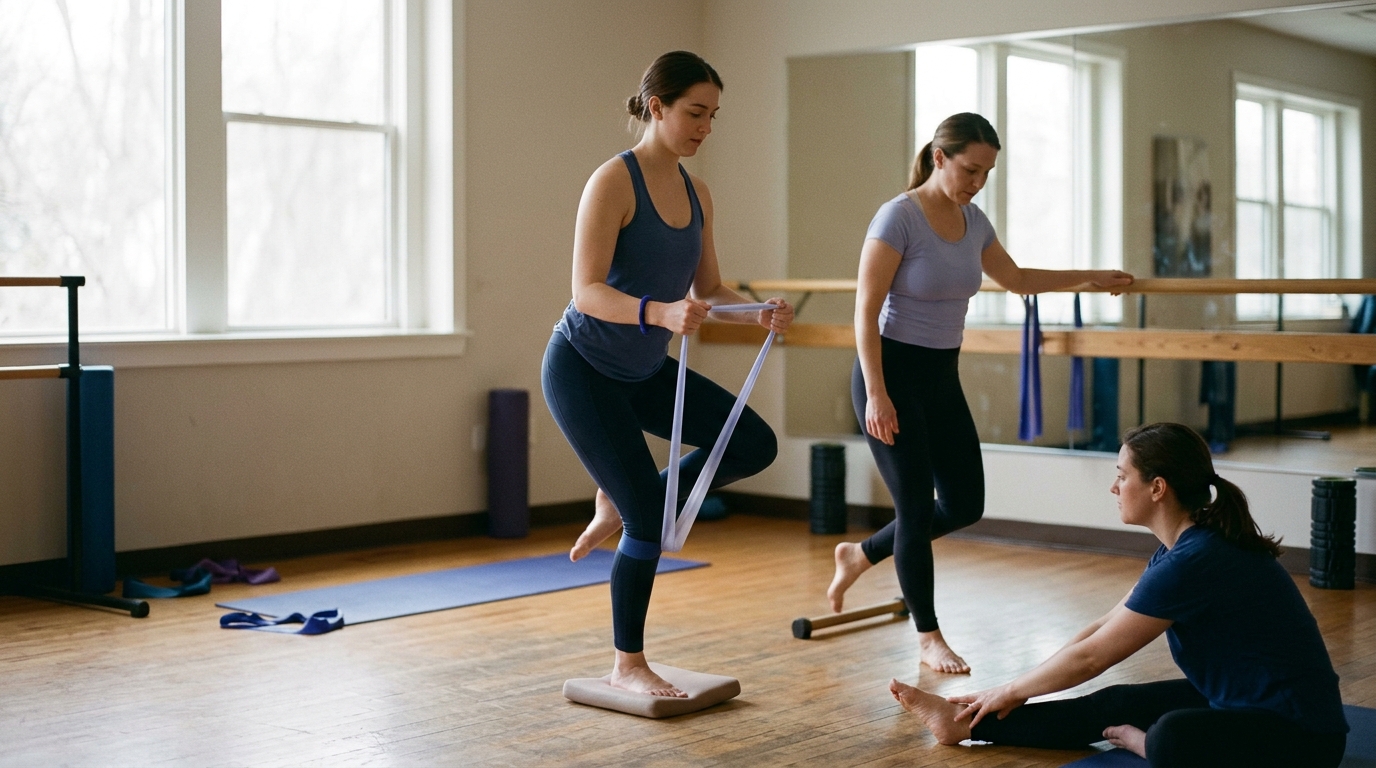
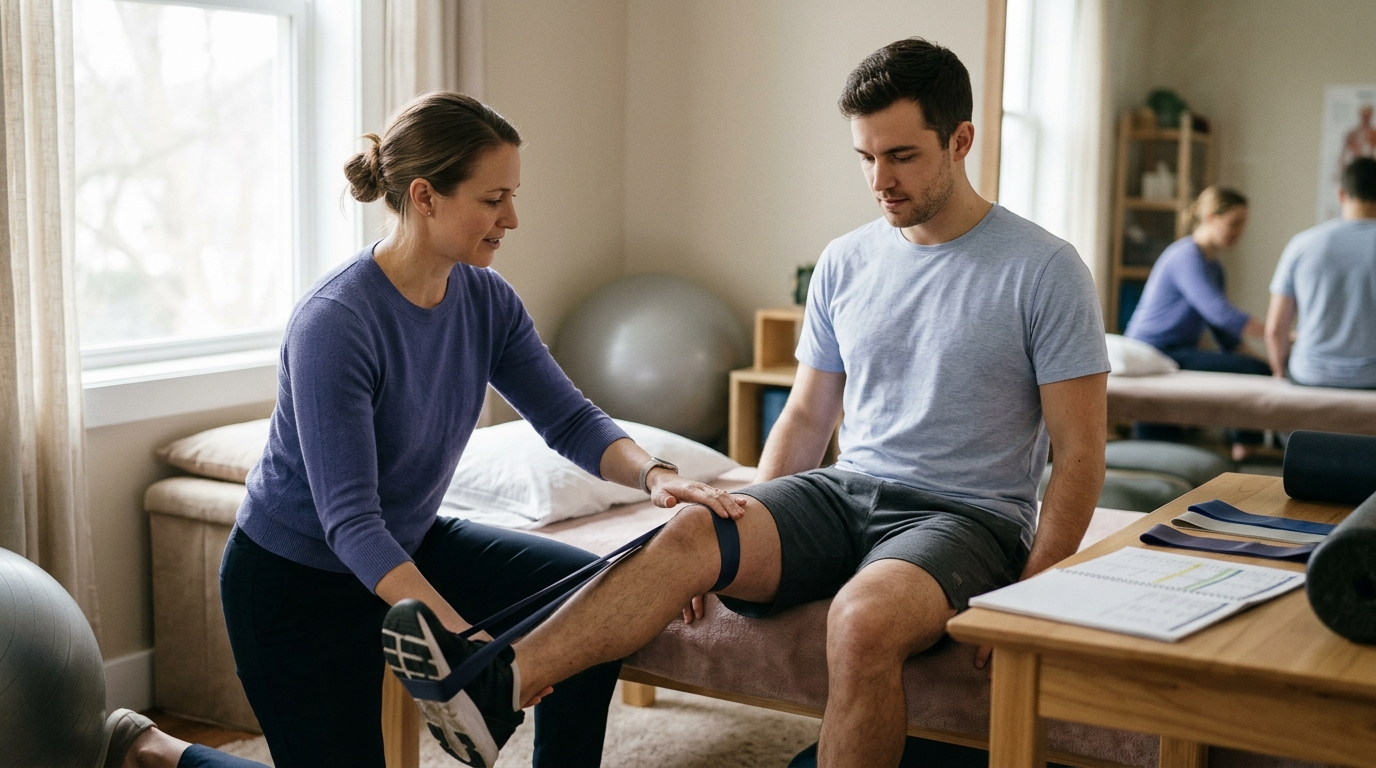
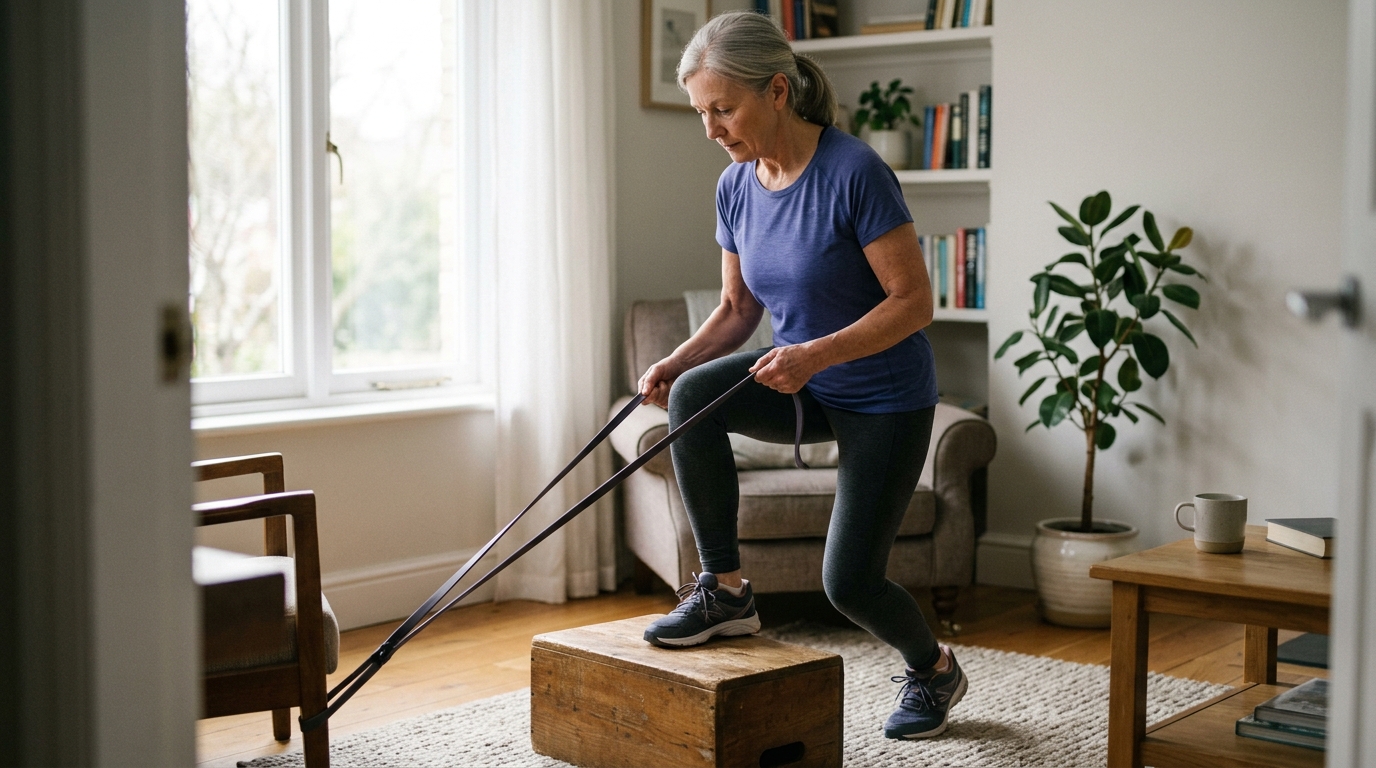
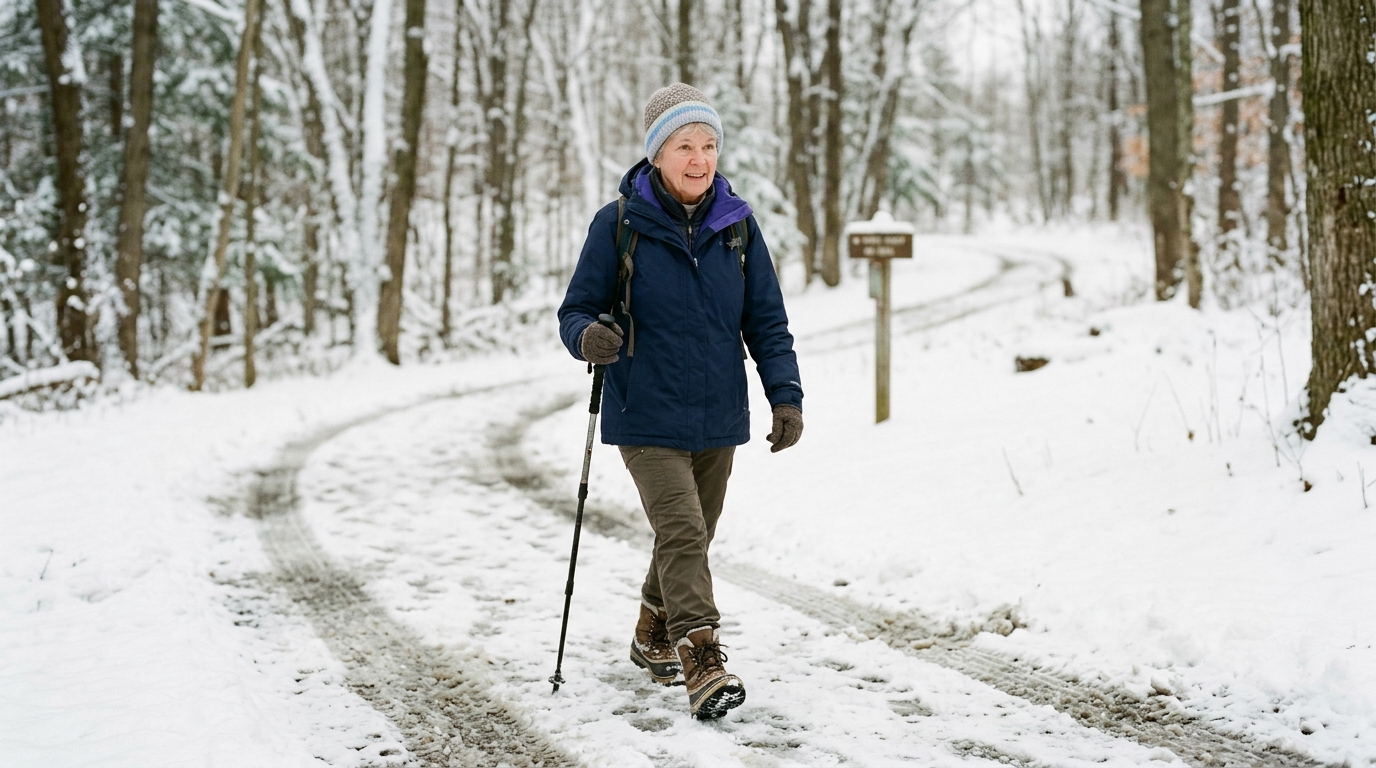
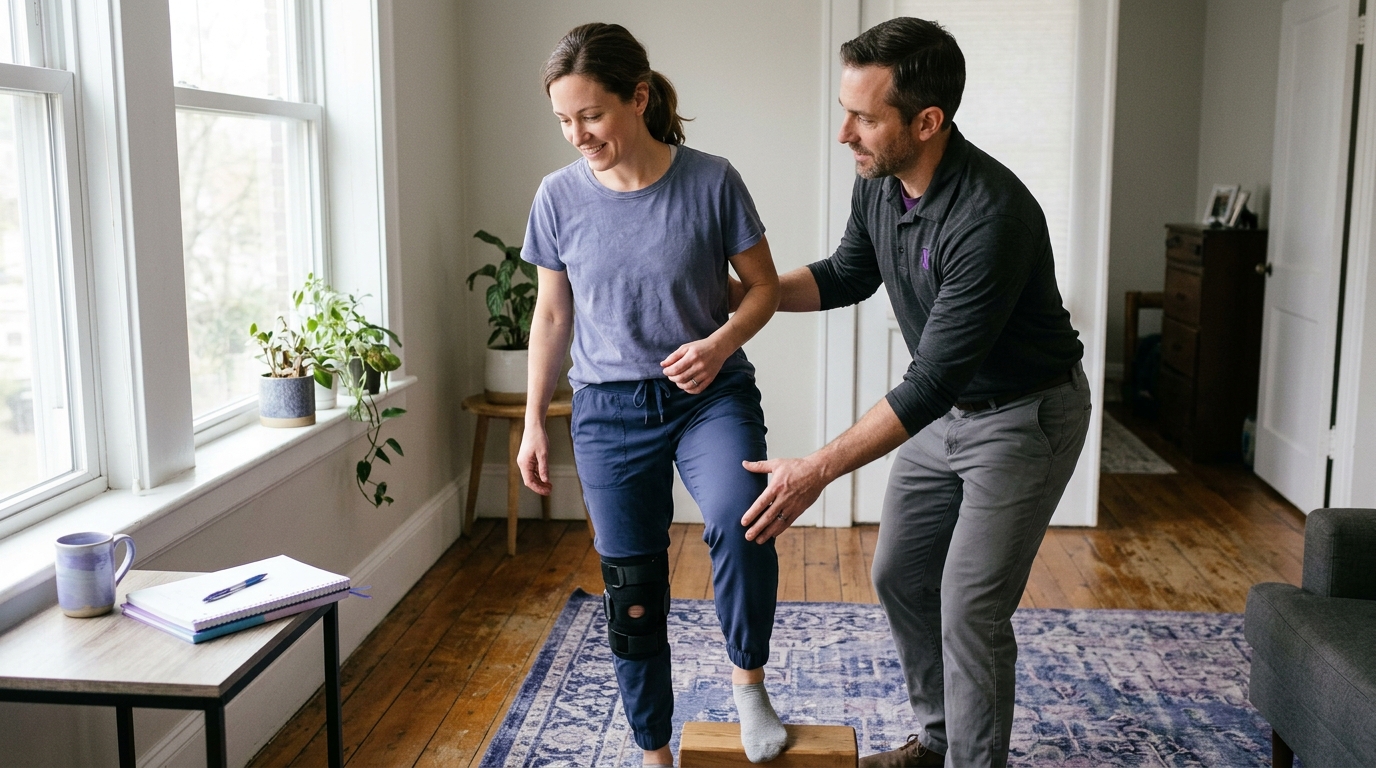
The first stage is returning to daily function and modified participation. In this phase, you resume basic movement in a controlled environment. You perform low-demand tasks that keep stress well within the limits of healing tissue. For a recreational walker, this might mean short, flat walks around your neighborhood. For someone who lifts weights, it might involve bodyweight movements or light resistance bands. You are participating in physical movement, but at a much lower intensity and volume than before your injury.
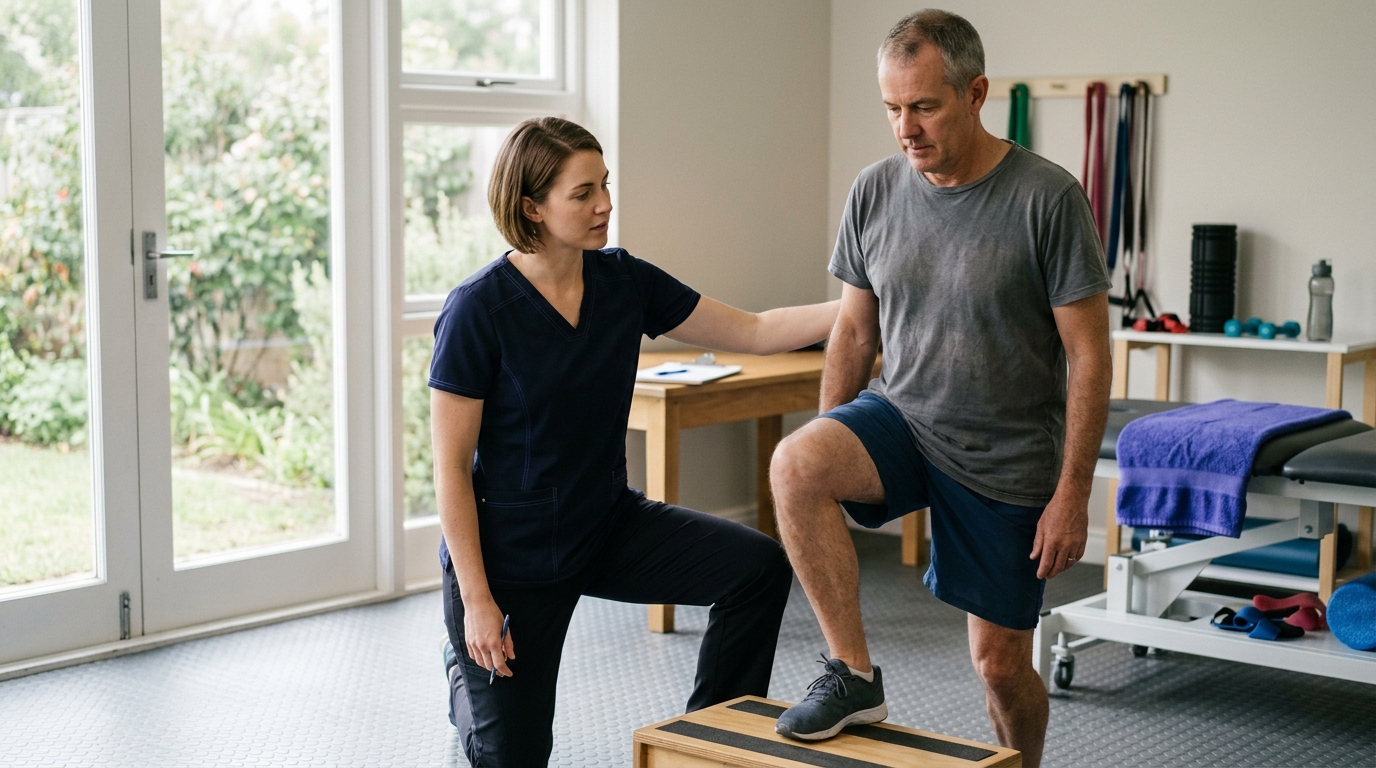
The second stage is building toward full participation. Here, you gradually introduce the specific demands of your target activity. If you enjoy hiking, you might introduce rolling terrain or short, gentle inclines. If you are a cyclist, you might transition from a stationary bike to a flat, paved outdoor route. You are no longer just maintaining basic function. You are actively training the specific movements, strength, and endurance needed for your sport.
The third stage is returning to prior performance. This stage focuses on regaining your former duration, speed, difficulty, or overall quality of movement. Not every person needs or wants to reach their previous maximum capacity. An adult recovering from a joint injury may decide that hiking four miles on moderate trails meets their personal goals, even if they used to hike ten miles in rugged mountains. Defining your personal destination early makes your comeback plan clearer and easier to manage.
To explore targeted frameworks for rebuilding after structured care, review our injury recovery and healing resources designed for active adults.
A common mistake after an injury is relying entirely on the calendar. You might assume that because six, eight, or twelve weeks have passed, your body is automatically prepared for unrestricted exercise. While biological healing time is essential, it is only one component of physical readiness.
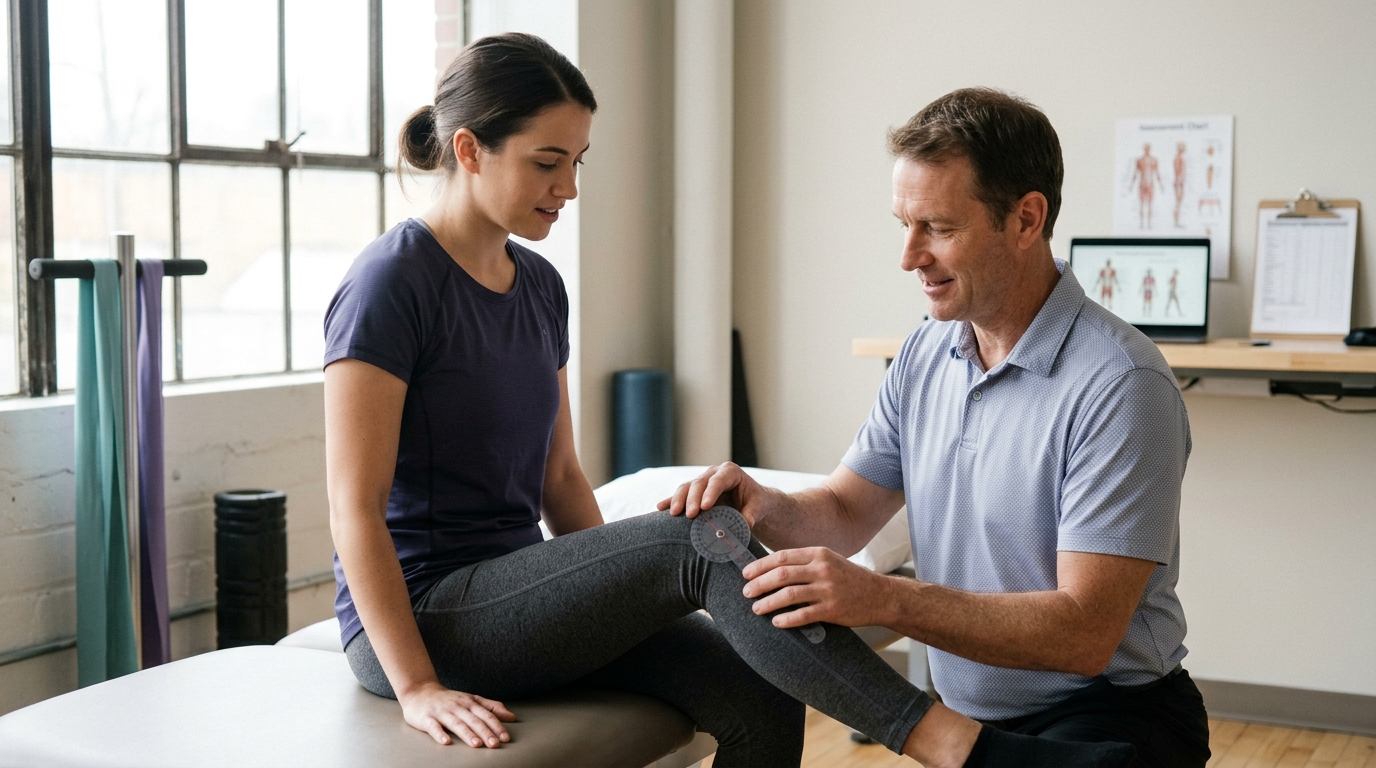
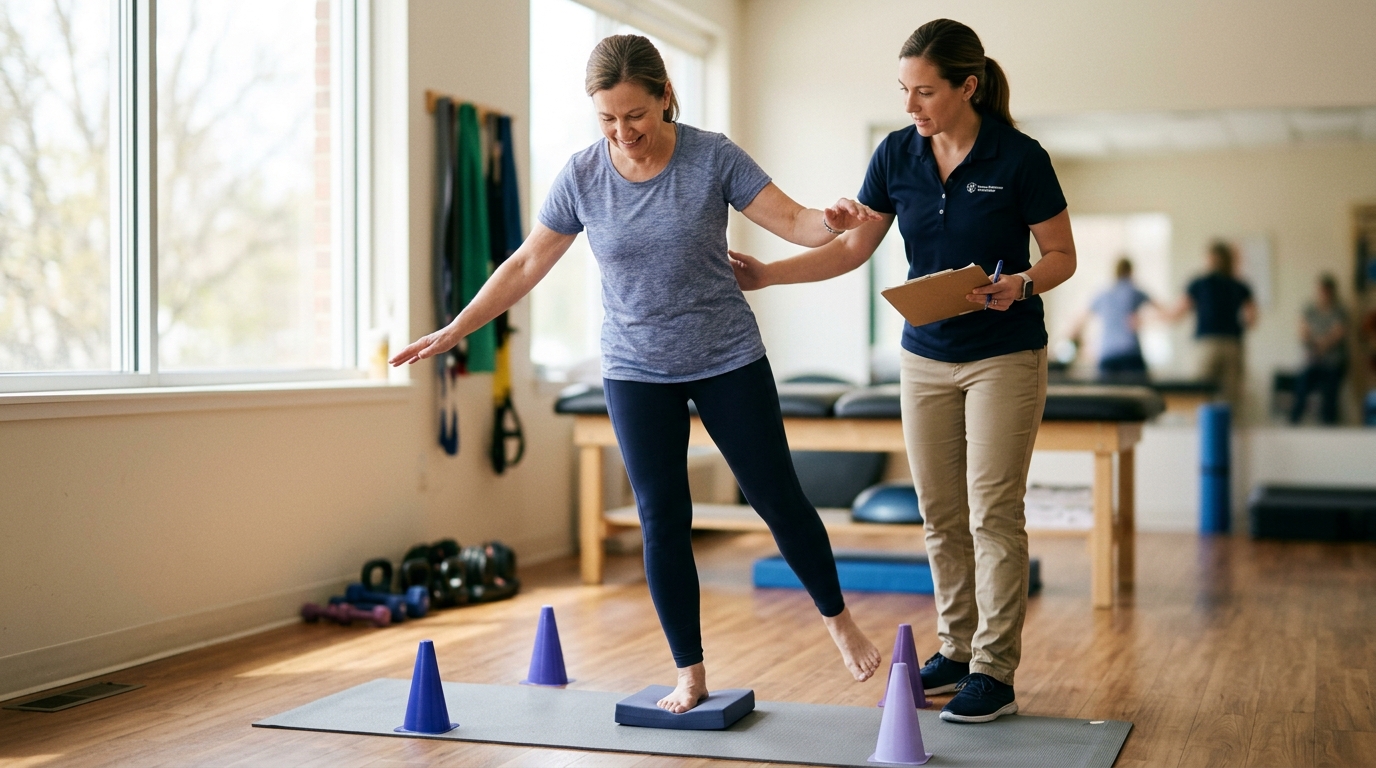
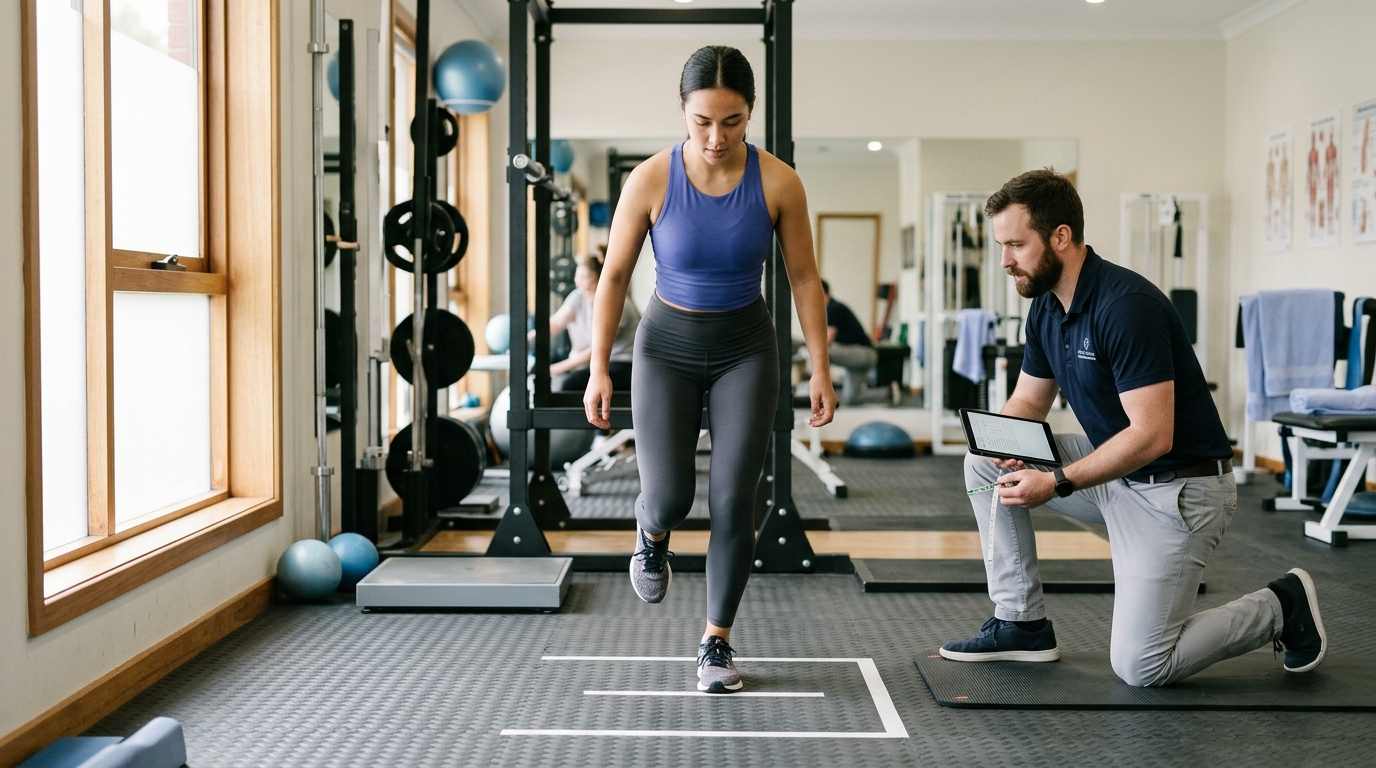
Rehabilitation research emphasizes criteria-based progressions over purely time-based schedules. A systematic consensus on anterior cruciate ligament (ACL) injuries points out that safe transitions require objective physical assessments. These assessments include range of motion, muscle strength, dynamic balance, and movement control. Relying solely on the passage of time ignores whether your muscles, tendons, and nervous system have adapted to handle exercise loads.
When an arm or leg is immobilized or protected after an injury, surrounding tissues lose conditioning quickly. Muscle fibers shrink, tendon stiffness declines, and bone mineral density drops slightly in unloaded areas. Neuromuscular coordination, which is the brain's ability to fire muscles in a balanced pattern, also decreases. Even after the primary bone fracture or ligament tear has biologically repaired, the kinetic chain may lack the capacity to absorb repetitive impact or stabilize heavy loads.
Readiness also includes psychological confidence. Fear of reinjury can alter your movement mechanics. If you do not trust your knee, ankle, or shoulder, you may unconsciously shift your weight or move with compensatory patterns. These altered mechanics place unusual stress on other joints and muscle groups. Objective strength testing, balance checks, and gradual exposure to movement help restore both physical capacity and mental trust.
An activity's common name does not tell the whole story. A walk on a paved, flat track produces vastly different physical stress than a walk on an uneven dirt trail. To build a sensible progression, you need to break down your favorite activity into its specific mechanical demands.
Consensus guidelines for hamstring and soft-tissue rehabilitation emphasize individualizing exercise plans to the exact demands of the target activity. By analyzing what your body must do during an outing, you can train each component before combining them all at once.
Walking on flat pavement primarily requires basic joint mobility, modest calf and hip endurance, and light, predictable ground impact. Hiking introduces far more complex physical demands. It requires sustained cardiovascular endurance, continuous ankle and hip stability on uneven rocks, and significant muscular power to climb hills.
Downhill hiking is particularly demanding. Descending a slope forces the quadriceps and patellar tendon to work eccentrically, acting as brakes with every single step. This eccentric loading multiplies joint forces at the knee and ankle. If your rehabilitation only included flat walking, tackling a steep mountain trail can easily overload healing tissues.
Indoor stationary cycling provides a highly controlled environment. The bike is fixed in place, there is no risk of falling, and resistance can be adjusted with a dial. It allows you to build joint range of motion and cardiovascular fitness with minimal joint impact.
Riding a bicycle outdoors introduces unpredictable variables. You must maintain balance over changing pavement surfaces, navigate road camber, and brake suddenly for traffic or obstacles. You may also need to stand up out of the saddle to climb steep hills, which dramatically increases forces through the knees, hips, and upper body. Transitioning from indoor spinning to outdoor riding requires testing your balance, joint reaction time, and tolerance for unexpected movements.
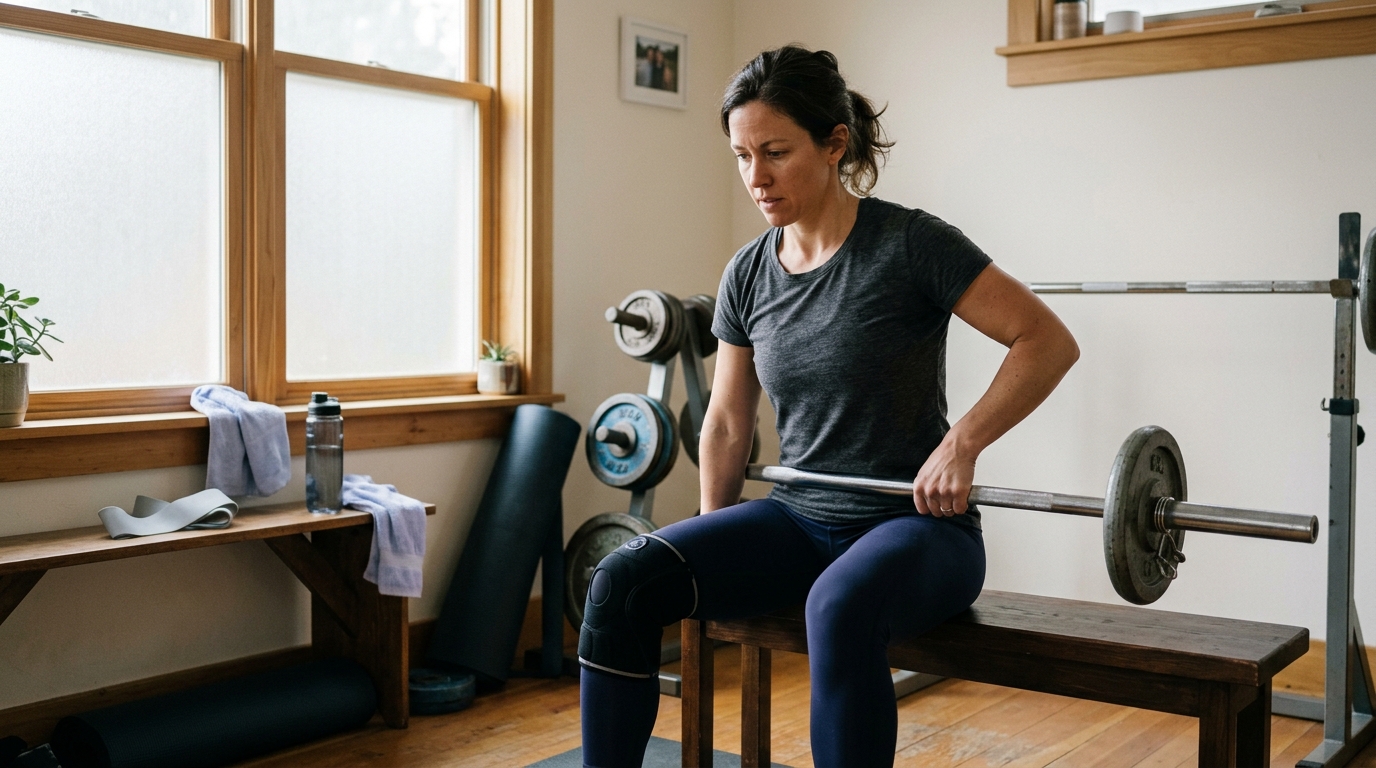
Going to the gym to lift weights is not a single, uniform task. A strength training session consists of discrete variables: exercise selection, load, range of motion, tempo, volume, and rest intervals. Resuming a strength program requires evaluating each exercise independently.
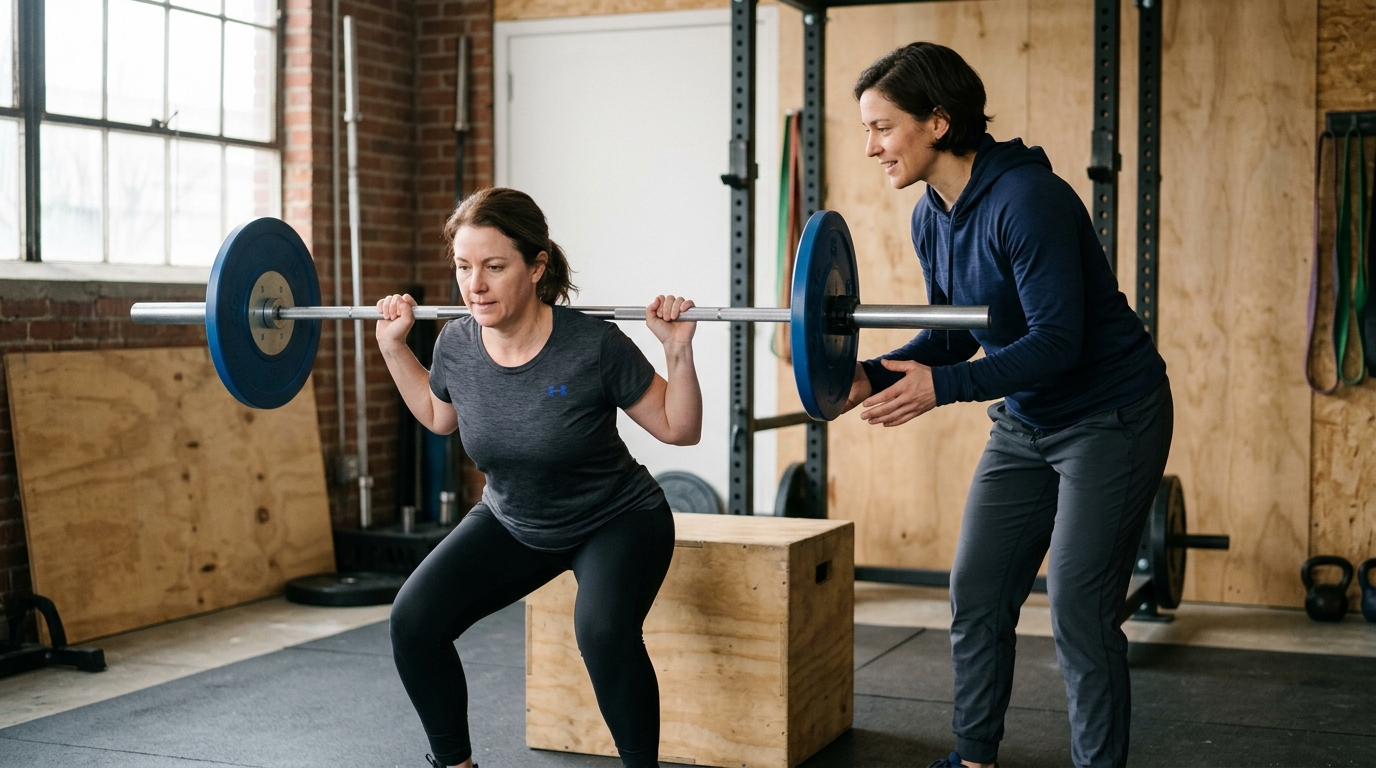
For instance, an overhead press demands significant shoulder mobility and rotator cuff stability, whereas a seated chest press machine stabilizes the weight along a fixed path. A full-depth barbell back squat places high demands on ankle dorsiflexion, knee flexion, and spinal stability. A leg press or box squat reduces those demands while still loading the leg muscles. Understanding these differences allows you to modify exercises rather than skipping strength work entirely.
To learn more about rebuilding movement capacity safely, explore our articles on rehabilitation, mobility, and movement.
For decades, runners, cyclists, and fitness enthusiasts have relied on the 10 percent rule. This popular guideline states that you should never increase your weekly training volume, distance, or intensity by more than 10 percent from one week to the next. It is often presented as a proven formula to prevent overuse injuries.
Scientific reviews examining training load progressions show that the 10 percent rule lacks strong empirical support. Systematic reviews have found no high-quality evidence confirming that a 10 percent weekly cap prevents injuries across different populations. A 2024 review focusing on return to running after tibial bone stress injuries noted that while the 10 percent rule is widely used by clinicians and coaches, it is based primarily on expert opinion rather than validated clinical trials.
Relying on a rigid mathematical percentage has clear limitations. If you are walking 10 minutes a day, a 10 percent increase is only one additional minute. That rate of progression may be unnecessarily slow for low-demand activities. Conversely, if you are running 40 miles a week, adding 10 percent represents four additional miles of repetitive impact, which may be excessive if introduced too quickly or on challenging terrain.
Instead of following an arbitrary formula, modern rehabilitation favors graduated exposure tailored to your specific tissue tolerance. The best approach is to progress one variable at a time while observing how your body responds over several days.
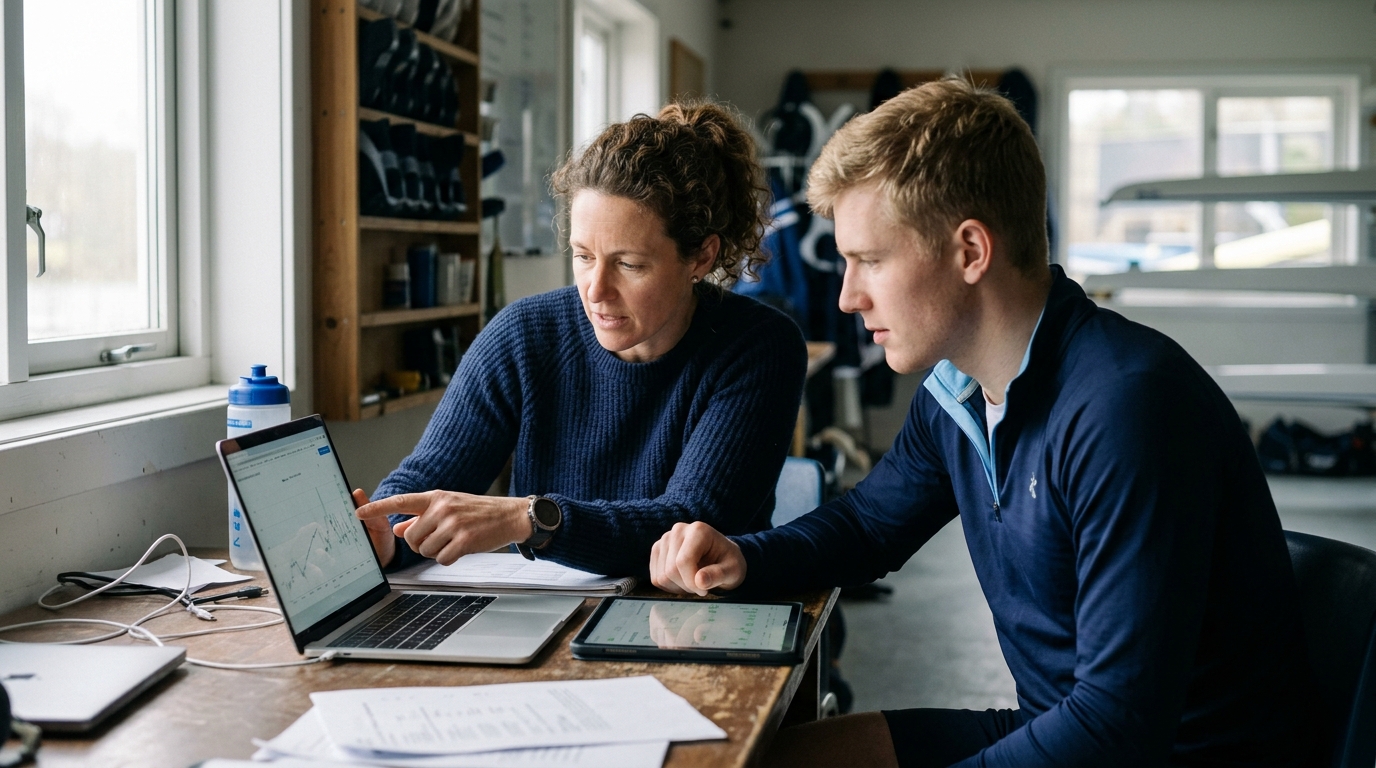
When planning your progression, choose one parameter to adjust. You might choose to increase your workout duration, increase your movement speed, add elevation, or increase weekly frequency. Never change multiple variables in the same session. If you increase your hiking distance, walk on a steeper trail, and carry a heavier backpack all on the same day, you will not know which factor caused a flare-up if your symptoms return.
Managing symptoms during a return to activity can be confusing. Some people believe that any sensation of discomfort means they are causing permanent damage. Others attempt to ignore pain entirely, pushing through worsening symptoms until they suffer a major setback.
Neither extreme is supported by modern sports science. Pain is a protective biological signal, but it is influenced by inflammation, tissue sensitivity, previous injury history, and central nervous system processing. Using symptoms as a guide requires understanding condition-specific guidelines rather than applying a universal rule.
For example, clinical guidance for Achilles tendinopathy often allows mild discomfort during exercise, such as a 1 or 2 out of 10 on a pain scale, provided the discomfort settles quickly within 24 hours. Tendons require mechanical load to remodel and strengthen, and complete rest often weakens the structure further.
In contrast, bone stress injuries require much stricter pain boundaries. A clinical resource from Oxford University Hospitals notes that returning to activity after a stress fracture requires pain-free baseline function. If pain develops during or after an activity, guidelines recommend reducing activity back to the last pain-free level. After resting for several days to a week, you can attempt a more gradual increase.
A practical method for monitoring exercise tolerance is the 24-hour symptom response test. Evaluate how your body feels during the workout, how it feels a few hours later, and how it feels the following morning. If your joint stiffness, local swelling, or resting pain returns to baseline within 24 hours, your body tolerated the physical load well. If you experience lingering pain, warmth, or joint swelling that persists into the next day, the training load exceeded your current capacity.
Experiencing a minor flare-up does not mean you have ruined your recovery or that you must start over from day one. It simply means you found the current boundary of your tissue tolerance. Step back to the previous exercise volume that you tolerated comfortably, stay at that level for a few days until symptoms settle, and then progress more gradually.
For deeper insights into how tissues adapt to loading, explore our resources on recovery science and tissue remodeling.
Every recovery journey unfolds along a unique timeline. Two people with the same medical diagnosis may require vastly different amounts of time to return to their favorite activities. Understanding the variables that influence recovery helps set realistic expectations and prevents frustrating comparisons.
Different tissues in the human body heal at fundamentally different rates due to their blood supply and cellular structure. Muscle tissue has a rich blood supply and can often repair from minor strains in several weeks. Bone fractures typically require six to twelve weeks to achieve solid union, followed by months of internal remodeling.
Tendons, ligaments, and joint cartilage have limited vascular networks. Tendon remodeling is a slow, cellular process that often takes months of carefully managed progressive loading. A timeline that works for a minor hamstring muscle strain is completely inappropriate for a patellar tendinopathy or a repaired meniscus.
Your rehabilitation timeline is heavily dictated by specific medical precautions established by your surgeon or physician. For example, standard NHS patient leaflets for foot fractures frequently advise avoiding all high-impact activities for at least three months to prevent displacement or delayed union.
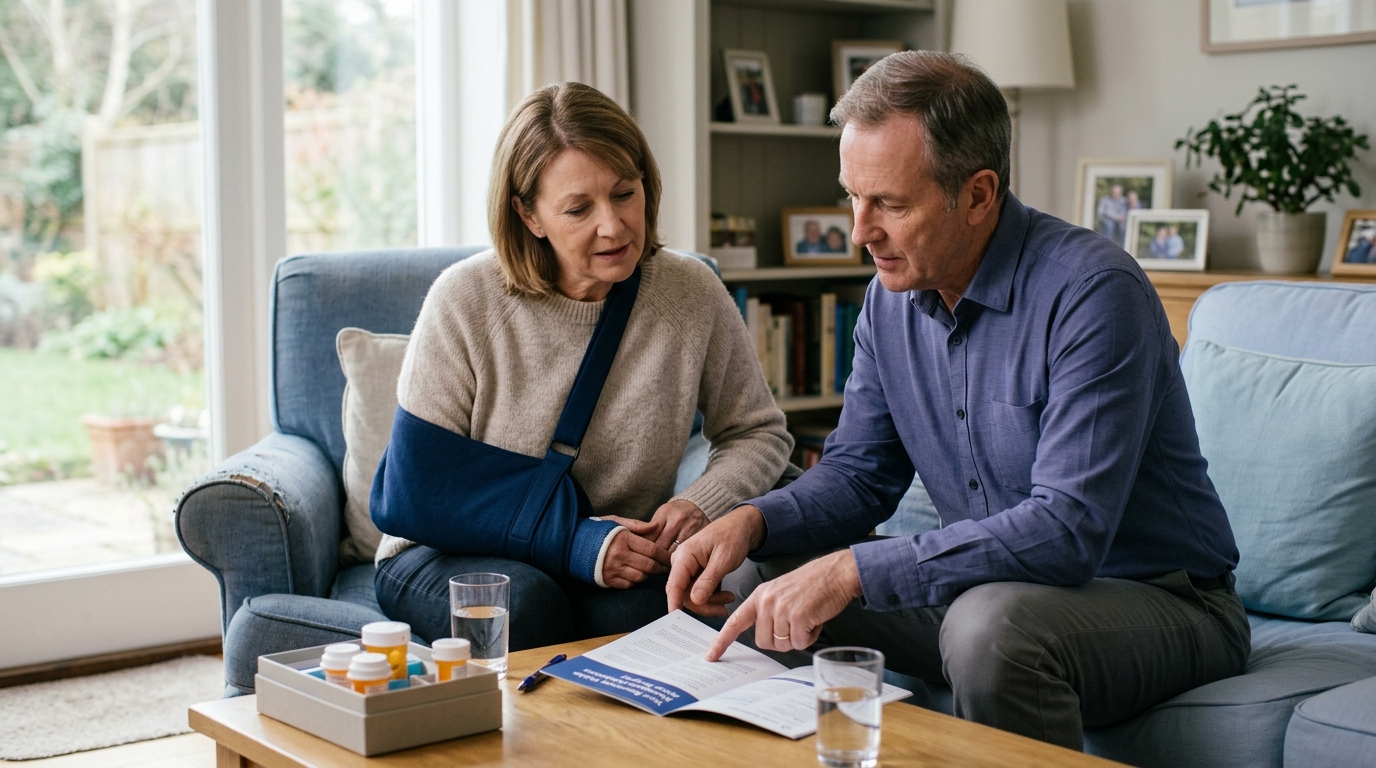
In contrast, patient guidelines for non-surgical radial head or neck elbow fractures encourage early active range of motion within days, but impose strict lifting limits for several weeks. You must follow the precise limitations established for your specific condition. A generic exercise program must never override direct instructions from your medical team.
If you are navigating the post-surgical period, you can find detailed information within our surgery and rehab resources.
Your physical fitness prior to injury plays a major role in your comeback. An individual with years of consistent resistance training and aerobic conditioning often retains structural adaptations in unaffected muscle groups, bones, and the cardiovascular system. They also possess higher movement literacy, meaning they can learn and execute modified movement patterns with better motor control.
Someone who was relatively inactive before an injury has less baseline physical reserve. When they begin a return to exercise program, their body must adapt to basic exercise demands while simultaneously healing from an injury. This dual demand requires a slower, more deliberate progression.
Physical tissue repair is biologically demanding. Recovery requires adequate dietary protein, sufficient total calories, and essential micronutrients like calcium and vitamin D for bone remodeling. Chronic psychological stress, elevated systemic inflammation, and metabolic conditions like diabetes can slow cellular repair.
Sleep is perhaps the most critical lifestyle factor in musculoskeletal recovery. During deep sleep stages, the body releases growth hormone and conducts essential cellular repair. Consistently sleeping fewer than seven hours per night compromises tissue regeneration, impairs neuromuscular coordination, and increases pain sensitivity.
To turn these principles into practice, you can use structured blueprints for common recreational pursuits. These frameworks are illustrative models showing how to stage physical demands over time. They are not individualized medical prescriptions.
Returning to hiking should follow a clear progression from low-demand walking to challenging outdoor trails:
Running involves significant impact forces, often generating ground reaction forces equal to two to three times your body weight per stride. Transitioning from walking to running requires careful staging.
A published clinical running program from Oxford University Hospitals provides a clear example of structured progression. Before starting the running program, the protocol requires that an individual can walk briskly for 30 minutes with zero pain.
A 2024 review on bone stress injuries highlights that running studies use variable entry criteria. Some protocols require individuals to be pain-free during daily activities for 2 to 28 days before introducing any running intervals. This wide variation reinforces that your personal timeline must match your specific diagnosis and clinical guidance.
Cycling provides an excellent low-impact cardiovascular workout, but it still requires gradual progression when recovering from lower-body or spinal injuries:
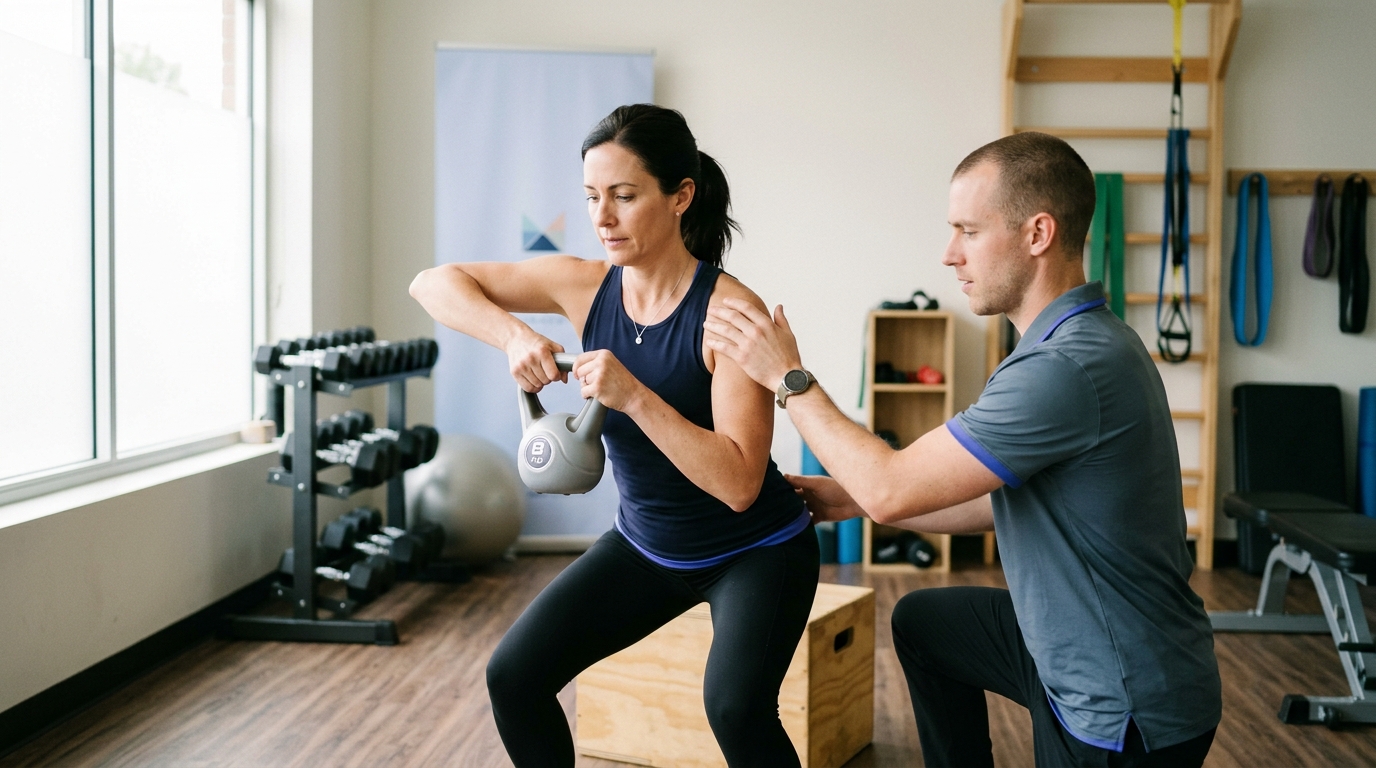
Rebuilding strength after an injury protects joints and restores functional capacity. The key is starting with controlled, stable movements before progressing to complex, heavy lifts:
To learn more about progressive overload strategies after an injury, visit our strength and return to sport category.
Navigating a return to exercise requires patience and objective planning. Many active adults run into setbacks not because their injury failed to heal, but because they fell into predictable planning traps.
The most frequent mistake is treating medical clearance as an immediate green light for high-volume activity. When a clinician states that your fracture has healed or your surgical repair is secure, they are confirming biological stability. They are not stating that your muscles, tendons, and cardiovascular system are instantly conditioned for an eight-mile run or heavy lifting session. Treat clearance as permission to begin a structured comeback, not as an instant return to your former peak.
When exercise feels good again, it is tempting to do more. You might decide to hike an extra mile, pick up your walking pace, and try a steeper trail all on the same weekend. Changing multiple variables at once makes it impossible to understand your body's limits. If your knee swells the next morning, you will not know if the issue was the extra distance, the faster pace, or the downhill descent. Always change only one variable at a time.
Many connective tissues, particularly tendons and joint cartilage, do not produce sharp pain while you are moving. Warm joints and circulating endorphins can mask mild overloading during exercise. The true test of whether an activity was tolerated occurs 12 to 24 hours later. If you evaluate your readiness solely by how you feel during the workout, you may consistently overshoot your capacity.
When a minor flare-up occurs, some individuals panic and assume they have reinjured themselves. They stop all physical activity, sit on the couch for two weeks, and lose the conditioning they worked hard to rebuild. A minor increase in symptoms is simply feedback that a specific load was slightly too high. Unless you have experienced a traumatic event, you rarely need to reset to zero. Simply reduce your activity to the previous level that was comfortable, allow symptoms to calm down, and resume your gradual progression.
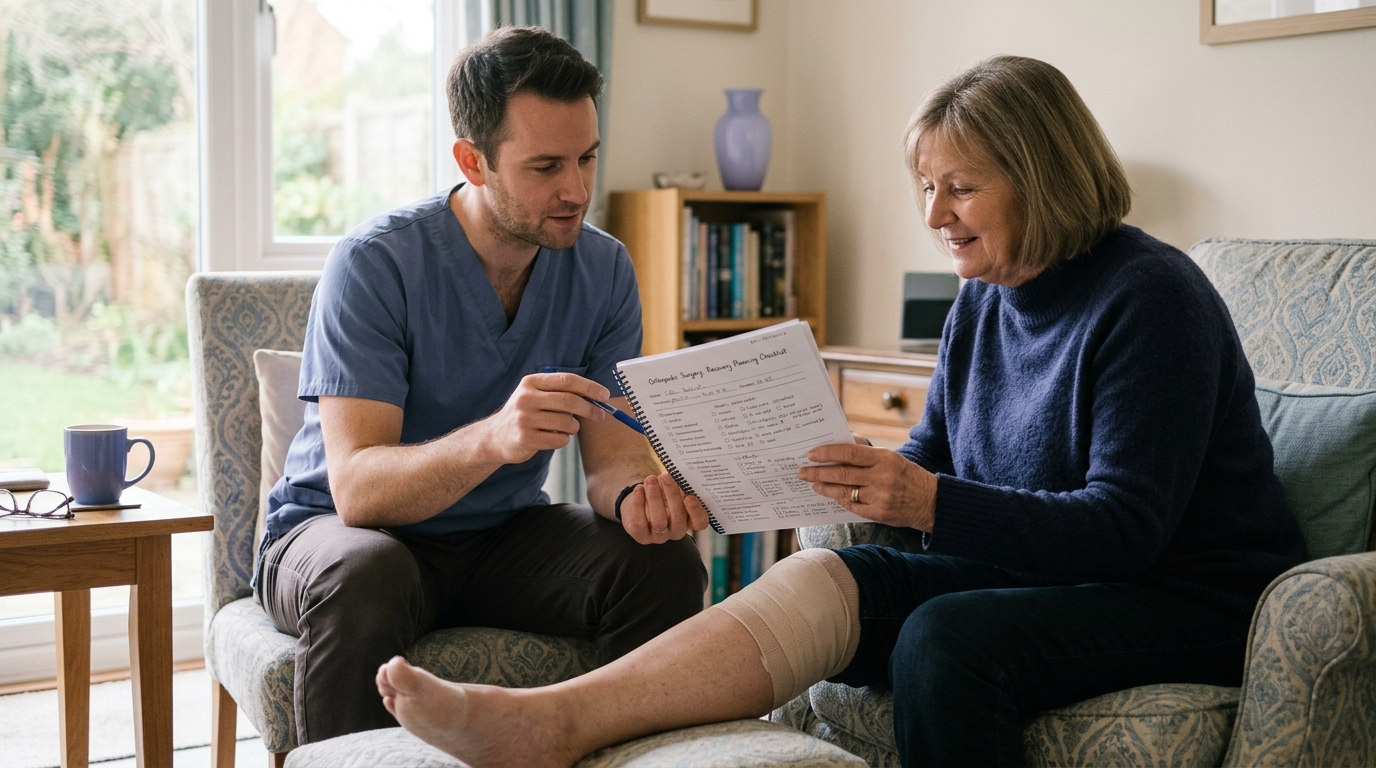
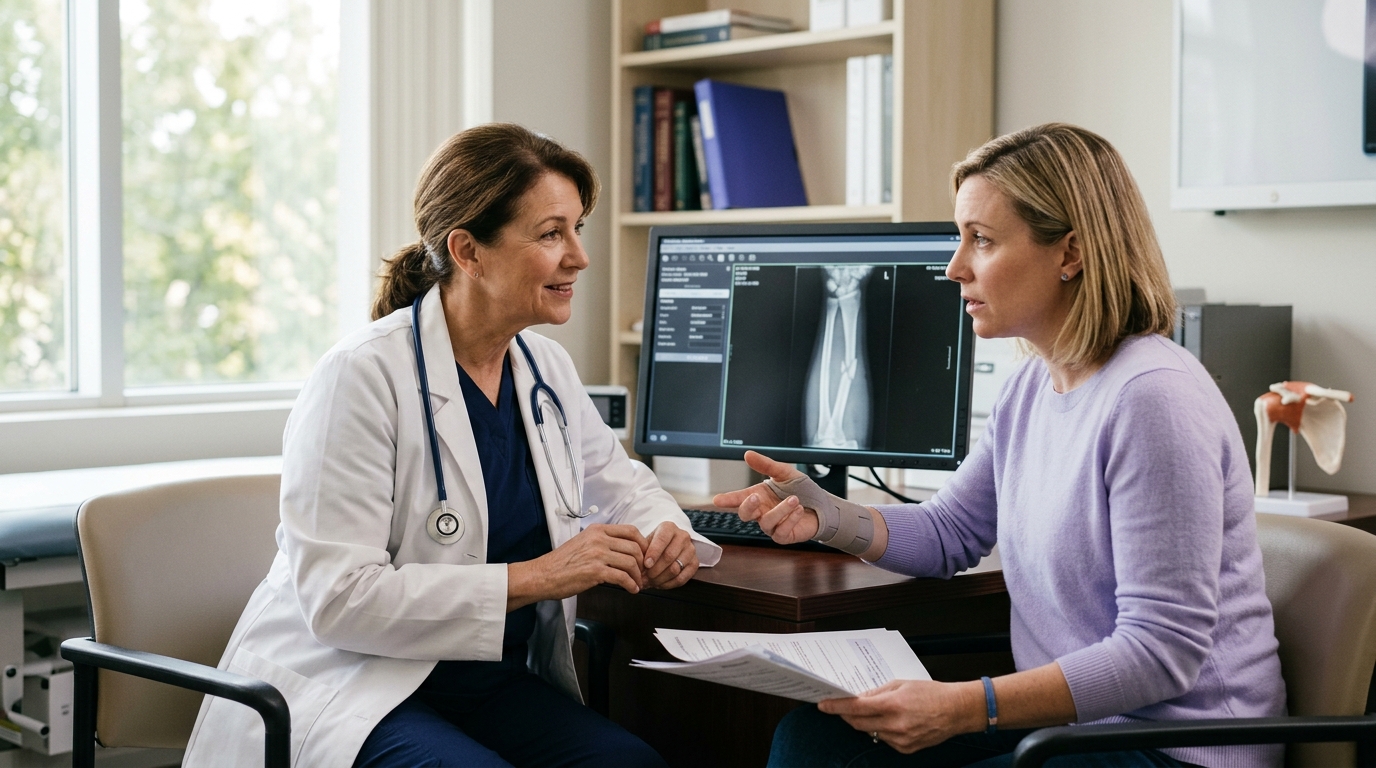
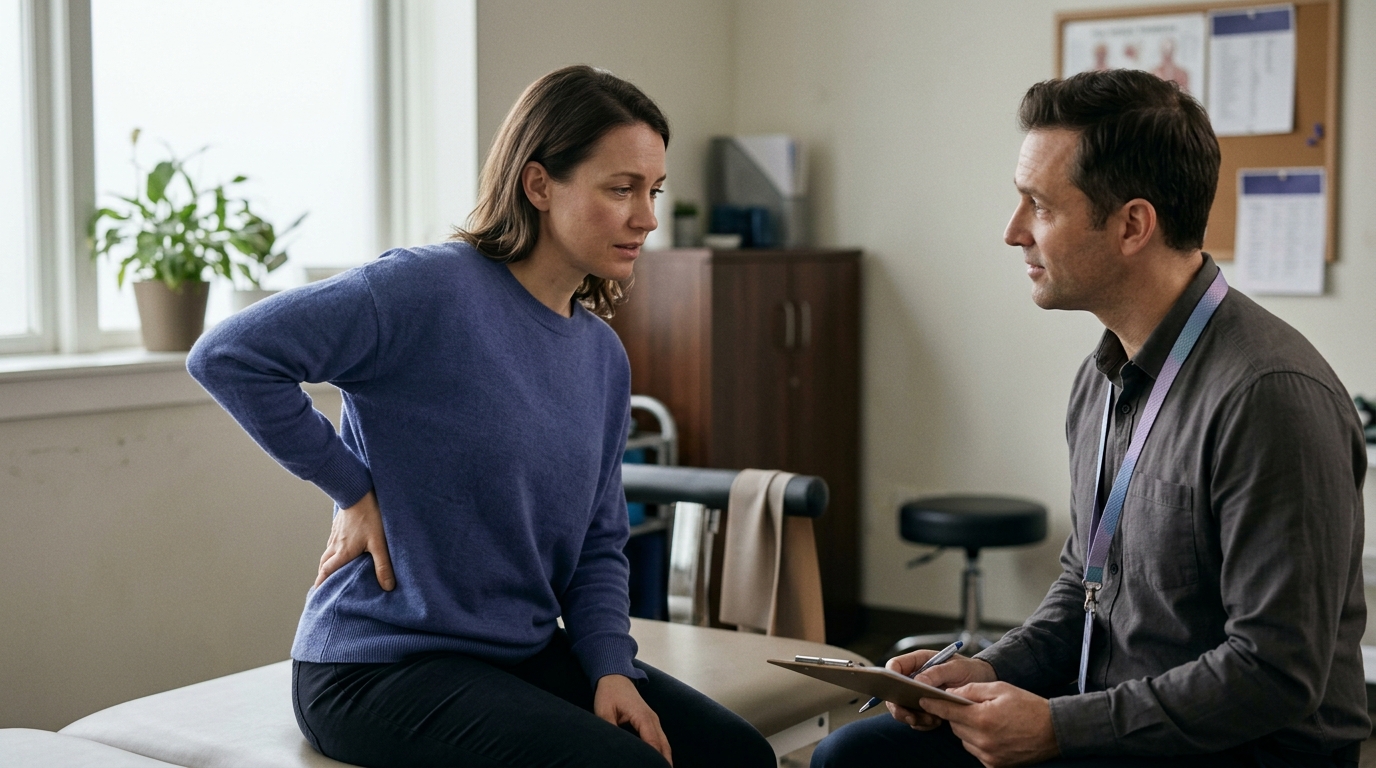
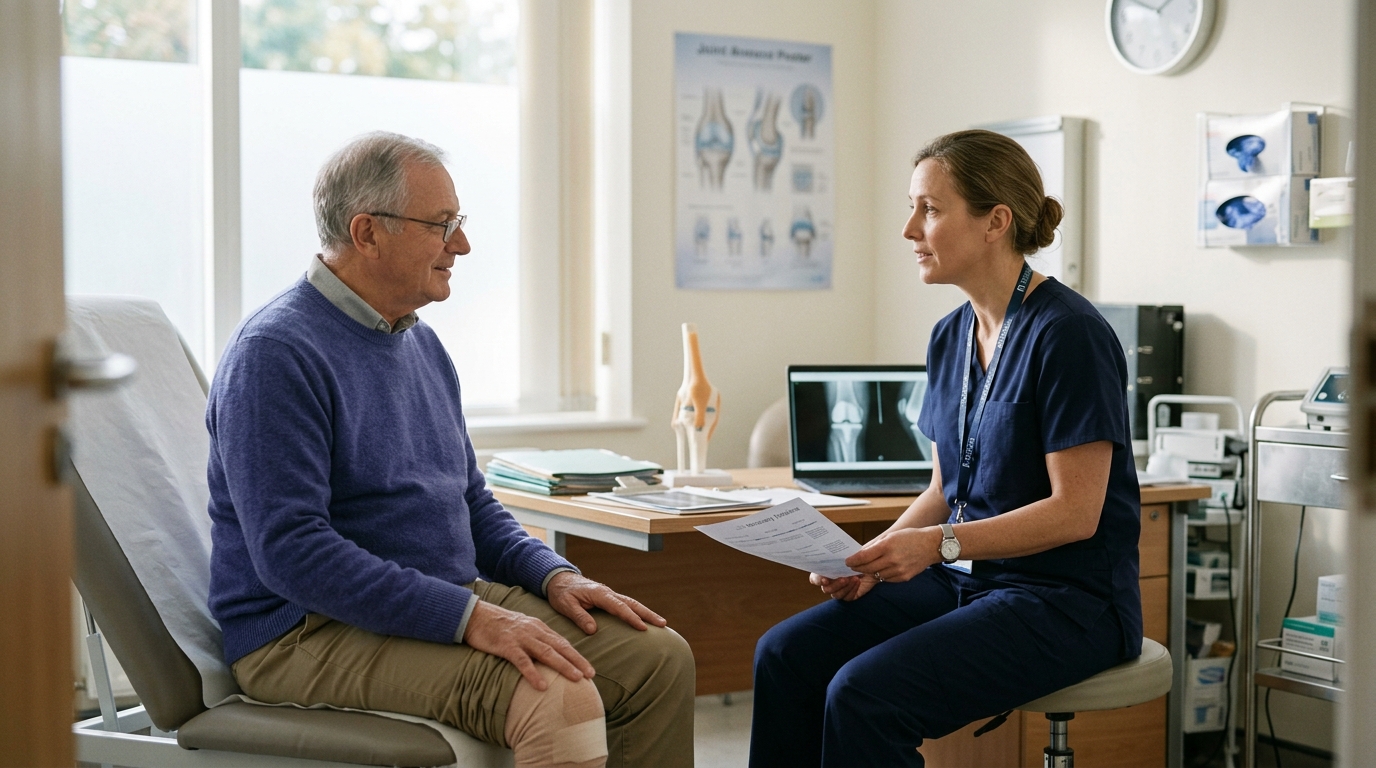
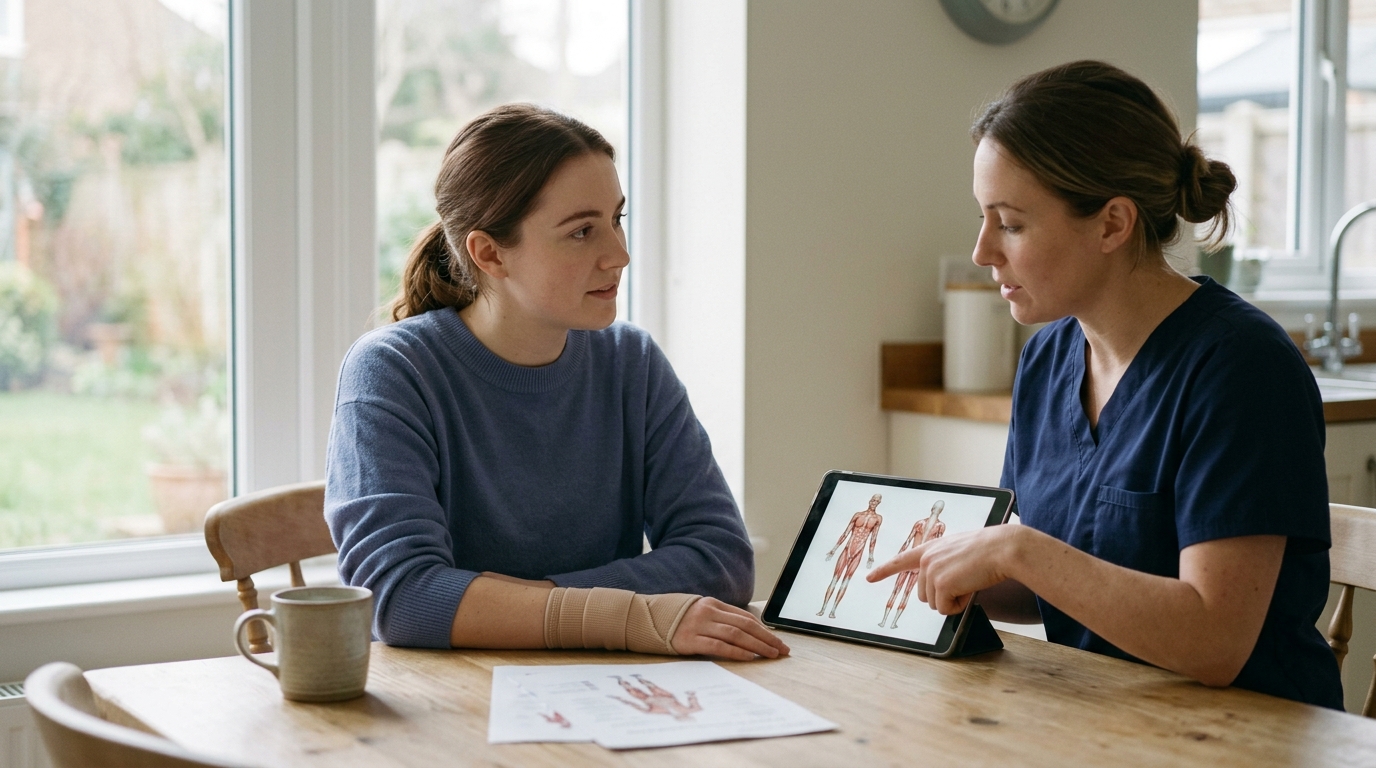
Before progressing your physical activity, use your clinical appointments to gather specific, actionable parameters. Asking clear questions helps you understand your precise medical boundaries.
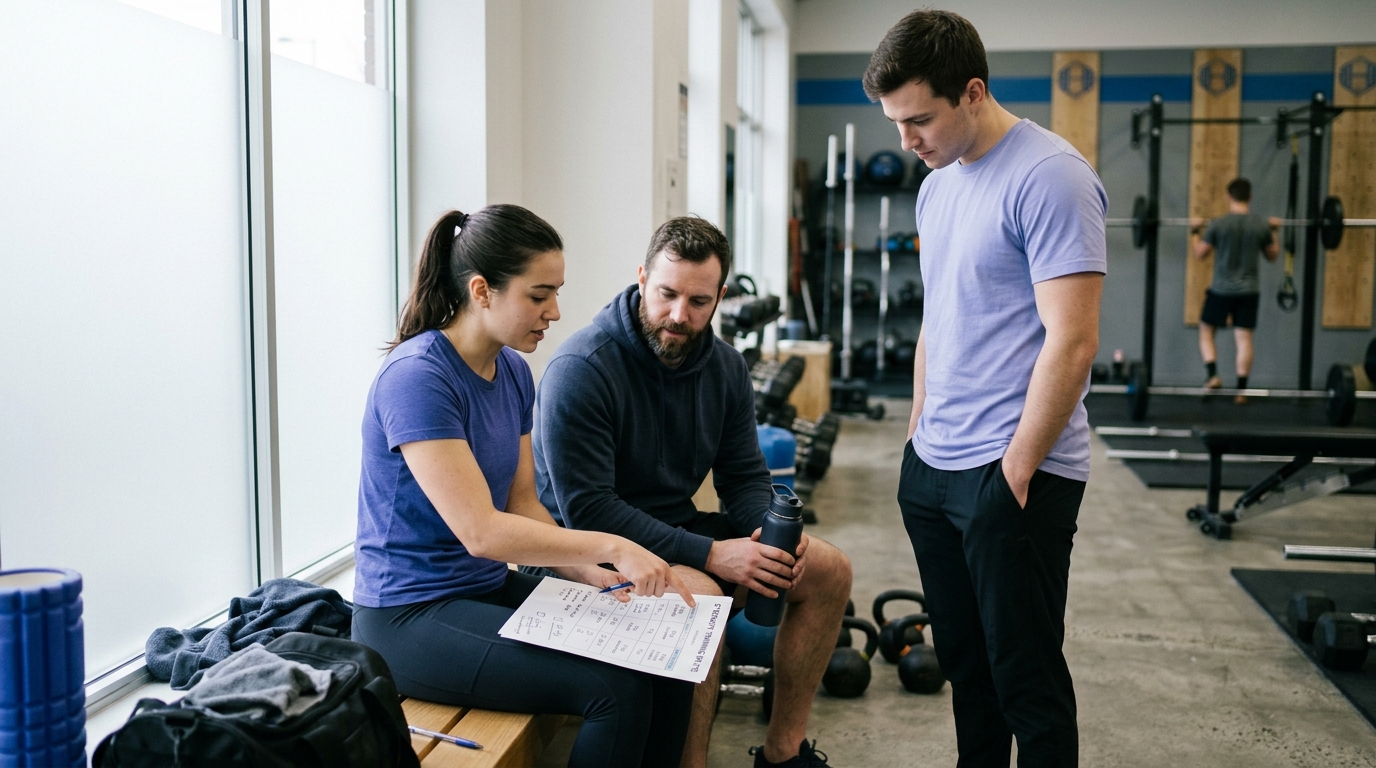
Take notes during your discussions and share them with your physical therapist, personal trainer, or coach. Having documented clinical boundaries ensures that everyone supporting your recovery is working toward the same goals.
To discover practical resources on maintaining long-term physical resilience, browse our injury prevention and active aging guides.
Returning to exercise after an orthopedic injury is a structured progression, not an immediate return to your former routine. Medical clearance confirms that your tissue has healed sufficiently to handle low-demand stress, but true physical readiness requires rebuilding strength, mobility, and tissue capacity over time.
By defining your destination, breaking down activity demands, progressing one variable at a time, and monitoring your 24-hour symptom response, you can systematically close the gap between basic daily function and the active lifestyle you enjoy.
Revisit this guide whenever you are transitioning between stages of recovery, preparing to introduce a new physical activity, or adjusting your training plan after an unexpected symptom flare-up.
Every step forward in your rehabilitation is an opportunity to learn how your body adapts to movement.

Use ReboundBody resources to understand common recovery stages, rehab terms, movement limits and strength rebuilding. Each guide is designed to make a complex comeback easier to understand.


Read practical guidance on injury recovery, rehabilitation, mobility and rebuilding strength as you work your way back to activity.
Explore Resources