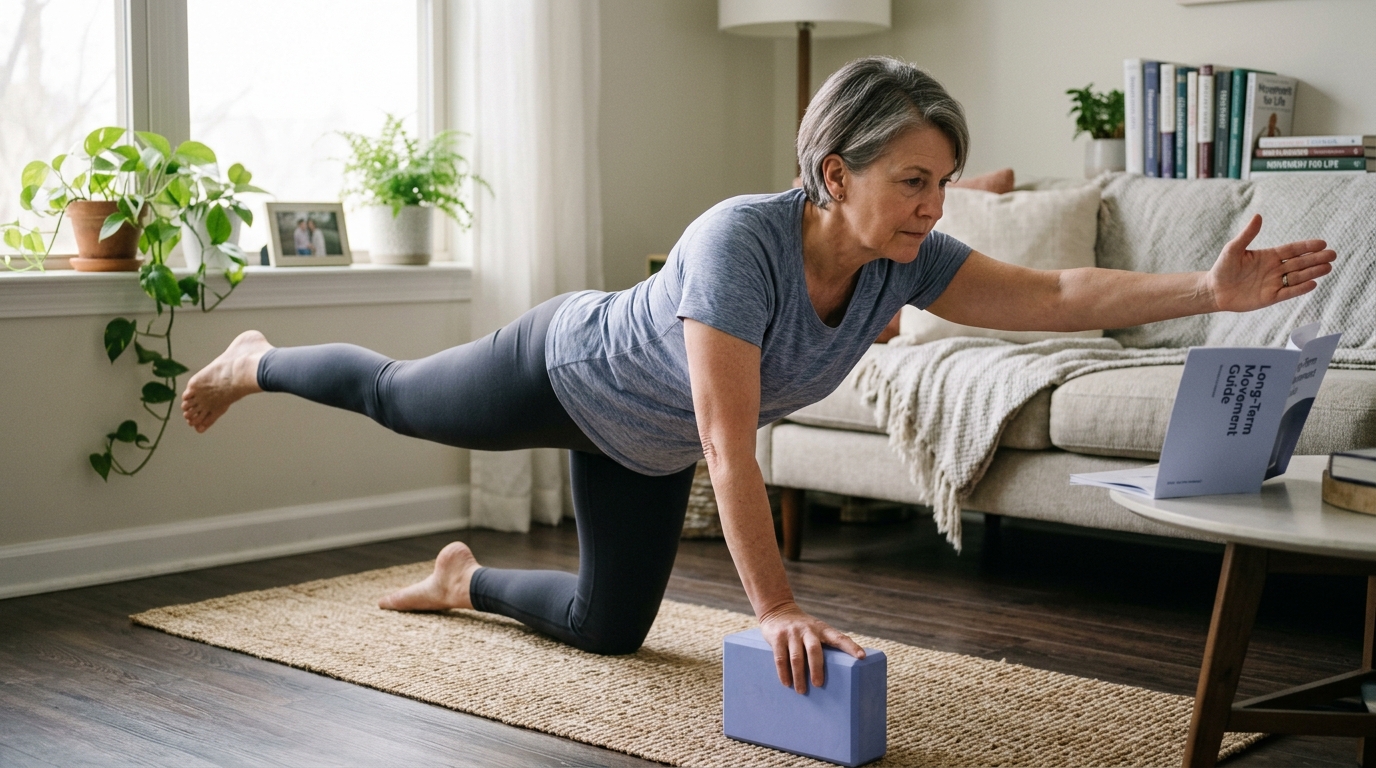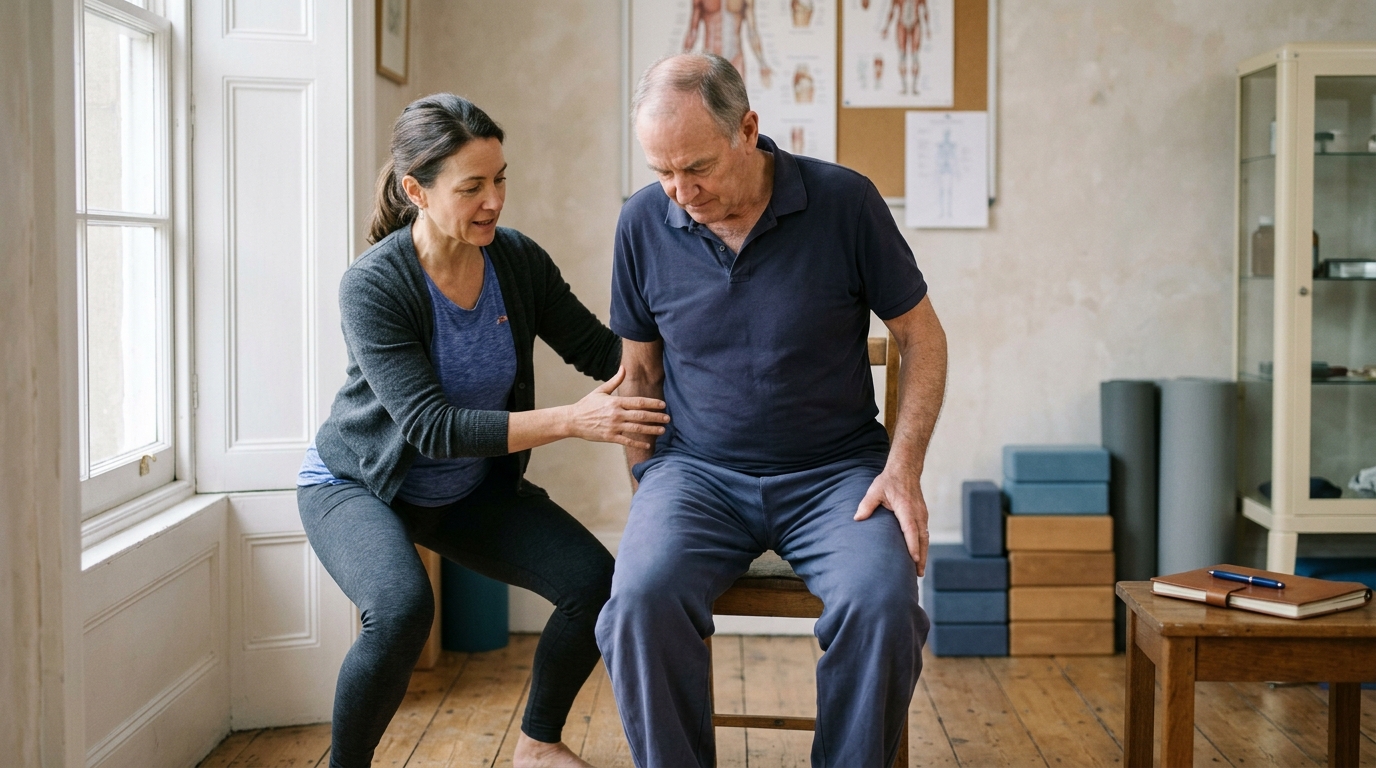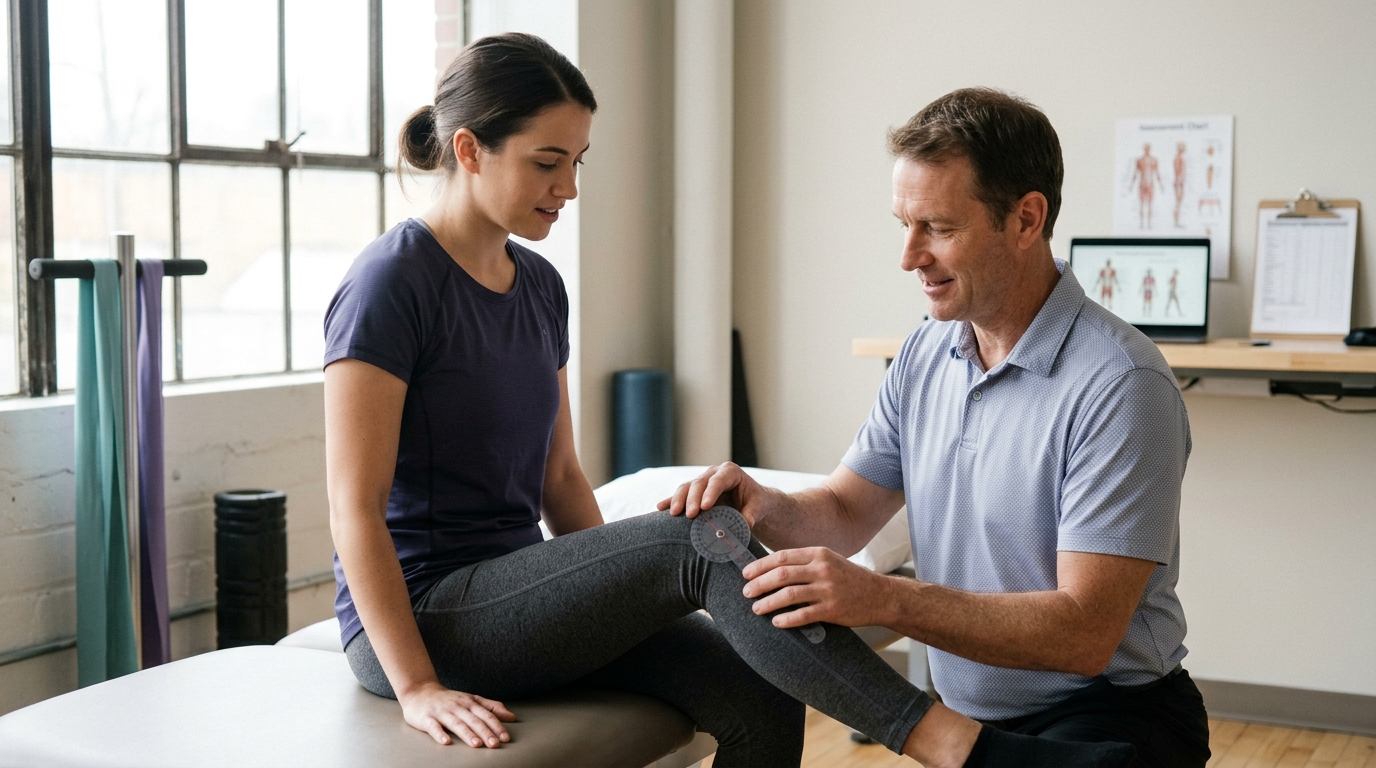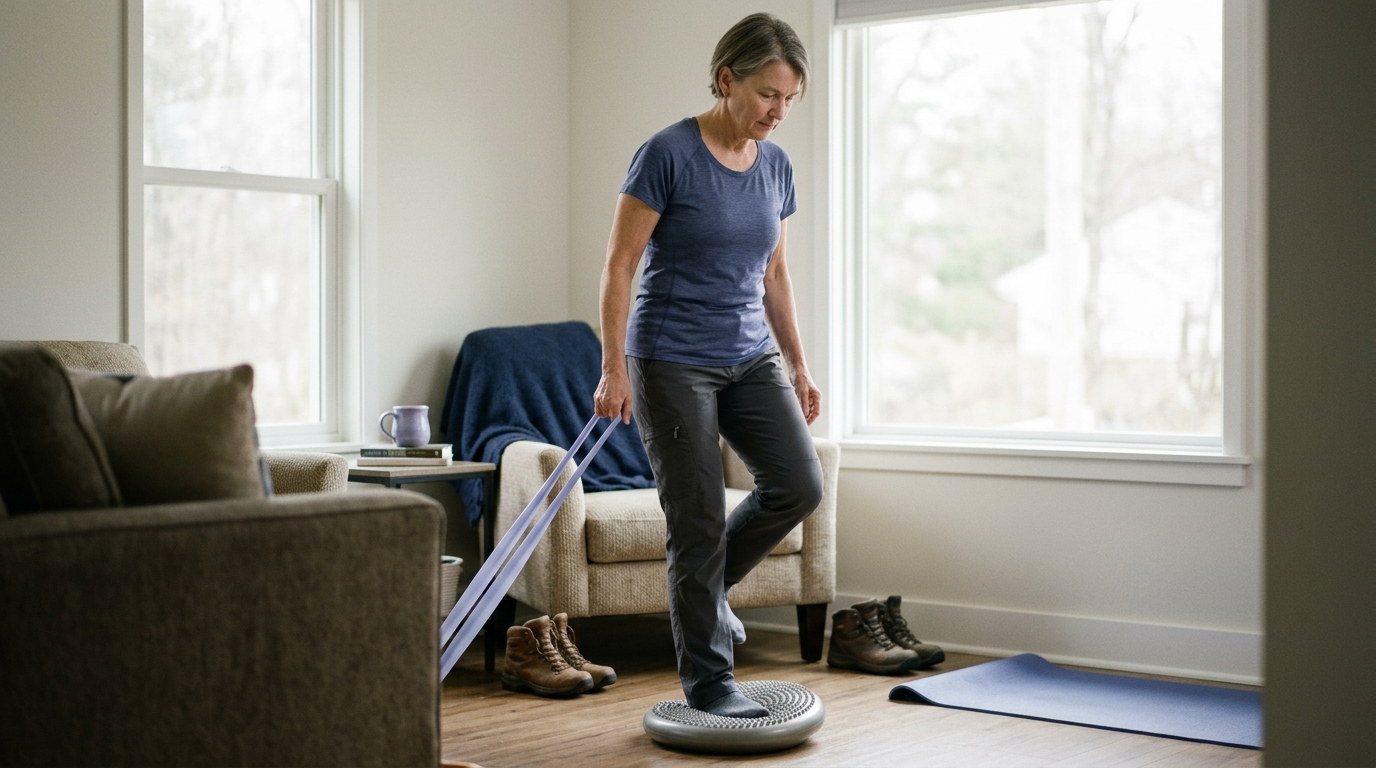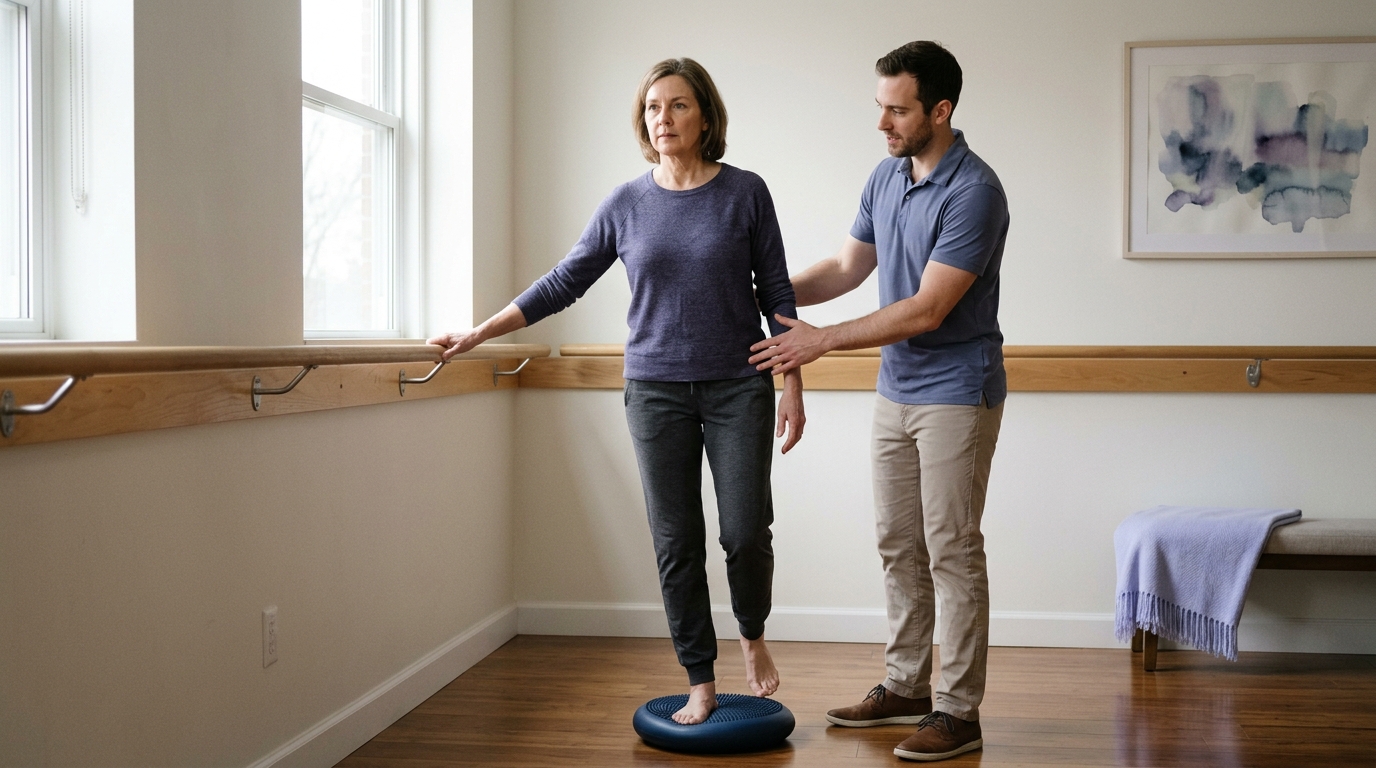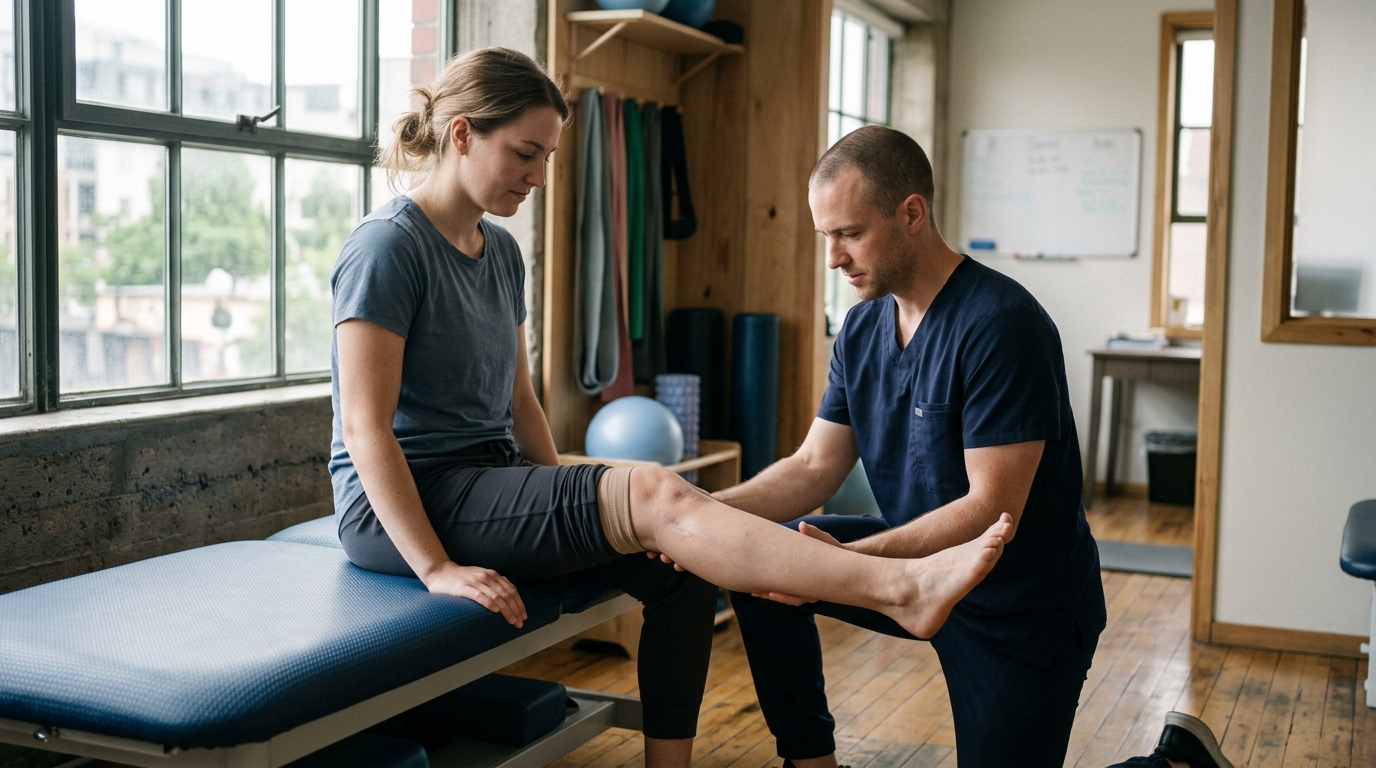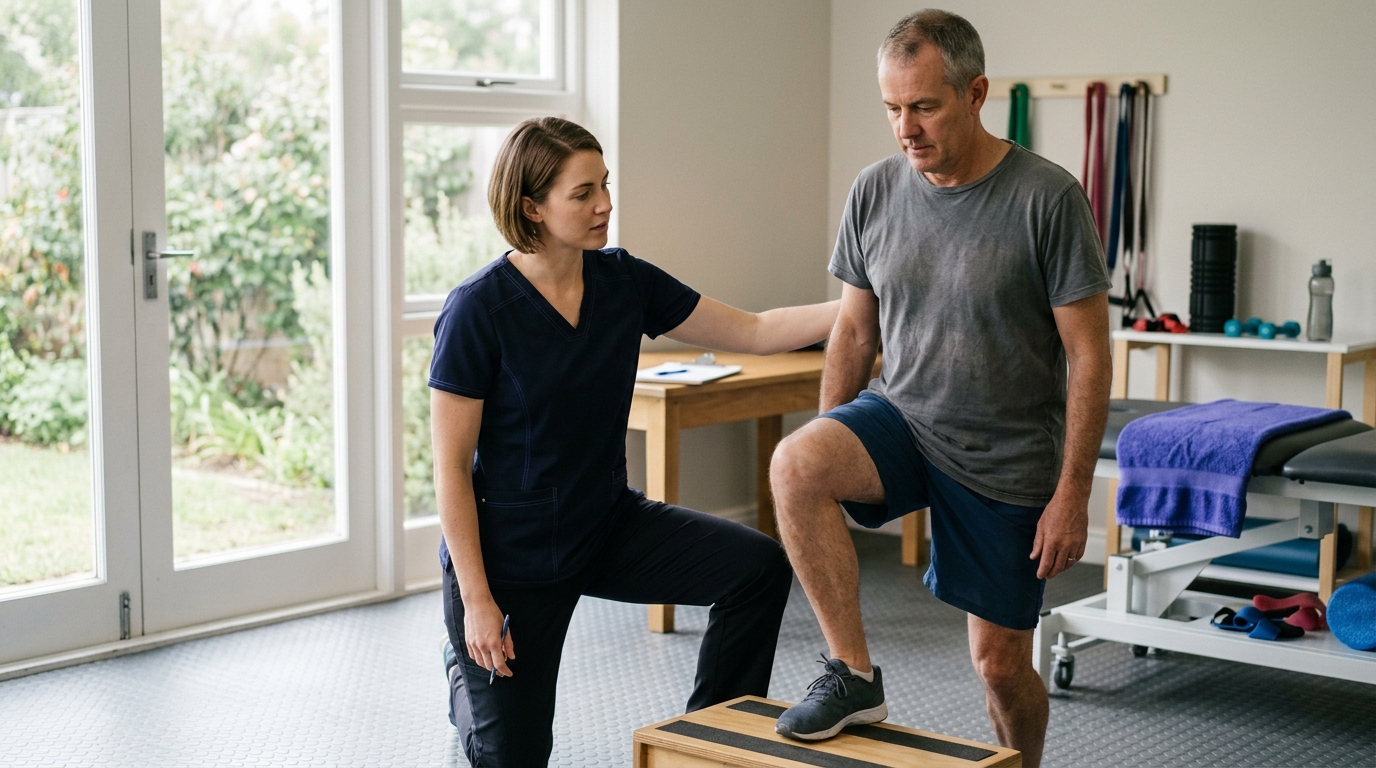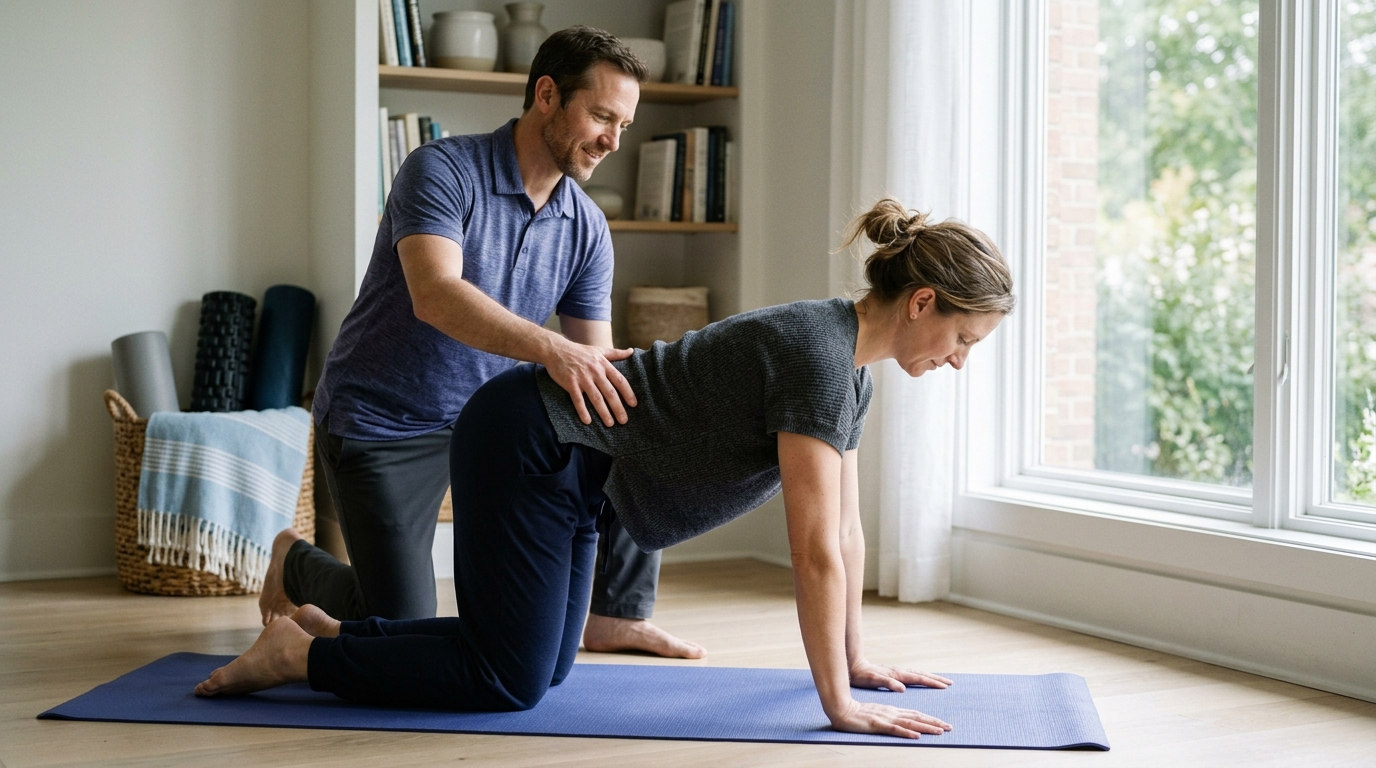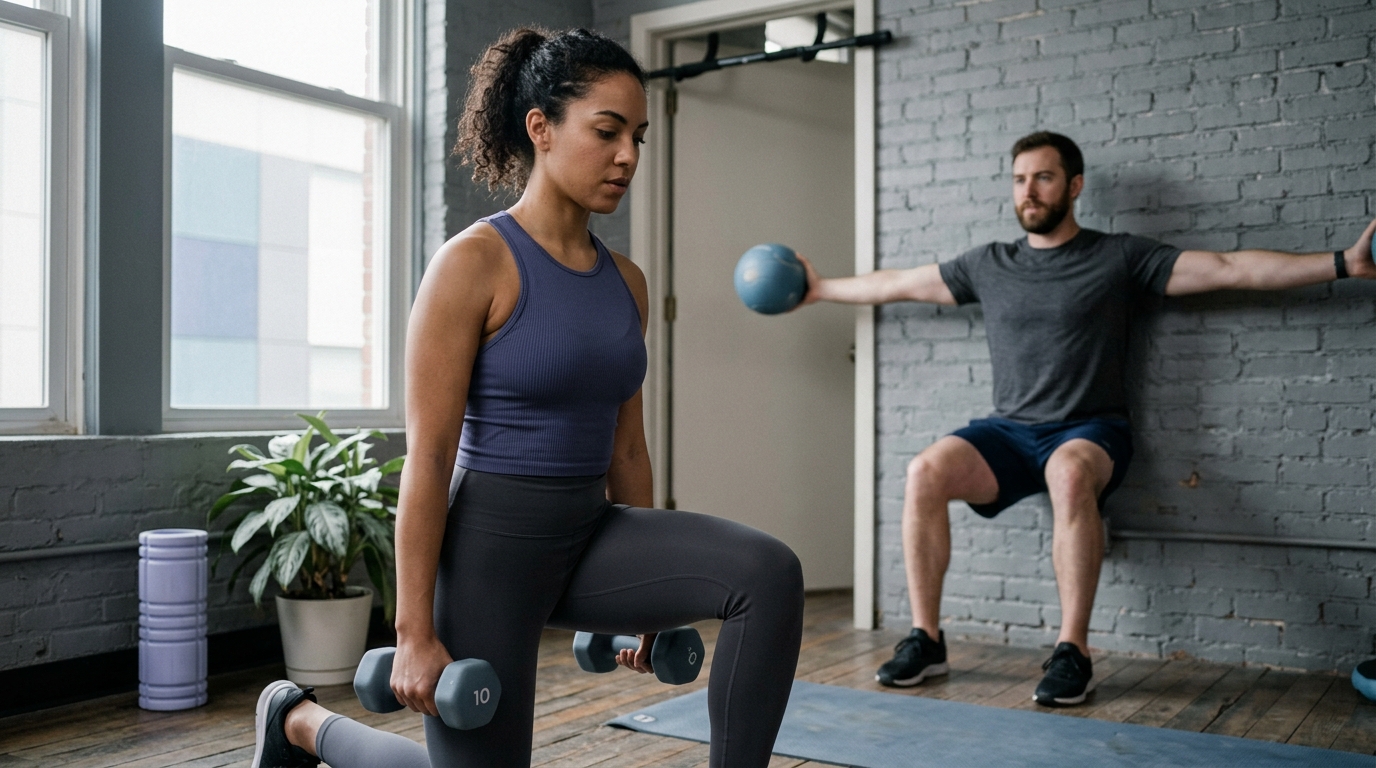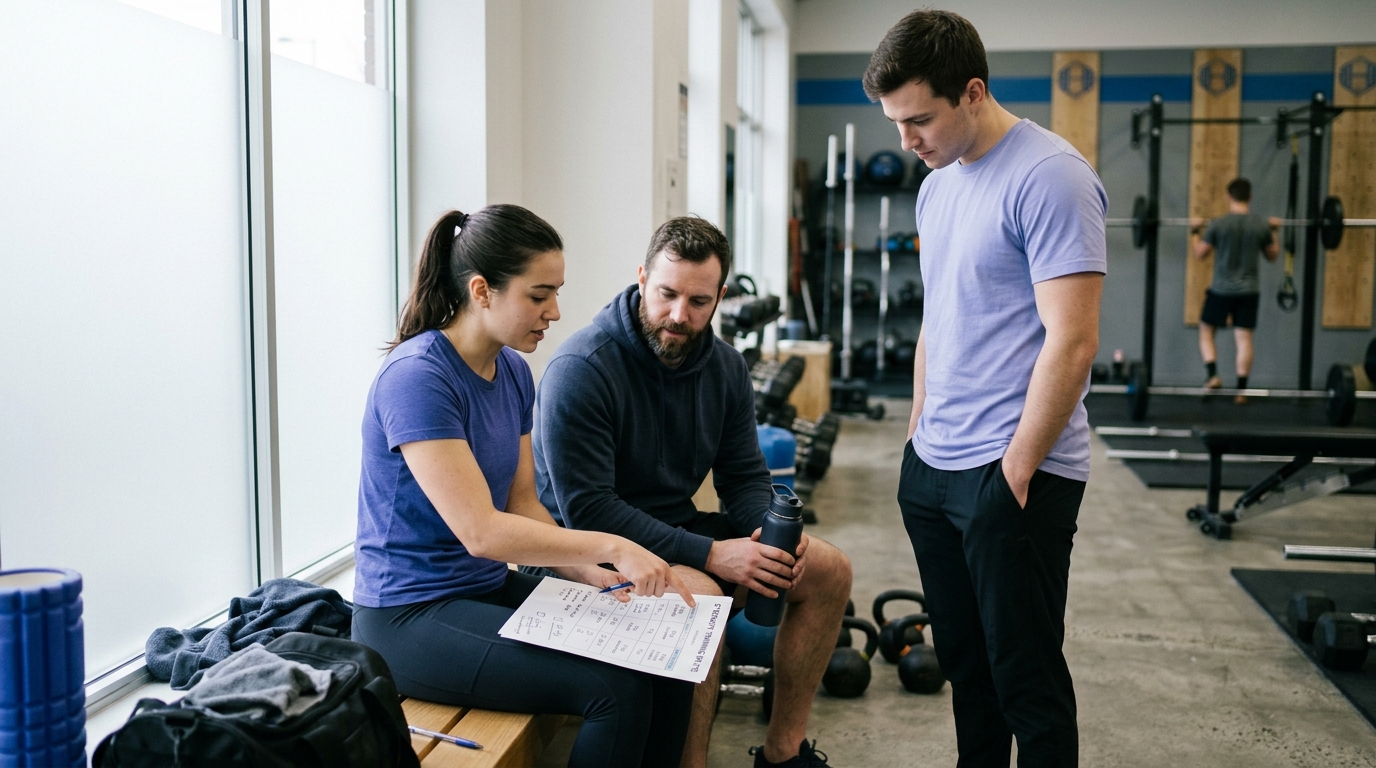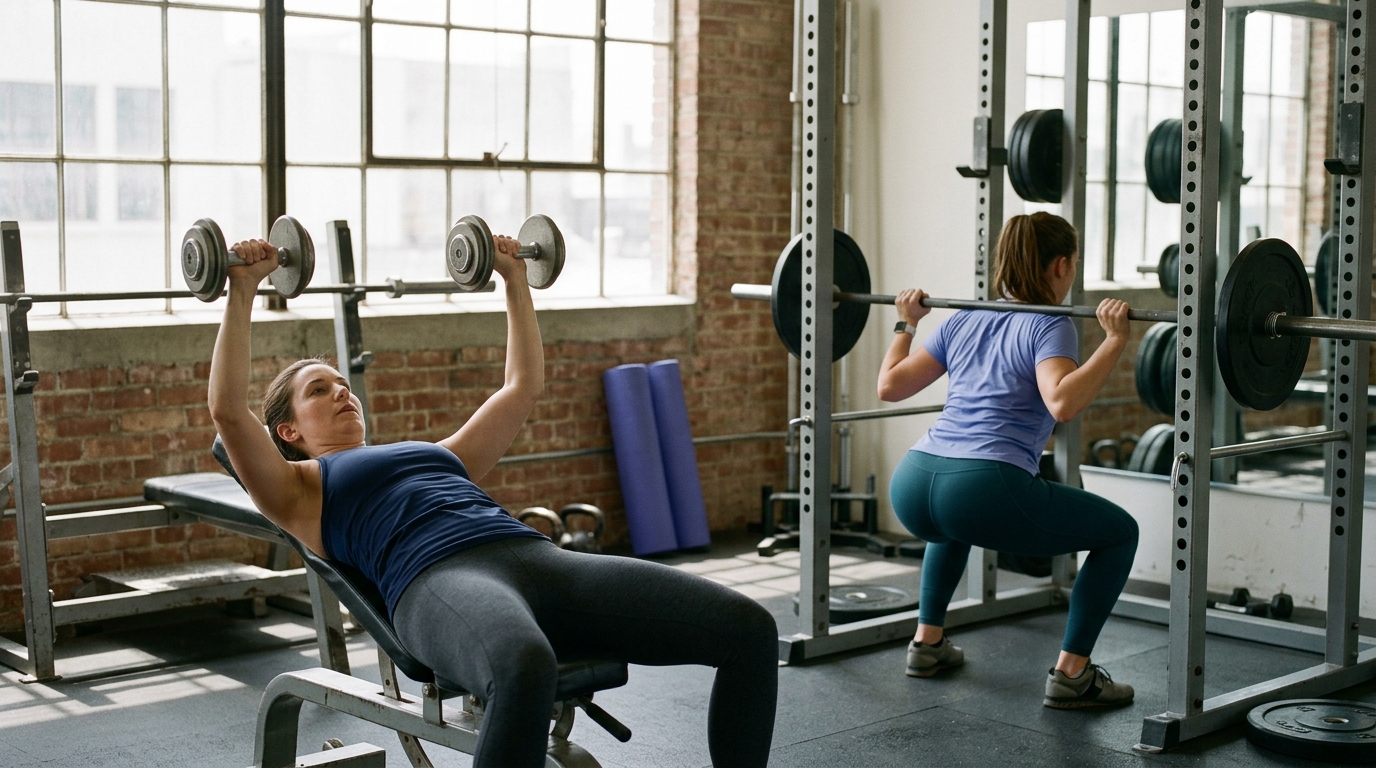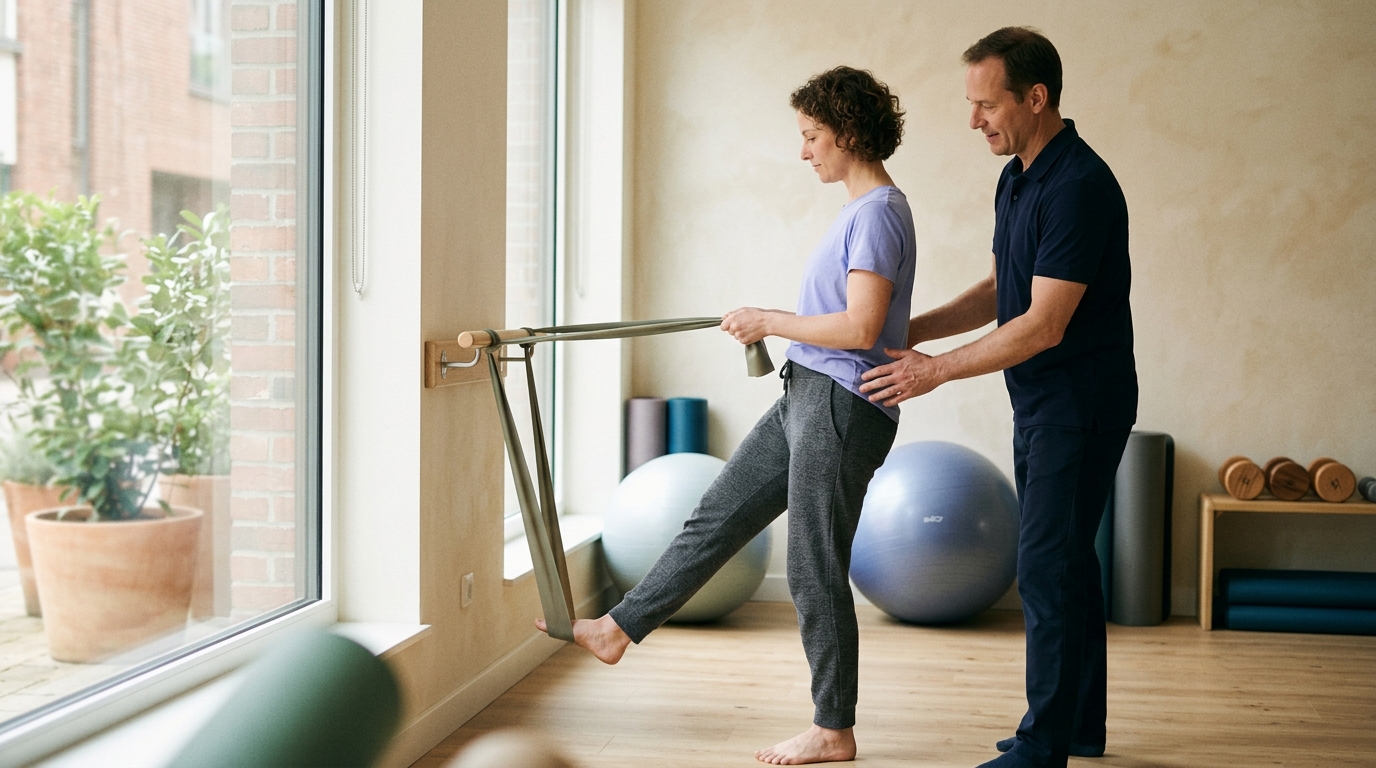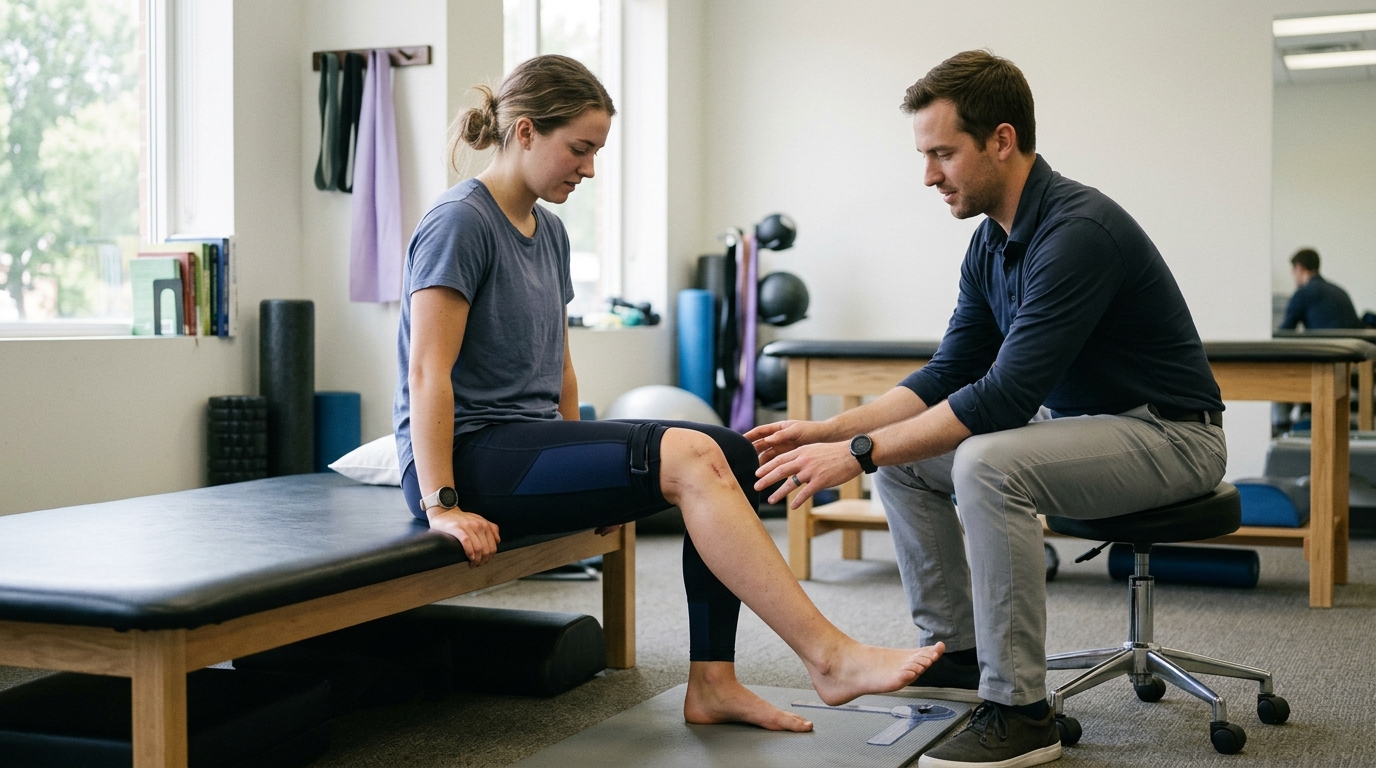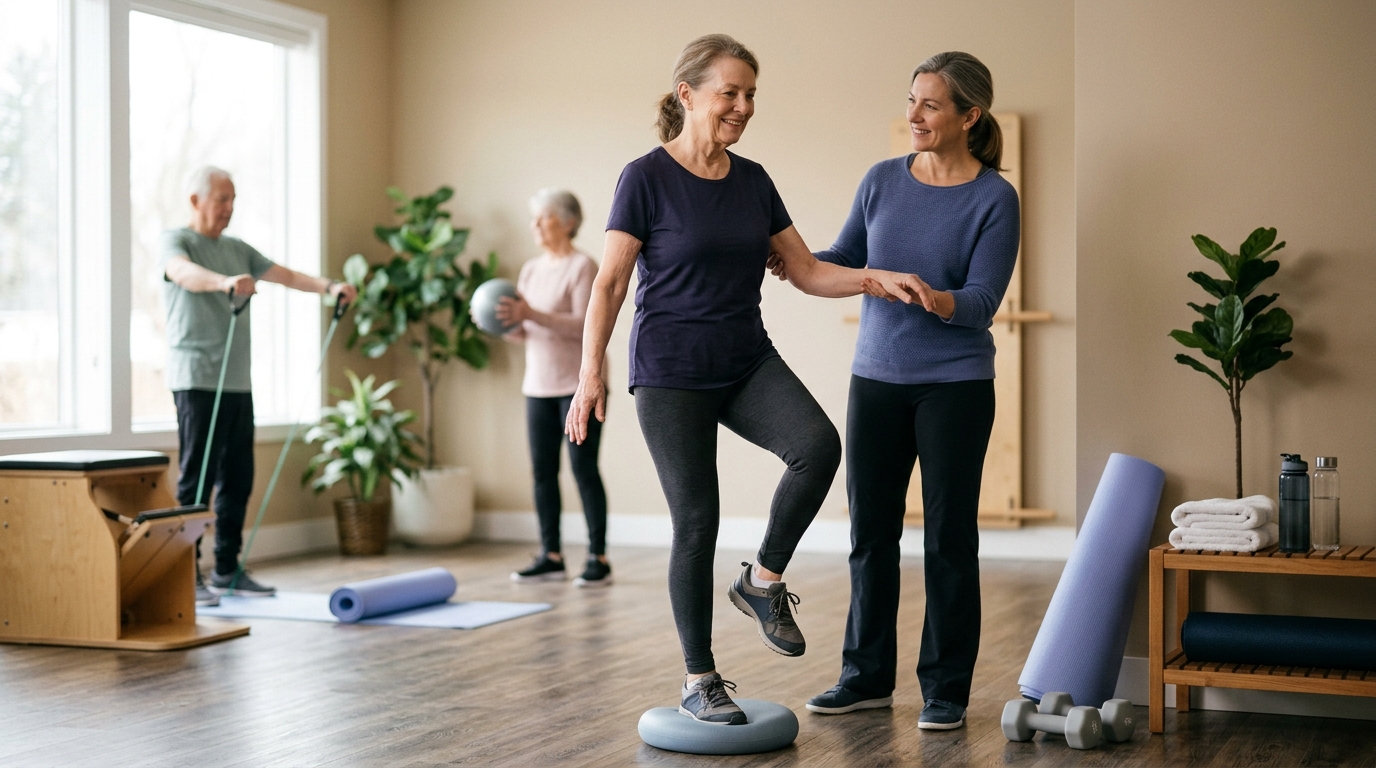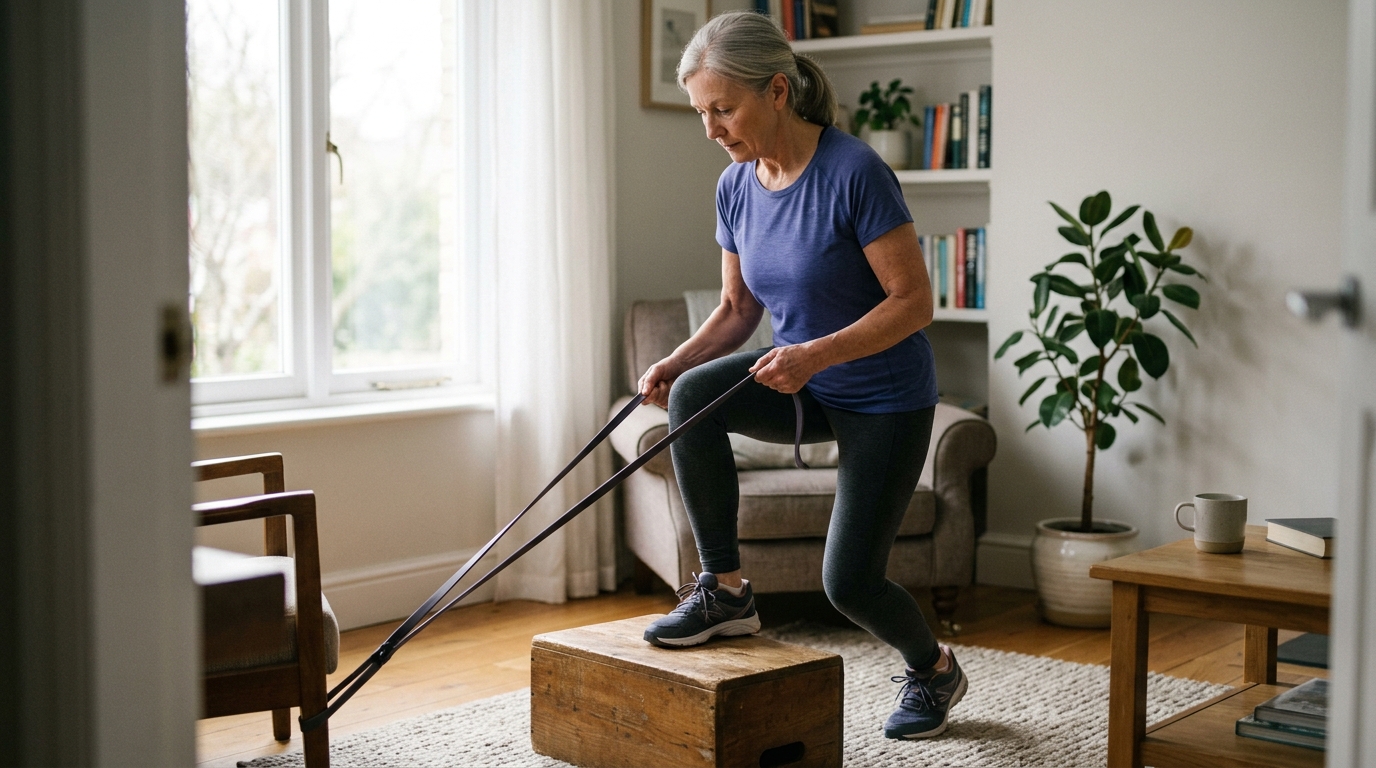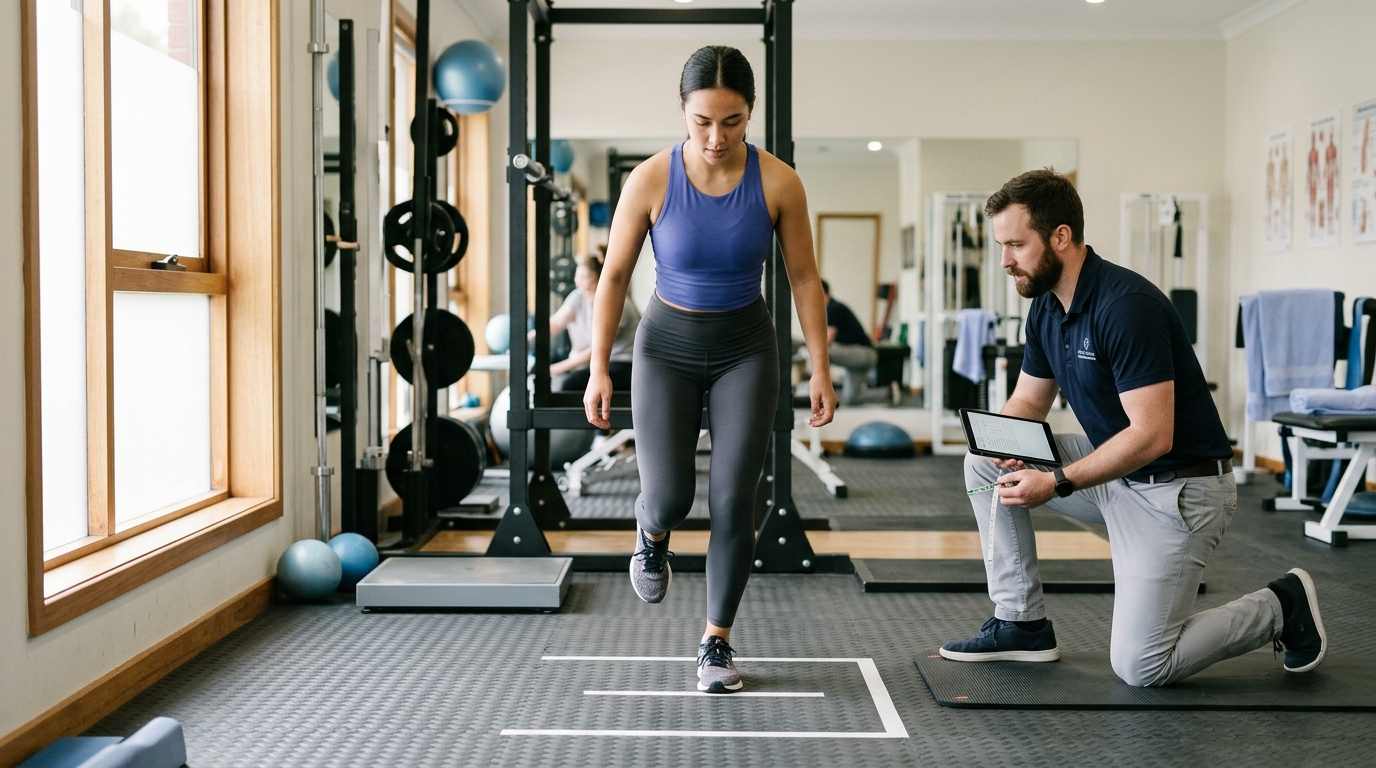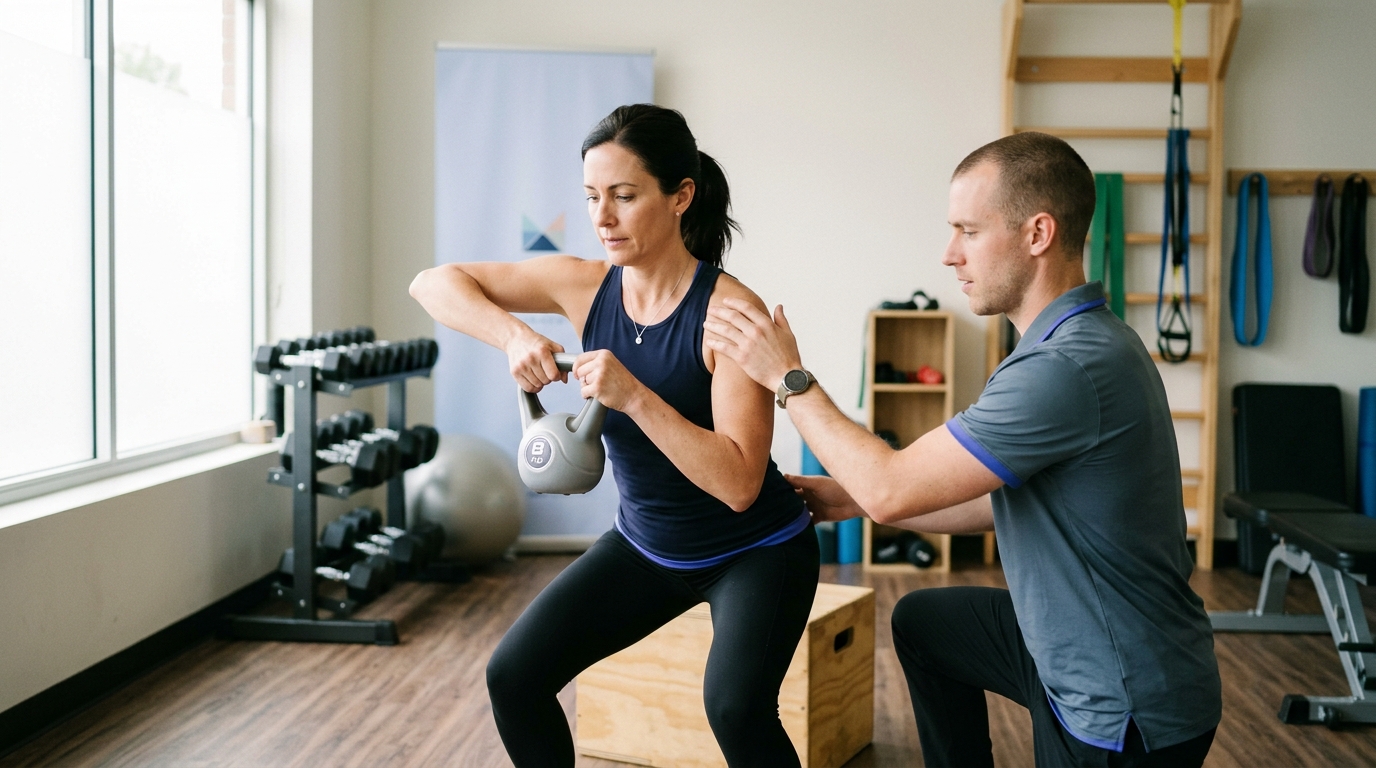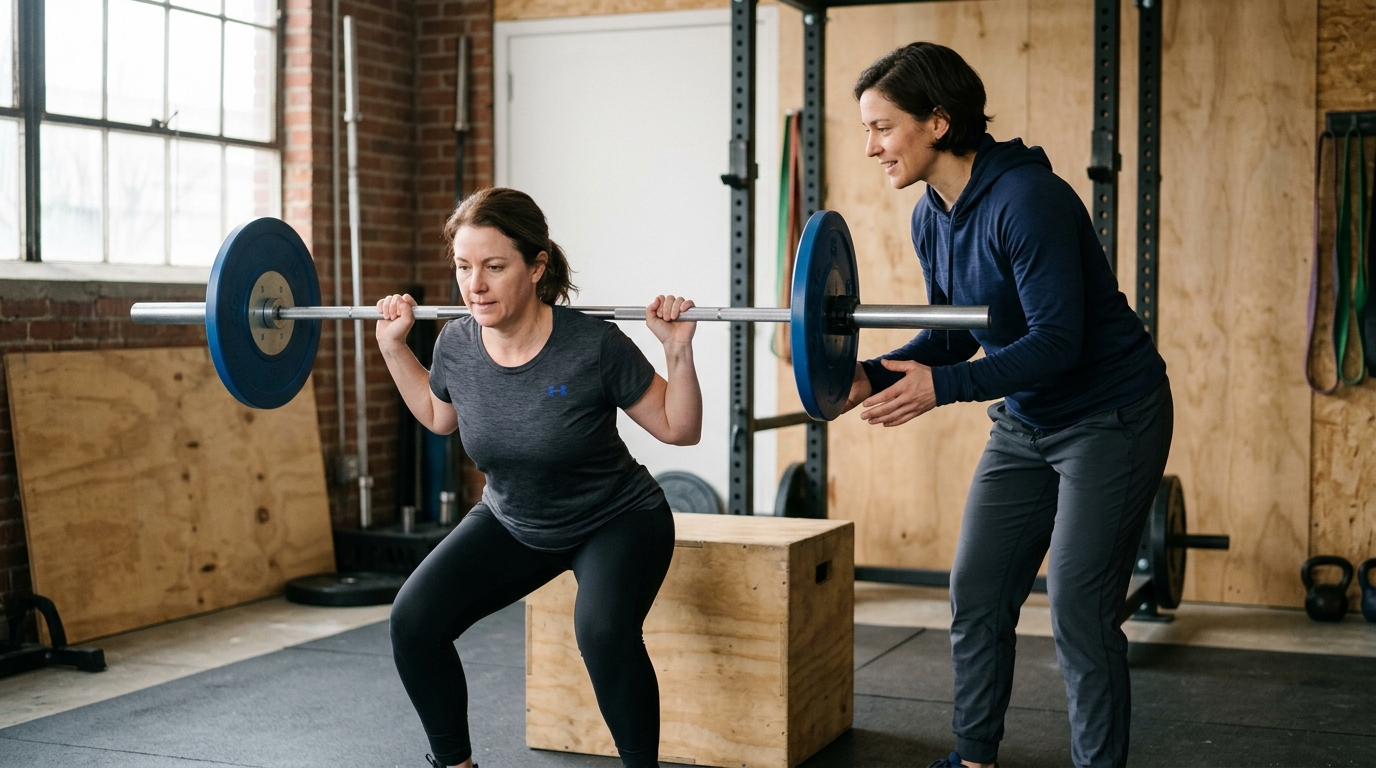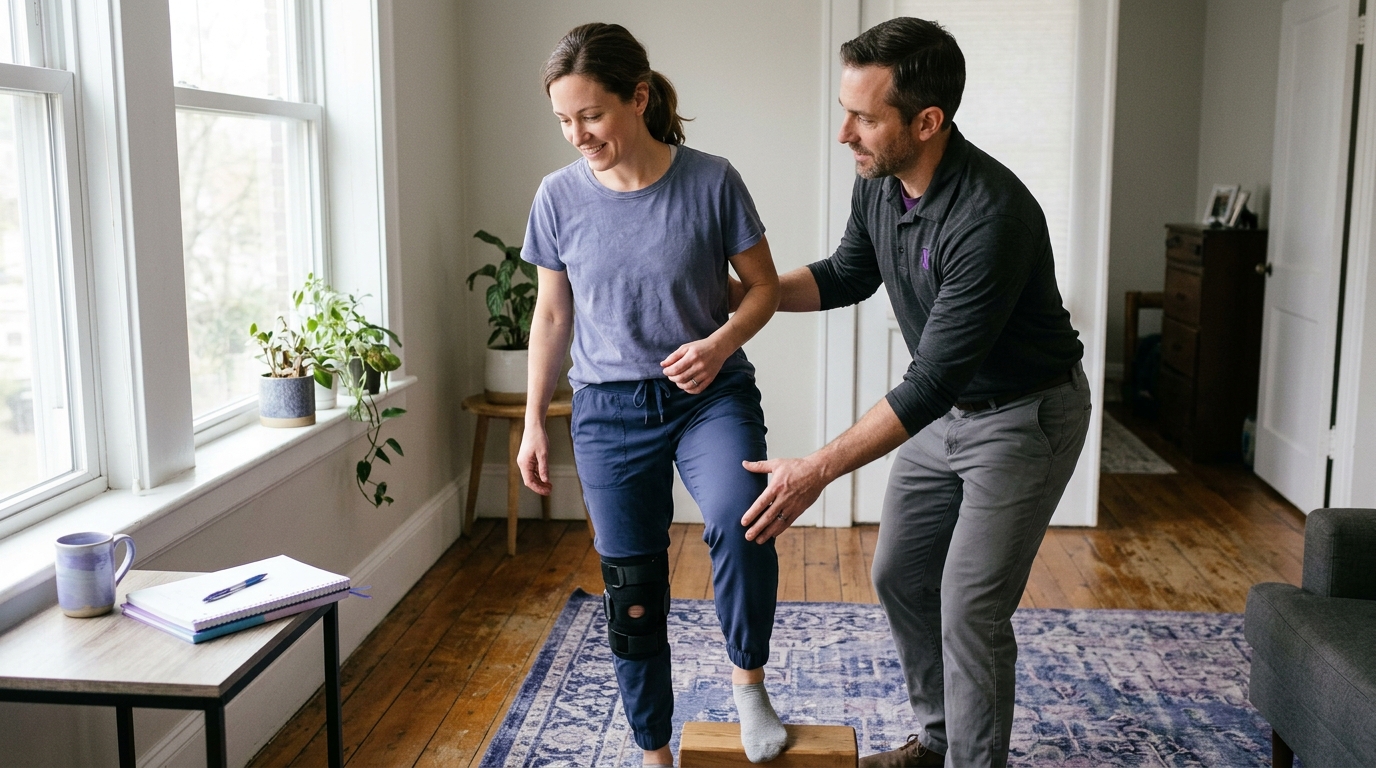

Home strength training equipment supports muscle growth and physical rehabilitation through adaptable resistance options that target all fundamental movement patterns.





Home strength training equipment is any physical tool used to create mechanical tension against working muscles outside a commercial gym. It is not an automated guarantee of physical fitness, nor is it a universal substitute for individualized clinical rehabilitation. A functional home setup does not require rows of specialized machines or heavy iron plates. Instead, it requires tools that allow you to train fundamental movement patterns safely, consistently, and with enough resistance to encourage physical adaptation over time.
For adults rebuilding physical capacity after an injury, a period of illness, or years of inactivity, selecting the right equipment can feel overwhelming. Online advice often swings between two extremes, claiming you must either build an expensive private gym or rely entirely on calisthenics. The reality sits between these views. A few well-chosen tools can support joint health, muscular endurance, and progressive strength building across a lifespan.
Public health organizations provide clear baseline targets for muscle health. Both the World Health Organization and the Centers for Disease Control and Prevention advise adults to perform muscle-strengthening activities that work all major muscle groups on two or more days each week. Major muscle groups include the legs, hips, back, chest, abdomen, shoulders, and arms. How you provide that resistance depends on your current physical tolerance, your living space, your budget, and your personal goals.
This guide examines the core categories of home strength equipment, from bodyweight modifications and elastic bands to dumbbells and adjustable systems. It looks at what clinical and exercise science reveals about these tools, how to progress without buying endless gear, and how to match your equipment choices to your current stage of physical recovery.
Many people believe that building meaningful strength requires heavy metal barbells and commercial selectorized machines. Research evaluating resistance modalities tells a more nuanced story. Mechanical tension is the primary stimulus for muscle growth and strength improvements. Your skeletal muscles detect physical force and tension, but they do not know whether that force comes from an iron plate, an elastic polymer band, or your own body weight working against gravity.
A comprehensive systematic review and meta-analysis evaluated the effects of training with elastic resistance compared to conventional resistance like weight machines and free weights. The review analyzed eight separate clinical studies involving 224 participants ranging from 15 to 88 years of age. The researchers found no statistically significant difference in strength development between elastic resistance and conventional resistance for upper-limb strength or lower-limb strength. The standardized mean difference for upper-body strength was minus 0.11, and for lower-body strength it was 0.09. Both values indicated comparable strength outcomes across the study periods, which ranged from four to twelve weeks.
These findings support the use of elastic resistance as a practical alternative to heavy weights. However, the evidence comes with important scientific caveats. The total number of high-quality comparative studies remains relatively small. Training protocols across the reviewed trials varied widely, and researchers frequently noted the difficulty of standardizing precise workloads when using elastic materials. Therefore, while bands are an effective strength training tool, they are not necessarily identical to free weights in every practical scenario.
The American College of Sports Medicine synthesized decades of resistance training research across tens of thousands of participants. Their consensus statements confirm that home-based routines, bodyweight exercises, and elastic resistance can produce measurable improvements in muscular strength, muscle size, and everyday physical function. When training for maximum absolute strength, healthy adults eventually benefit from higher mechanical loads, often around 80 percent of their single-repetition maximum. But for building general strength, improving joint stability, and reclaiming mobility during recovery, lower to moderate loads moved with good control provide substantial benefits.
For anyone navigating a return to physical activity, these findings offer reassurance. You do not need a commercial gym membership or thousands of dollars in specialized equipment to rebuild functional strength. You can explore structured strength and return to sport resources to see how simple home tools integrate into long-term conditioning plans.
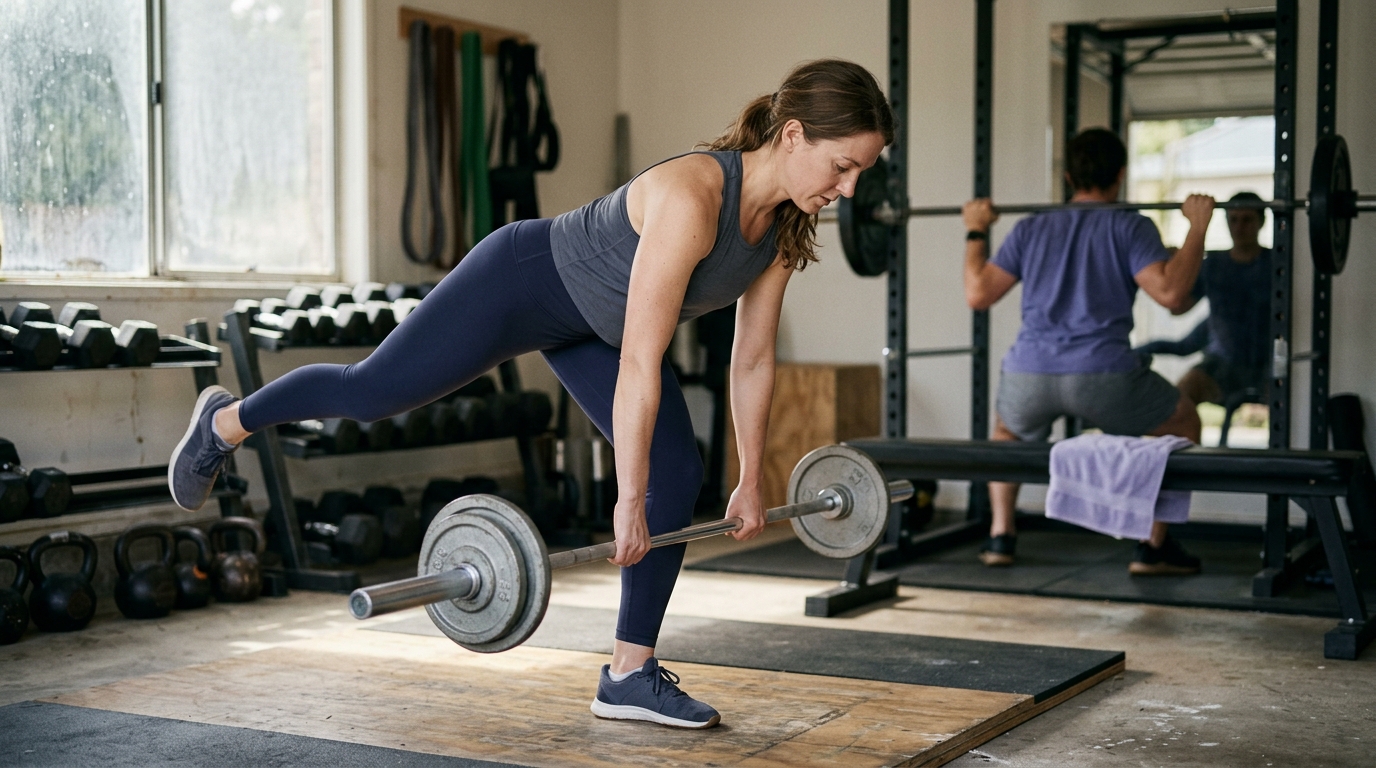
An effective home strength routine trains movements rather than isolated muscles. To maintain functional independence and physical resilience, your training should cover five primary movement patterns: pushing, pulling, squatting, hinging at the hips, and carrying or bracing the trunk.
Different home tools address these patterns with varying degrees of convenience, cost, and adjustability. Understanding the strengths and trade-offs of each category allows you to select the best fit for your space and physical capacity.
Using your own body weight as resistance requires zero financial investment and minimal space. Movements such as push-ups, chair squats, step-ups, and glute bridges rely purely on gravity and body mass.
Bodyweight training offers several clear advantages:
The primary limitation of pure bodyweight training lies in load adjustment and pulling movements. While you can easily push against the floor, performing horizontal or vertical pulling movements to strengthen the upper back requires sturdy furniture, a pull-up bar, or suspension straps. Additionally, adjusting the resistance of a bodyweight exercise requires altering your leverage, foot placement, or movement tempo. For some individuals recovering from lower-limb joint issues, full body weight may be too heavy for a squat, while for an advanced individual, bodyweight squats may quickly become too easy.
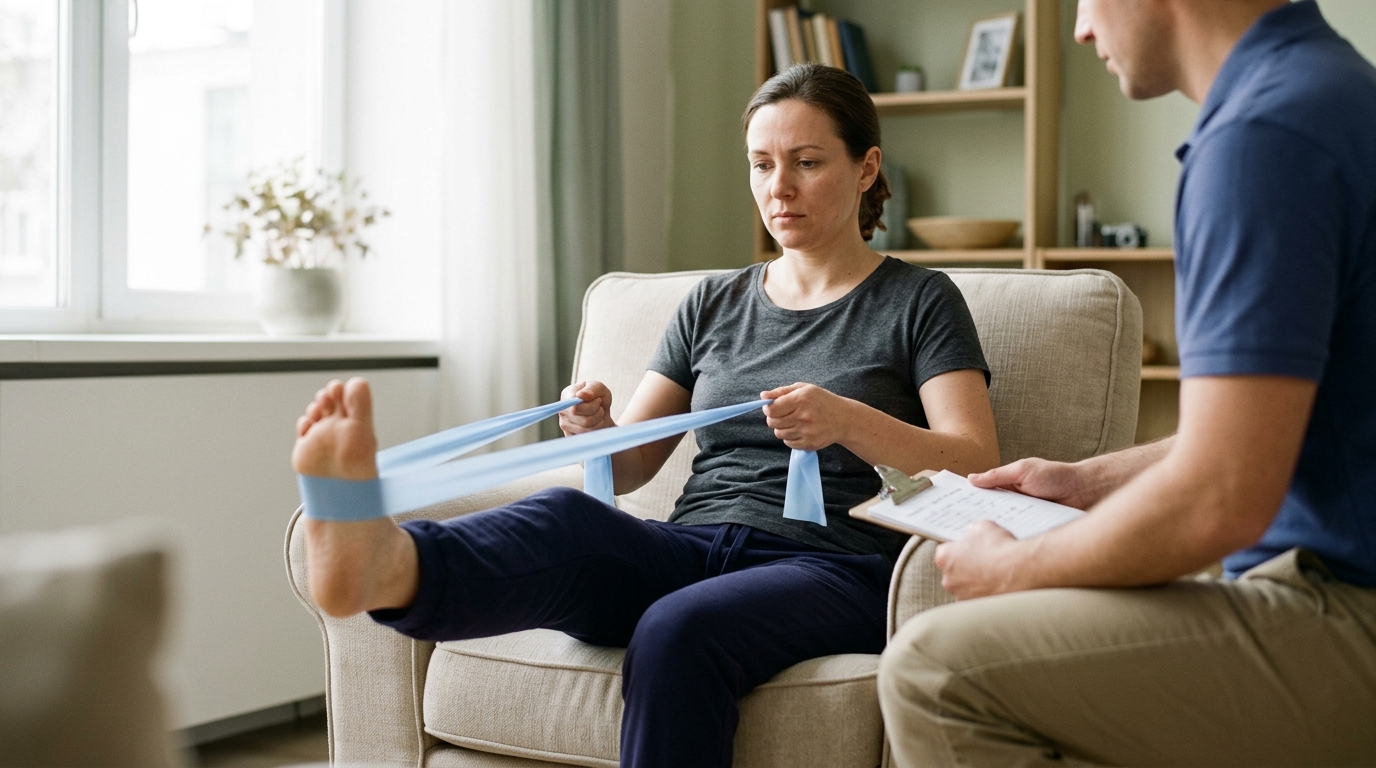
Elastic bands are versatile, lightweight strips or tubes of latex or fabric that provide variable resistance as they stretch. They generally come in looped formats, long open flat bands, or tubular designs with clip-on handles and door anchors.
Resistance bands excel in several specific areas:
The main challenge with bands involves quantifying the exact load. A band labeled medium does not deliver a fixed weight. Instead, the resistance increases as the band stretches farther from its resting length. This variable resistance curve means the exercise feels lightest at the start and heaviest at the end of the movement. For individuals needing precise, predictable tracking of external loads, bands can introduce measurement ambiguity.
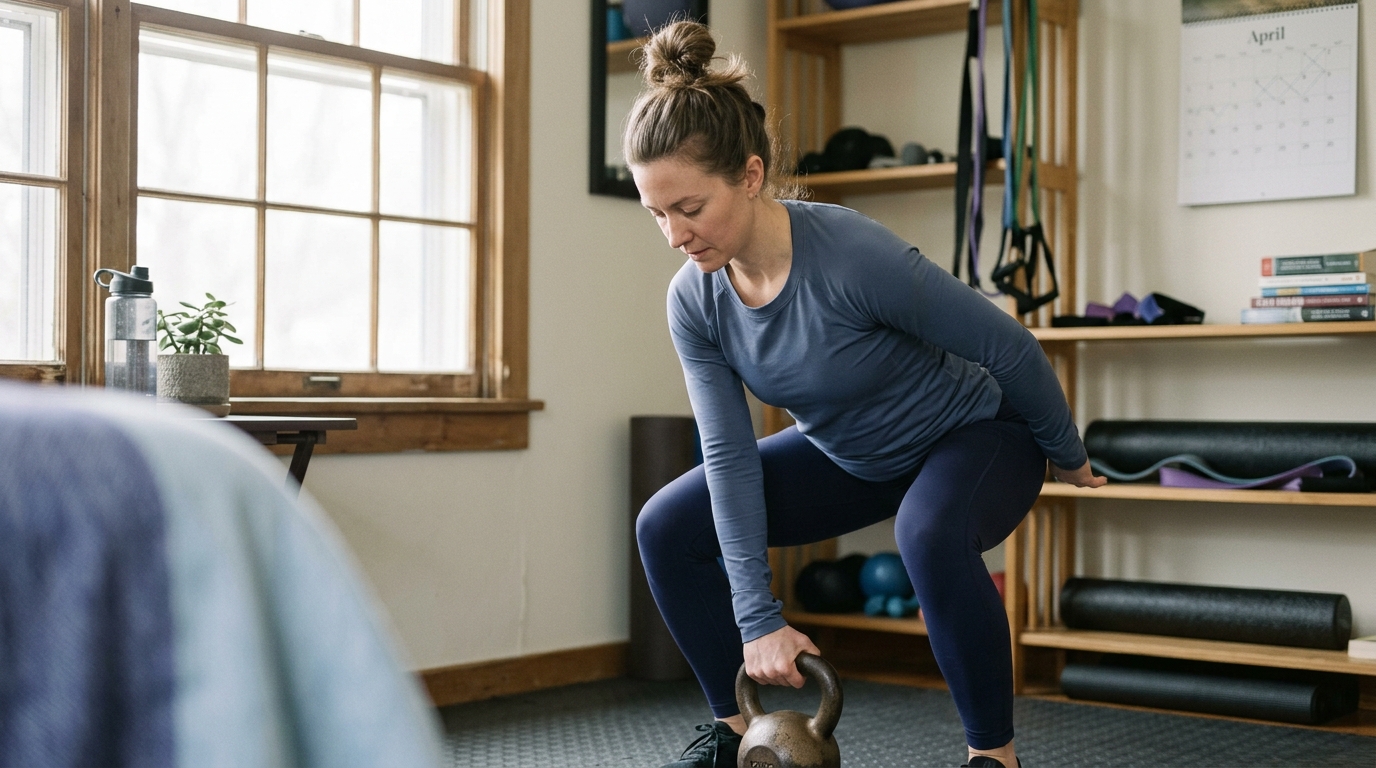
Fixed dumbbells consist of solid iron, rubber-coated steel, or neoprene-covered weights of a single set mass, such as five, ten, or fifteen pounds. They provide constant mechanical resistance directed straight downward by gravity.
Fixed dumbbells offer distinct training benefits:
The major downside of fixed dumbbells is storage and cost accumulation. As your strength increases, a single pair of light dumbbells will no longer provide sufficient challenge for larger muscle groups like the glutes and quadriceps. Purchasing multiple pairs in graduated weights requires dedicated floor space and a larger financial commitment.
Adjustable dumbbells allow you to change the working load on a single handle using selector dials, pins, or removable weight plates secured by collars.
These modular systems solve several practical home gym problems:
However, adjustable systems have limitations to consider before purchasing. Plate-loaded dumbbells with threaded collars can be slow to adjust mid-workout. Dial-based selectorized dumbbells adjust rapidly, but their mechanical components can be fragile if dropped. Furthermore, the overall length of selectorized dumbbell handles remains constant even at light weights, which can feel bulky or awkward during certain rehabilitation movements.
When starting a strength rebuilding routine on a strict budget, everyday household items can serve as accessible bridges. Water jugs, canned goods, loaded backpacks, and heavy books can provide external resistance.
While practical as an immediate starting point, household items carry notable constraints:
Use household items to establish the habit of movement, but consider transitioning to dedicated fitness tools as soon as your routine becomes a regular practice.
Understanding the physical differences between bands and free weights helps you choose the right tool for specific exercises. The difference comes down to physics: how the resistance is generated and how your muscles experience tension across the movement.
Free weights, such as dumbbells and kettlebells, rely entirely on gravity. The resistance vector always points directly toward the floor. To create tension in a muscle, your limbs must move against this vertical path. In a standing bicep curl, for instance, the mechanical challenge on the muscle peaks when your forearm is parallel to the floor, at a 90-degree elbow angle. At the very bottom of the curl and at the very top, the lever arm shortens, reducing the muscular effort required to hold the weight.
Elastic bands do not rely on gravity. Resistance is created by the internal tension of the elastic polymer as it is stretched away from its anchor point. The direction of resistance follows the line of the band, meaning you can apply resistance horizontally, diagonally, or vertically.
This creates a completely different resistance curve:
This variable resistance curve has unique advantages during recovery. If a person experiences mild joint sensitivity at the bottom of a squat or chest press, a band reduces the load at that vulnerable end range while still challenging the muscles as they reach full extension. Conversely, because band resistance increases at the end of the range, it can sometimes challenge joint stability when muscles are already fatigued.
Neither resistance curve is inherently superior. Dumbbells provide a constant, measurable mass that prepares your body for lifting real-world objects like grocery bags or luggage. Bands provide versatile angles of resistance and smooth joint loading that are particularly helpful for rotator cuff strengthening, hip abduction, and posture-related pulling drills. Many well-rounded home programs combine both modalities to capture the distinct benefits of each.
Progressive overload is the foundational principle of all resistance training. It states that for muscles, bones, and connective tissues to adapt and become stronger, they must experience a workload that gradually increases over time. Without progressive overload, your physical fitness will plateau once your body adapts to your current routine.
Many people assume progressive overload means continuously purchasing heavier iron plates. While adding external weight is the most straightforward method, it is far from the only way to challenge your muscular system. You can achieve progressive overload at home through several distinct variables.
Before you buy a heavier dumbbell or a thicker band, you can progress by performing more work with the equipment you already own. If you can currently perform eight repetitions of an overhead press with a light dumbbell, work toward completing ten, twelve, or fifteen repetitions with the same weight. Once you can achieve your target repetitions across multiple sets, you have successfully built muscular endurance and work capacity.
The American College of Sports Medicine published a classic progression model that outlines a practical rule for increasing load:
Slowing down the speed of your repetitions significantly increases the challenge to your muscles without adding a single ounce of external weight. Many people inadvertently use momentum to swing weights or bounce through bodyweight squats.
By applying a controlled tempo, you force the muscle fibers to generate force throughout the entire range of motion:
This approach increases mechanical tension, improves movement control, and places less peak impact stress on recovering joints.
With bodyweight exercises, you can change the difficulty dramatically by adjusting your body position relative to gravity.
Consider how mechanical leverage alters a standard push-up:
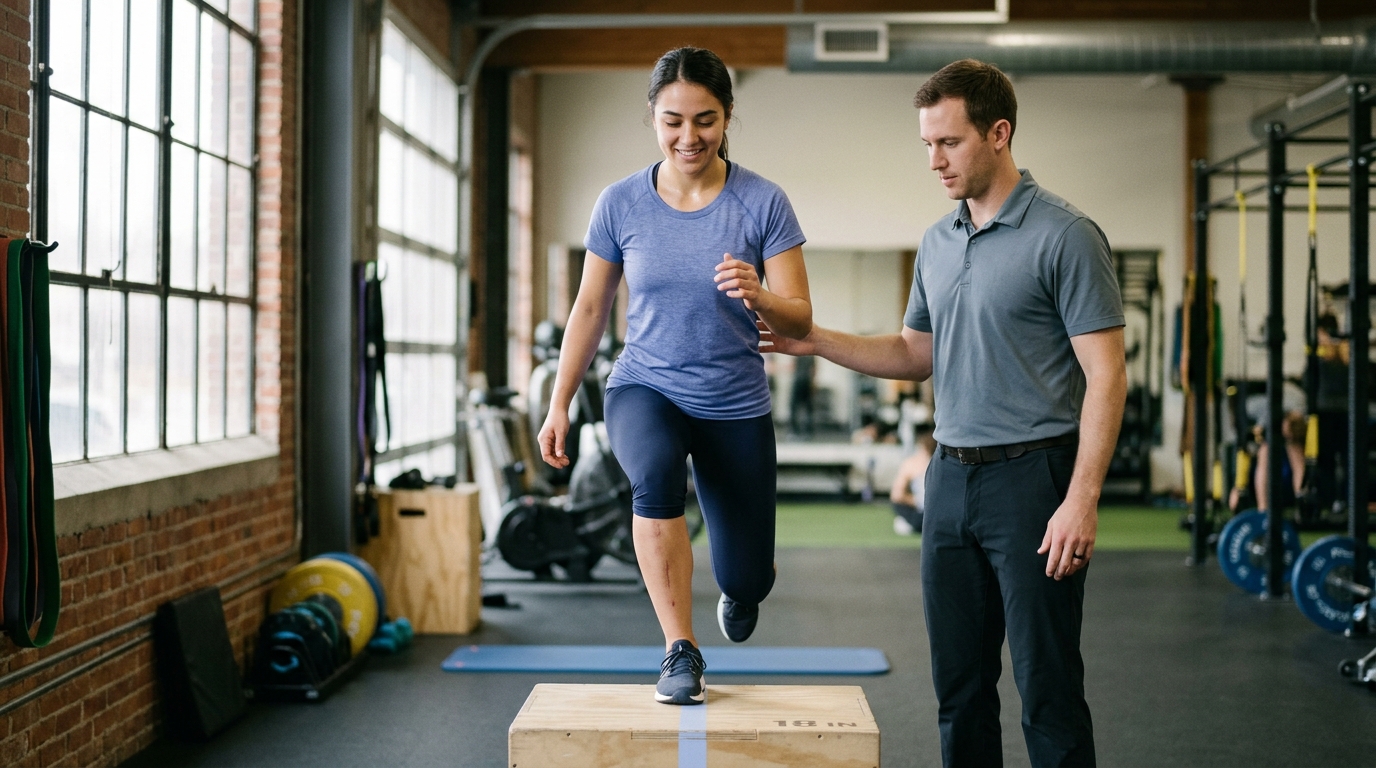
Similar leverage adjustments work for lower-body training. Shifting from a standard two-legged squat to a split squat or an elevated step-up places more demand on a single leg, doubling the relative load without requiring heavy free weights.
If a recovering joint is cleared for movement, gradually increasing the depth of an exercise creates a new adaptation. Performing a quarter-depth squat challenges the quadriceps in a limited range. Safely progressing to a half-depth squat, and eventually to a full-depth squat where the thighs reach parallel to the floor, recruits more muscle fibers and builds functional mobility across the entire joint complex.
You can learn more about structured progression models in our overview of strength and performance rebuilding guidance.
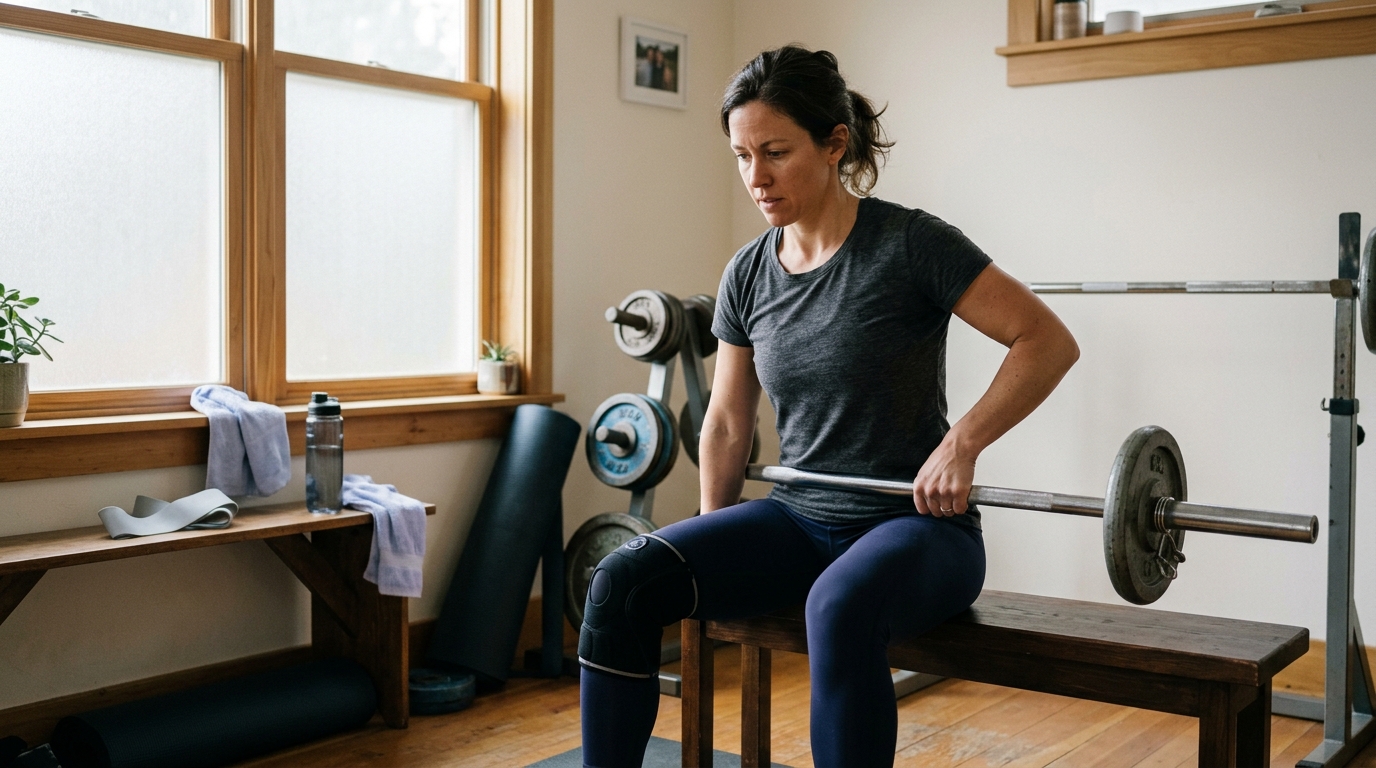
Equipment selection should never be based on an idealized fitness fantasy. It must match your current physical tolerance, your health history, and the specific reason you are rebuilding your strength. A person recovering from general deconditioning has very different equipment requirements than someone rehabilitating a reconstructed anterior cruciate ligament or managing osteoarthritis.
A return to exercise following general physical inactivity primarily requires rebuilding baseline stamina, tendon tolerance, and basic movement confidence. In this scenario, basic bodyweight routines and light elastic bands provide an ideal starting platform. You can accumulate movement volume safely without exposing your joints to high compressive forces.
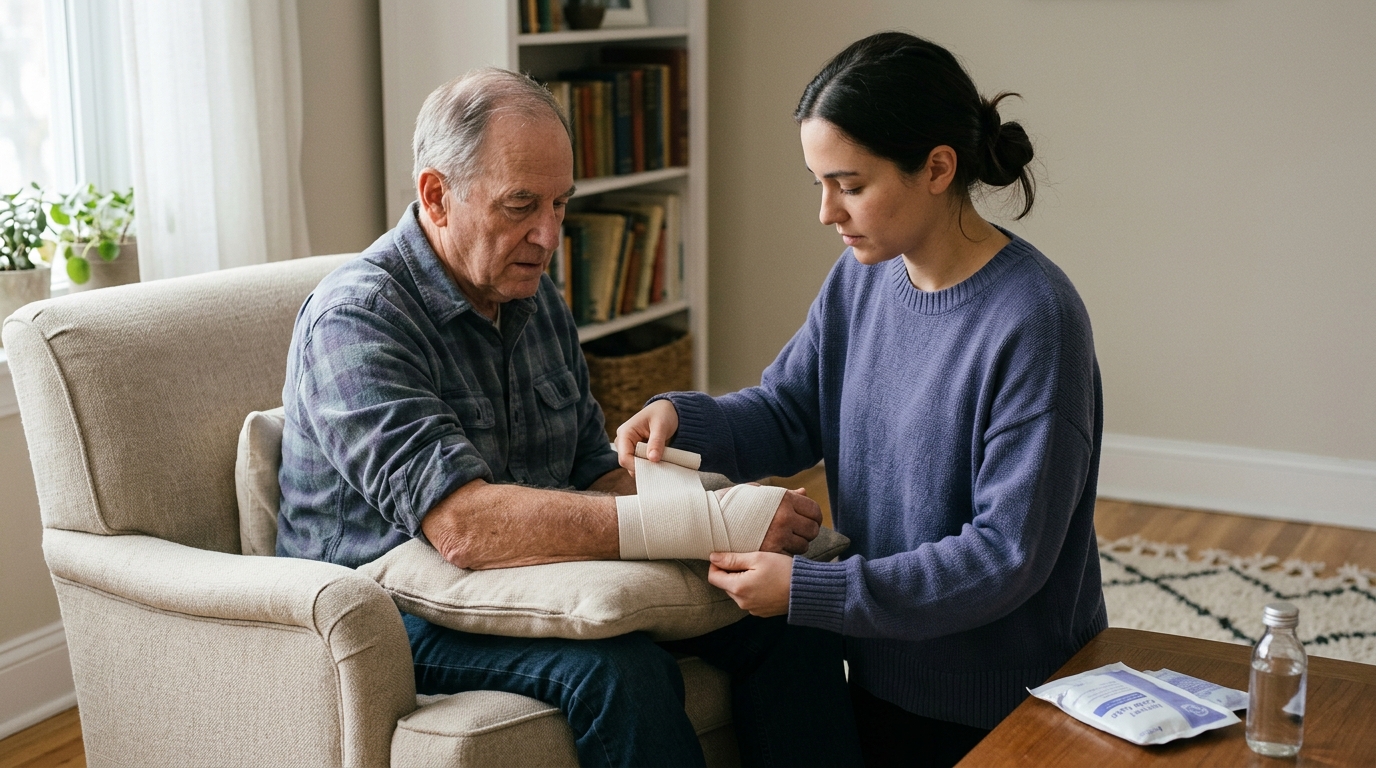
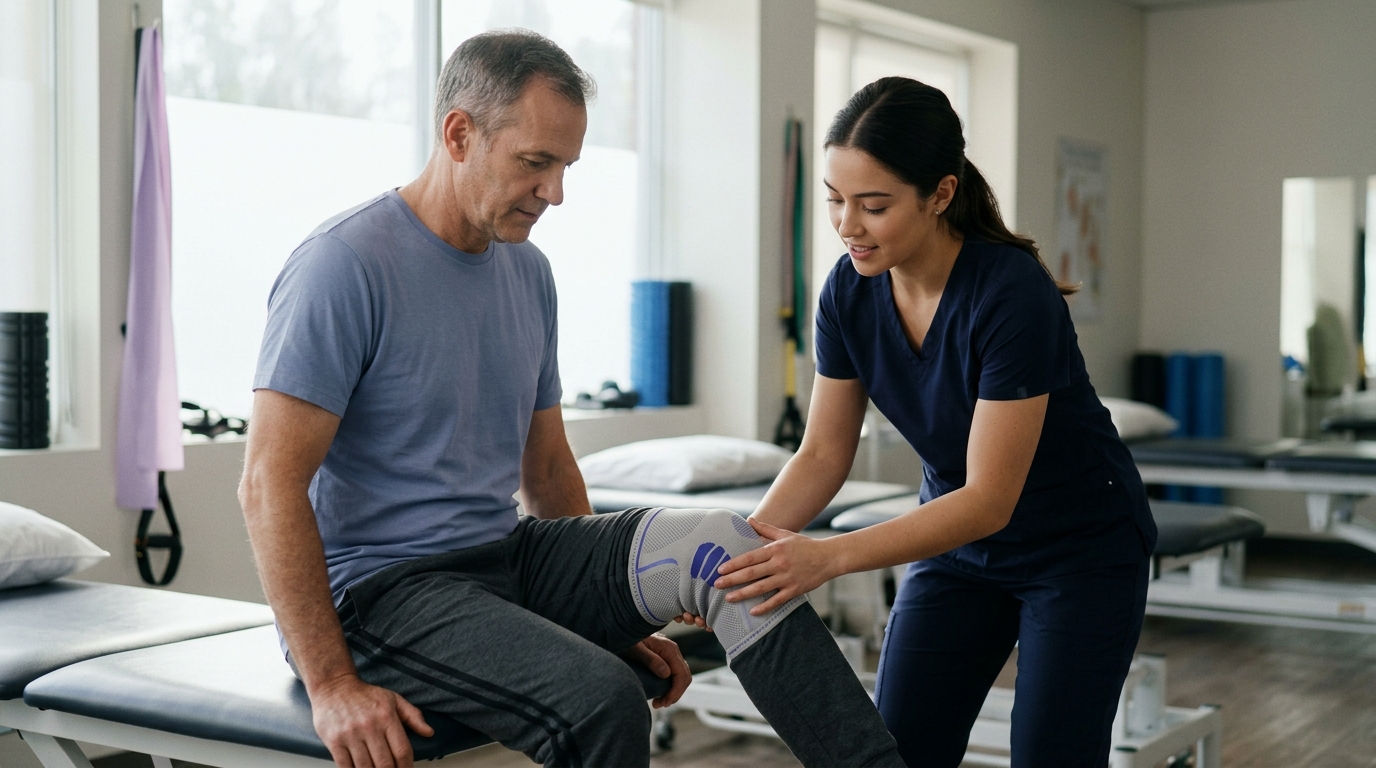
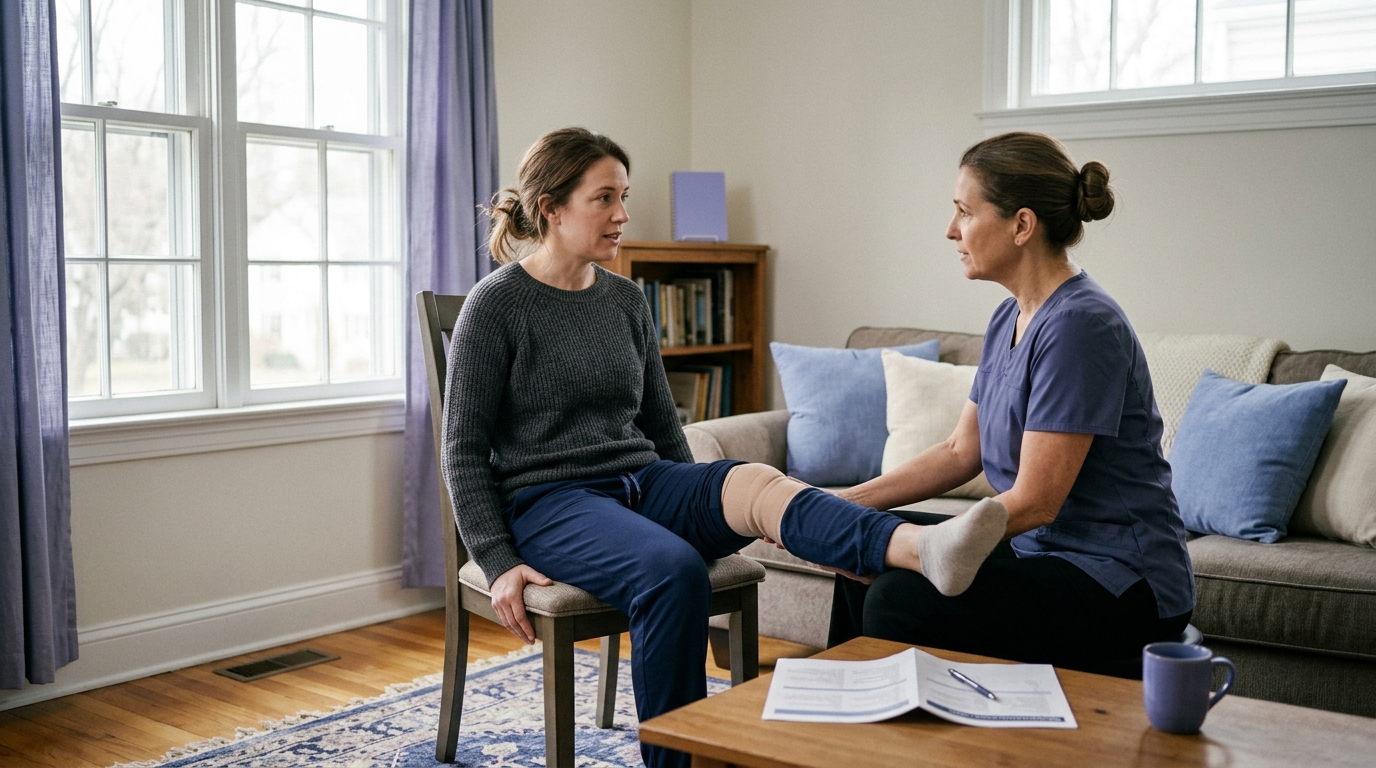
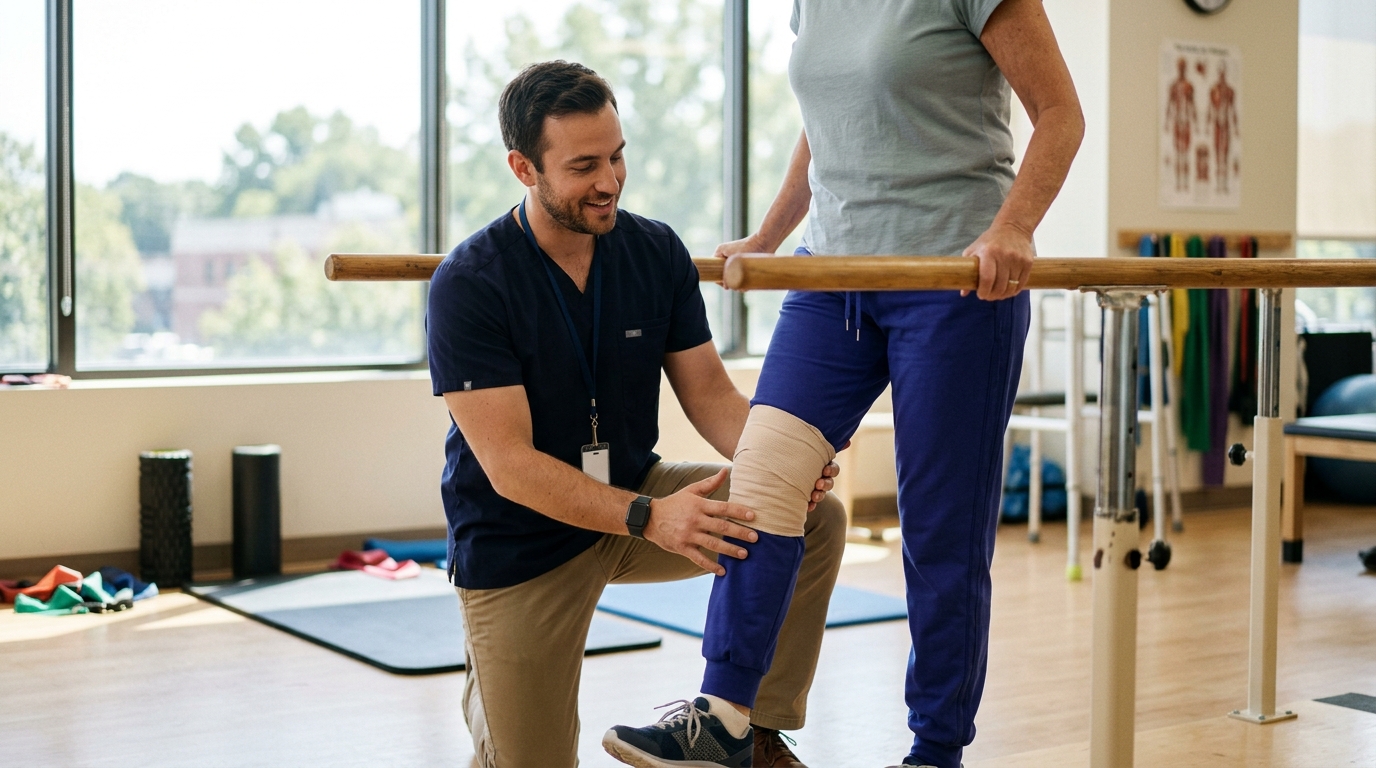
Conversely, recovery following orthopedic surgery or acute musculoskeletal trauma demands precise movement control and careful loading. In these situations, your physical therapist may prescribe specific ranges of motion and strict resistance parameters. Dumbbells with exact weight increments or specialized flat therapy bands may be necessary to ensure you do not overload healing tissue.
When joints show signs of irritation, inflammation, or cartilage wear, the way resistance is applied matters deeply. Free weights place their highest mechanical demand at specific joint angles determined by gravity. If that peak load aligns with a painful or sensitive angle, the exercise can trigger flare-ups.
Elastic bands allow you to adjust the anchor position and line of pull, redirecting shear forces across the joint. Furthermore, bands provide minimal resistance at the start of the range, allowing the joint to move into position before peak muscular load is applied.
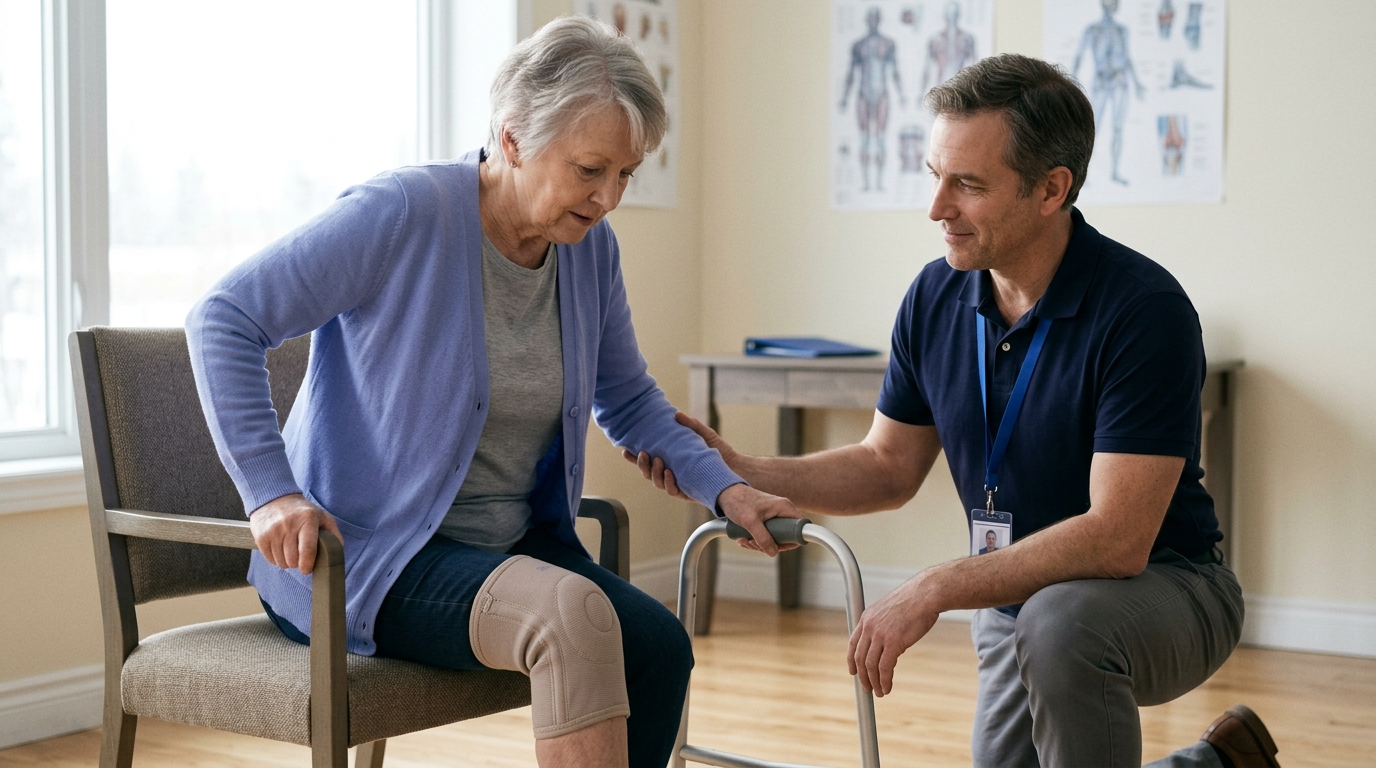
Physical capacity naturally shifts across the lifespan, but muscle tissue retains the ability to adapt to resistance training at any age. Guidance from the American Academy of Family Physicians on exercise prescriptions for older adults emphasizes that highly deconditioned or functionally limited individuals should begin with low initial intensity, short durations, and very simple movement patterns.
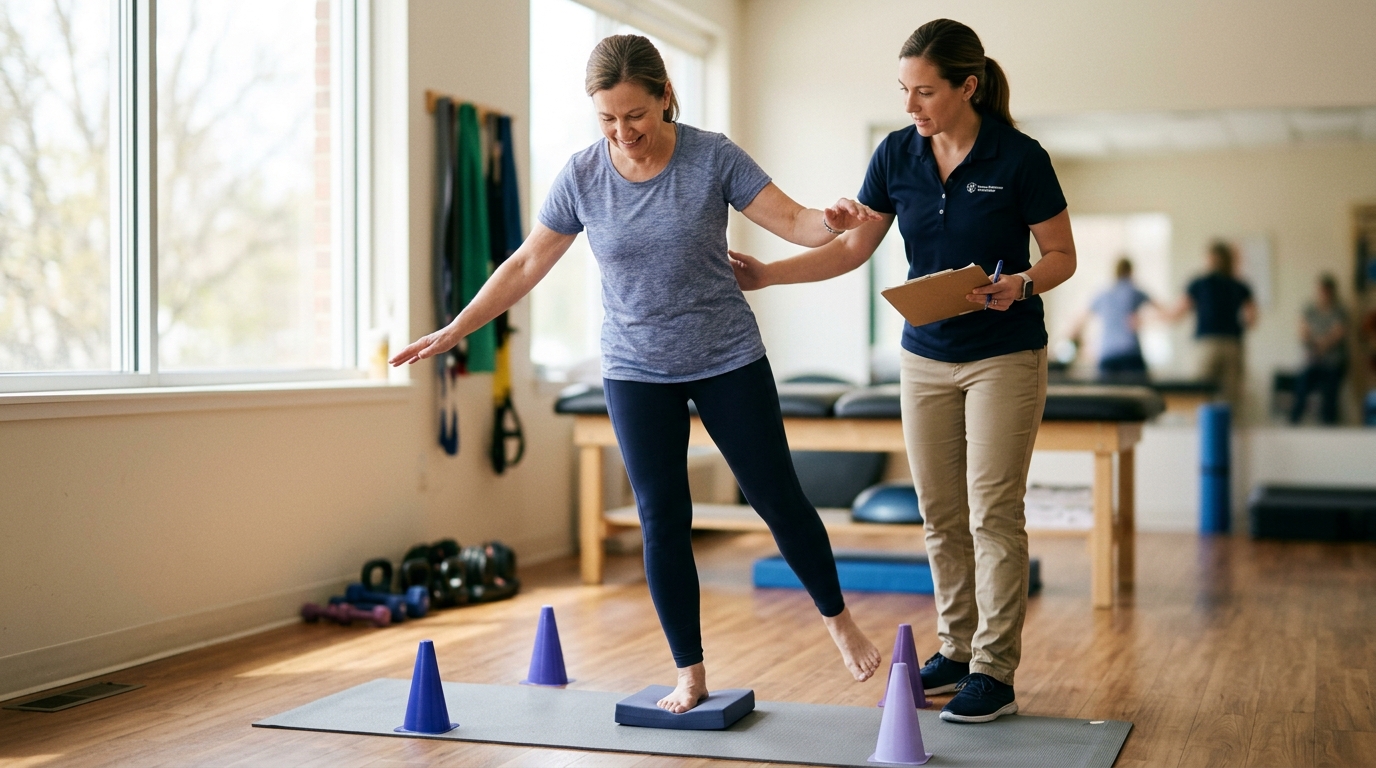
For an older adult working to maintain balance and prevent falls, sturdy equipment like a stable chair for supported squats, non-slip floor mats, and wide-grip resistance bands are far more valuable than heavy free weights. Understanding these individual variations is essential when studying active aging and injury prevention strategies.
Free weights require significant balance, core stability, and proprioceptive control. If an injury or neurological condition has impaired your balance, standing with heavy dumbbells introduces a meaningful fall risk.
In such cases, seated band exercises, wall-supported movements, or lying mat work provide a secure environment to rebuild muscular strength without compromising personal safety.
A safe home workout environment is essential for preventing secondary injuries. You do not need a dedicated room; a clear corner of a living room, bedroom, or home office is sufficient if organized properly.
Elastic bands are durable when cared for, but they store significant mechanical energy when stretched. If a band snaps or slips from an anchor, it can cause bruises, joint sprains, or severe eye injuries.
Safety guidelines from the National Health Service outline key precautions for elastic resistance:
Clear a workout perimeter of at least six feet by six feet to allow unobstructed movement in all directions:
While mild muscle fatigue and temporary delayed-onset muscle soreness are normal responses to exercise, certain symptoms require immediate cessation of activity.
Clinical guidelines from NHS exercise services emphasize seeking prompt medical evaluation if you experience any of the following warning signs during or after home strength training:
Resting for at least one full day between strength sessions allows your neuromuscular and skeletal systems to recover and adapt safely. You can review more on the physiological processes of tissue repair within our recovery science articles.
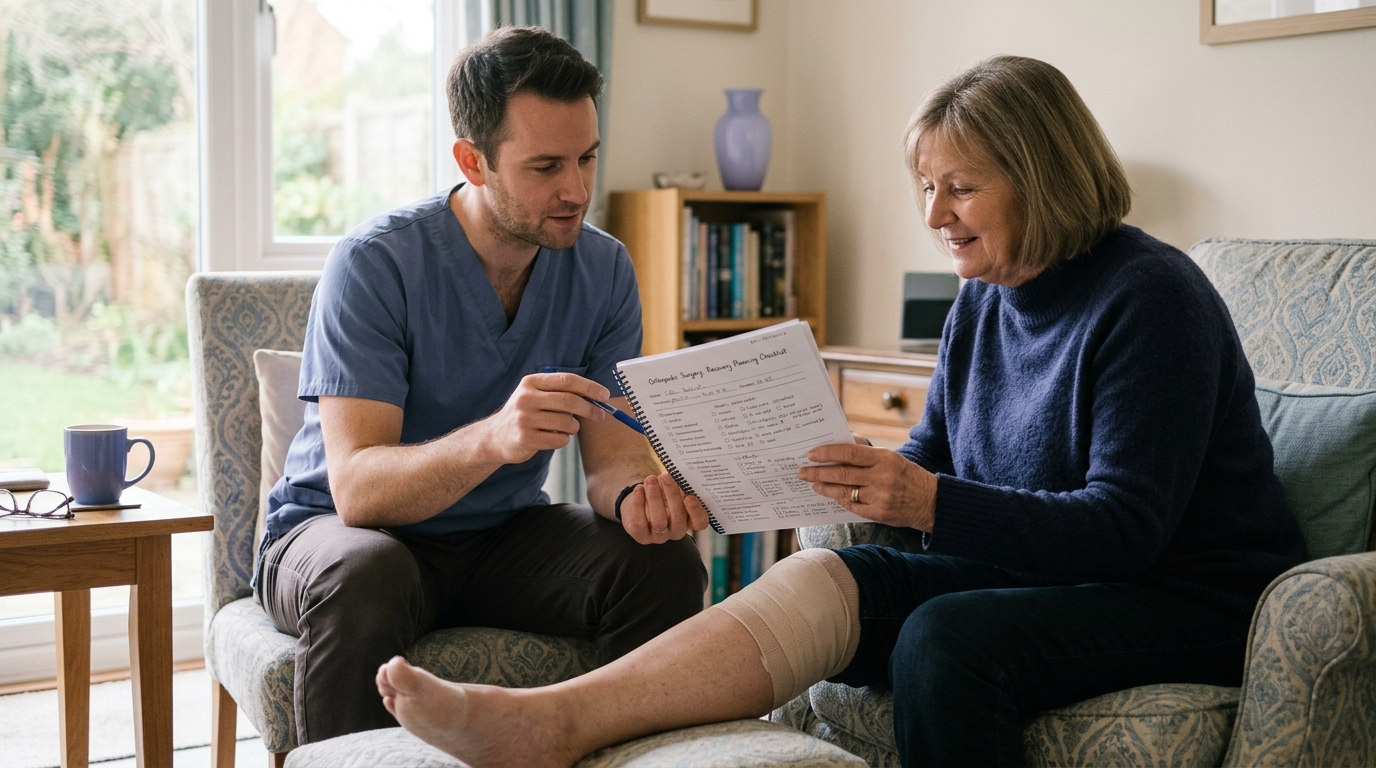
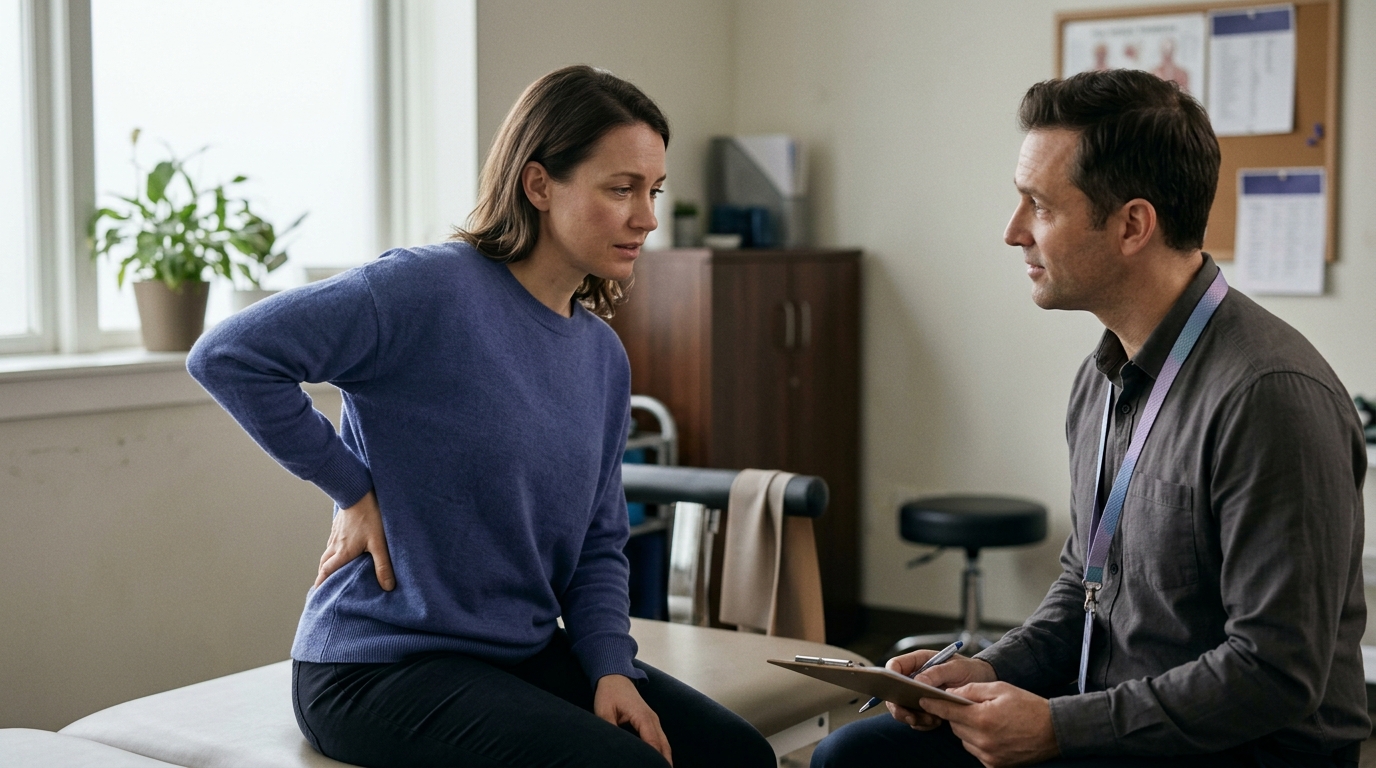
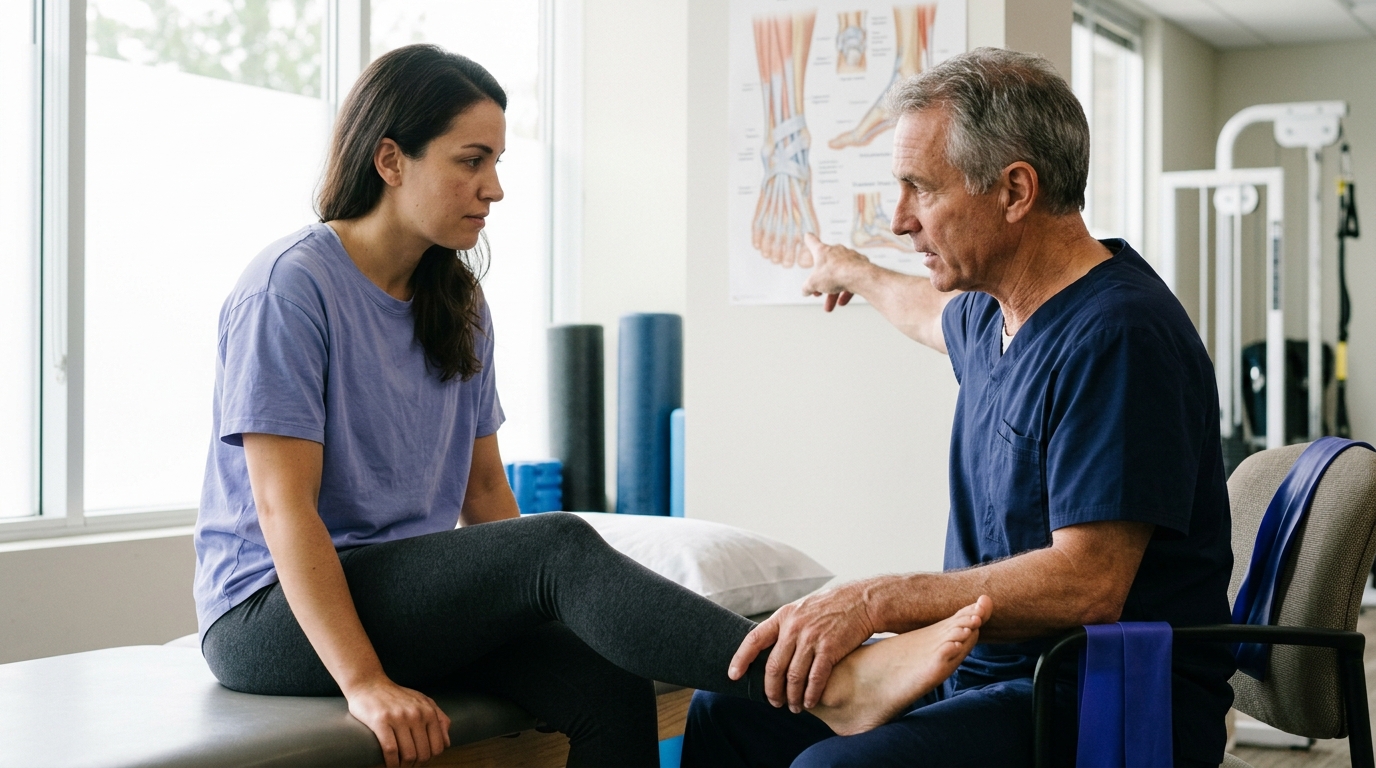
Before investing in equipment or launching a new home strength routine, consulting with a physical therapist, orthopedic specialist, or primary care doctor is a wise step. This is especially true if you are recovering from surgery, managing joint disease, or returning from a chronic injury.
Consider bringing the following practical questions to your next clinical appointment:
Having clear, personalized answers to these questions ensures that your home equipment setup directly supports your clinical recovery plan. For deeper context on post-surgical care, explore our rehabilitation, mobility, and movement principles.
Building a home gym should be a step-by-step process driven by real training needs, not an impulse shopping spree. Buying too much equipment at the beginning often leads to cluttered living spaces and unused gear. Instead, let your physical progression dictate your next purchase.
Follow this sequential decision framework when considering your next addition:
Ask yourself what specific movement or adaptation you cannot achieve with your existing setup:
Be honest about where your equipment will live when not in use:
Choose tools that can be used across multiple movement patterns rather than single-exercise gadgets:
By purchasing only the smallest piece of equipment that solves your immediate progression bottleneck, you build a functional, clutter-free training space that grows alongside your strength.
Home strength training equipment is simply a means to deliver mechanical resistance to your muscles and joints. It is not the training plan itself. Clinical research clearly indicates that simple, accessible tools like elastic resistance bands and bodyweight variations can produce strength and functional gains comparable to conventional gym weights.
Building an effective home setup does not require significant financial investment or large amounts of living space. By focusing on fundamental human movement patterns, applying progressive overload through controlled repetitions, tempo, and leverage, and prioritizing safety and consistency, you can establish a sustainable strength routine at home. Align your equipment choices with your current physical capacity, respect your recovery timeline, and allow your real-world progress to guide your equipment decisions over time.
Yes. Clinical meta-analyses comparing elastic resistance training to free weights and weight machines have found no statistically significant difference in strength gains for either upper- or lower-limb muscle groups over study periods of 4 to 12 weeks. While bands feature a variable resistance curve that feels different from iron weights, they deliver sufficient mechanical tension to stimulate muscle adaptation and bone health when sets are performed with adequate effort and progressive tension.
You are generally ready to add external resistance when you can perform your target bodyweight exercises with strict form, full range of motion, and controlled tempo for 15 or more repetitions across multiple sets without experiencing joint pain or excessive fatigue. If an exercise begins to feel more like a cardiovascular endurance challenge than a strength challenge, adding a light external weight or a resistance band will reintroduce the necessary mechanical overload.
Adjustable dumbbells are safe when manufactured by reputable brands, maintained properly, and used within your physical control limits. However, dial-based selectorized dumbbells can be bulky and may have sharp mechanical edges or plastic locking tabs that require careful handling. For individuals with limited grip strength, severe joint pain, or reduced balance, fixed rubber-coated dumbbells or resistance bands often offer a more ergonomic and secure starting option.
When the jump between available dumbbell weights feels too large, do not force the heavier weight with compromised form. Instead, use progressive overload variables to bridge the gap. Increase the number of repetitions with your current lighter weight, slow down your lowering tempo to three seconds per repetition, add an extra set to your workout, or hold a light mini-band in your hand alongside the lighter dumbbell to add a small amount of extra tension.

Use ReboundBody resources to understand common recovery stages, rehab terms, movement limits and strength rebuilding. Each guide is designed to make a complex comeback easier to understand.


Read practical guidance on injury recovery, rehabilitation, mobility and rebuilding strength as you work your way back to activity.
Explore Resources