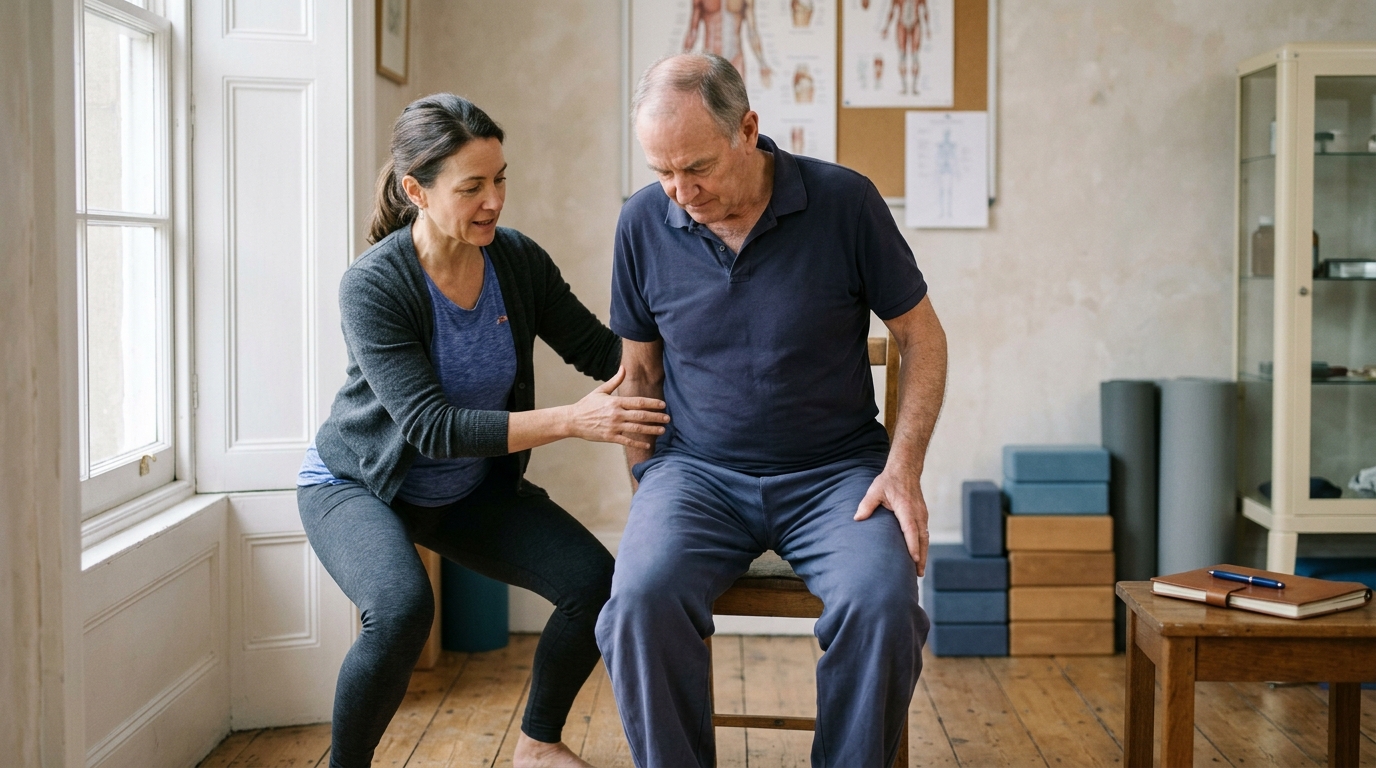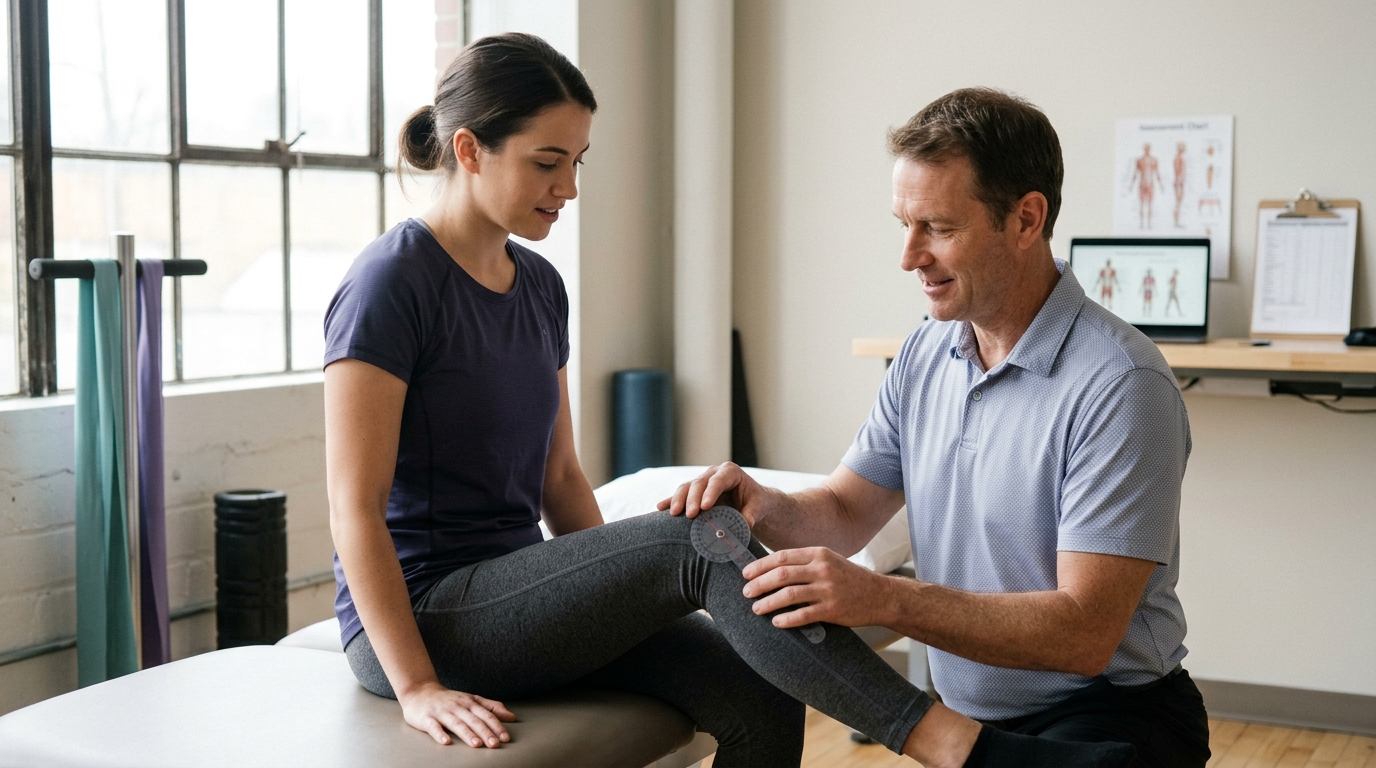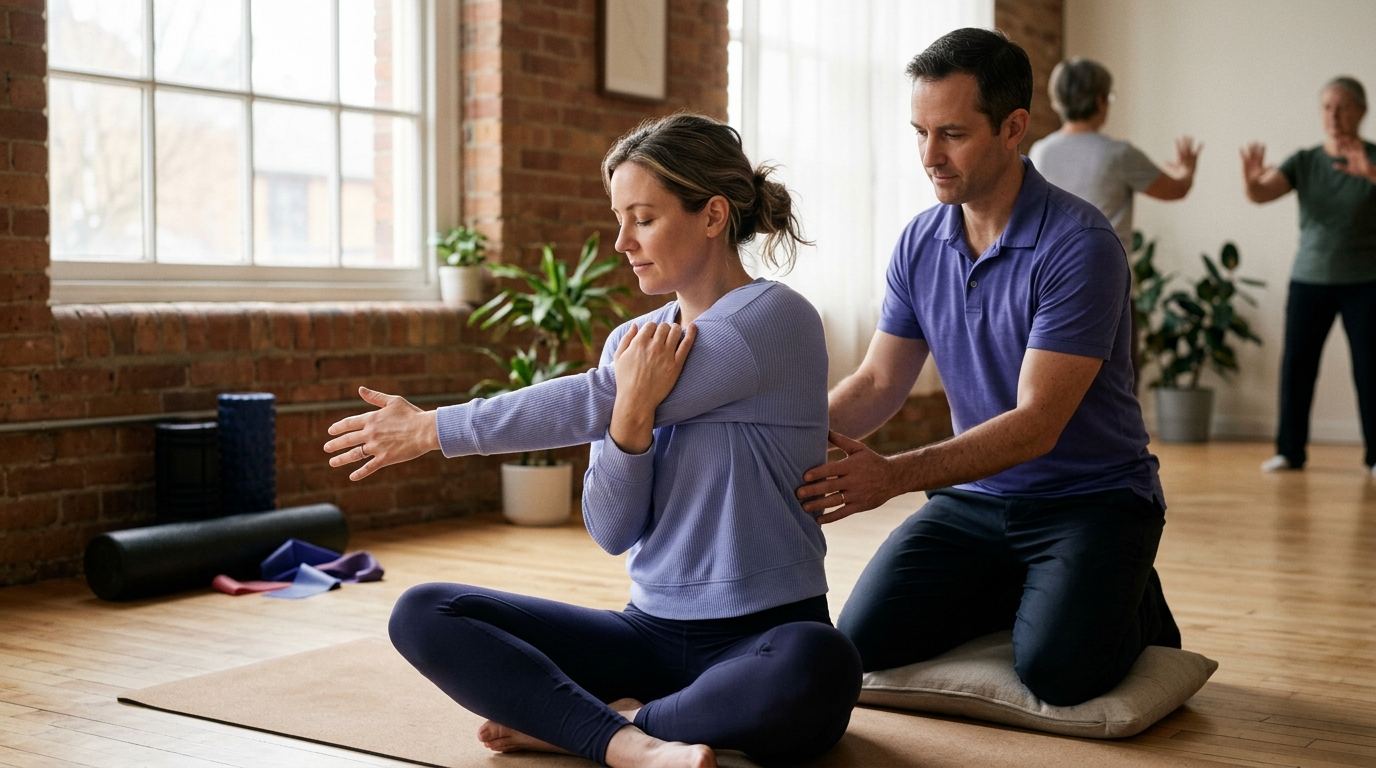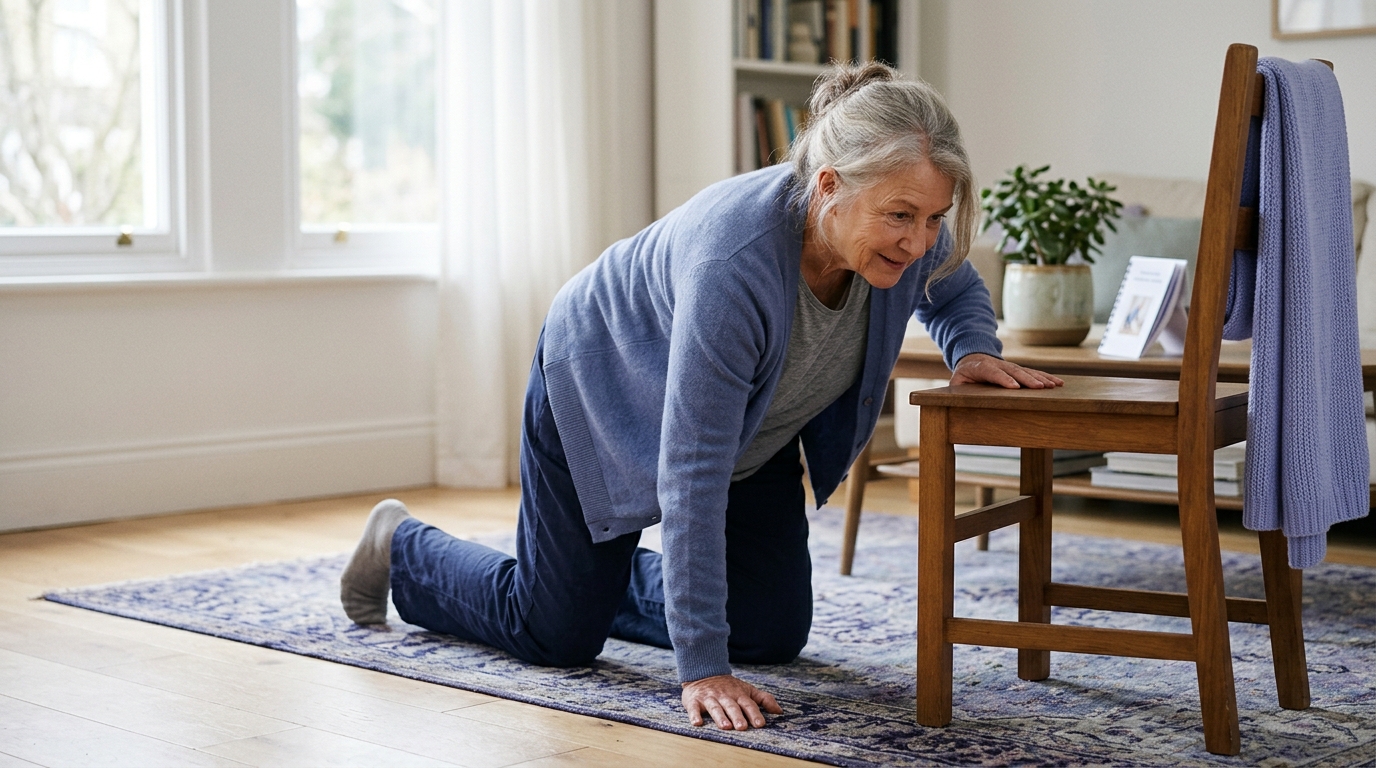

Safe floor mobility becomes achievable using a structured six-phase framework that teaches controlled descents, stable ground positions, and practical rising techniques.





Many adults search online for a clear way to get down to and up from the floor safely. Whether you want to play with grandchildren, garden, do floor exercises, or prepare for unexpected falls, floor mobility is a vital functional skill. The short answer is that moving between the standing position and the floor is not a single test of raw strength. It is a linked sequence of balance, joint flexibility, leverage, and support choices that you can break into manageable steps.
There is no single correct way to get up from the floor. Research shows that healthy older adults naturally rely on several different movement strategies depending on their joint comfort and limb proportions. While practicing these movement patterns can build confidence and physical capacity, it does not guarantee the prevention of falls or injuries. If you have severe joint pain, recent surgery, or balance issues, you should adapt your practice to your current abilities with professional guidance.
This guide provides a detailed framework for floor transfers. You will learn the mechanics behind getting down and rising up, what clinical research says about different techniques, and how to adapt each step to your body and home setup.
A floor transfer involves moving your body from an upright standing position down to the floor, adjusting your posture on the ground, and returning to standing. In rehabilitation science, this is viewed as a multi-stage functional task rather than an isolated exercise. It integrates lower-body strength, trunk control, hip and ankle flexibility, and spatial awareness.
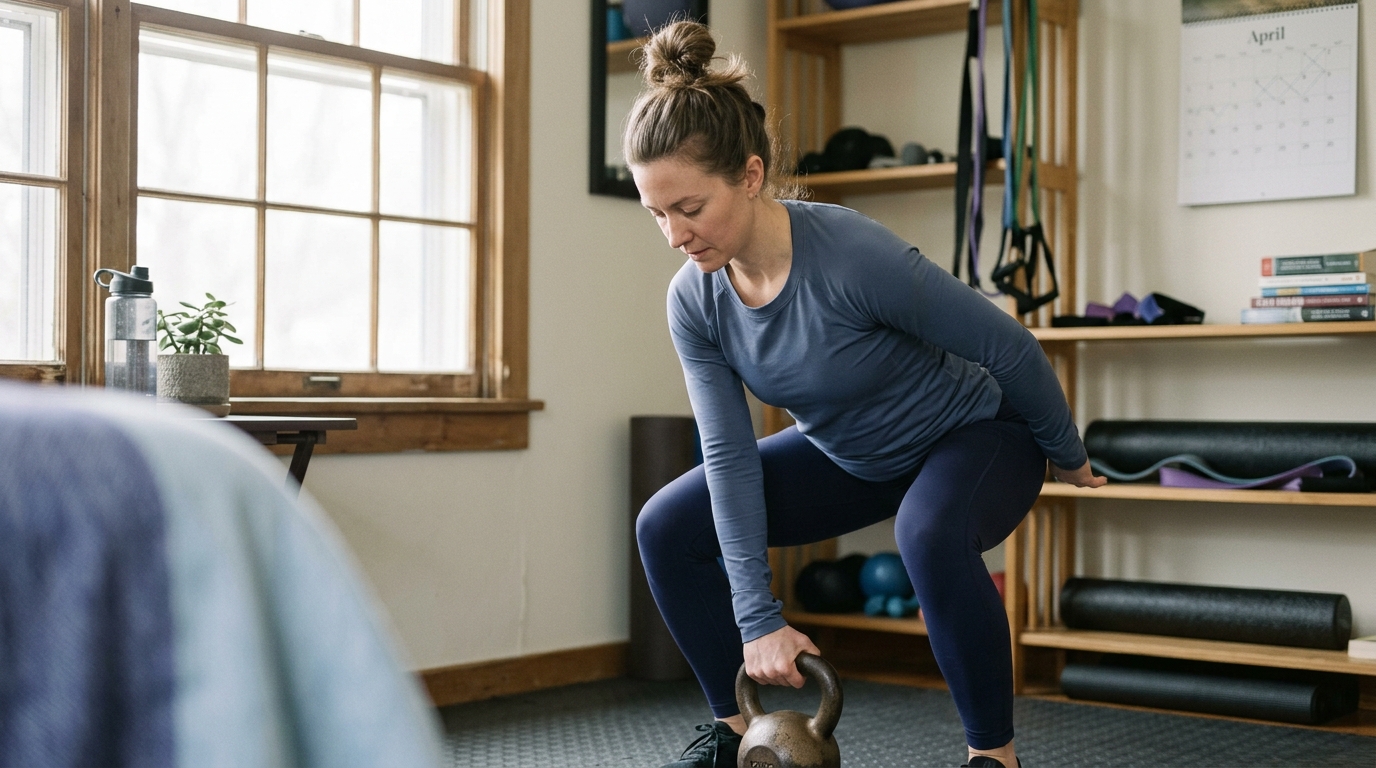
Getting down to the ground requires a controlled descent against gravity. Your leg muscles must work eccentrically, meaning they lengthen under tension to lower your body weight smoothly. If you drop too fast, you risk impacting your knees or hips on hard surfaces. Lowering safely demands sufficient ankle dorsiflexion and knee flexion to bring your center of mass closer to the floor before your hands make contact.
Getting up from the floor presents an entirely different physical challenge. Rising requires concentric muscle action, where your muscles shorten to push your body mass upward against gravity. It also requires substantial joint range of motion. For example, moving from kneeling to standing requires deep hip flexion and significant push-off power from the legs and arms.
Planned floor mobility is fundamentally different from recovering after an unexpected fall. A planned floor transfer takes place in a controlled setting where you choose the time, location, and supporting furniture. An unexpected fall introduces adrenaline, potential pain, disorientation, and environmental hazards. Planned practice builds movement familiarity, but post-fall protocols prioritize checking for injury before attempting any movement.
Many people assume that if they can stand up from a dining chair, they can easily get up from the floor. Clinical research shows that while chair-rise strength is helpful, it does not automatically translate to floor rising. Standing from a standard chair requires less hip and ankle mobility than rising from the ground. Understanding this difference helps you build realistic expectations as you improve your rehabilitation and mobility movement skills.
Movement scientists have studied how people move to and from the floor to understand physical function in older adults. A notable 2025 biomechanical study evaluated community-dwelling older adults with an average age of 69 who were able to complete floor transfers independently. The researchers observed that participants naturally selected three distinct strategies to stand up.
Half of the participants used a half-kneeling strategy, placing one foot flat on the ground while the other knee remained on the floor. About 32 percent used a quadruped push-up strategy, pushing straight up from hands and feet with both knees off the ground simultaneously. Roughly 18 percent used a roll-over strategy, rotating their torso and hips onto their side before pushing into an upright posture.
The study found no significant difference in completion speed among these three strategies. This demonstrates that using a quadruped or roll-over pattern is just as functional as a classic half-kneeling technique. The biomechanical demands on individual joints varied considerably between strategies:
These findings confirm that the best strategy depends on your specific joint health. If you have stiff knees, a quadruped approach may reduce deep bending stress. If you have limited hip mobility, a roll-over technique might offer better leverage.
Another widely discussed study published in 2014 examined the sitting-rising test in 2,002 adults aged 51 to 80. This test scored an individual's ability to sit on the floor and stand back up with minimal hand or knee support on a scale from 0 to 5. The researchers observed an association between higher scores and better survival rates, noting a 21 percent reduction in all-cause mortality per one-point increase in score.
It is critical to interpret this observational data accurately. The sitting-rising test serves as a broad indicator of musculoskeletal fitness, balance, and body composition. The study does not prove that practicing the test or avoiding hand support will directly prolong your life. Using hands, furniture, or cushions during daily floor transfers remains a safe, sensible, and medically sound strategy for preserving injury recovery and healing progress.
To make floor transfers practical and safe, you can break the movement into six structured phases. Treating the transfer as a chain of distinct actions prevents rushing and allows you to pause whenever necessary.
Before initiating any movement toward the floor, evaluate your surrounding space. Choose a flat, non-slip area free of throw rugs, cords, or clutter. Ensure you are within arm's reach of a stable support surface, such as a heavy armchair, a sturdy coffee table, or a sofa. Decide in advance which leg will lead and where your hands will make contact.
Position yourself close to your support surface. Place one or both hands firmly on the sturdy object to bear a portion of your body weight. Slowly hinge at your hips and bend your knees to lower one knee gently to the ground. If direct kneeling causes discomfort, place a soft mat, folded towel, or garden kneeling pad beneath you. Lower the second knee down so you rest comfortably on hands and knees.
Once both knees are safely down, shift your weight to move into your target resting posture. You can remain on all fours, transition to side-sitting on your hip, or lower yourself fully into a cross-legged or straight-leg sitting position. Take a brief pause in this position. Confirm that your breathing is calm and that you feel physically steady.
When you finish your floor activities, prepare your body for the ascent. Shift your weight from sitting back onto your hands and knees. If you are sitting flat, roll onto your dominant hip and push your upper body up with your arms until you reach a quadruped position. Scoot or crawl across the floor until you are directly facing your stable support furniture.
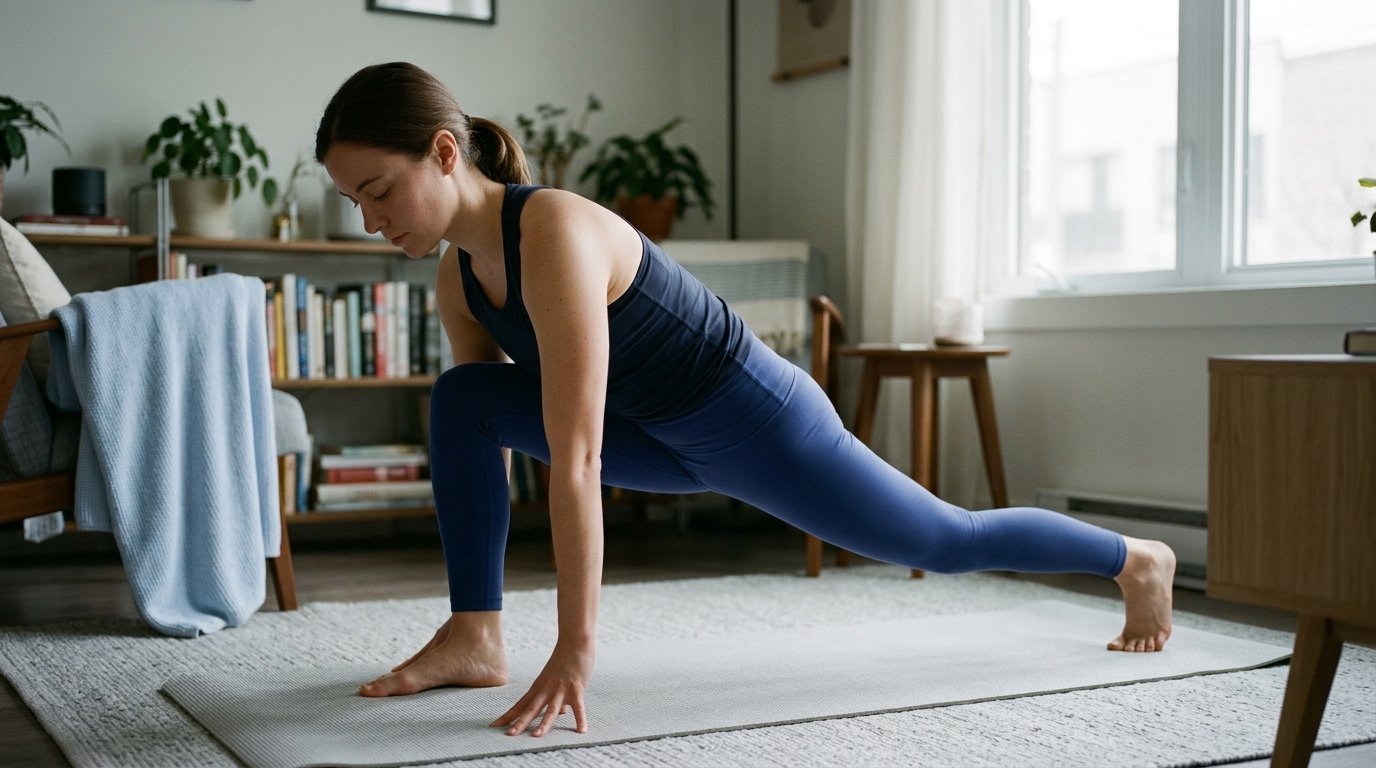
Place both hands firmly on the top of the sturdy chair or sofa seat. If you are using a half-kneeling strategy, bring your stronger foot forward so it rests flat on the floor, creating a 90-degree bend at the hip and knee. Keep your back knee on the floor or mat for balance. Ensure your front foot is planted directly under your knee rather than pulled too far back.
Tuck the toes of your back foot underneath you for traction. Push down firmly through both hands on the furniture while pressing down through your front heel. Straighten both legs simultaneously to bring your hips up into a standing position. Turn your body and immediately sit down on the chair, pausing for 30 to 60 seconds. This resting pause lets your blood pressure stabilize before you walk across the room.
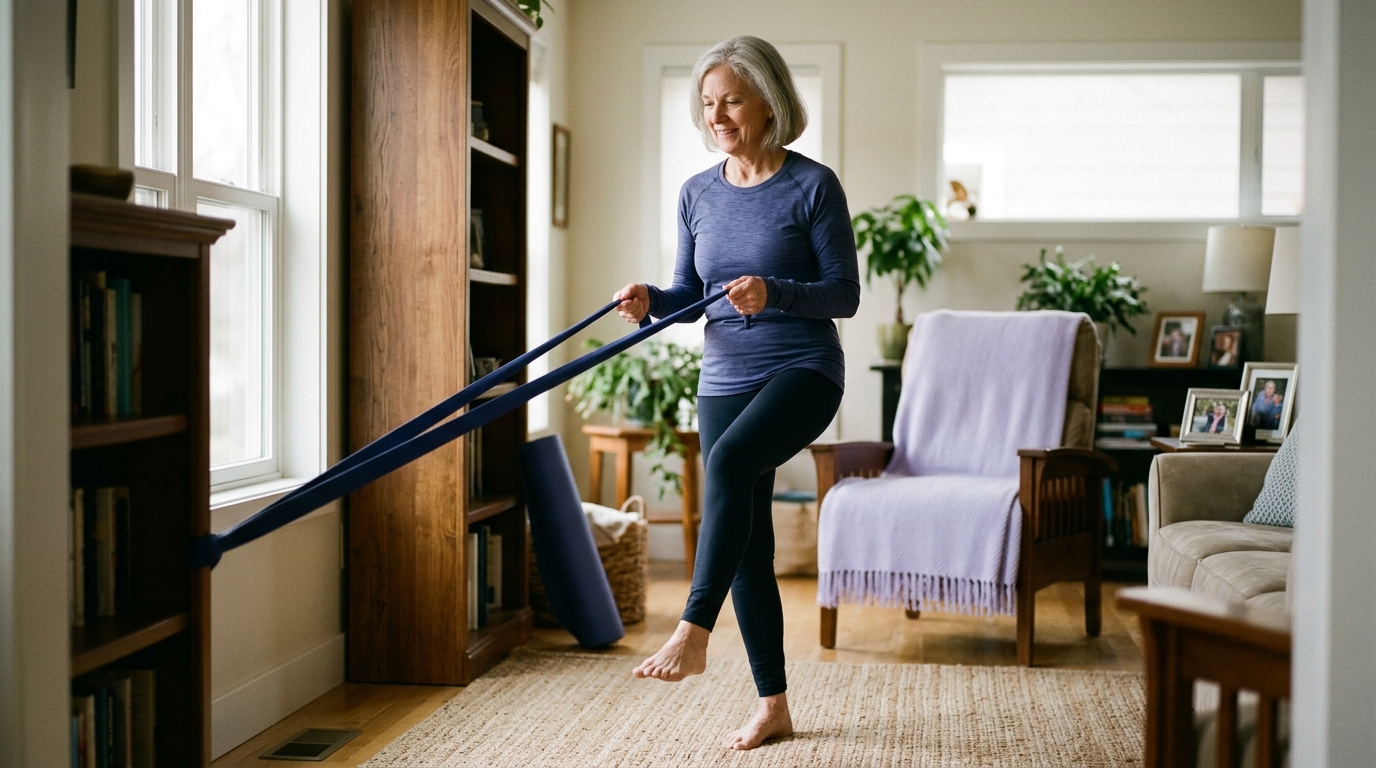
Because individual joint flexibility and strength vary widely, you should select a transfer method that matches your current physical structure. Practicing multiple variations helps you adapt to different environments and rooms.
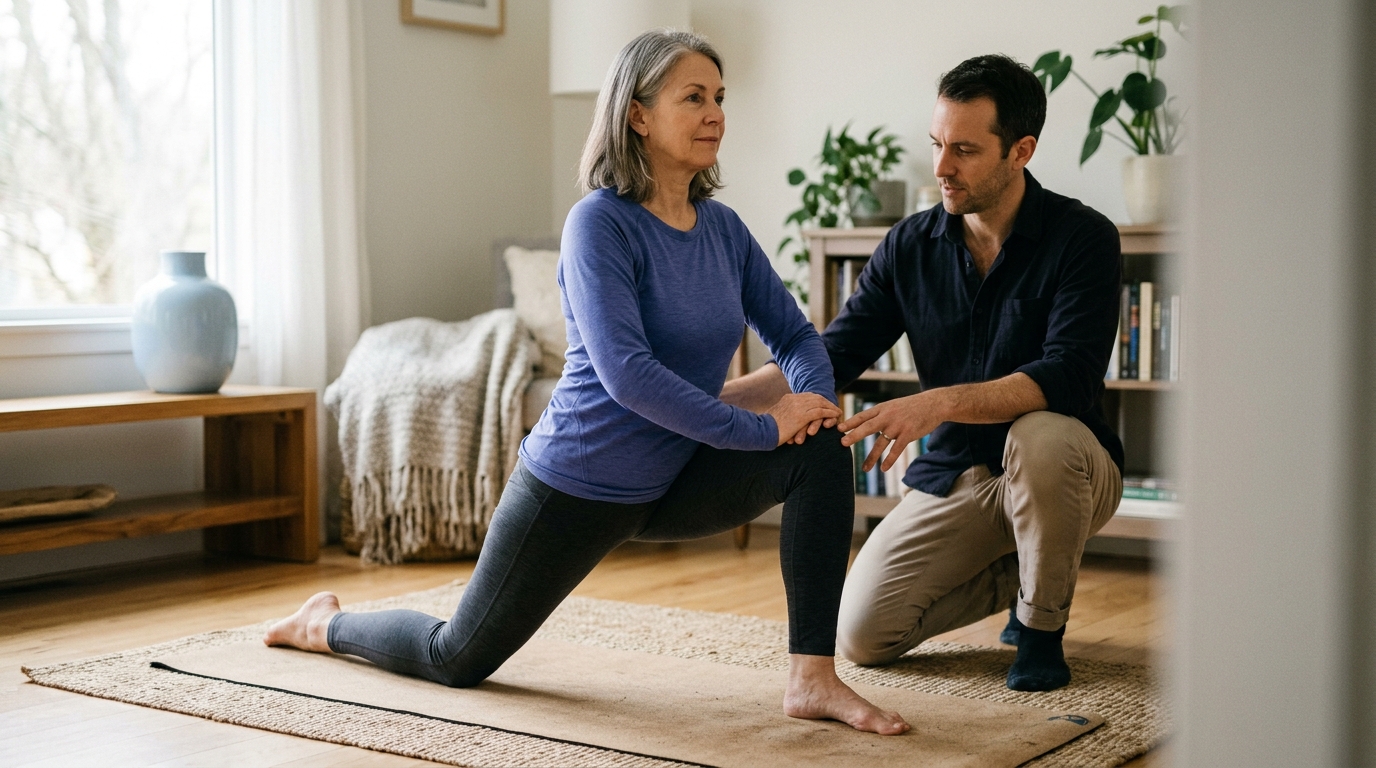
The half-kneeling approach is the most common technique taught in orthopedic physical therapy. It uses the large muscle groups of the lead leg alongside upper-body pushing power.
To perform this transfer:
This strategy works well for people with good hip flexion and strong quadriceps. It requires adequate dorsiflexion in the front ankle to keep the heel grounded during the push.
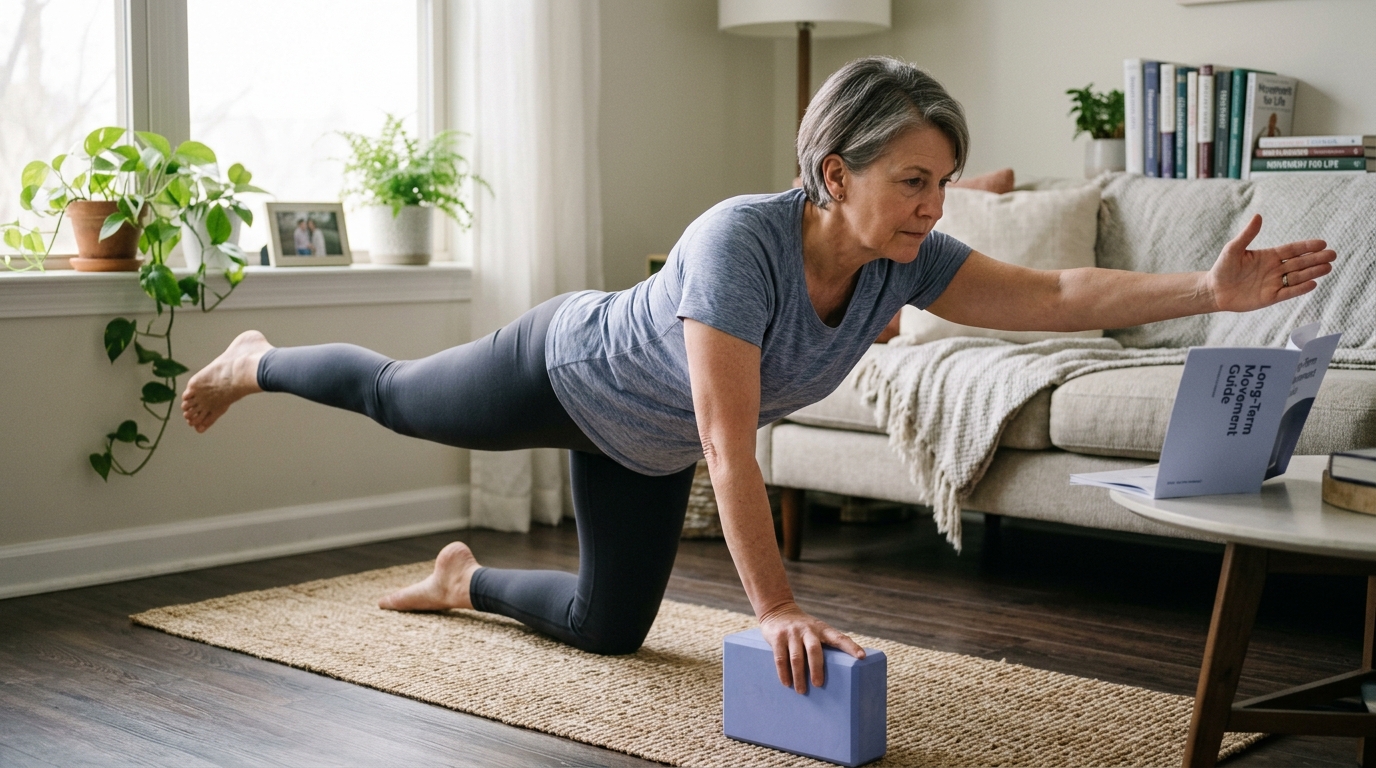
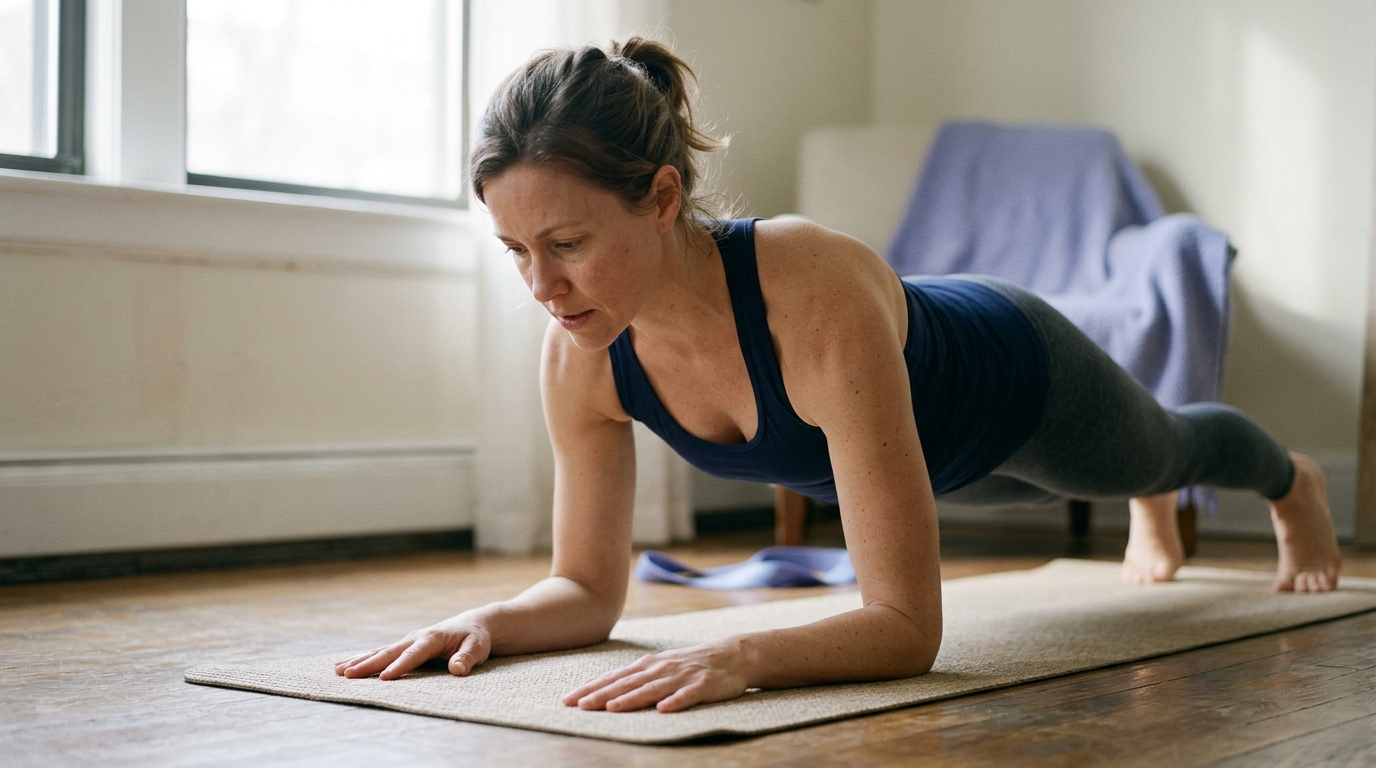
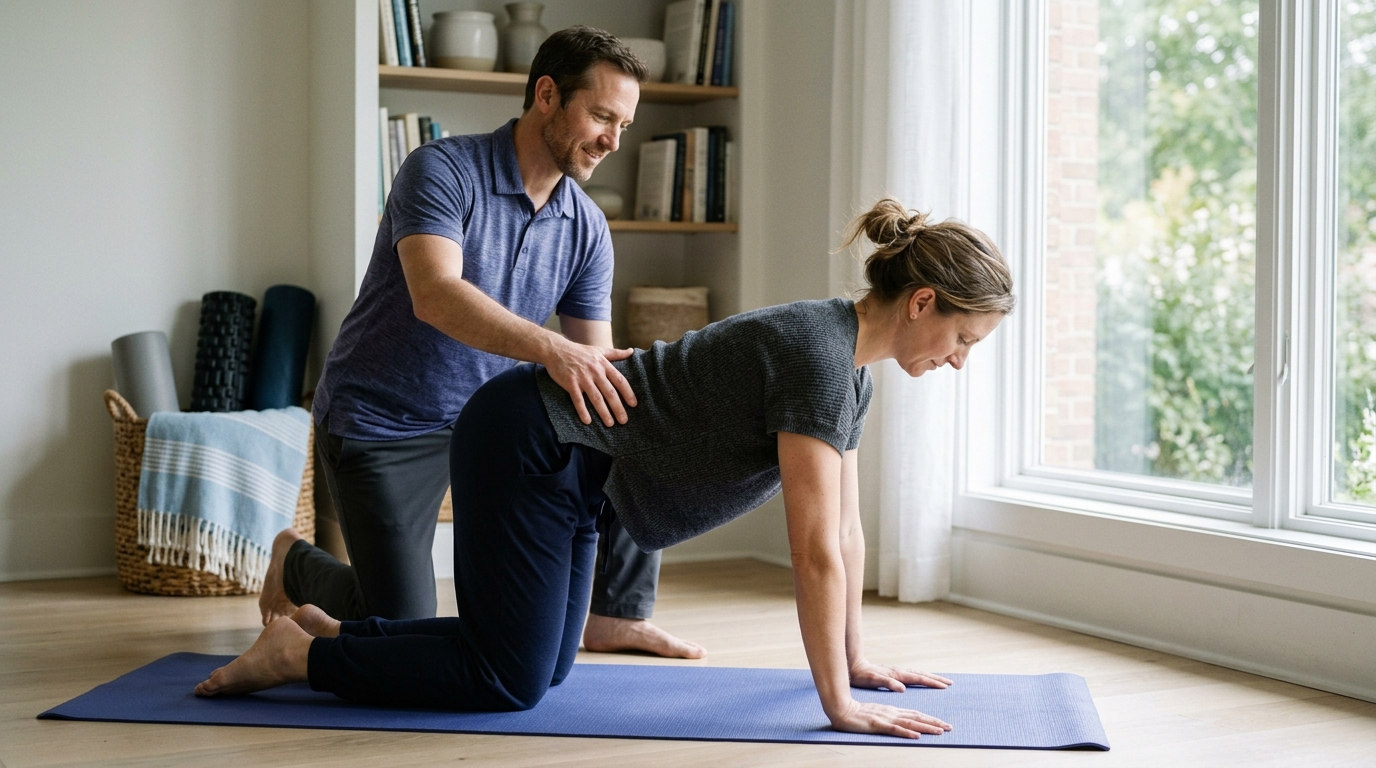
The quadruped strategy avoids deep single-knee kneeling, making it a valuable option for individuals with front-knee irritation or limited hip flexion.
To execute the quadruped rise:
This technique demands flexibility in the hamstrings and calves, as well as decent upper-body pushing strength. It minimizes time spent resting direct body weight onto the kneecaps.
The roll-over method is ideal for individuals who experience discomfort when resting on both knees simultaneously. It relies on rotational movement across the pelvis and shoulders.
To use the roll-over approach:
This rotational path reduces the vertical lift height required in a single movement. It allows people with lower back stiffness to use momentum and leverage rather than pure spinal extension.
If joint pain prevents you from bearing weight on your knees altogether, buttock scooting offers a practical alternative. This method uses the arms and hips to navigate toward an elevated surface.
To use the stair or scooting strategy:
Public health organizations, including the NHS and community mobility specialists, frequently recommend this pathway for adults with severe knee osteoarthritis or lower-limb limitations.
Physical technique is only half of the floor mobility equation. The physical environment directly dictates how easily and safely you can move down and up. A poorly chosen support surface can turn a controlled practice session into an unstable situation.
A dependable support object must be heavy enough that it will not slide when you push against it. Upholstered armchairs, solid wooden dining chairs placed against a wall, and heavy sofas are reliable options. Lightweight folding chairs, rolling office chairs, and lightweight side tables should never be used as primary transfer supports. If you must use a lighter chair, brace it firmly against a solid wall to prevent backward sliding.
Floor surfaces alter movement mechanics significantly. Hardwood, tile, and laminate floors provide good grip for rubber-soled shoes, but they can be uncomfortable on bare knees and hands. Deep-pile carpeting cushions joints, but it can create tripping hazards or reduce foot traction. Using an exercise mat with a textured, non-slip backing provides cushioning without sacrificing stability.
Footwear is another critical safety variable. Smooth socks on polished floors drastically increase slip risks during the transition phase. Bare feet provide excellent sensory feedback and toe grip for home practice. If you prefer shoes, wear supportive sneakers with flat, slip-resistant rubber outsoles.
Lighting and spatial clearance also matter. Maintain clear floor pathways between living areas, keeping low-profile coffee tables and electrical wires away from transfer zones. If you live alone, keep your mobile phone or a personal medical alert pendant within reach at floor level while practicing.
Every person brings a unique physical profile to floor mobility training. What works seamlessly for a flexible 40-year-old recovering from an ankle sprain may require substantial modification for a 70-year-old with joint replacements.
Joint replacements and orthopedic surgeries introduce specific movement precautions. Total hip replacements performed with a posterior approach may require temporary restrictions on deep hip flexion beyond 90 degrees. Knee replacements can make direct kneeling uncomfortable due to scar sensitivity or altered sensation. In these situations, using side-sitting transitions, knee pads, or stair-based scooting prevents irritation while maintaining functional capacity.
Spinal conditions also change your movement strategy. Individuals with lumbar disc issues or spinal stenosis often feel discomfort during prolonged forward bending. Using a high support surface, like a sturdy dining table, keeps the spine more upright during the transfer. This reduces bending load on the lower back muscles and ligaments.
Vestibular function and blood pressure regulation play major roles in floor rising. When you move quickly from lying or sitting to standing, your cardiovascular system must adjust to maintain blood flow to the brain. Orthostatic hypotension, a temporary drop in blood pressure upon standing, can cause lightheadedness or unsteadiness. Building an intentional 30-second seated pause into Phase 6 gives your vascular system time to equalize, keeping you safe and steady.
Psychological factors, including fear of falling, can also alter movement quality. When people feel anxious about getting stuck on the floor, their muscles stiffen, limiting the natural joint range needed for leverage. Breaking the movement down through backward chaining reduces this fear. In backward chaining, you start practice from a comfortable seated position, lower yourself slightly, and immediately push back up. As confidence grows, you gradually lower your body closer to the floor.
It is crucial to separate planned floor mobility from the emergency steps required after an accidental fall. If you slip and find yourself on the ground, your immediate priority is injury assessment rather than getting back up quickly.
When a fall occurs, remain still on the floor for several moments. Take slow, steady breaths to calm your nervous system. Scan your body methodically, checking for sharp pain in your hips, wrists, head, neck, or back. Move your fingers, hands, and feet gently to ensure normal movement without intense discomfort.
If you feel severe pain, notice bleeding, hit your head, or suspect a bone fracture, do not attempt to stand up. Moving an injured hip or spine can worsen internal damage. Instead, use an emergency strategy:
If you perform your self-check and determine you are unhurt, you can begin a slow, staged rise. Roll to your side, move to hands and knees, and crawl steadily toward the nearest stable piece of furniture. Place your hands on the seat, bring your strongest foot forward, and rise slowly into a seated position. Rest there for several minutes to verify that no delayed dizziness or pain emerges before standing completely.
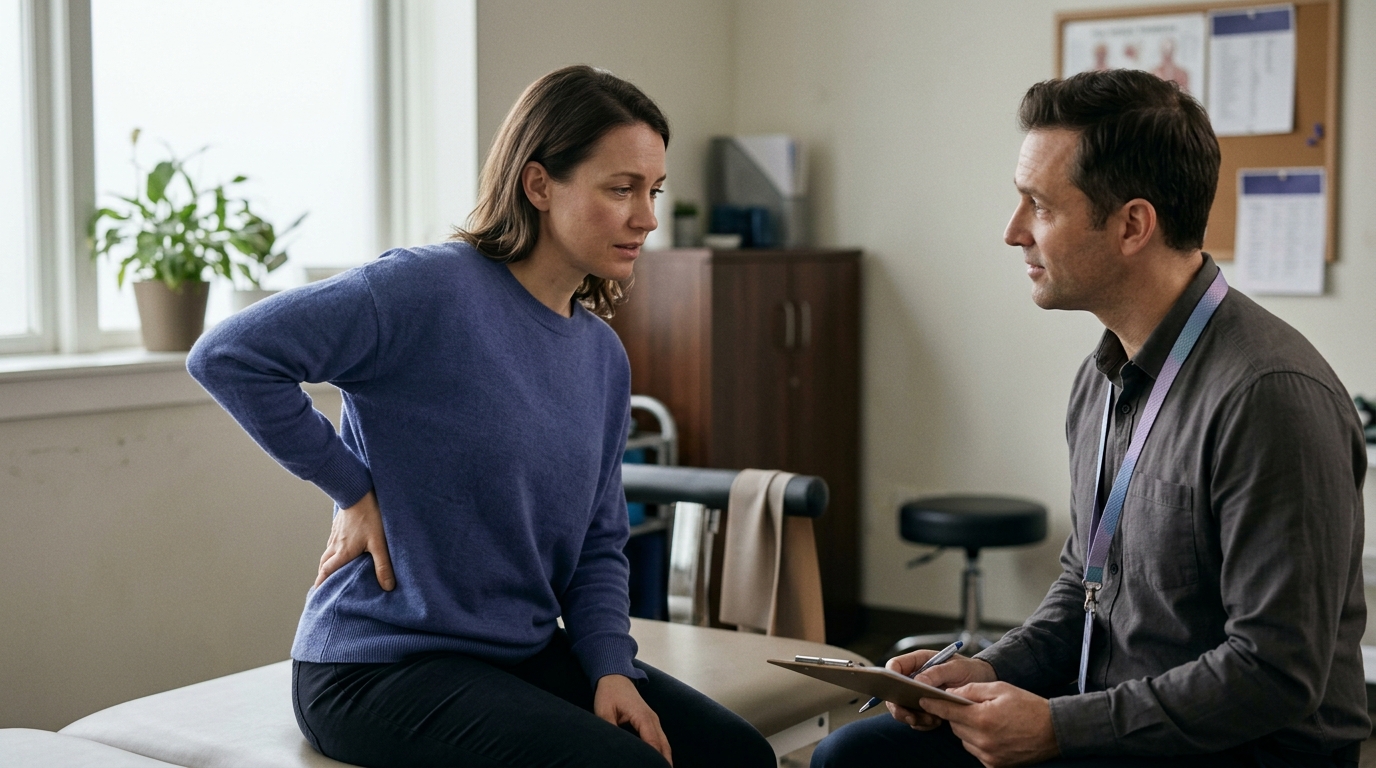
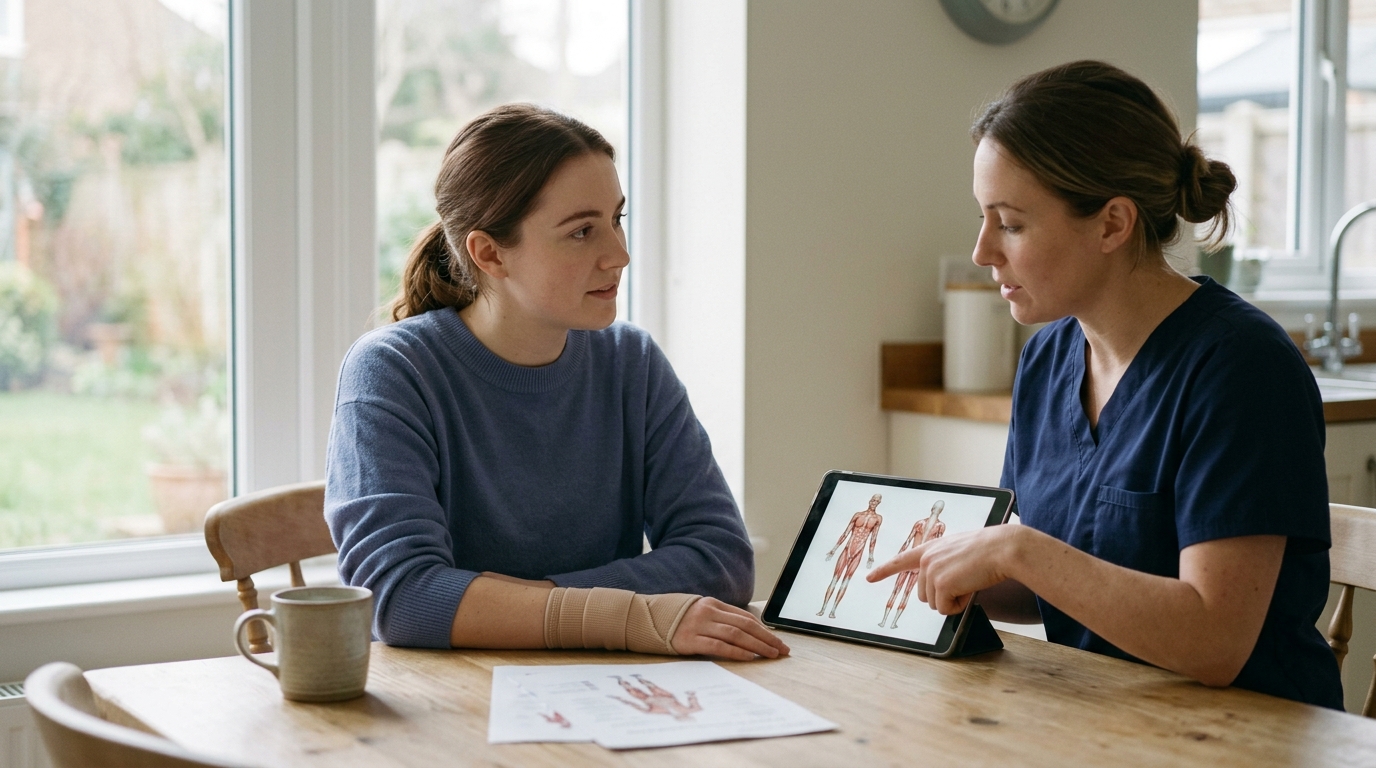
Self-guided practice is useful for maintaining functional movement, but certain medical symptoms warrant a formal evaluation from a licensed physical therapist or physician. A professional assessment helps identify hidden strength deficits or balance deficits that could lead to injury.
You should consult a clinician before practicing floor transfers if you experience:
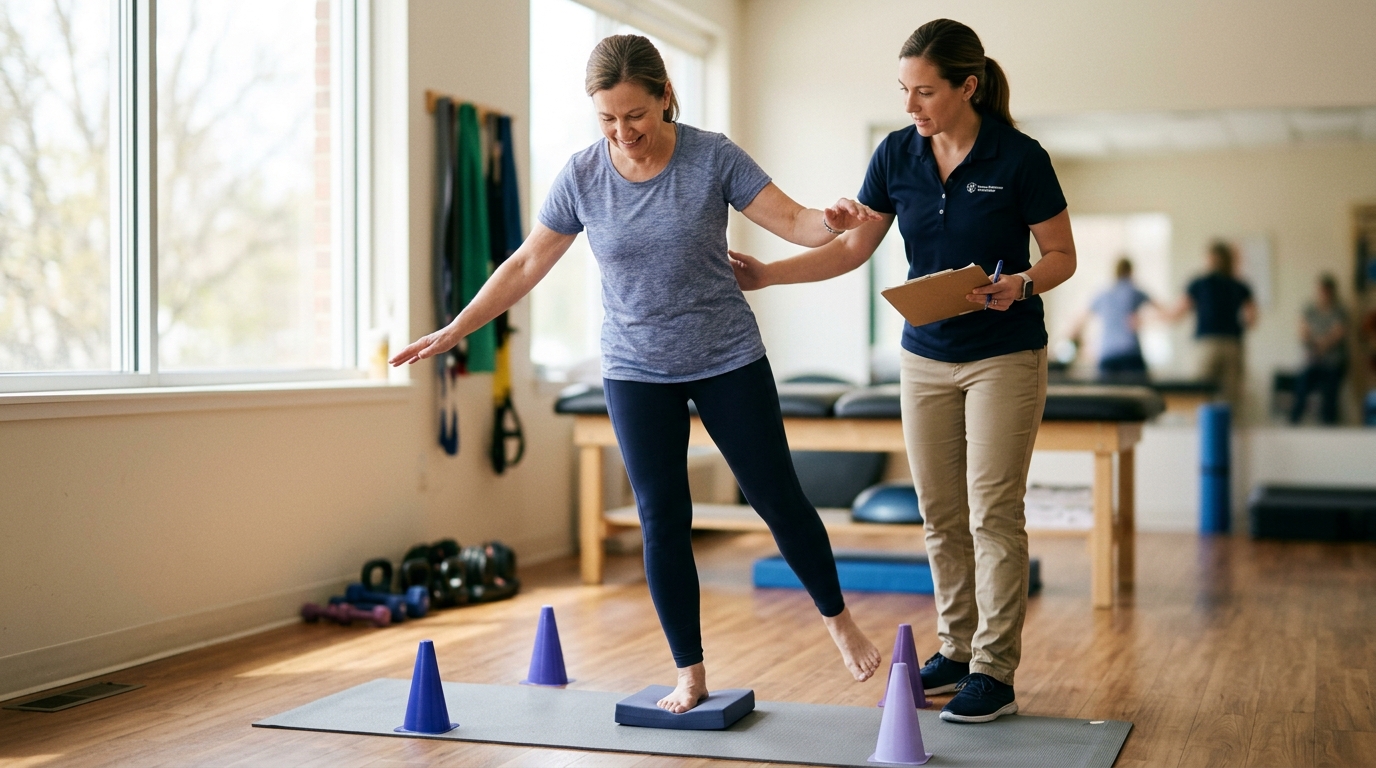
A physical therapist can design an individualized plan that incorporates strength training, joint mobilization, and backward chaining techniques. They can also review your home environment to recommend grab bar placement or equipment adaptations. Engaging with active aging and prevention resources provides structured ways to build functional strength across your lifespan.
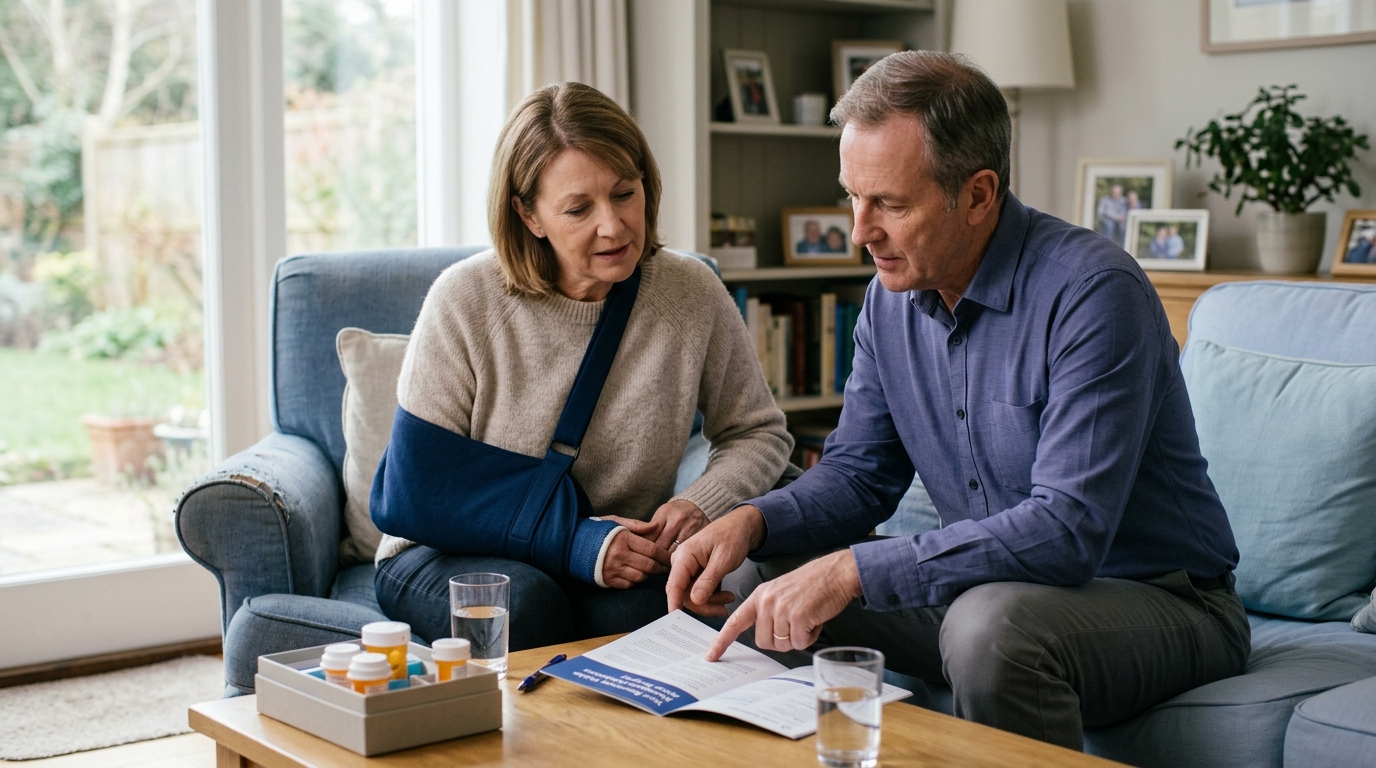
Taking structured questions to your medical appointments ensures you get clear, actionable guidance tailored to your health status. Consider asking your physical therapist or orthopedic doctor the following:
Regaining and maintaining the ability to get down to and up from the floor is an empowering part of functional independence. Moving safely between the ground and standing relies on breaking the movement into logical stages, selecting a technique that respects your joint anatomy, and using stable furniture for support. Research shows that older adults use several valid strategies to complete transfers, proving that there is no universal checklist you must follow.
Progress in floor mobility takes consistent, unhurried practice. Prioritize safety, maintain clear pathways, and always separate planned exercise from emergency fall responses. By practicing the component steps and consulting healthcare professionals when limitations arise, you can build reliable floor mobility that supports everyday activities and active living.

Use ReboundBody resources to understand common recovery stages, rehab terms, movement limits and strength rebuilding. Each guide is designed to make a complex comeback easier to understand.


Read practical guidance on injury recovery, rehabilitation, mobility and rebuilding strength as you work your way back to activity.
Explore Resources