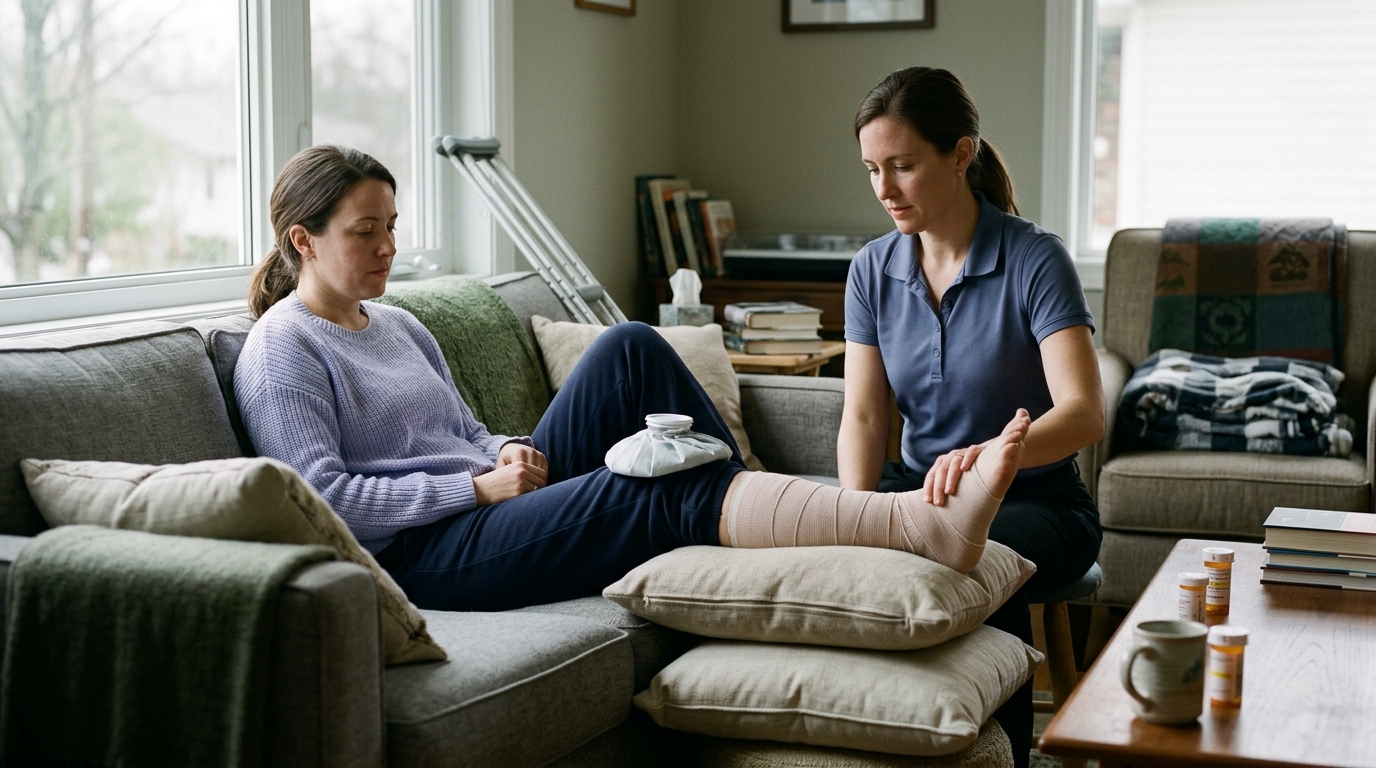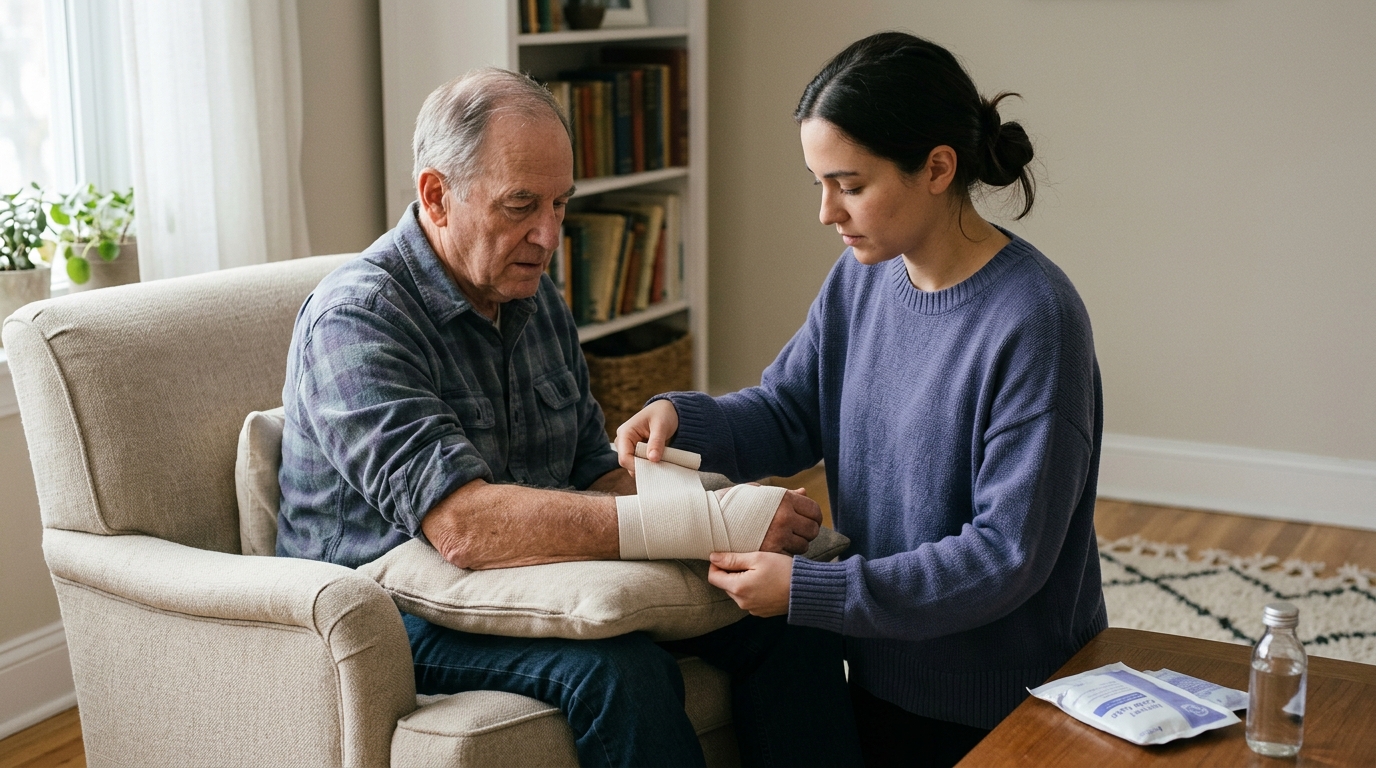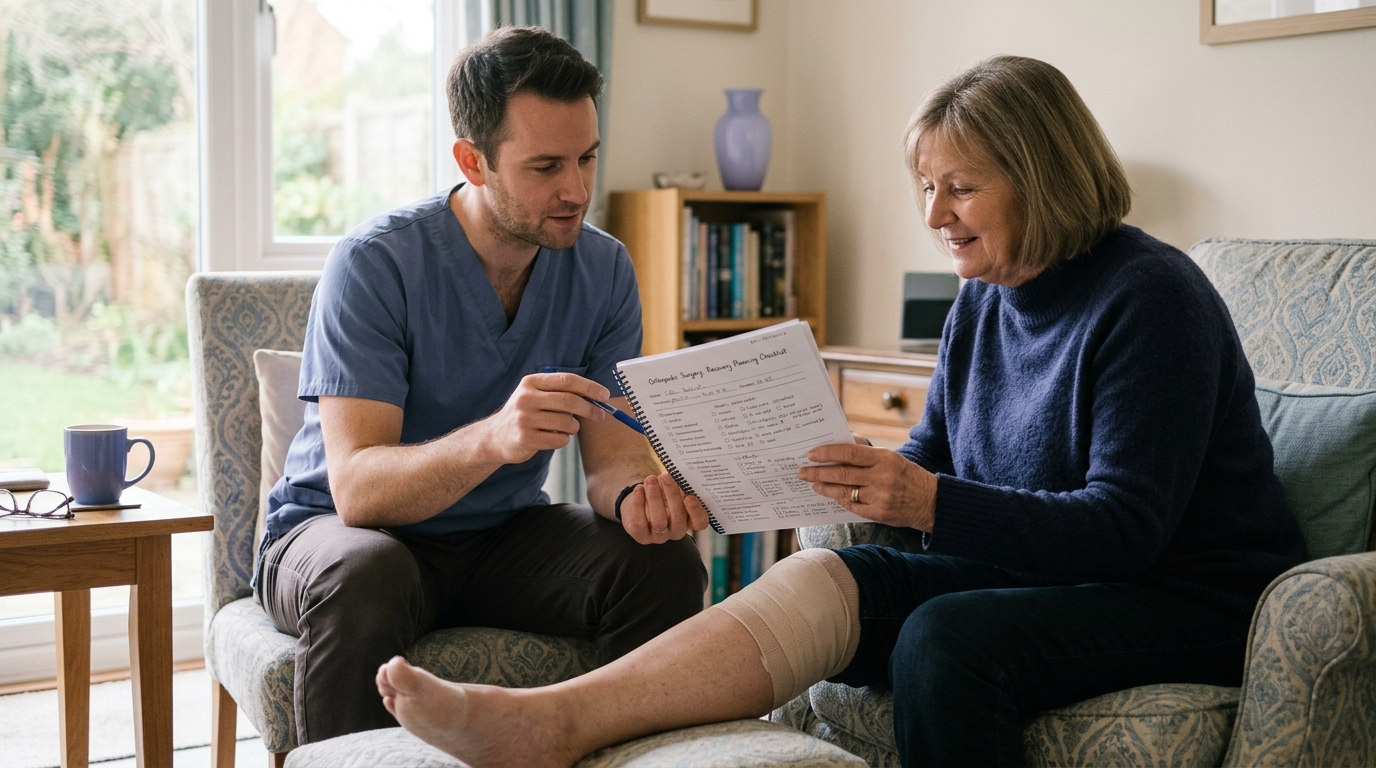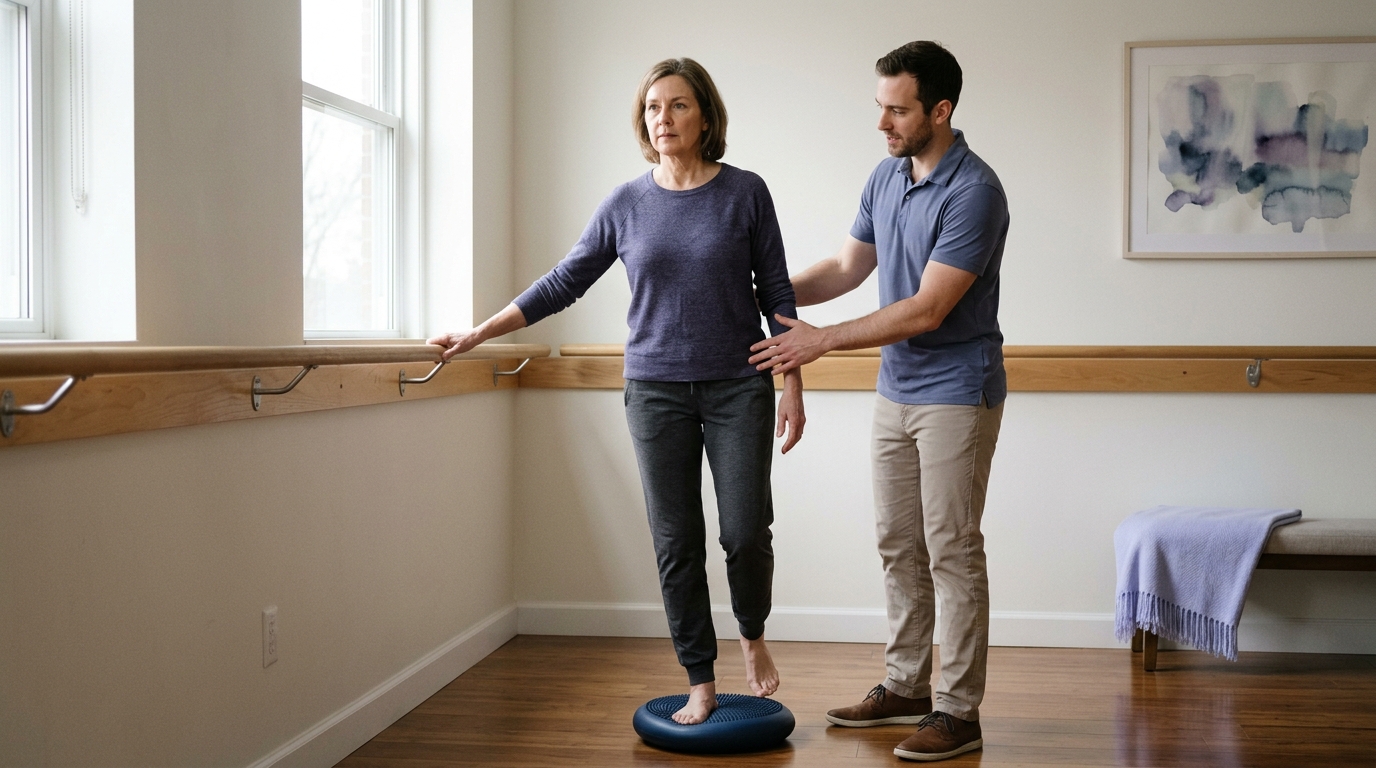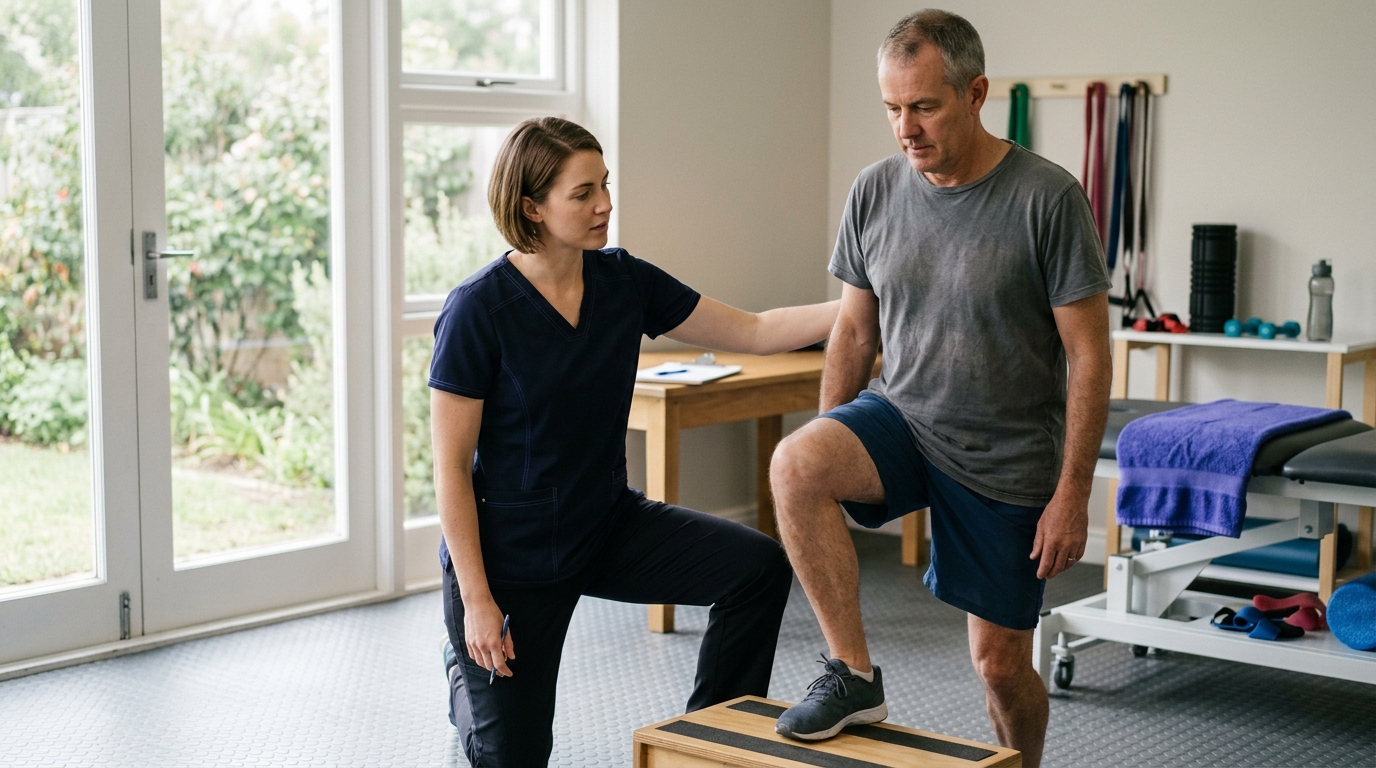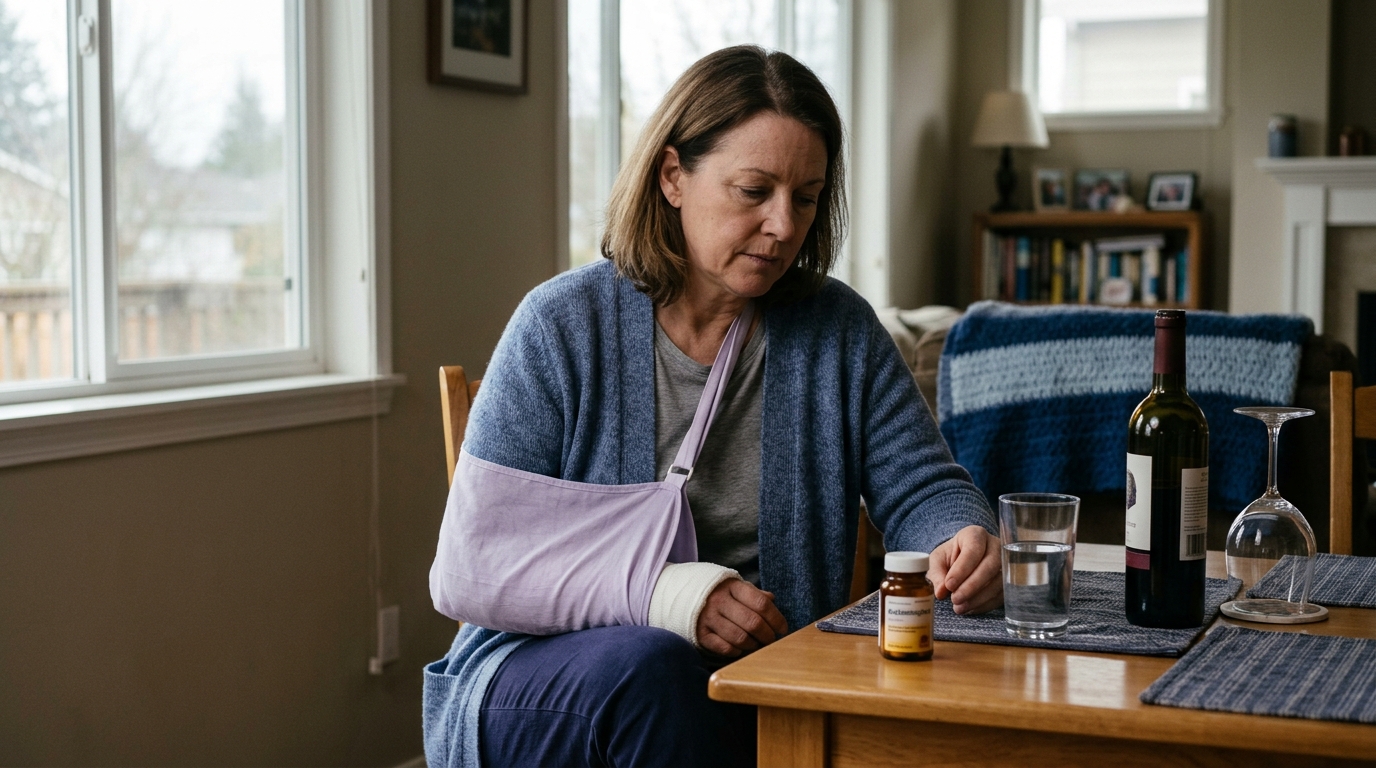

Standing in the kitchen while recovering from surgery drains energy, but simple three-part meal templates help you meet protein needs without heavy cooking.





Eating well during recovery is about getting steady nourishment to support tissue repair, muscle retention, and daily energy. It is not about preparing complex recipes, cooking everything from scratch, or adhering to strict culinary rules. When you are recovering from an injury, orthopedic surgery, or a major medical setback, the physical acts of standing, lifting heavy pots, chopping produce, and cleaning dishes can quickly exceed your physical capacity.
Getting the nutrients your body needs does not require standing over a hot stove for an hour. You can meet your nutritional requirements by assembling simple meals from ready-to-eat, canned, chilled, and frozen ingredients. This comprehensive guide explains how to simplify food preparation, conserve your physical energy, navigate common recovery symptoms, and ensure you stay properly nourished while your body heals.
The journey through rehabilitation often changes your daily physical capacity in ways that directly interfere with basic kitchen tasks. Preparing a standard home-cooked meal requires a complex combination of physical and cognitive demands. When pain, swelling, fatigue, or joint restrictions are present, these normal demands can quickly become overwhelming obstacles.
A standard cooking session involves long periods of upright standing on hard flooring. For someone recovering from lower-extremity surgery, such as a knee or hip replacement, this standing can increase swelling, elevate pain scores, and drain the energy needed for physical therapy exercises.
In addition, standard meal preparation requires significant upper-body strength and dexterity. Opening vacuum-sealed jars, lifting cast-iron skillets, carrying pots of boiling water, and chopping dense vegetables require joint stability and grip strength. If you are managing an upper-extremity injury, arthritis flare-up, or surgical precautions, these movements may be painful or clinically prohibited.
Healing consumes physical energy. The metabolic cost of tissue repair, combined with disrupted sleep and the physiological stress of injury, often produces profound systemic fatigue. Tasks that once felt automatic suddenly require deliberate effort and mental focus.
Pain medications and post-operative medications can also cause brain fog, lightheadedness, and reduced coordination. When your executive function is diminished, planning a multi-step recipe, gathering ingredients, monitoring cooking times, and timing a meal can feel mentally exhausting. If a meal plan feels too complicated, it is common to skip eating entirely or rely on low-nutrient snack foods that leave you undernourished.
Cooking does not end when the food is on the plate. Cleaning pots, scrubbing pans, wiping down counters, and unloading dishwashers require additional standing, bending, and reaching. For many people in rehabilitation, the anticipation of a difficult cleanup is the primary reason they avoid cooking. A truly workable recovery meal strategy must account for the entire process from ingredient storage to washing the final dish.
Clinical nutrition research confirms that the body has distinct physiological requirements during healing, rehabilitation, and recovery from trauma or surgery. Meeting these needs supports tissue remodeling, immune defense, and the preservation of lean muscle mass.
Protein provides the essential amino acids required to repair damaged muscles, rebuild connective tissues, and heal surgical incisions. When total calorie intake is too low, the body may use dietary protein, or break down existing muscle tissue, to meet its basic metabolic energy demands. Ensuring you eat enough total food is the first step in protecting your muscle mass while activity levels are reduced.
Guidance from major health systems notes that protein needs may increase following surgery or major physical trauma. However, clinical sources emphasize that protein requirements are highly individual. Your exact needs depend on your age, body weight, baseline health, kidney function, and the specific nature of your injury.
Clinical research shows that while wound healing and post-surgical recovery demand sufficient protein, there is no universal number that applies to every individual. Consuming massive quantities of protein powders or supplements without clinical guidance is neither necessary nor universally safe. Excessive protein intake can place unnecessary strain on kidney function and contribute to dehydration. Getting a moderate, steady supply of protein throughout the day from accessible food sources is generally the most effective approach.
Evidence clearly supports the foundational importance of balanced energy, steady protein distribution, and adequate hydration during rehabilitation. Getting your nutrients through regular, varied foods provides the essential cofactors your body needs for recovery. You can review our resources on injury recovery and healing for deeper insights into how physical rehabilitation and lifestyle habits interact.
In contrast, evidence is much weaker or mixed for specialized, expensive recovery supplements, single-nutrient megadoses, or restrictive detox diets. There is no high-quality clinical evidence showing that isolated specialty powders speed up bone or ligament healing in well-nourished individuals. Relying on reliable, easy-to-digest whole and minimally processed foods remains the gold standard of evidence-based recovery nutrition.
A central guideline for rehabilitation nutrition is to build meals rather than cook recipes. You do not need to follow complicated culinary techniques to assemble a balanced, nourishing plate. By using reliable convenience foods, frozen staples, and pre-cut produce, you can create a complete meal in just a few minutes.
The easiest way to assemble a low-effort meal is to combine one starchy base, one protein source, and one fruit or vegetable. This simple structure ensures that you receive complex carbohydrates for sustained energy, amino acids for structural repair, and micronutrients for cellular health.
Starchy foods provide the glucose required to fuel your brain, nervous system, and cellular repair processes. Choose options that require zero cutting and minimal heating time:
Protein does not have to come from raw meat that requires trimming, handling, and pan-searing. Many shelf-stable and chilled foods offer excellent protein with zero preparation:
Fruits and vegetables deliver vitamins, minerals, antioxidants, and dietary fiber that help regulate digestion and support overall health. You do not need to wash, peel, or slice produce by hand:
Using this formula, you can create balanced meals in less than five minutes with minimal physical strain:
To explore more recovery lifestyle strategies, visit our recovery nutrition and lifestyle guides.
Occupational therapists often teach energy conservation techniques to help patients manage fatigue, joint pain, and limited stamina. These principles allow you to complete necessary daily tasks without depleting your physical reserves. In the kitchen, you can organize your meal preparation around four core strategies: Plan, Pace, Prioritize, and Position.
Planning prevents unnecessary physical movement and mental stress. Before starting any food preparation, take a moment to consider what items you will need.
Pacing means dividing a single long task into smaller, manageable chunks separated by periods of physical rest. You do not need to do everything at once.
Preserve your limited physical energy for what truly supports your recovery. Let go of non-essential kitchen standards while you are rehabilitating.
How you arrange your physical body and your kitchen workspace significantly affects joint stress and fatigue levels.
Recovery is rarely a linear process. Some days bring manageable pain and steady energy, while other days are marked by severe fatigue, swelling, or nausea. Having a tiered plan with varied meal patterns ensures that you stay nourished even when your physical capacity drops.
This pattern requires no raw food handling and minimal cognitive effort. It relies entirely on shelf-stable and frozen convenience items that can be warmed quickly.
When appetite is suppressed due to pain or medication, looking at a large, full plate of food can feel unappealing. In these situations, dividing your food intake into five or six small, nutrient-dense snacks throughout the day is much easier to manage than attempting three large meals.
Every recovering individual should keep a dedicated "low-energy shelf" in their pantry or a specific basket on their kitchen counter. This supply should contain foods that require zero refrigeration, zero opening tools, and zero heating.
On days when your energy is higher, or when you have assistance from a visitor, take advantage of the opportunity to cook extra food. Preparing a four-serving meal takes almost the same physical effort as making a single serving, but it provides three effortless future meals.
Divide the leftovers into individual, microwave-safe containers before storing them in the refrigerator or freezer. Label each container with the date and contents. When a high-pain day occurs, you can transfer a single portion directly from the freezer to the microwave without standing, chopping, or washing extra pots.
For related recovery insights, check our articles on surgery rehabilitation insights and recovery planning.
Recovery is not a one-size-fits-all process. What constitutes an ideal meal pattern changes significantly based on your specific clinical context, your mobility status, your medications, and your digestive symptoms.
Undergoing surgery places distinct acute demands on your body. The physiological trauma of surgical incisions triggers an inflammatory cascade that requires energy, protein, and micronutrients like vitamin C and zinc to rebuild collagen. During this acute phase, skipping meals or cutting calories too drastically can delay incision healing and prolong weakness.
If you are recovering from surgery, you may also be managing surgical drains, wound dressings, or restricted movement. Ensuring your food is within arm's reach and requires zero heavy lifting is critical to avoiding accidental strain on surgical sites.
Your level of mobility dictates how you interact with your living environment. If you are using crutches, a walker, or a wheelchair, transporting food from the kitchen counter to the table becomes a significant safety challenge.
Many prescription pain relievers, antibiotics, and post-operative medications cause common gastrointestinal side effects. These side effects can drastically alter your desire to eat and your tolerance for certain foods.
If you have pre-existing medical conditions, your recovery meal planning must account for those requirements. For instance, people with diabetes must balance carbohydrate intake with changes in activity levels and medication doses.
Similarly, individuals managing digestive disorders like gastroparesis need specialized meal approaches. Clinical guidelines for gastroparesis from organizations like the National Institute of Diabetes and Digestive and Kidney Diseases (NIDDK) recommend consuming low-fat, low-fiber foods distributed across five or six small meals daily. In some cases, liquid nutrition or puréed foods may be necessary to support gastric emptying. Always follow condition-specific instructions provided by your clinical care team rather than generalized advice.
To learn more about how movement and nutrition interact during rehabilitation, explore our collection of nutrition and recovery articles.
When you are exhausted, experiencing pain, or recovering from surgery, food safety is a critical priority. Your immune system may be under stress, making you more vulnerable to foodborne illnesses. Furthermore, safe handling practices prevent wasted food and unnecessary physical effort.
According to food safety guidance from the USDA and the FDA, harmful bacteria grow most rapidly in the temperature danger zone between 40°F and 140°F. When you finish eating a meal, it can be tempting to leave leftovers sitting on the counter while you rest. However, allowing perishable foods to sit at room temperature increases the risk of contamination.
Reheating food properly destroys bacteria that may have formed during storage. Relying on the microwave is safe and practical, provided you follow basic guidelines:
There are times during recovery when personal meal preparation is simply impossible. Acknowledging that you need support is a proactive, healthy step toward successful rehabilitation. A wide variety of formal and informal resources are available to help bridge the gap.
If you have severely restricted mobility, live alone, or face financial constraints during recovery, community programs provide essential support. The Centers for Disease Control and Prevention (CDC) lists food assistance programs and local food banks as vital community safety nets.
Programs like Meals on Wheels serve individuals with diminished mobility who are generally 60 years of age or older, though local eligibility criteria, funding, and age minimums can vary by region. Many local community centers, religious organizations, and municipal social work departments offer temporary meal delivery services for residents recovering from acute injuries or hospital stays.
Friends and neighbors often want to help during a recovery period, but they may not know what you need. Instead of declining help, give them clear, specific tasks that relieve your physical strain:
If your budget allows, online grocery delivery services eliminate the physical strain of walking through large stores, pushing heavy grocery carts, and lifting heavy bags into your vehicle. Many grocery apps allow you to save recurring lists of recovery staples, making reordering simple.
Prepared meal delivery services that provide fresh, fully cooked, single-portion meals are another helpful option. Unlike standard meal kits that send raw ingredients requiring extensive chopping and cooking, heat-and-eat meal services simply require two minutes in the microwave.
Your clinical care team, including your physician, orthopedic surgeon, physical therapist, and registered dietitian, is your primary resource for personalized recovery guidance. Use your clinical appointments to clarify how your nutrition, mobility restrictions, and medications interact.
Always ask your doctor or pharmacist about the exact food-related instructions for every prescription you take:
If you are struggling with daily kitchen tasks, ask your physician for a referral to an occupational therapist (OT). Occupational therapists specialize in assessing your home environment, providing adaptive kitchen tools, and teaching joint-protection techniques tailored to your physical limitations.
If you have unintentional weight loss, poor wound healing, complex dietary restrictions, or underlying chronic illnesses, a registered dietitian (RD) can create a customized medical nutrition plan that matches your metabolic needs and physical capacity.
For a broader perspective on safe movement, joint health, and active rehabilitation, visit our ReboundBody resource library.
Eating well when recovery makes cooking difficult is about removing barriers between you and nutritious food. You do not need to cook elaborate meals to provide your body with the fuel, protein, and micronutrients it needs to heal.
By building simple meals using the "Base + Protein + Produce" framework, taking advantage of healthy convenience foods, and using occupational therapy pacing techniques, you can maintain consistent nourishment without aggravating your pain or draining your energy reserves.
Healing requires patience, rest, and steady fuel. By setting up an accessible kitchen and simplifying your daily meal patterns, you can support your body's natural recovery process while conserving your energy for what matters most: rebuilding your strength, mobility, and independence.
You can easily meet your protein needs using zero-cook and ready-to-eat staples. Excellent options include Greek yogurt, cottage cheese, canned tuna, canned salmon, canned beans, lentils, string cheese, peanut butter, and shelled edamame. Ready-to-drink protein shakes or meal replacement drinks can also provide convenient protein on days when chewing or food preparation is difficult.
Do not try to force down three large, heavy meals when you have poor appetite or nausea. Instead, switch to a pattern of five or six small, nutrient-dense snacks throughout the day. Choose bland, cool, or room-temperature items that have minimal aroma, such as crackers with cheese, toast with nut butter, chilled yogurt, or fruit smoothies. If poor appetite and unintentional weight loss persist, contact your healthcare provider for guidance.
Single-handed meal preparation requires tools that stabilize food and packaging. Use a non-slip silicone mat under bowls and plates to keep them from sliding across the counter. Invest in an electric hands-free can opener, a jar-opening clamp that mounts under your cabinet, and pre-cut fresh or frozen vegetables that eliminate the need for a knife. Choose pull-tab cans, twist-off caps, and squeeze pouches whenever available.
Yes. Clinical and dietary research confirms that frozen and canned vegetables are nutritionally comparable to fresh produce. Frozen vegetables are typically flash-frozen at peak ripeness, preserving their vitamins, minerals, and antioxidants. Canned vegetables are fully pre-cooked, shelf-stable, and soft, making them an ideal, low-effort option when chopping and steaming fresh produce is too difficult. Choose low-sodium canned vegetables or rinse them under water before eating to remove excess salt.

Use ReboundBody resources to understand common recovery stages, rehab terms, movement limits and strength rebuilding. Each guide is designed to make a complex comeback easier to understand.


Read practical guidance on injury recovery, rehabilitation, mobility and rebuilding strength as you work your way back to activity.
Explore Resources