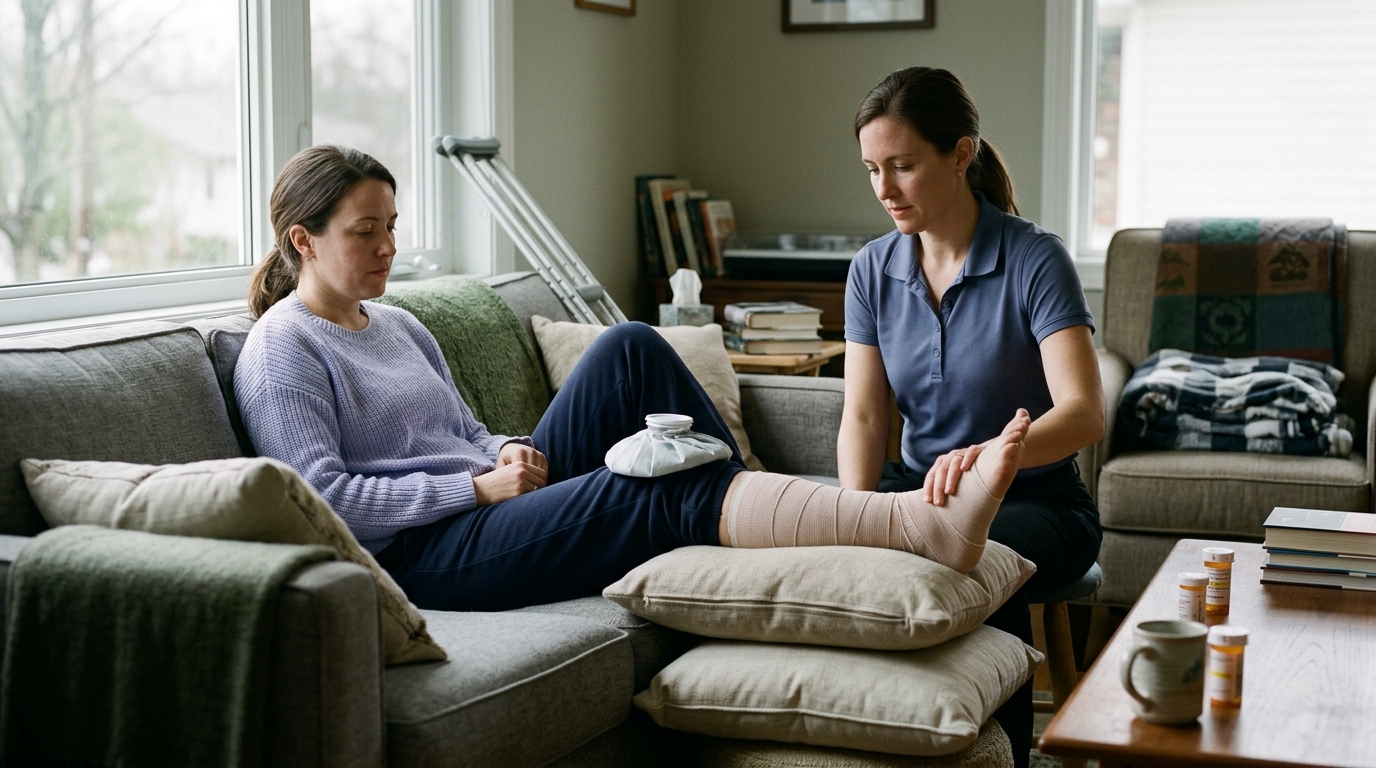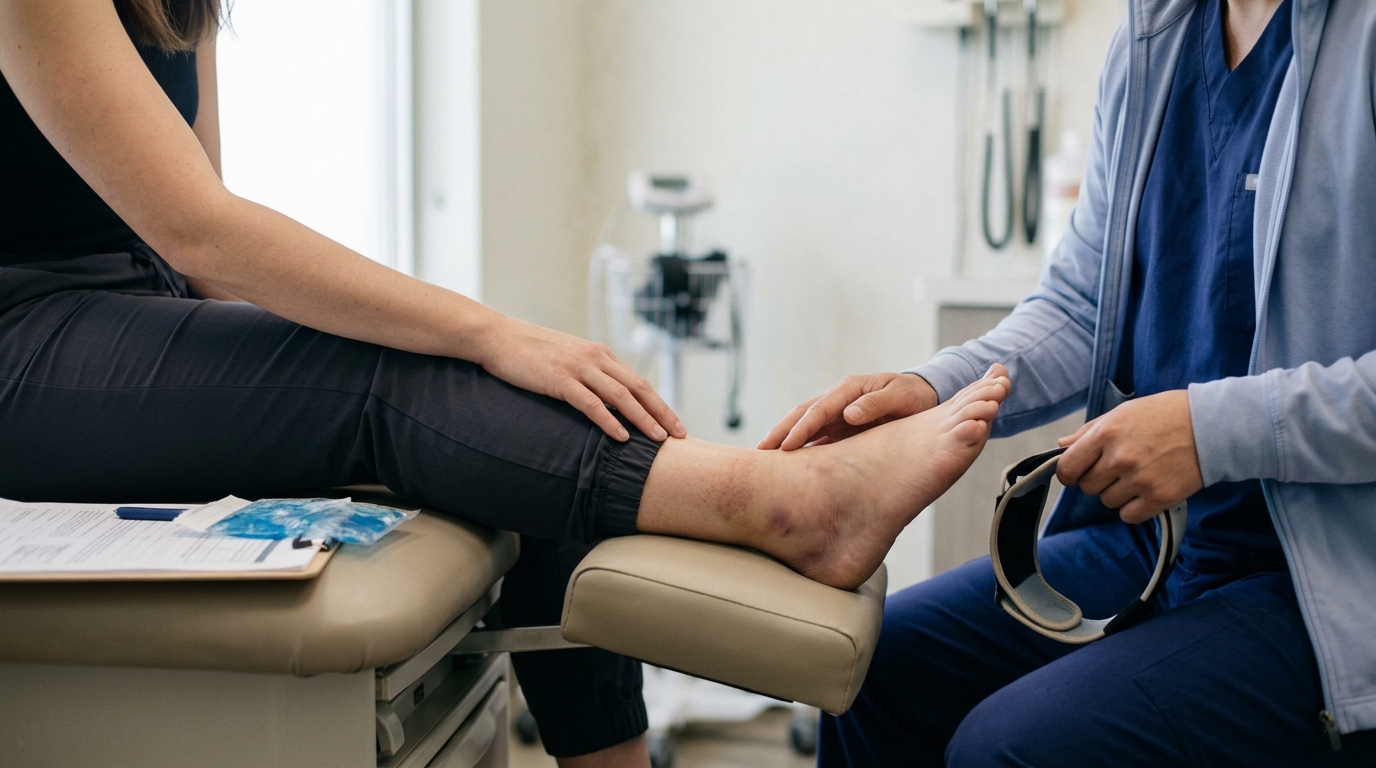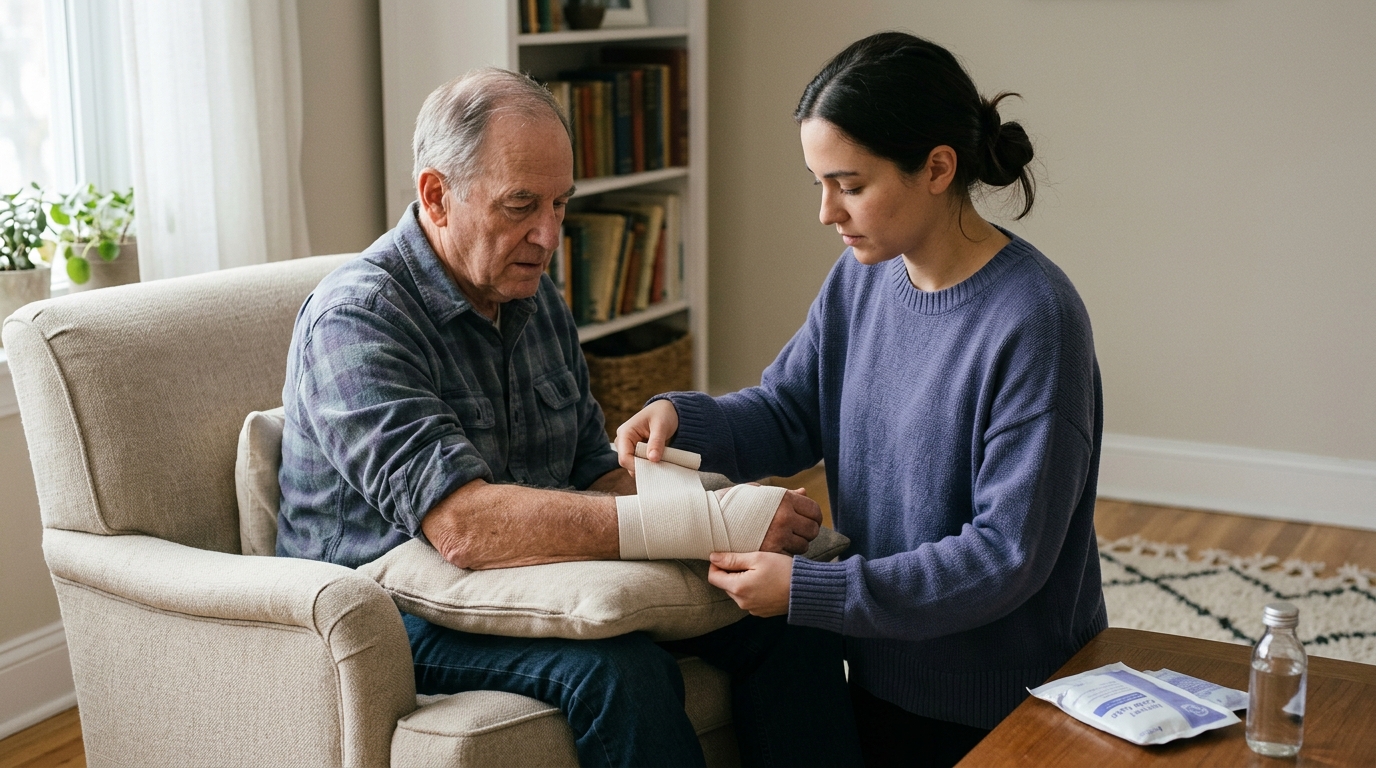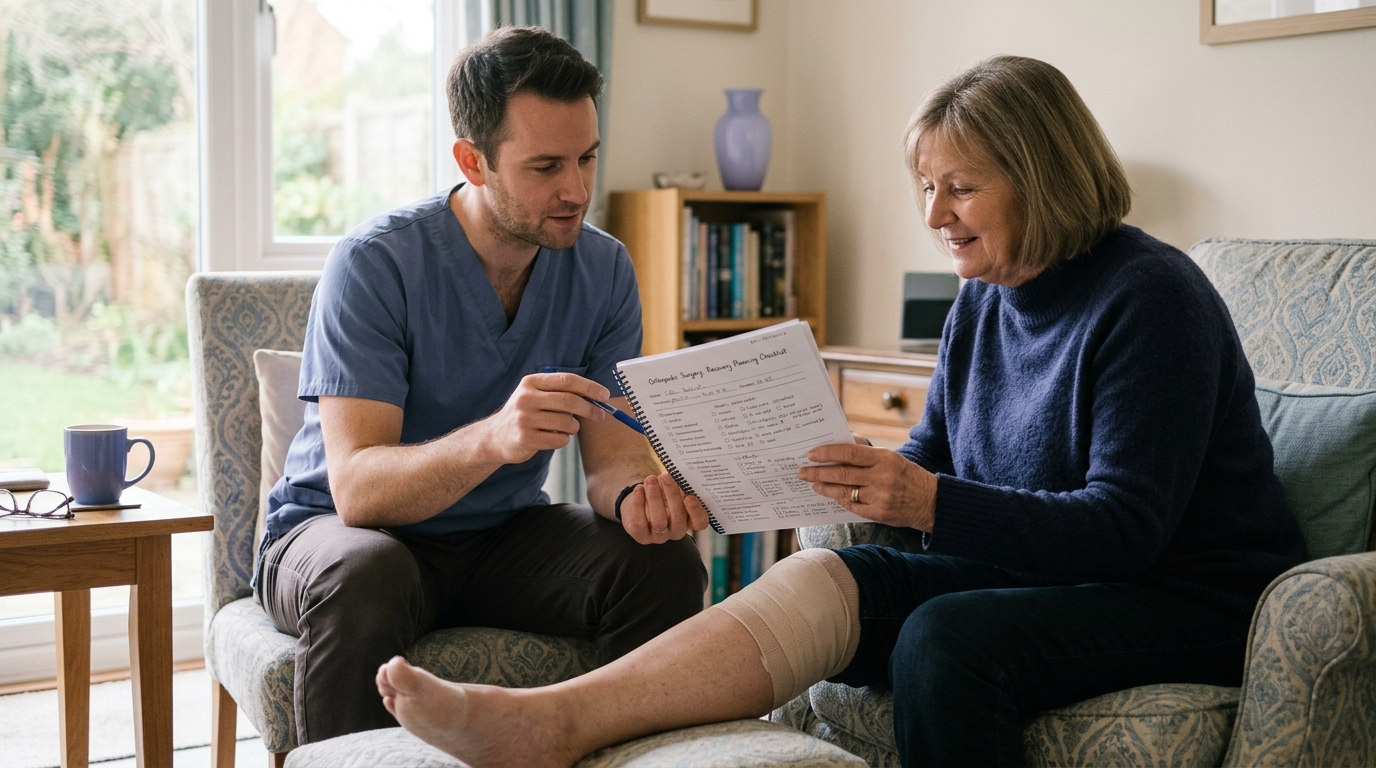

Recovering from an injury requires selecting the right crutches, cane, or walker to match your clinical weight-bearing orders and home setup.





Many people search online asking which mobility aid they need after a leg injury or orthopedic surgery. They want to know whether they should use crutches, a walker, or a cane, and when it is safe to stop using them.
The short answer is that no single mobility aid fits every stage of healing. The right device depends directly on your medical weight-bearing orders, balance, upper body strength, and daily environment. Mobility aids are temporary support tools matched to your current functional capacity, not a rigid ladder where one option is universally better than another.
A device that works well on a level kitchen floor may fail on outdoor steps or in a small bathroom. You should only change or stop using an assistive device with explicit guidance from your healthcare team. This definitive guide explains how to choose, adjust, use, and transition between mobility aids safely throughout your rehabilitation.
Choosing an assistive device starts with your specific physical requirements rather than the label on the equipment. An effective selection process evaluates five primary areas: device function, personal physical capacity, medical restrictions, usage environment, and professional instruction.
First, clarify what the device must accomplish for your body. Some people need a device to eliminate all weight on an injured bone or joint. Others need extra balance, wider base support, or a way to conserve energy over longer distances.
Second, consider your current physical strengths and limitations. Safely using an aid requires adequate grip strength, arm stability, coordination, vision, and mental focus. Pain and fatigue can rapidly alter how safely you handle equipment during the day.
Third, confirm your exact medical restrictions. Your surgical or orthopedic team provides specific rules about how much force your healing limb can absorb. You cannot determine readiness for a new device simply because your leg feels stronger.
Fourth, assess the physical spaces where you live and move. Doorway widths, floor transitions, outdoor stairs, thick carpets, and bathroom layouts dictate whether a device is practical. An aid that feels stable in a spacious clinic may become hazardous in a cramped hallway.
Fifth, verify that a trained clinician has fitted the device and taught you how to use it. A high-quality device can cause pain or injury if the height is incorrect or if your technique is flawed. Safe rehabilitation and mobility movement requires structured assessment, correct fitting, and continuous reassessment as your body heals.
Weight-bearing terms are precise medical orders, not casual suggestions. These instructions protect surgical repairs, stabilizing hardware, and healing bone fractures from damaging loads. The National Institute for Health and Care Excellence emphasizes that surgical teams must document weight-bearing status clearly after traumatic injury. They must also communicate the exact limits and expected timeline to the rehabilitation team.
The most common weight-bearing categories include:
A mobility aid does not establish your weight-bearing limit on its own. Instead, the aid is the mechanical tool that allows you to comply with the doctor's orders. If you are non-weight-bearing, you need devices capable of supporting your entire body load through your arms, such as axillary crutches, forearm crutches, or a rigid walker.
If your discharge paperwork is unclear about weight-bearing limits, contact your orthopedic surgeon before attempting to walk. Never guess your loading allowance based on how much pain you feel. Pain medication can mask warning signs, leading to premature loading and compromised bone union.
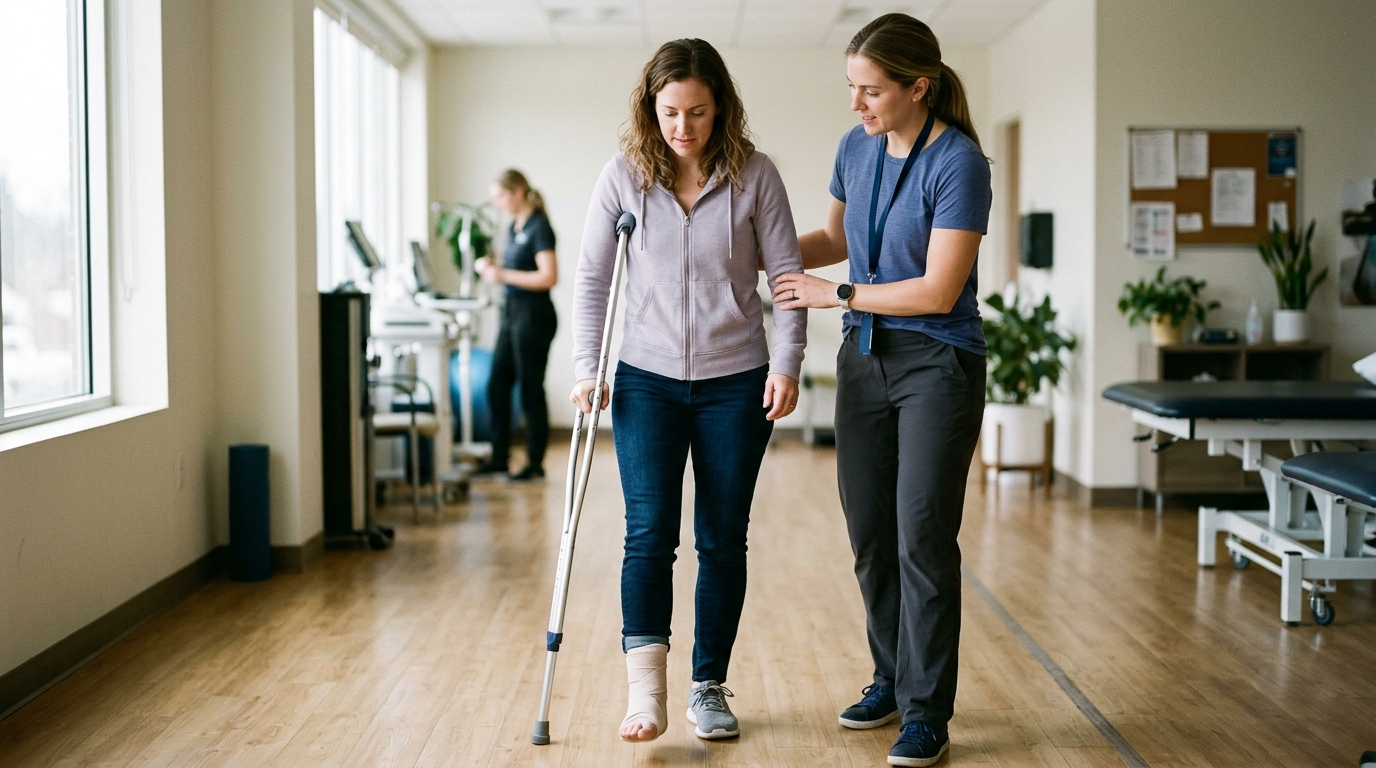
Crutches are standard tools when an injury requires significant offloading of a lower extremity. They allow independent movement across various settings, but they demand good upper-body strength, trunk control, and coordination.
Crutch fitting must occur while you wear your standard walking shoes and stand tall. According to the American Academy of Orthopaedic Surgeons, the top pads of axillary crutches should rest one to two inches below your armpits. This gap prevents direct pressure on the axillary nerve plexus and major blood vessels in the underarm space.
The handgrips should align closely with your wrist creases or the top of your hip bones when your arms hang naturally at your sides. When grasping the handgrips, your elbows should bend slightly at roughly fifteen to thirty degrees. Keep the crutch tips positioned roughly six inches forward and six inches to the side of your feet for a stable foundation.
A vital rule of crutch use is supporting your body weight entirely through your palms and wrists. Never lean your armpits directly on the crutch pads. Leaning on the pads can cause temporary or permanent nerve numbness and weakness in your hands and fingers.
To walk with crutches, move both crutches forward together about twelve inches. If you are non-weight-bearing, push down firmly through your hands and swing your uninjured leg forward to meet or pass the crutches. Keep your injured leg bent slightly off the ground or held forward without letting it touch the floor.
When standing up from a chair, hold both crutches by their handgrips in the hand on your injured side. Place your other hand firmly on the armrest or edge of the chair. Push down through your healthy leg and your hand on the chair to rise, then place the crutches under your arms once you are upright and balanced.
Stairs present the highest risk of balance loss during crutch use. When climbing stairs with a handrail, hold the rail with one hand and grasp both crutches in the other hand. Step up first with your uninjured leg, press down through that leg, and bring the crutches and injured limb up to the same step.
When descending stairs, reverse the sequence. Lower your crutches and injured leg to the step below first, then step down with your uninjured leg. Always remember the common physical therapy phrase: up with the good, down with the bad.
If a staircase lacks a stable handrail, or if you feel dizzy or weak, do not walk up the steps with crutches. Patient safety guidance from the National Health Service recommends sitting on the bottom step and scooting up or down on your buttocks. Have a companion carry your crutches separately to eliminate the chance of a serious fall.
A cane is designed for balance assistance and mild joint offloading, not for carrying full body weight. It provides a single extra contact point with the ground to widen your base of support. A cane is often appropriate during the later phases of injury recovery and healing when full or near-full weight-bearing is permitted.
Proper cane height is necessary to prevent shoulder strain and abnormal walking mechanics. Stand upright with your shoulders relaxed and your arms hanging at your sides while wearing your regular footwear. According to Mayo Clinic guidelines, the top of the cane handle should align directly with your wrist crease.
When holding the cane, your elbow should maintain a
comfortable bend of fifteen to twenty degrees. If the cane is too tall, your shoulder will elevate and create neck discomfort. If the cane is too short, you will lean your torso sideways, placing unnecessary stress on your lower back.
A frequent error is holding the cane on the injured side of the body. You should hold the cane in the hand opposite your weak or injured leg. This placement mirrors natural human walking patterns, in which opposite arms and legs swing forward in unison.
To walk with a cane, move the cane forward at the exact same time as your injured leg. Shift a portion of your weight through your arm into the cane handle as your weak foot touches the floor. Step forward with your strong leg to complete the stride.
Using a cane on stairs follows the same foundational sequence as crutches. When going up, step up first with your strong leg, then lift your injured leg and the cane onto the step. When going down, lower the cane and your injured leg together, then bring your strong leg down beside them.
A cane cannot protect a limb that has non-weight-bearing or strict partial weight-bearing restrictions. It provides only a fraction of the structural stability offered by a walker or crutches. If you experience severe joint pain, limping, or balance loss with a cane, you may need a more supportive device.
Walkers and walking frames provide the widest, most stable base of support among all walking aids. They are widely used following major lower-extremity fractures, joint replacements, or when generalized weakness affects balance.
Standard rigid walkers have four rubber-tipped legs and must be lifted slightly with each step. Two-wheeled rolling walkers have wheels on the two front legs and glides or rubber tips on the rear legs. Four-wheeled rollators include hand brakes and a built-in seat, designed primarily for balance and endurance rather than heavy weight offloading.
Before using any walker, complete a basic safety check. Mayo Clinic clinical guidance recommends confirming that the frame is fully unfolded and all locking pins are securely clicked into place. Check that all four legs are adjusted to identical height settings. Inspect the rubber tips for deep wear, cracks, or embedded dirt that could cause slipping.
To measure a walker, stand inside the frame with your arms relaxed at your sides. The handgrips should sit level with your wrist creases, allowing a slight bend in your elbows when holding the grips.
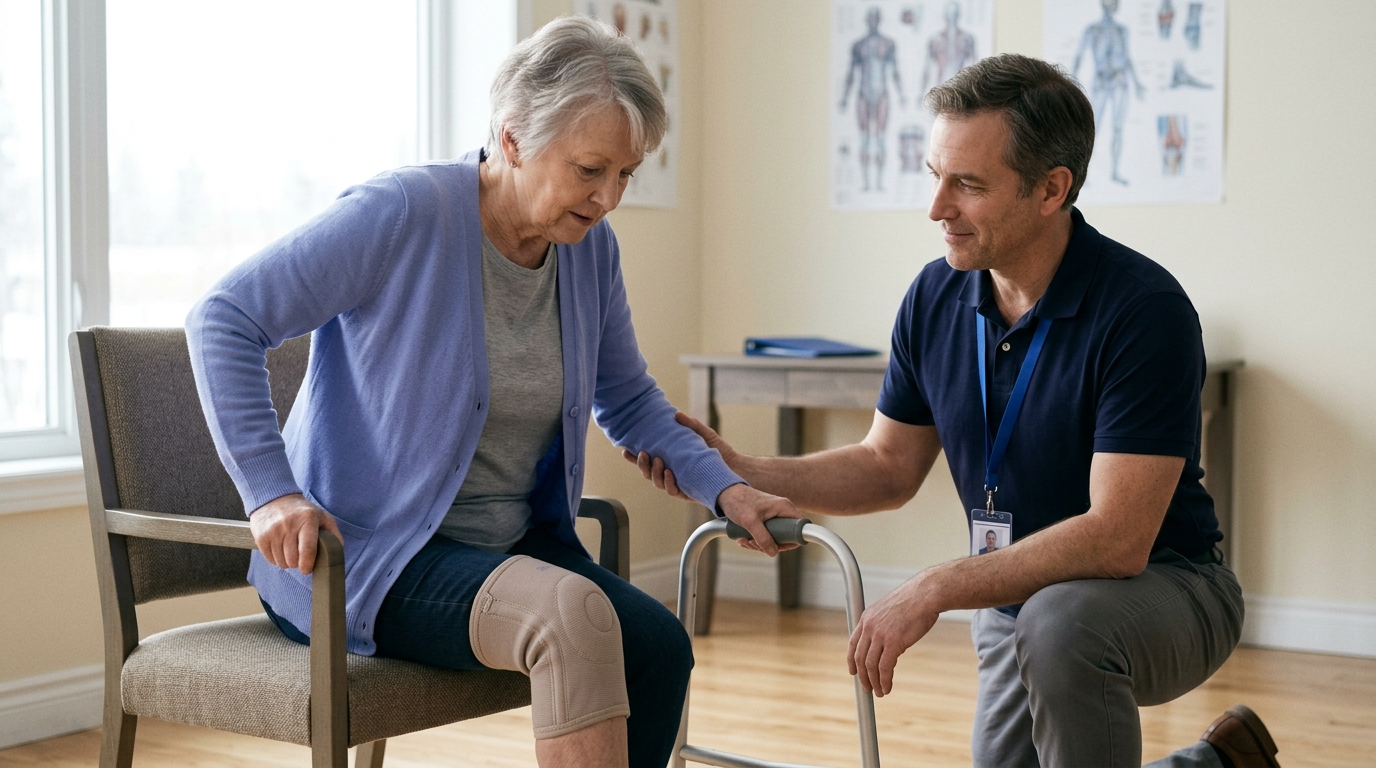
A common and hazardous error occurs when rising from a seated position. Never pull up on the walker handgrips while sitting in a chair, couch, or bed. Pulling on the frame can tip the walker backward on top of you, causing a severe fall.
Hospital physical therapy protocols instruct patients to place both hands firmly on the chair armrests. Lean your chest forward, push straight down through your feet and hands to stand, and stabilize your balance. Once upright, move your hands from the chair to the walker grips.
When walking, push or lift the walker forward one comfortable step length. Step inside the frame rather than walking far behind it. Walking too far behind the frame causes your torso to bend forward, destabilizing your spine and increasing fall risk.
Turn by taking small, deliberate steps in a gentle arc. Never pivot quickly on one foot or twist your torso while your feet remain planted. Keep the walker facing forward in front of you throughout the entire turn.
A wheelchair provides functional mobility when walking is impossible, unsafe, or overly exhausting. It is not merely a chair with wheels; it is a complex piece of equipment requiring deliberate selection and adjustment. Wheelchairs serve critical roles after bilateral leg injuries, pelvic fractures, or major systemic trauma.
Sitting in a wheelchair for extended periods changes how body weight distributes across your skin and skeleton. Clinical seating guidelines stress the importance of pelvic stability, proper foot support, and even pressure distribution. Improper seating can cause nerve compression, spinal muscle fatigue, and dangerous pressure sores over bony areas like the sacrum and ischial tuberosities.
A proper wheelchair setup should address several factors:
For individuals who use wheelchairs for substantial portions of the day, specialized cushions made of high-density foam, gel, or air cells help prevent tissue breakdown. Regularly performing weight shifts by leaning gently from side to side or lifting your hips off the seat helps preserve capillary blood flow.
Transferring into and out of a wheelchair demands strict attention to basic mechanics. Always engage both wheel locks before attempting any transfer. Swing the footrests away or flip the footplates up completely so you do not trip over them while standing.
Position the wheelchair as close as possible to the surface you are moving toward, such as a bed, toilet, or car seat. Angle the chair at roughly forty-five degrees to minimize the distance your body must travel. Use stable armrests or transfer boards as directed by your occupational therapist rather than pulling on loose furniture.
Wheelchairs also demand substantial physical clearance inside the home. Most manual wheelchairs require doorway widths of thirty-two inches or more for comfortable passage without scraping hands or frames. Removing interior doors, replacing standard hinges with swing-clear hinges, or rearranging heavy furniture may be necessary to establish clear pathways.
Mobility aid research reveals important insights into how assistive devices function across populations. Data from the National Health and Aging Trends Study provides an evidence-based perspective on device use among older adults. In this nationally representative sample of United States adults aged sixty-five and older, roughly 24.1 percent (about 8.5 million individuals) used at least one mobility device in the prior month.
The study documented specific device utilization rates across this population:
The research also showed that mobility aid use is dynamic rather than fixed. Approximately 9.3 percent of older adults used two or more devices in the previous month, representing about one-third of all device users. Furthermore, 7.9 percent of participants who used no aid at baseline reported using a device one year later, while 16 percent of baseline users no longer used one at follow-up.
These findings demonstrate that people frequently change devices or use different tools for different daily demands. However, these population statistics describe broad trends and do not provide a set schedule for any specific injury.
The same national study examined the relationship between mobility aids and falls. After adjusting for demographic factors, physical capacity, vision, cognition, and baseline health, researchers found no significant association between the use of specific devices and the incidence of falls or recurrent falls. Using a cane, walker, or multiple devices did not automatically increase or decrease fall rates in statistical models.
This finding means that simply acquiring a mobility device does not eliminate fall risk. Devices must be matched to individual capabilities, fitted accurately, and used with sound technique. Observational studies cannot prove cause and effect, nor do they record whether an aid was in the person's hands at the exact moment of an incident. Safety relies on the interaction between the individual, the device, the physical task, and the environment.
Using an assistive aid safely inside a clinic does not ensure equal safety at home or in the community. Environmental barriers introduce unpredictable hazards that test balance and physical control. NHS walking-aid guidance explicitly warns that wet floors, outdoor terrain, and household clutter cause frequent setbacks.
Before bringing an aid home, systematically evaluate your living environment for common hazards:
Outdoor navigation introduces additional challenges, such as cracked sidewalks, wet grass, gravel driveways, and ice. Avoid walking on damp, freshly cut grass or wet leaves, as both surfaces create extreme slip risks for rubber tips. When approaching outdoor curbs, practice the technique with a physical therapist before trying it independently.
Inspect your equipment weekly for mechanical wear and tear. NHS frame safety guidelines advise checking for bent metal tubing, loose bolts, wobbly joints, and worn rubber feet. Ensure push-button height adjusters are fully seated in their adjustment holes before applying weight.
To maintain your physical independence over time, explore our active aging and prevention resources for strategies on maintaining strength, joint stability, and mobility in your daily routine.
Recovery timelines and device needs vary widely from person to person. Two individuals with the exact same bone fracture may require entirely different mobility aids and progression schedules. Several biological and situational factors influence how quickly you can move between devices.
The underlying nature and structural stability of the injury represent the primary constraint. A clean, non-displaced fracture managed with rigid surgical hardware may permit weight-bearing weeks earlier than a complex joint surface reconstruction. Surgeries involving tendon repairs or cartilage grafts require strict protection to avoid tearing fragile new tissue.
Age and baseline physical fitness also influence recovery trajectories. Pre-existing cardiovascular health, leg strength, and baseline balance determine how quickly you adapt to walking aids. Individuals with underlying peripheral neuropathy, vision changes, or joint arthritis often need more supportive devices for longer periods to prevent falls.
Nutritional status, systemic health conditions, and personal habits play major roles in tissue healing speed. Unmanaged diabetes, chronic kidney disease, and tobacco use slow bone union and soft tissue regeneration. A well-supported recovery requires adequate protein intake, micronutrients, and sufficient sleep to fuel cellular repair.
Psychological confidence and fear of falling directly influence movement quality. Severe worry can cause muscle stiffness, shortened strides, and hesitance, which paradoxically impairs balance. A gradual, clinician-guided progression helps rebuild movement confidence without exceeding safe physiological limits.
If you have questions about how these principles apply to your specific condition, visit our ReboundBody homepage for clear, research-supported educational resources covering all stages of orthopedic recovery.
Moving from one assistive device to a less supportive one is a major milestone, but it must be managed systematically. Transitioning is not a race, and using a more supportive device for a few extra weeks does not mean your recovery is failing. You are ready to discuss changing devices only when your tissues have healed enough to handle increased loads and your balance is dependable.
Do not discard an aid simply because your pain has decreased. Reduced pain often reflects the fact that the device is doing its job by offloading the injured area. Discontinuing support prematurely can overload healing bone and reignite inflammatory pain.
Transitions should occur gradually under the direction of your physical therapist or orthopedic surgeon. A common clinical approach involves testing the less supportive device during controlled physical therapy sessions first. You may use a cane for short indoor trips while continuing to use a walker or crutches for outdoor excursions or grocery shopping.
The national data shows that nearly ten percent of older adults utilize more than one mobility device to match different functional tasks. Keeping a walker available for days when you experience severe fatigue or joint stiffness is a practical safety measure, not a setback.
When preparing for clinical appointments, bring specific questions to help clarify your current restrictions and next steps.
To understand how surgical procedures and post-operative protocols intersect with physical rehabilitation, read our comprehensive surgery and rehab articles.
Mobility aids are specialized tools that protect healing tissues, preserve balance, and maintain independence after an injury. Proper height adjustment, sound walking technique, and strict adherence to prescribed weight-bearing limits are essential for safe recovery. Progressing between devices should always be based on objective clinical evaluation rather than guesswork.

Use ReboundBody resources to understand common recovery stages, rehab terms, movement limits and strength rebuilding. Each guide is designed to make a complex comeback easier to understand.


Read practical guidance on injury recovery, rehabilitation, mobility and rebuilding strength as you work your way back to activity.
Explore Resources