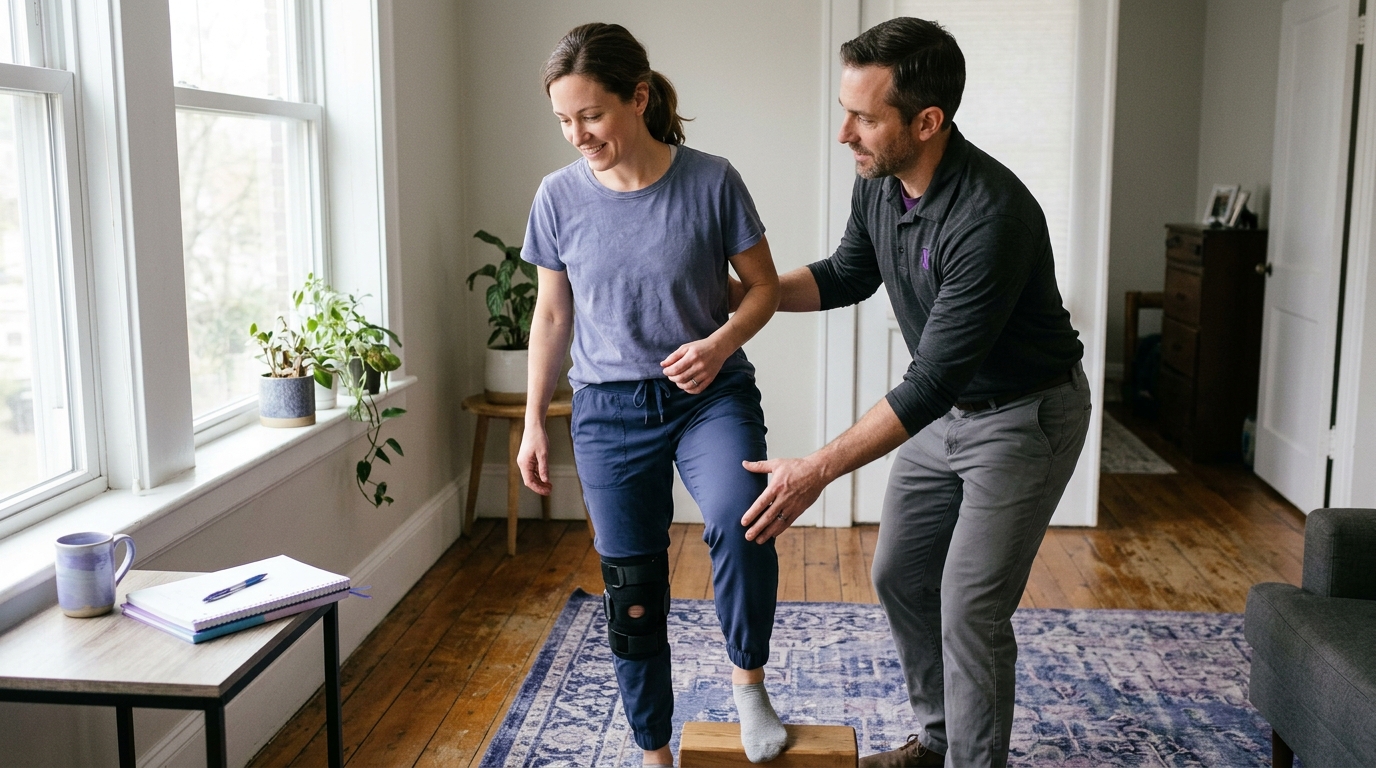

Post-injury recovery demands progressive control of reaching, lifting, and carrying movements rather than simple gym exercises to restore everyday upper-body function.





Rebuilding upper-body strength after an injury is not simply about lifting heavy weights in a gym. It is the steady process of restoring your ability to reach, carry, push, pull, hold, and manipulate objects without unexpected pain or setback. True upper-body function requires your shoulders, elbows, wrists, and hands to work together as an integrated system during everyday tasks. This guide outlines how to bridge the gap between initial healing and practical, real-world capability through evidence-informed training principles.
Upper-body rehabilitation requires patience, structured progression, and careful symptom tracking. When you recover from a sprain, tendon issue, fracture, or surgery, your tissues need progressive exposure to mechanical load to regain their former tolerance. At the same time, moving too quickly or skipping foundational stages can trigger setbacks. Understanding how daily movements place specific physical demands on your joints helps you rebuild capacity with realistic expectations.
To rebuild upper-body strength effectively, you must train the specific movement patterns you need in daily life rather than relying solely on isolated muscle exercises. Everyday tasks like placing groceries on a high shelf or carrying a heavy laundry basket combine multiple physical demands. A comprehensive recovery approach breaks these tasks into fundamental components such as reaching, lifting, pushing, pulling, and carrying. You can then progressively reload these movement patterns as your tissues heal.
Recovery timelines vary widely based on your specific injury, tissue healing constraints, baseline physical condition, and overall health. While general strength training programs for healthy adults often emphasize lifting heavy loads to fatigue, orthopedic rehabilitation prioritizes movement quality, symptom stability, and criteria-based progression. Restoring capacity takes time, and there is no single universal timeline that applies to every individual.
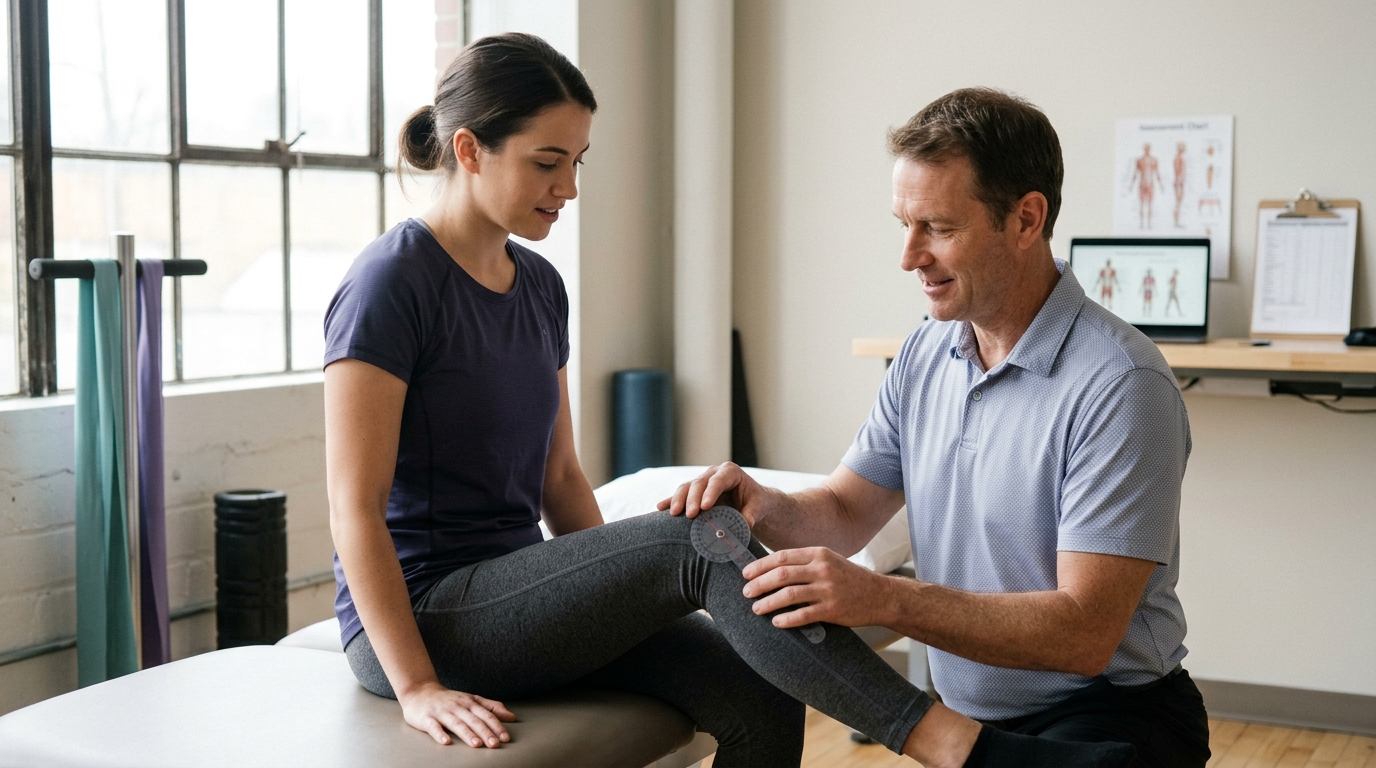
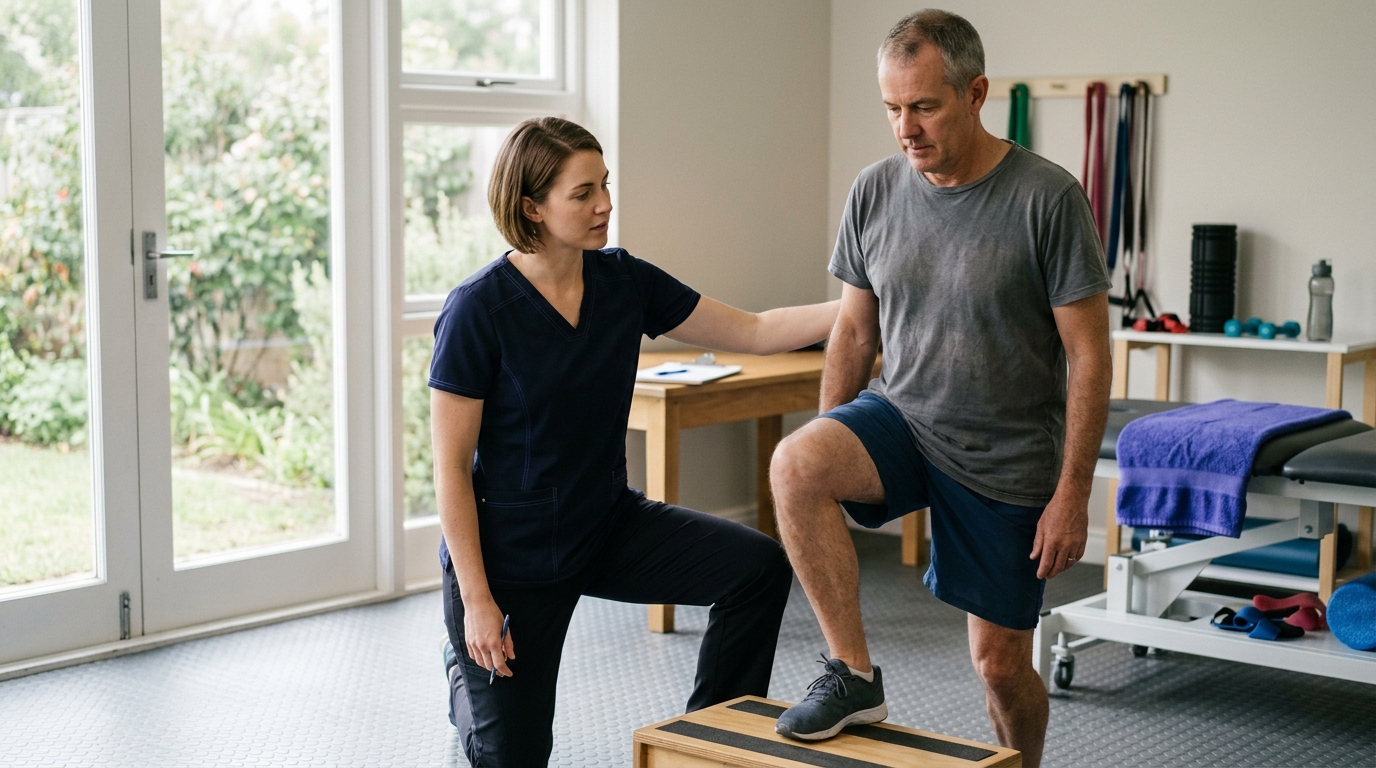
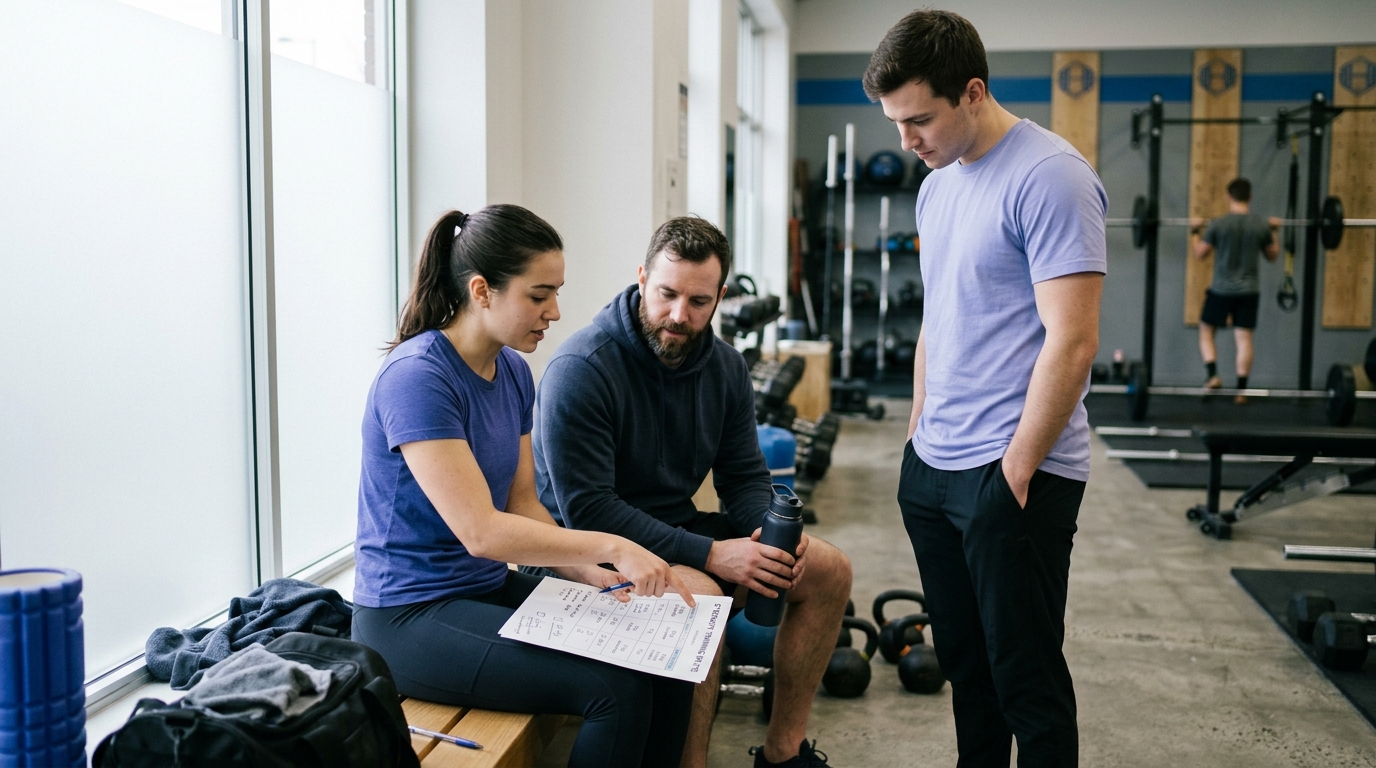
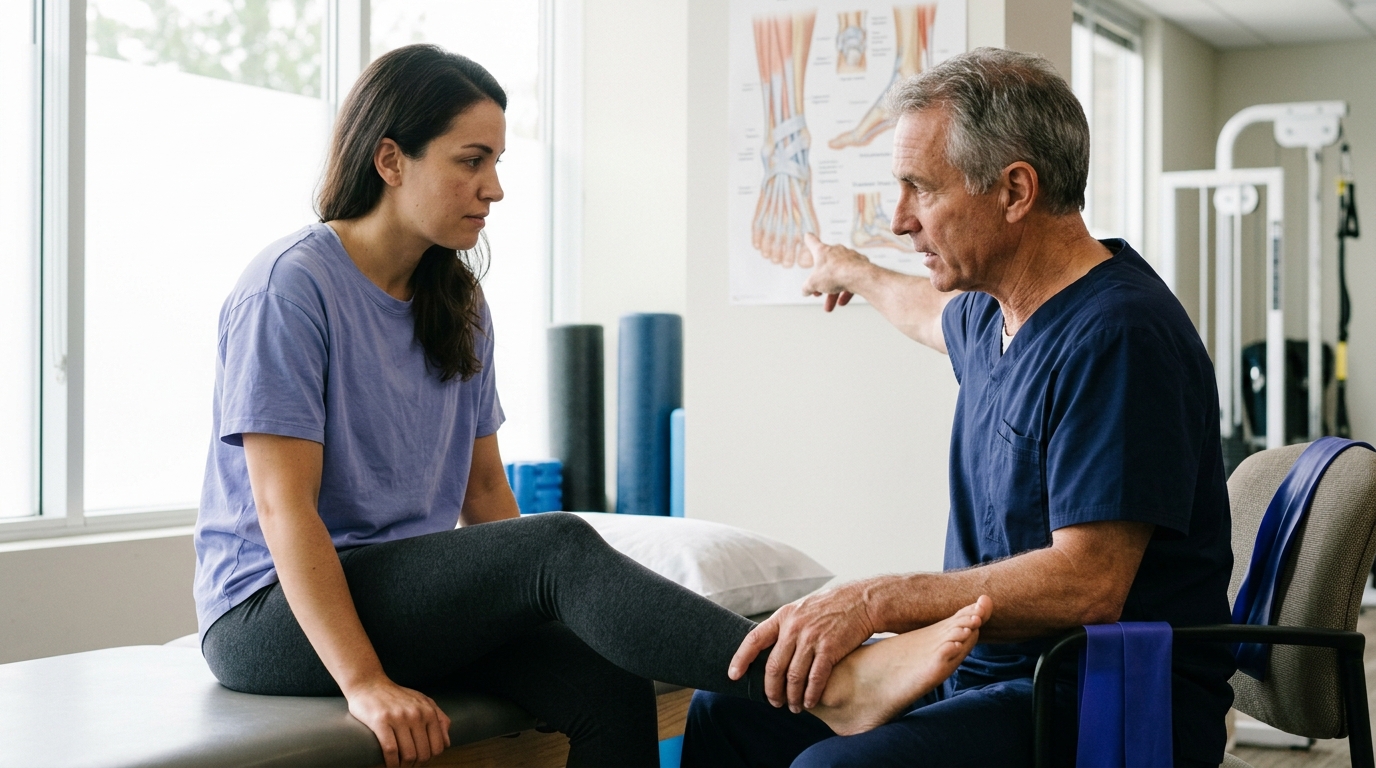
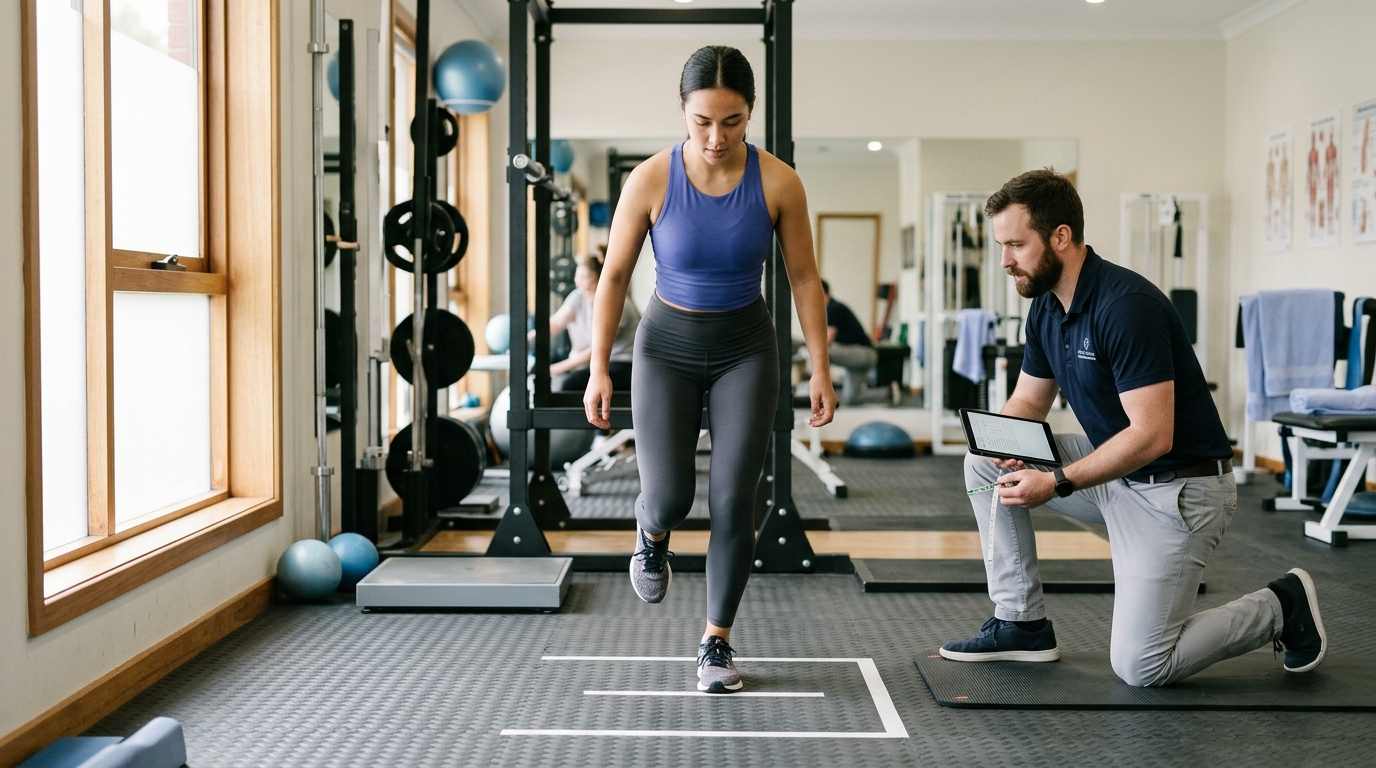
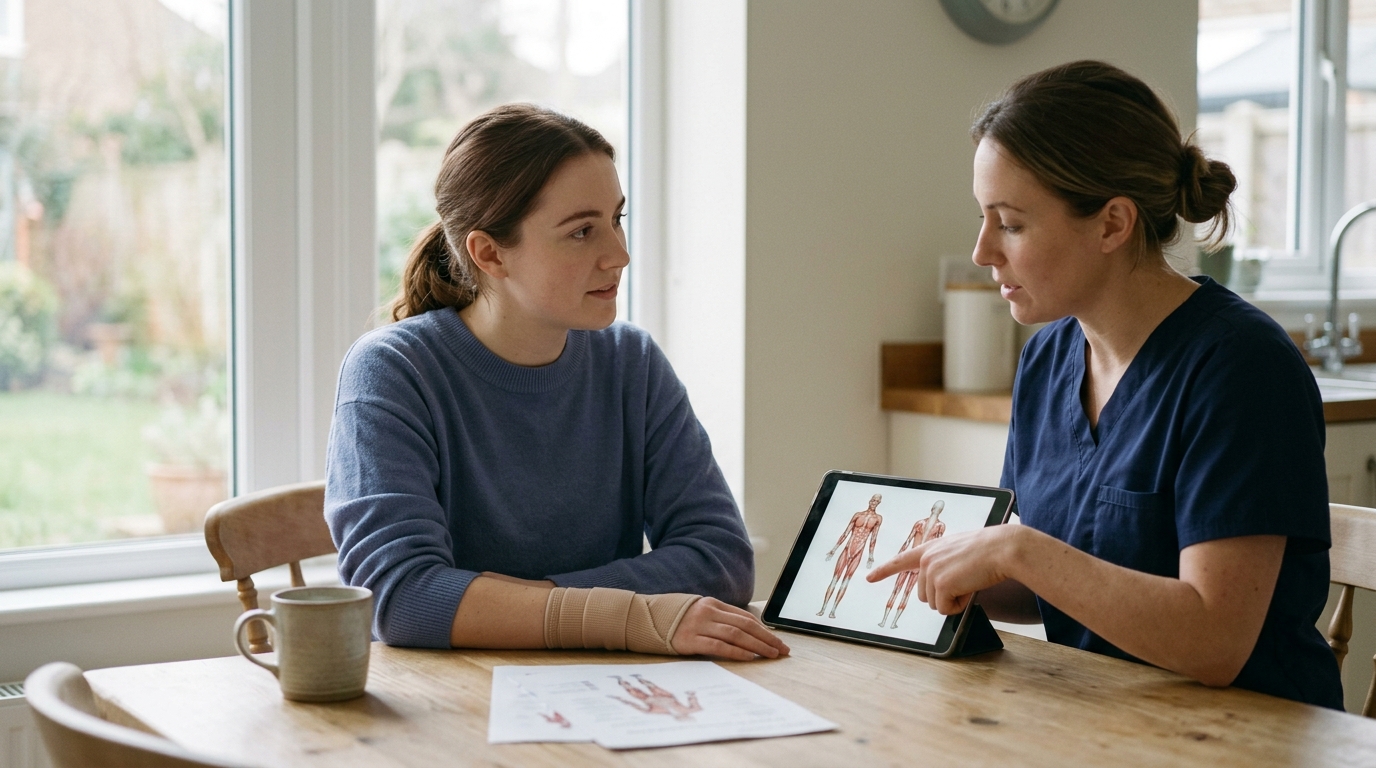
Working closely with a physical therapist or orthopedic specialist ensures your progression matches your tissue healing stage. You can learn more about structured rehabilitation principles by visiting our injury recovery and healing resources. Safe progression relies on objective milestones, such as demonstrating full active range of motion and symptom-free movement, before you advance to heavier loads or more demanding positions.
In everyday life, upper-body strength is rarely an isolated action like a bicep curl or a bench press. Daily function requires coordinated actions across the entire kinetic chain, from your torso through your shoulder blade down to your fingertips. Clinical goal analyses show that daily upper-extremity activities consist of distinct movement components that frequently occur together.
Reaching involves moving your hand toward a target in space, often with your arm elevated, extended, or moving across your body. Reaching requires shoulder mobility, rotator cuff stability, and upward rotation of the shoulder blade. Simple daily reaching occurs when you grab a coffee mug from a cabinet, adjust your car rearview mirror, or reach behind your back to tuck in a shirt.
Lifting and lowering require you to raise or lower an object against gravity through a controlled path. This action demands strength from your shoulders, upper back, and arms, alongside core stabilization to maintain balance. Examples include placing a storage container on a closet shelf or setting a carton of milk down on the kitchen counter without dropping it.
Pushing applies force away from your body, while pulling draws resistance toward you. Pushing uses the chest, anterior shoulders, and triceps, whereas pulling relies heavily on the upper back, rear shoulders, and biceps. Common pushing tasks include opening heavy commercial doors or moving furniture, while pulling is required to open a refrigerator door, start a lawnmower, or control a dog on a leash.
Carrying combines sustained grip strength with postural endurance and upper-limb stability while your body is in motion. Unlike a brief lift, carrying requires your muscles to maintain tension over time and resist shifting forces. You use carrying capacity when transporting grocery bags from the car, moving a laundry basket up stairs, or holding a child.
Fine motor control and hand function allow you to grasp, position, manipulate, and release items accurately. Strength in your shoulder and elbow provides a stable platform so your hand and fingers can perform precise tasks. Examples include turning a stiff key in a lock, opening a jar lid, typing on a keyboard, or using hand tools.
Scientific research provides clear insights into how muscles adapt, how joints handle forces during daily activities, and how structured rehabilitation programs restore functional capacity. However, it is essential to distinguish general fitness guidelines from injury-specific rehabilitation protocols.
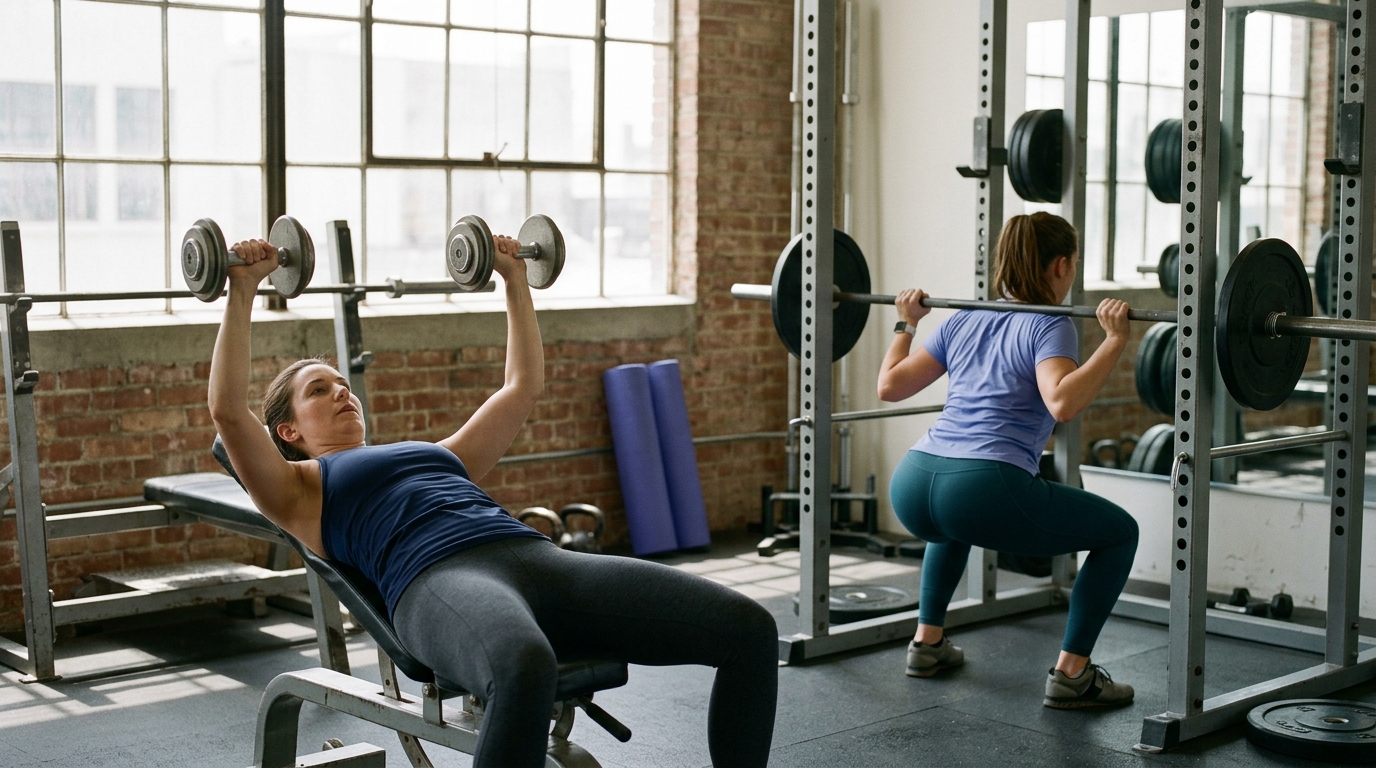
For healthy adults, the American College of Sports Medicine recommends training with moderate loads of 70 to 85 percent of a one-repetition maximum for 8 to 12 repetitions per set, two to three days per week, to increase muscle strength. A 2026 position stand noted that voluntary strength gains in healthy populations are enhanced by heavier loads, full range of motion, and consistent weekly training.
While these figures provide a scientific baseline for general fitness, they cannot be directly applied to an injured joint. Applying heavy loads too early can overload healing ligaments, tendons, or surgical repairs. Clinical rehabilitation guidelines emphasize starting with much lower loads, sometimes beginning with basic isometric holds or light 1 to 5 pound weights, before gradually progressing resistance based on tissue healing.
Joint loading varies significantly depending on the position of your arm and the nature of the task. A biomechanical study evaluating 26 activities of daily living measured shoulder compressive and shear forces across a range of common movements. The study examined tasks such as reaching behind the head, lifting a 0.5-kilogram block to head height, pushing, pulling, and using arms to rise from a chair.
The researchers found that the ratio of shear force to compressive force across the glenohumeral joint ranged from 0.50 to 1.09 across different tasks. Movements involving reaching across the body or pushing up from a seated position created distinct joint loading profiles compared to simple lifting. This research confirms that daily activities impose diverse forces on your joints, which is why rehabilitation cannot rely on a single exercise to prepare you for normal life.
Research shows that targeted resistance exercise directly improves functional movement capacity. A controlled training study evaluated upper-extremity resistance training and found significant improvements in functional pulling strength, shoulder adduction strength, and upper-arm muscle volume. The researchers noted that strengthening the shoulder musculature translated directly to improved pulling performance during multi-joint functional tests.
In occupational rehabilitation, work-capacity studies have evaluated which physical tests best predict a successful return to work following an injury. Research examining occupational work-hardening programs identified bilateral carrying strength as a promising predictor of return-to-work readiness. Additional clinical guidance reviews indicate that material-handling tasks, such as lifting and carrying, demonstrate high reliability in evaluating functional capacity. You can read more about balancing strength work with broader physical capacity in our guide on rebuilding strength and performance.
Many people assume that if they can lift a 15-pound dumbbell during a workout, they are fully prepared for all daily upper-body tasks. However, physical capacity is specific to the angle, lever arm, duration, and grip demands of each individual activity.
Holding a five-pound bag of flour close to your chest requires minimal shoulder effort. Holding that same five-pound bag with your arm fully extended in front of you increases the mechanical lever arm significantly. This longer lever dramatically raises the torque and rotational force experienced by your shoulder joint and rotator cuff.
During injury recovery, an exercise might feel easy with your elbow bent at your side but cause pain when your arm is straight. Rehabilitation programs take advantage of this biomechanical principle by starting exercises with short lever arms before progressing to long-lever reaches.
A dynamic lift involves contracting a muscle through a range of motion and immediately relaxing it. In contrast, carrying groceries or holding a box requires sustained isometric muscle contractions. Sustained contractions reduce local blood flow to the muscle tissue, leading to quicker fatigue and increased strain on stabilizing tendons.
If your rehabilitation only includes quick, dynamic repetitions, you may lack the muscular endurance needed to hold or carry objects for several minutes. Building functional capacity requires specific training for both dynamic movement and sustained holding.
Your hand and wrist serve as the contact point for almost every upper-body task. The position of your wrist directly affects your grip strength and the stress placed on your elbow tendons. For example, lifting an object with your palm facing down places more strain on the common extensor tendon at the lateral elbow than lifting with your palm facing up.
A complete upper-body program addresses wrist alignment, grip variations, and forearm strength alongside shoulder and back exercises. Understanding these movement nuances is a central theme across our mobility and movement resources.
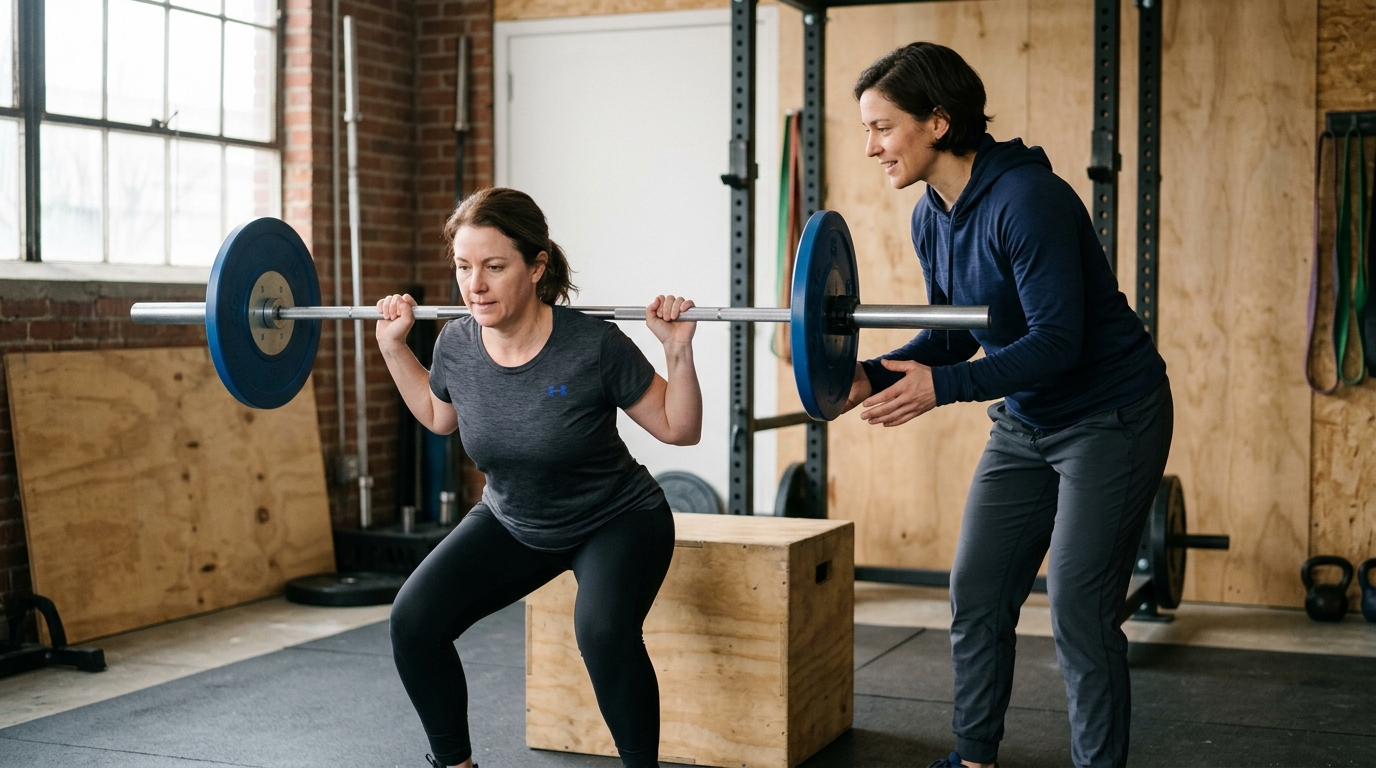
Progression in orthopedic rehabilitation is not simply a matter of adding more weight to a barbell. A well-designed recovery program increases physical demand across multiple variables, allowing your body to adapt safely over time.
Advancing from one exercise stage to the next should depend on demonstrated physical capacity rather than arbitrary dates on a calendar. In clinical literature, criteria-based progression requires meeting specific milestones before adding difficulty.
For example, a comprehensive elbow and wrist rehabilitation program describes advancing through stages only after a patient achieves pain-free range of motion, demonstrates controlled movement without substitution, and completes a target number of repetitions. Relying on objective milestones protects healing tissues from premature loading.
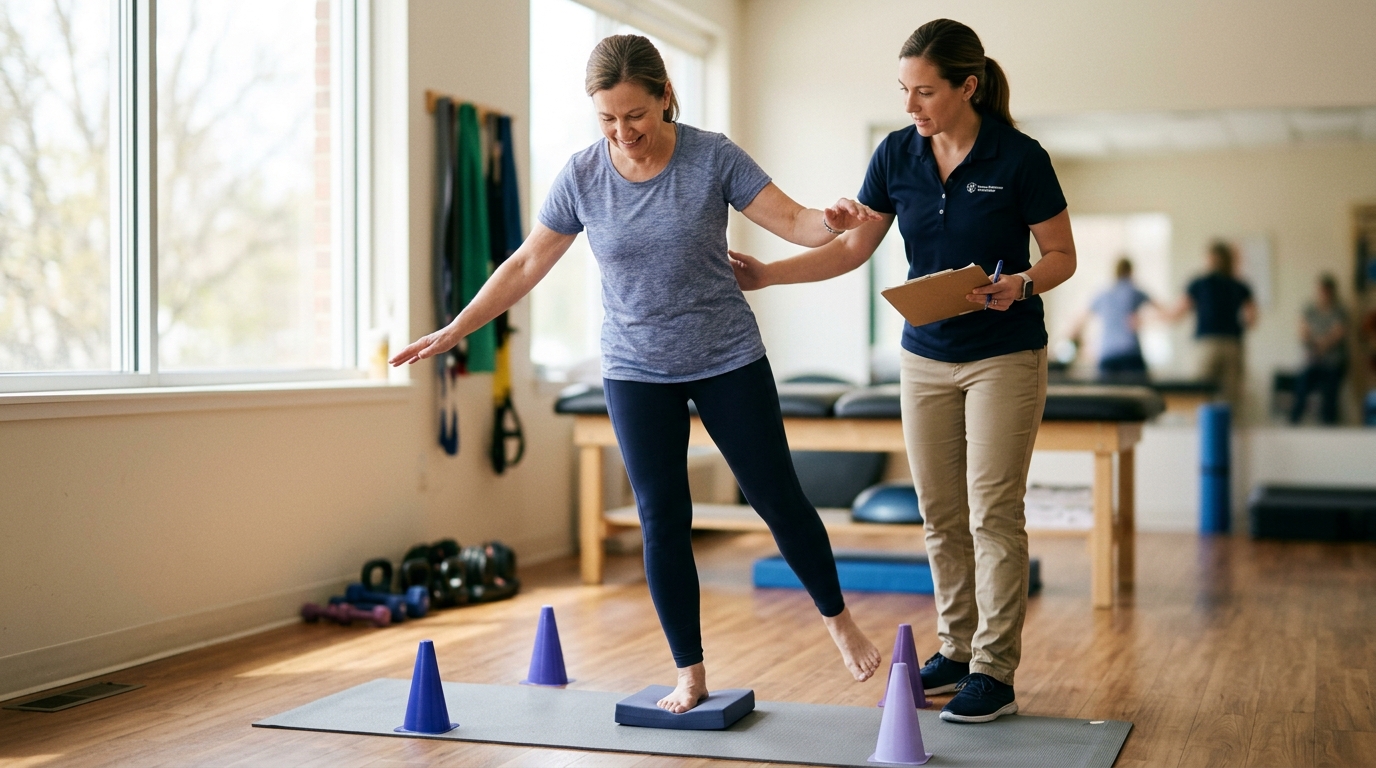
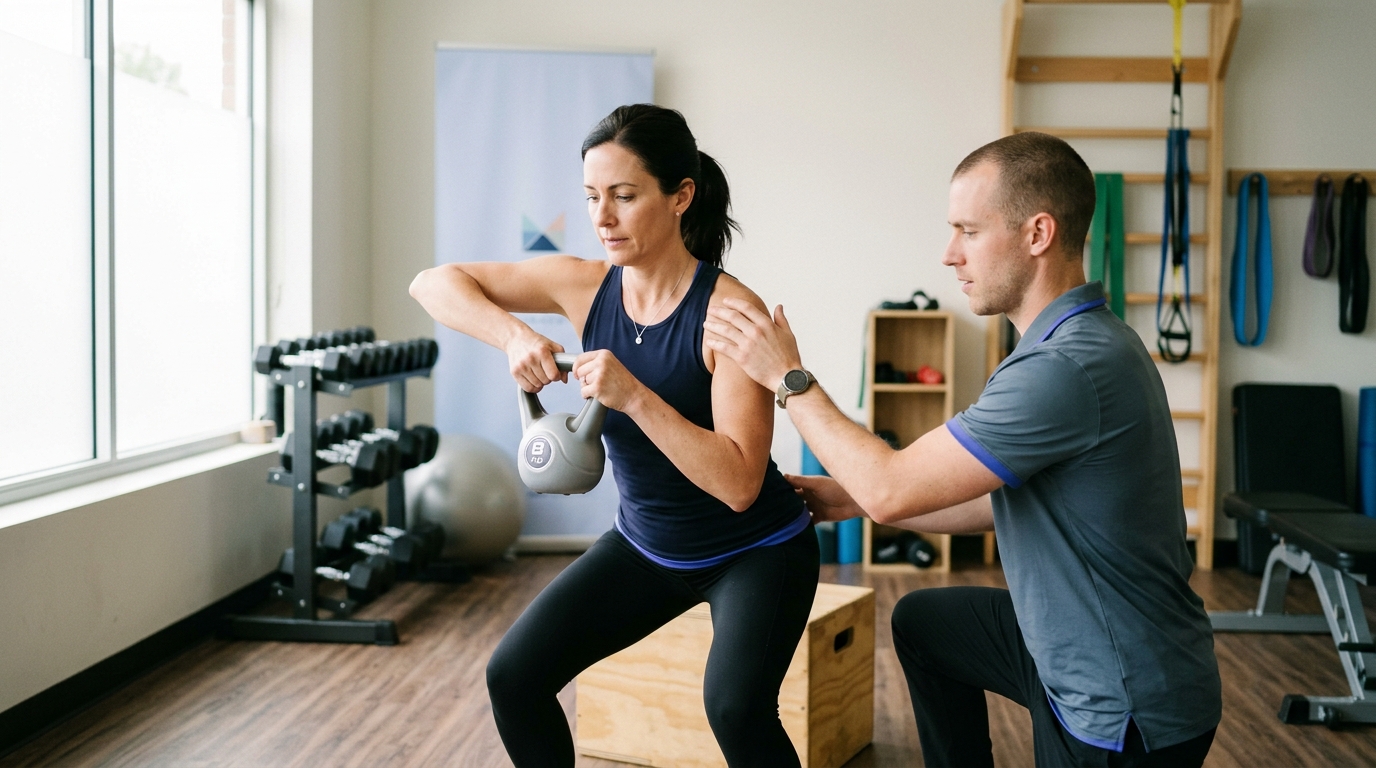
Before adding external weight, you can increase exercise difficulty by altering your body position or lengthening the lever arm. Early rehabilitation exercises are often performed in supported positions, such as lying on your back or resting your arm on a tabletop.
As your strength improves, you progress to unsupported, seated, or standing positions. For example, a lateral shoulder raise can progress from an elbow-bent position to a straight-arm position, which increases the demand on the shoulder without requiring heavier dumbbells.
Muscles produce force through three primary contraction types: isometric (static hold), concentric (shortening under load), and eccentric (lengthening under load). Tendon rehabilitation protocols often introduce controlled isometric holds first because they allow muscle activation with minimal joint irritation.
From there, programs integrate smooth concentric and eccentric movements, gradually increasing the speed and range of motion. Later stages may introduce controlled dynamic movements that mirror the cadence of daily activities.
Clinical practice guidelines for lateral elbow tendinopathy illustrate this staged approach clearly. Treatment often begins with resisted isometric contractions using low loads, approximately 20 to 40 percent of maximum voluntary contraction.
As symptoms settle and tolerance improves, resistance is increased above 40 percent, followed by progressions involving longer lever arms, upper-limb weight-bearing exercises, and functional task practice. This structured progression helps the tendon build load capacity without triggering recurring inflammation.
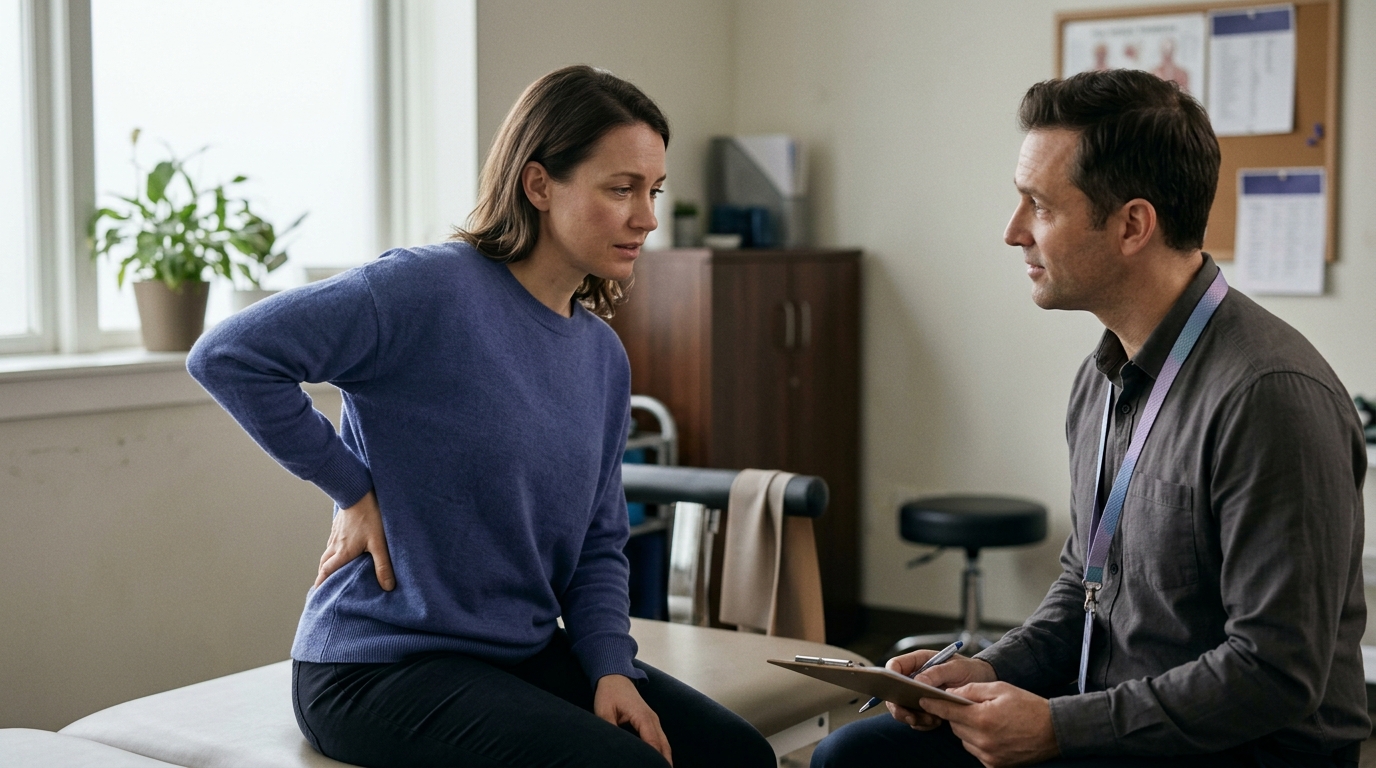
Understanding how to interpret pain and fatigue is one of the most important aspects of recovering from an upper-body injury. Old concepts like pushing through sharp pain can lead to reinjury, but avoiding all discomfort entirely can cause muscle weakness and joint stiffness.
Modern rehabilitation protocols frequently use structured pain-monitoring models to guide exercise dosage. A shoulder exercise study protocol evaluated progression criteria based on movement quality, completion of prescribed repetitions, avoidance of compensatory movement patterns, and staying within an acceptable pain limit.
Under these frameworks, mild discomfort during exercise (often described as a 2 or 3 on a 10-point scale) may be acceptable, provided the pain is tolerable, does not cause you to alter your movement mechanics, and subsides quickly after the session ends. Sharp, catching, or rapidly escalating pain is a clear signal that the current load or range of motion exceeds your tissue tolerance.
Tracking how your body feels 24 hours after an activity provides valuable feedback about whether the training load was appropriate. In staged elbow and wrist programs, clinicians monitor whether muscle soreness or joint ache has resolved by the following day.
If your pain increases significantly the day after exercise, or if joint stiffness lasts for hours the next morning, the previous session was likely too demanding. When this happens, you should reduce the resistance, lower the repetitions, or shorten the range of motion for your next session until your symptoms stabilize.
Learning to tell the difference between normal muscular fatigue and joint or tendon irritation helps you train with confidence:
If you experience persistent joint irritation, reviewing your program with a healthcare provider can help identify whether poor form or excessive loading is contributing to the problem. To explore the broader science behind tissue adaptation, browse our recovery science articles.
Every recovery journey is unique, and healing timelines vary based on several personal and biological factors. Understanding these variables prevents unnecessary frustration and helps you set realistic expectations.
Different tissues in the upper body heal at vastly different rates due to variations in blood supply and cellular turnover:
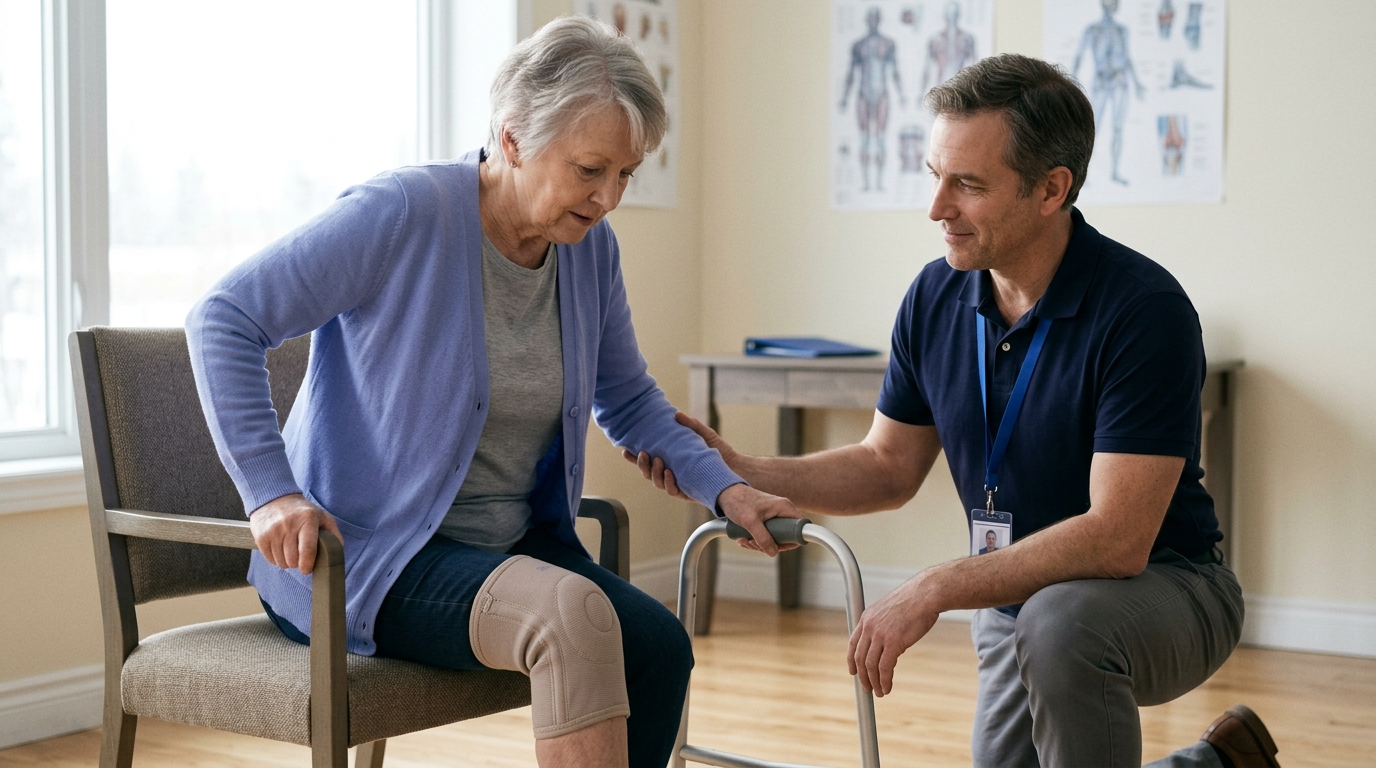
As we age, soft tissues naturally experience a reduction in water content, elasticity, and muscle mass. While older adults can successfully rebuild upper-body strength, the rate of collagen remodeling and tissue adaptation is generally slower than in younger individuals.
Having a consistent baseline of strength and mobility prior to an injury provides a distinct advantage, helping you regain functional movement more efficiently during rehabilitation.
Your recovery is heavily influenced by what you do outside of your dedicated exercise sessions. If your job or daily routine involves repetitive reaching, prolonged overhead work, heavy lifting, or sustained grip tasks, your healing tissues experience additional daily stress.
Workplace safety and occupational health resources emphasize modifying daily activities, alternating physical tasks, and using ergonomic supports during recovery. Failing to manage these cumulative daily stresses can delay recovery, even if your formal exercise program is well designed.
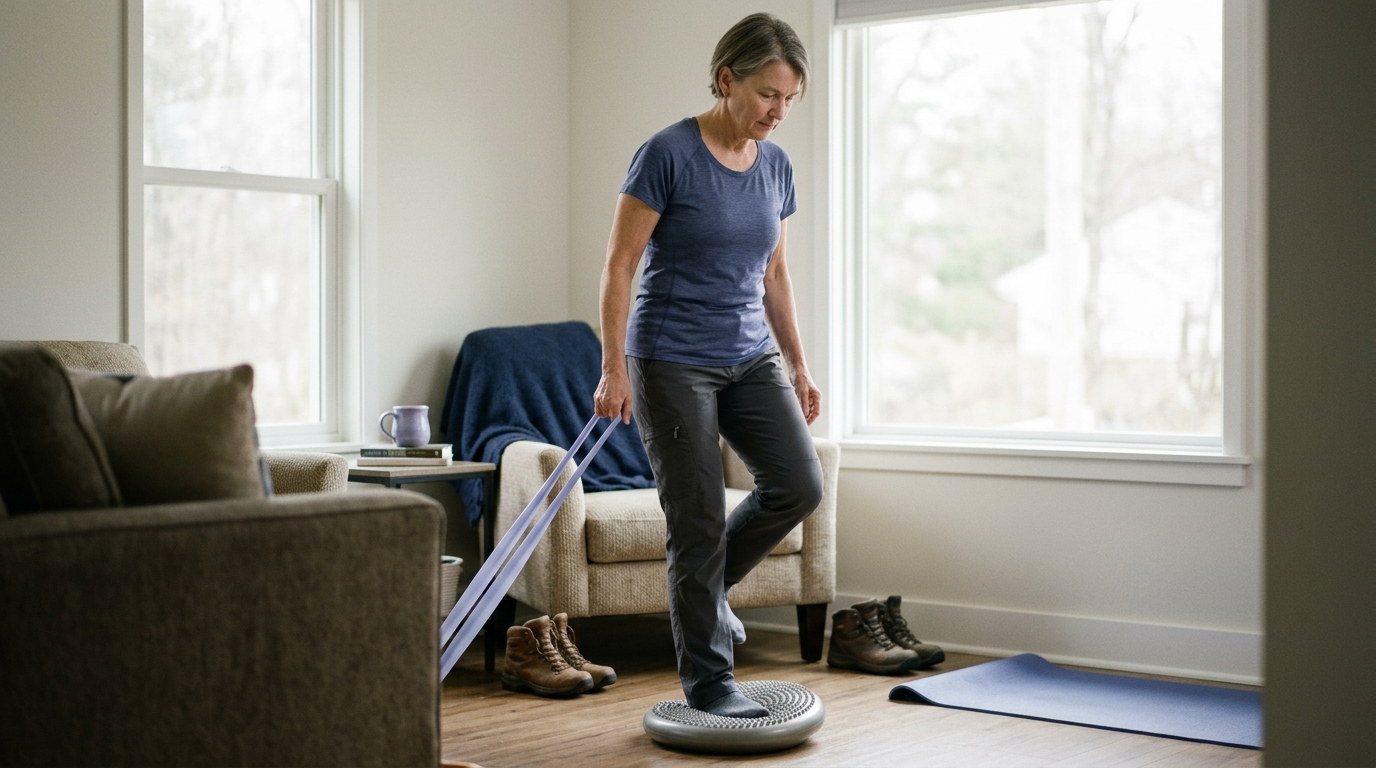
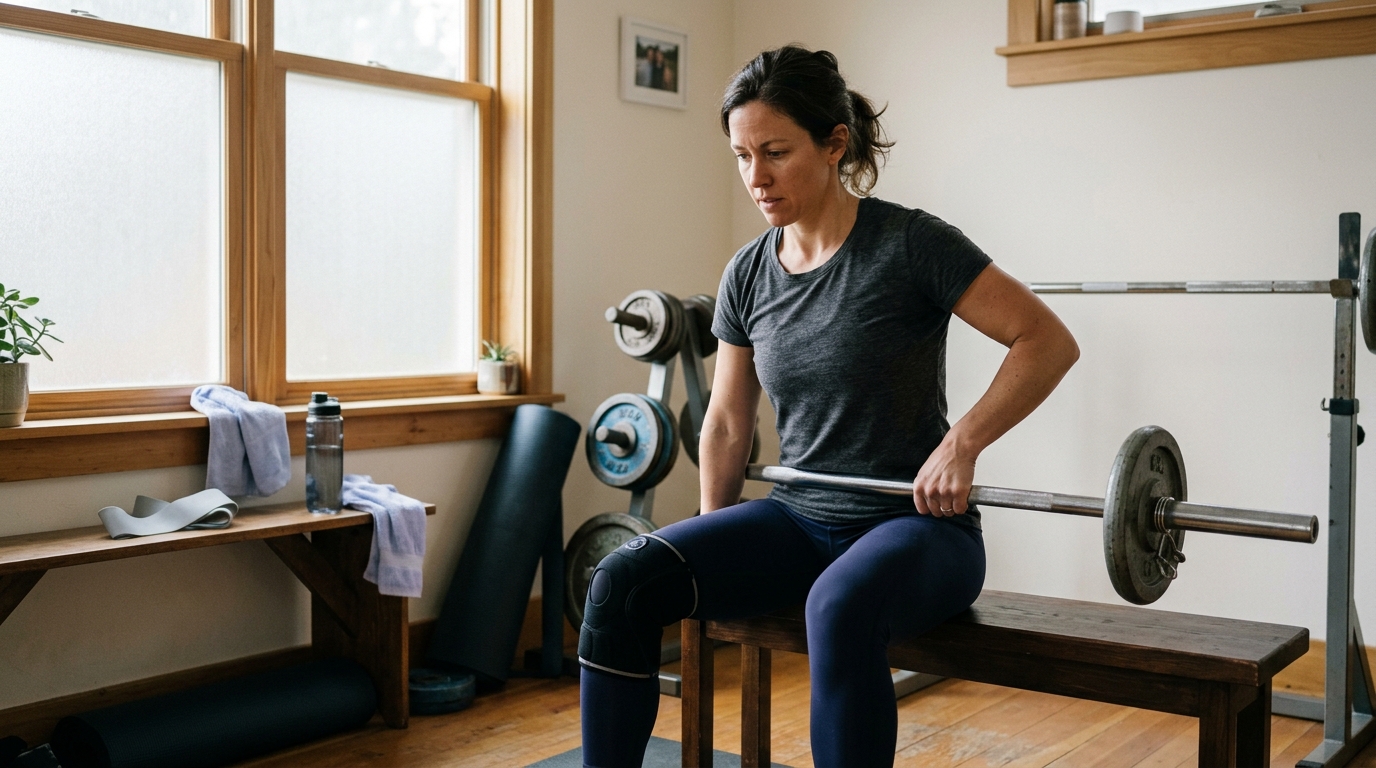
You do not need an elaborate commercial gym setup to rebuild upper-body strength effectively. Functional capacity can be restored using a variety of tools, provided the exercises apply the correct mechanical stimulus and allow for gradual progression.
Bodyweight exercises offer versatile options for training push, pull, and reach patterns. You can easily adjust the resistance by changing your body angle relative to gravity:
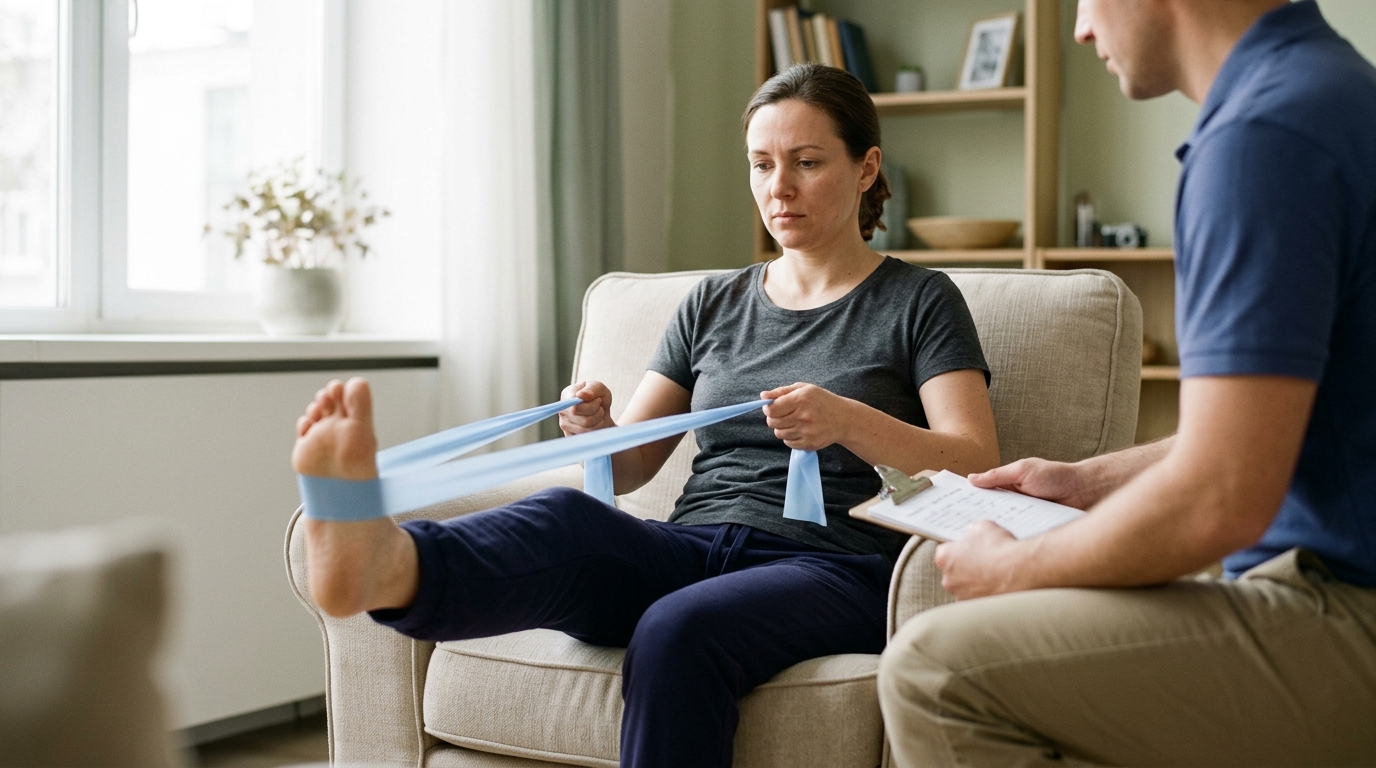
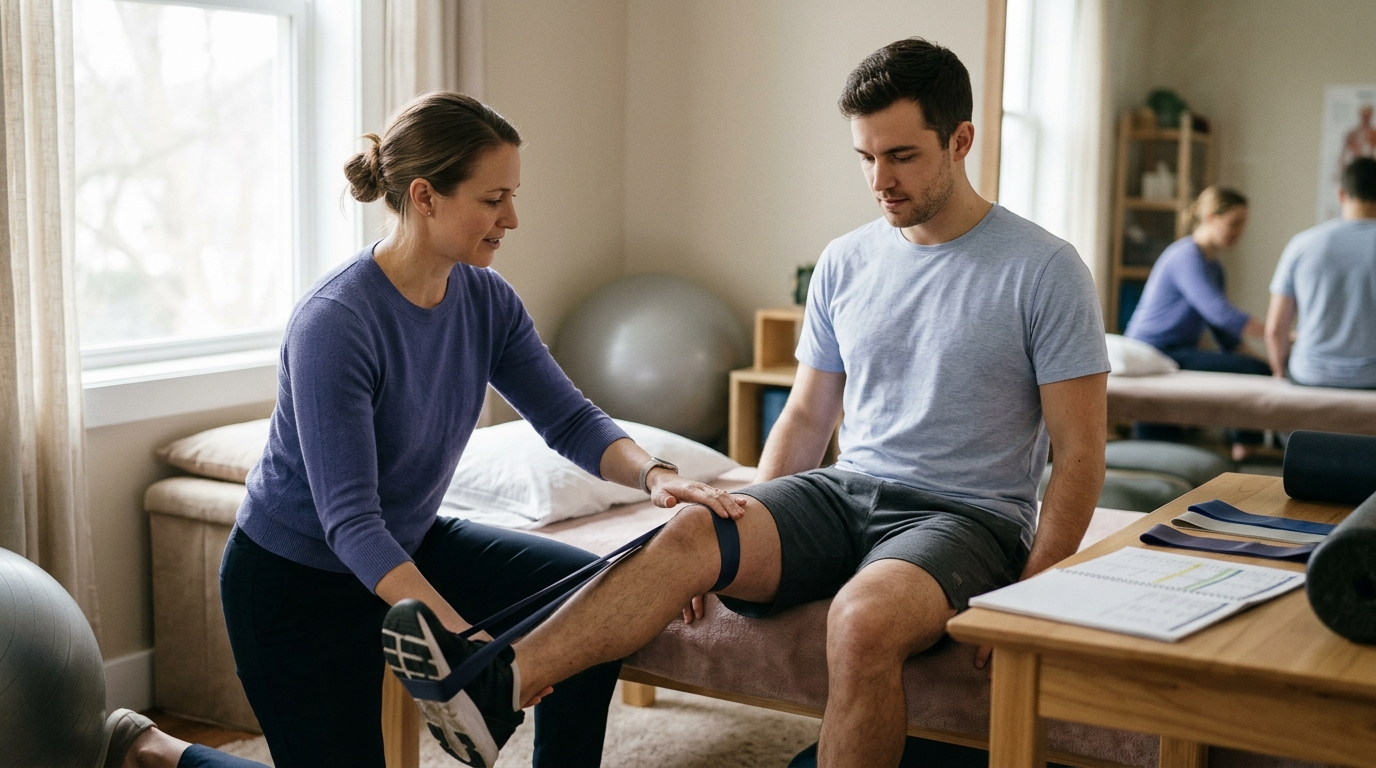
Elastic bands provide variable resistance that increases as the band stretches. They are particularly useful for rotator cuff strengthening, rowing motions, and multi-angle pulling exercises:
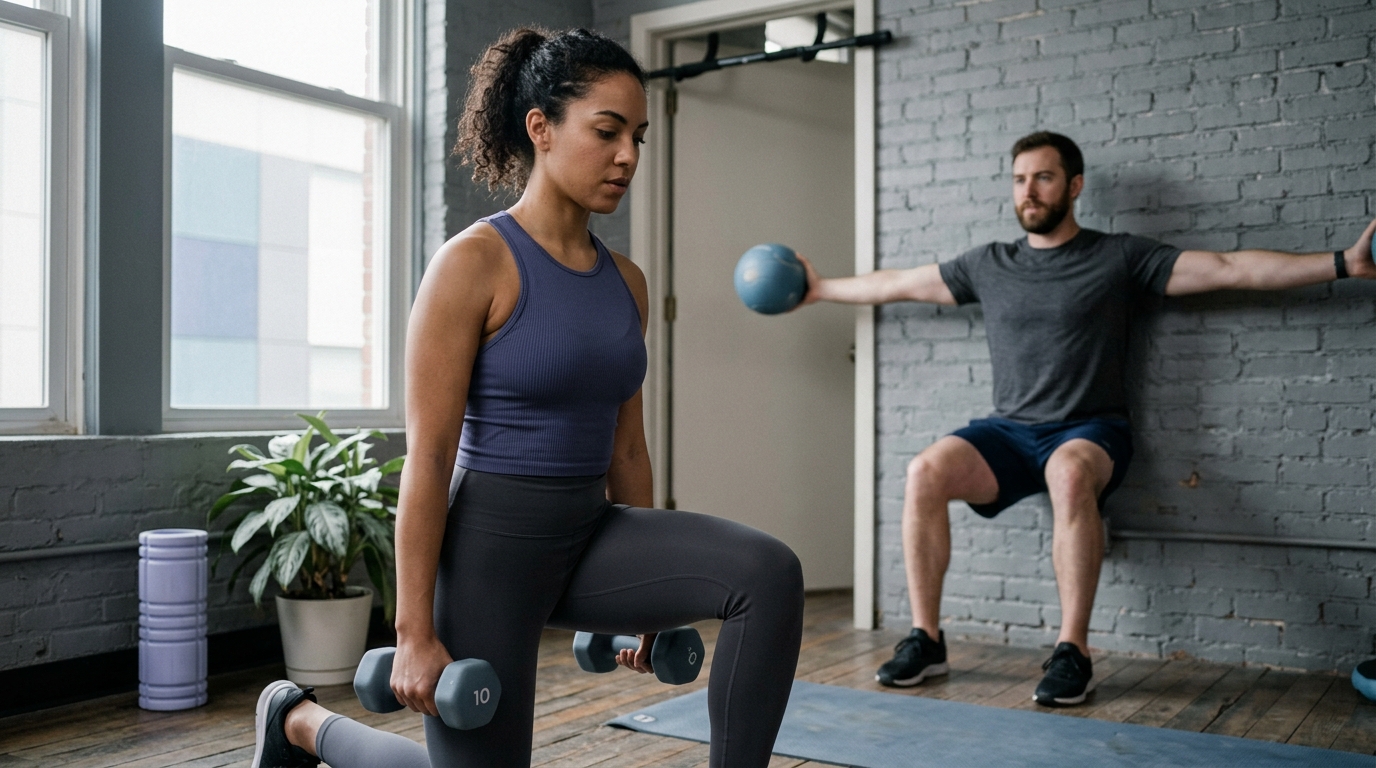
Free weights provide a constant gravitational load throughout an exercise, challenging your stabilizing muscles:
As you reach the later stages of rehabilitation, incorporating real-world objects helps bridge the gap between gym exercises and daily life:
A structured recovery plan moves progressively from basic tissue protection to advanced task-specific function. Here is an illustrative framework showing how daily upper-body demands can be rebuilt over time:
The primary goal of this initial phase is to restore pain-free range of motion and wake up dormant stabilizing muscles without overloading healing tissues.
Once basic movements are comfortable and resting symptoms have stabilized, the focus shifts to building muscular endurance and strength.
The final stage prepares your upper body for the full physical demands of daily work, household chores, and recreational activities.
For more guidance on returning safely to higher-demand physical activities, explore our articles on active aging and injury prevention.
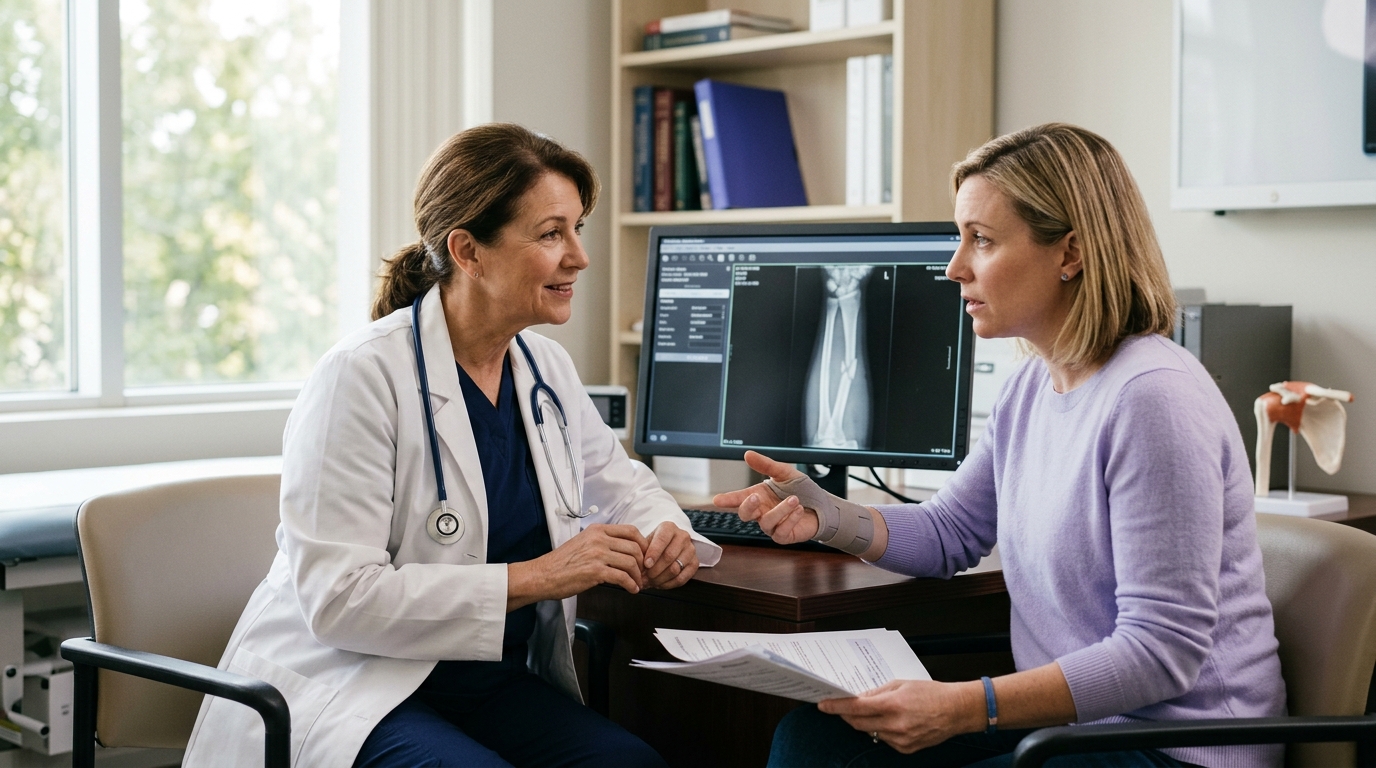
Clear communication with your healthcare provider ensures that your strength-rebuilding efforts align with your medical diagnosis and surgical limitations. Consider asking the following questions at your next appointment:
Restoring upper-body strength after an injury is a progressive process that extends far beyond standard gym exercises. Everyday function requires a coordinated balance of reaching, lifting, pushing, pulling, carrying, and manipulating objects.
By prioritizing movement quality, honoring biological tissue healing times, and systematically advancing exercise demands, you can rebuild functional capacity safely. Use objective milestones and consistent symptom monitoring to guide your progress, and work alongside your medical team to ensure a safe, lasting recovery.
Strength differences between limbs are completely normal following an injury or surgery due to temporary disuse. While it is tempting to push the recovering arm harder to catch up, doing so can overload healing tissues. Focus on performing single-arm exercises where each side works independently, matching the resistance and repetitions to what your recovering arm can perform with clean technique. Over time, consistent bilateral and unilateral training will naturally narrow the strength gap.
If an activity triggers an unexpected increase in pain or swelling, take a step back and temporarily reduce mechanical stress on the joint. Modify your daily tasks to use shorter lever arms, keep objects closer to your body, and avoid aggravating angles for a few days. You do not need to stop moving entirely; gentle, pain-free active movement helps maintain circulation and joint mobility. If the flare-up does not settle within several days, consult your physical therapist or physician for guidance.
Yes, progressive strength training is widely recommended for managing joint osteoarthritis. Building strength in the surrounding muscles helps absorb impact forces, improves joint stability, and reduces the physical stress placed on joint surfaces during daily tasks. The key is to emphasize smooth, controlled movements, avoid sudden impact or end-range strain, and progress loads gradually while respecting joint symptoms.
Returning to overhead tasks requires adequate active shoulder mobility, rotator cuff strength, and scapular control. Because working overhead places the shoulder at a mechanical disadvantage and increases tendon compression, you should first demonstrate full, pain-free active elevation against gravity. You should also be able to perform light overhead pressing and controlled reaches in supported positions without symptom flare-ups before resuming prolonged overhead chores.

Use ReboundBody resources to understand common recovery stages, rehab terms, movement limits and strength rebuilding. Each guide is designed to make a complex comeback easier to understand.


Read practical guidance on injury recovery, rehabilitation, mobility and rebuilding strength as you work your way back to activity.
Explore Resources