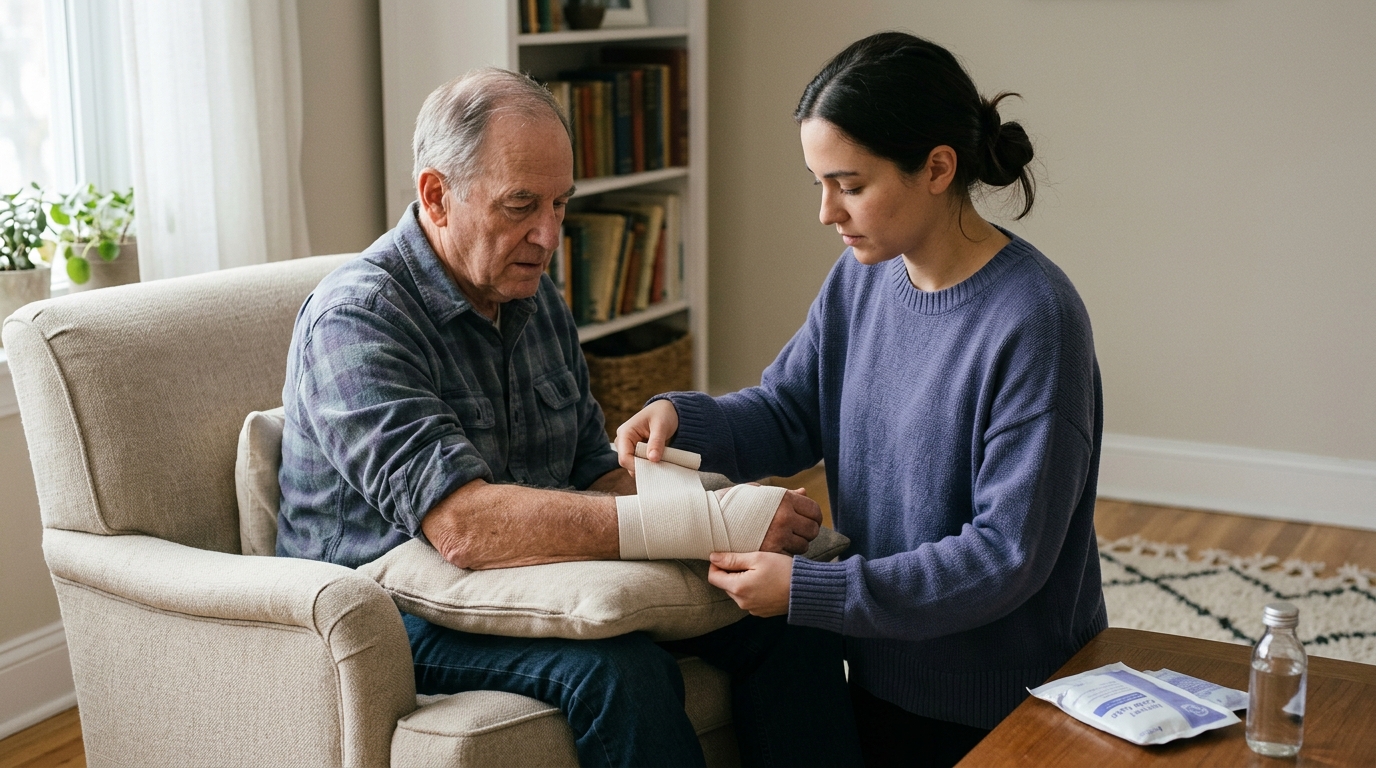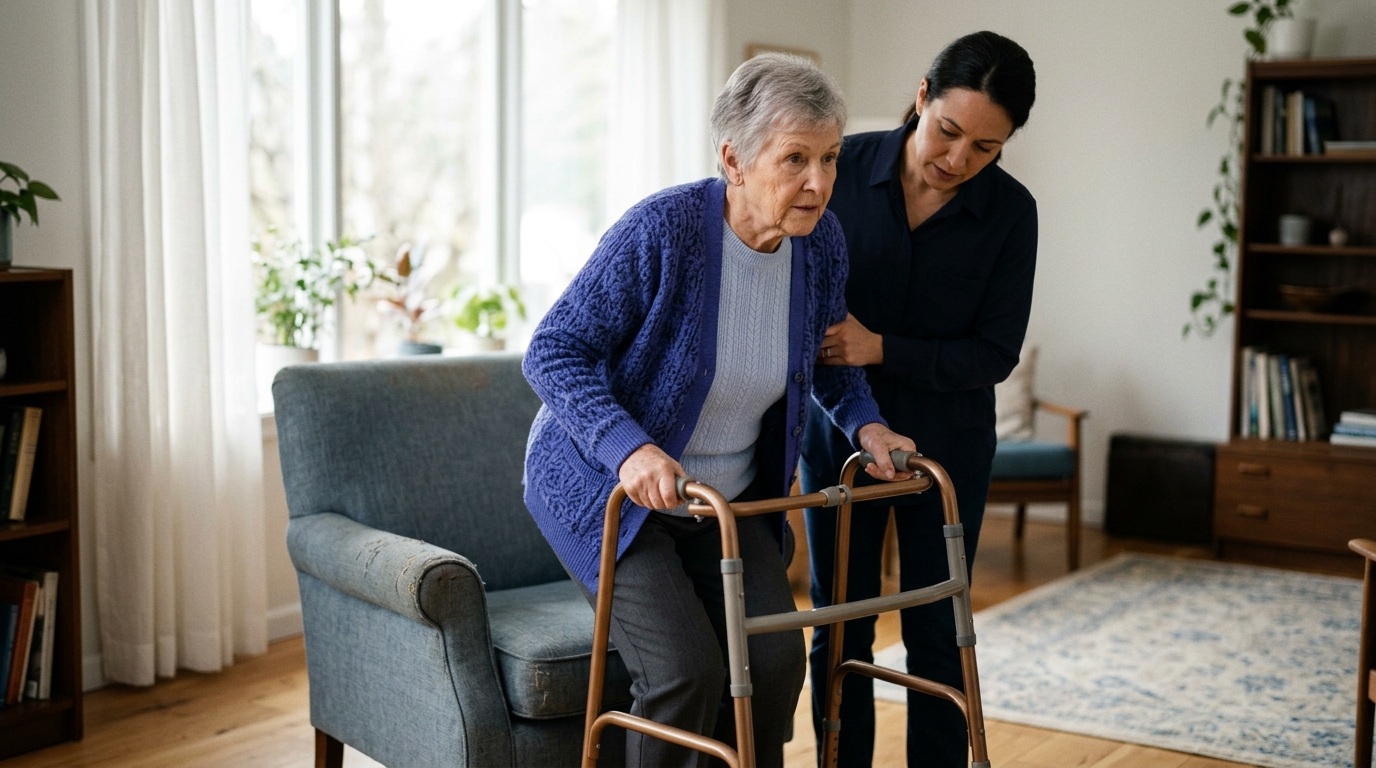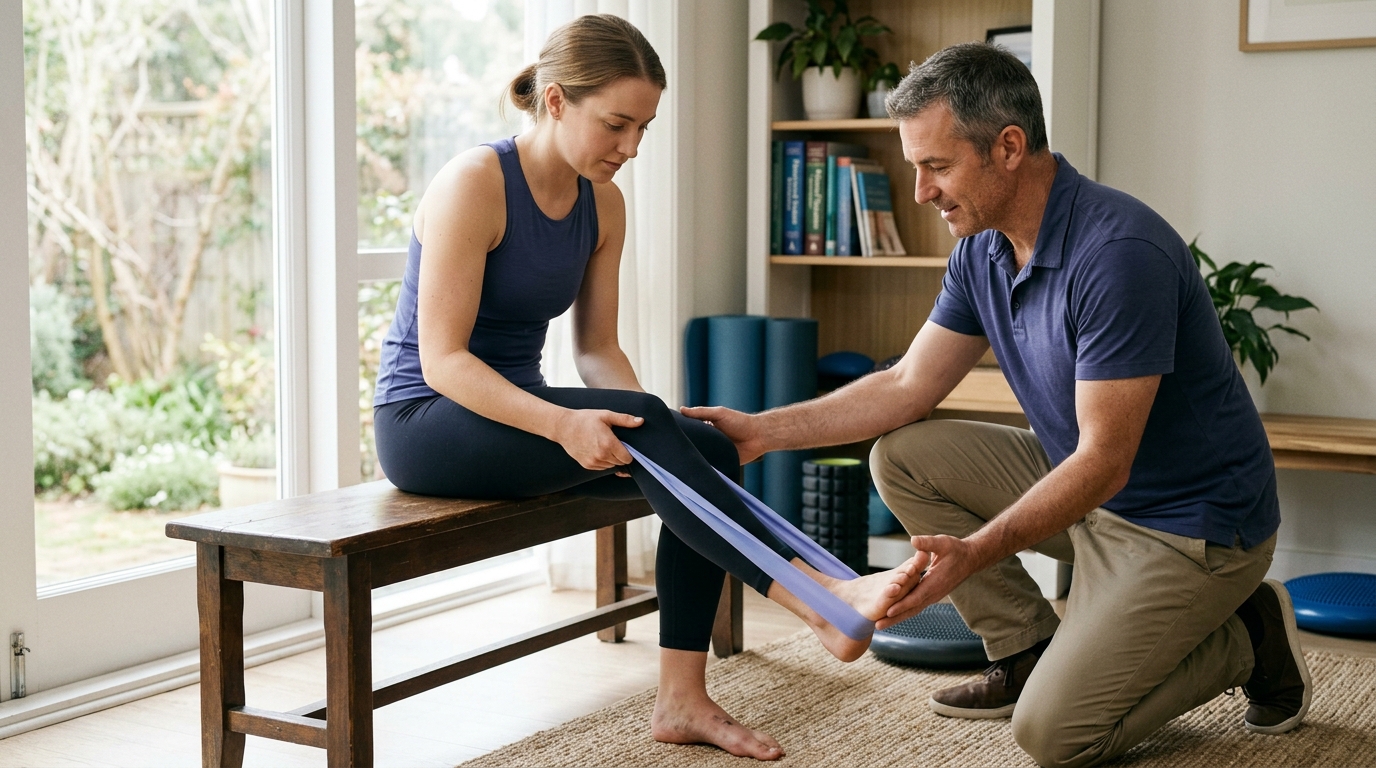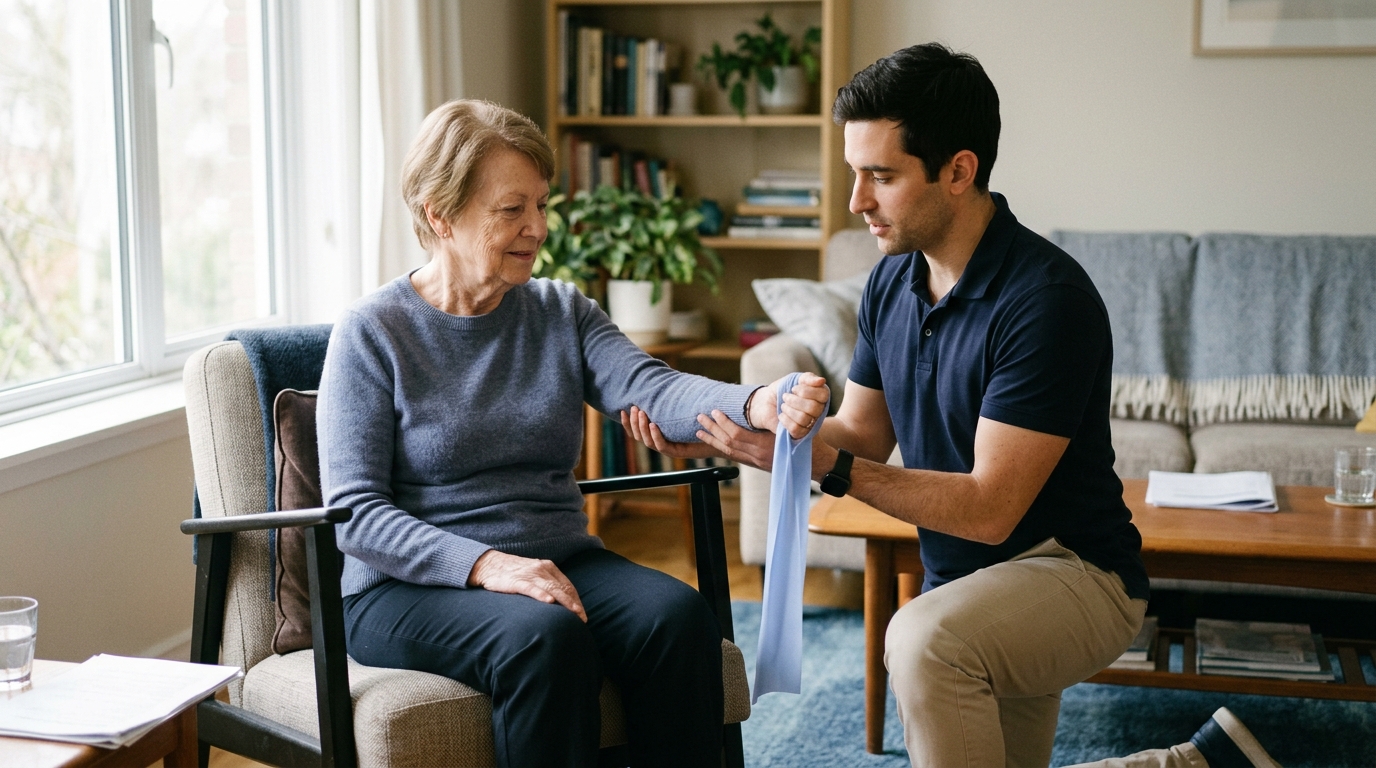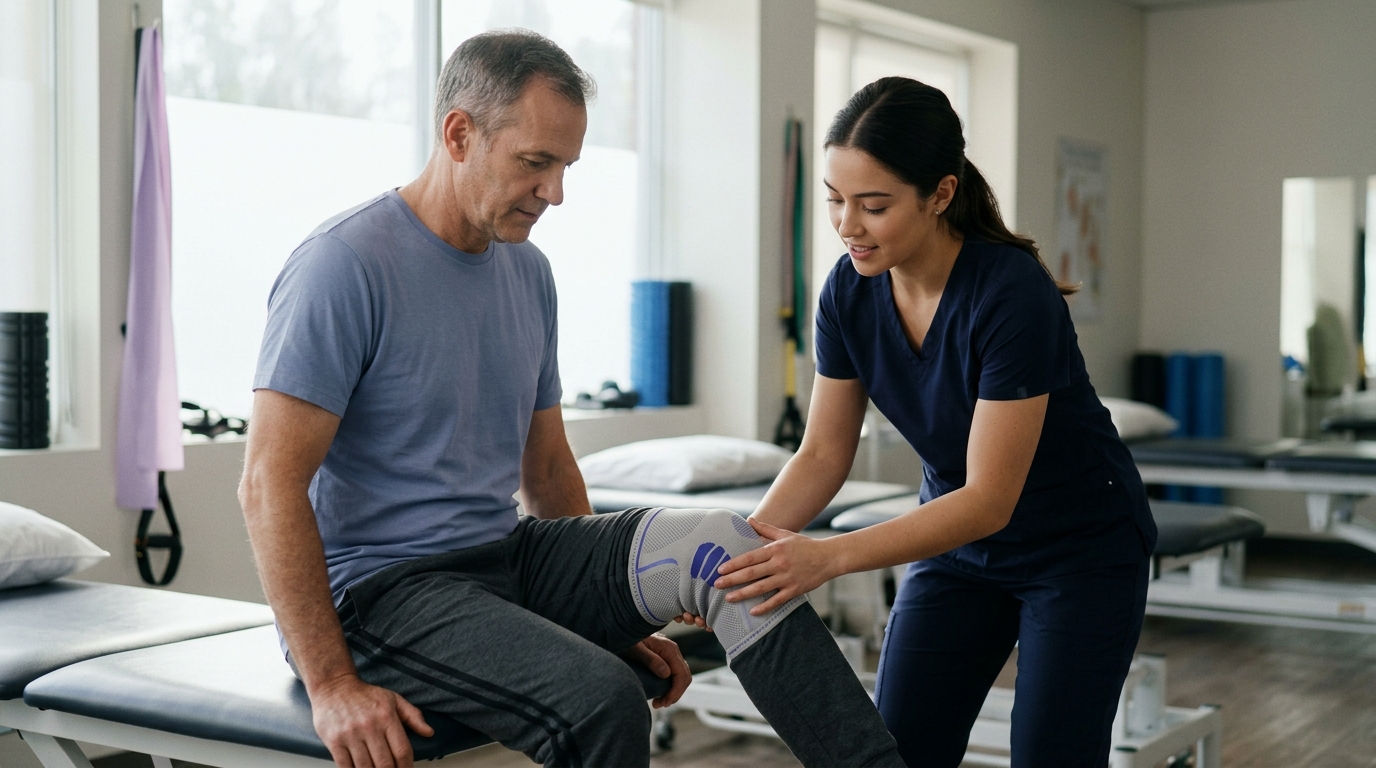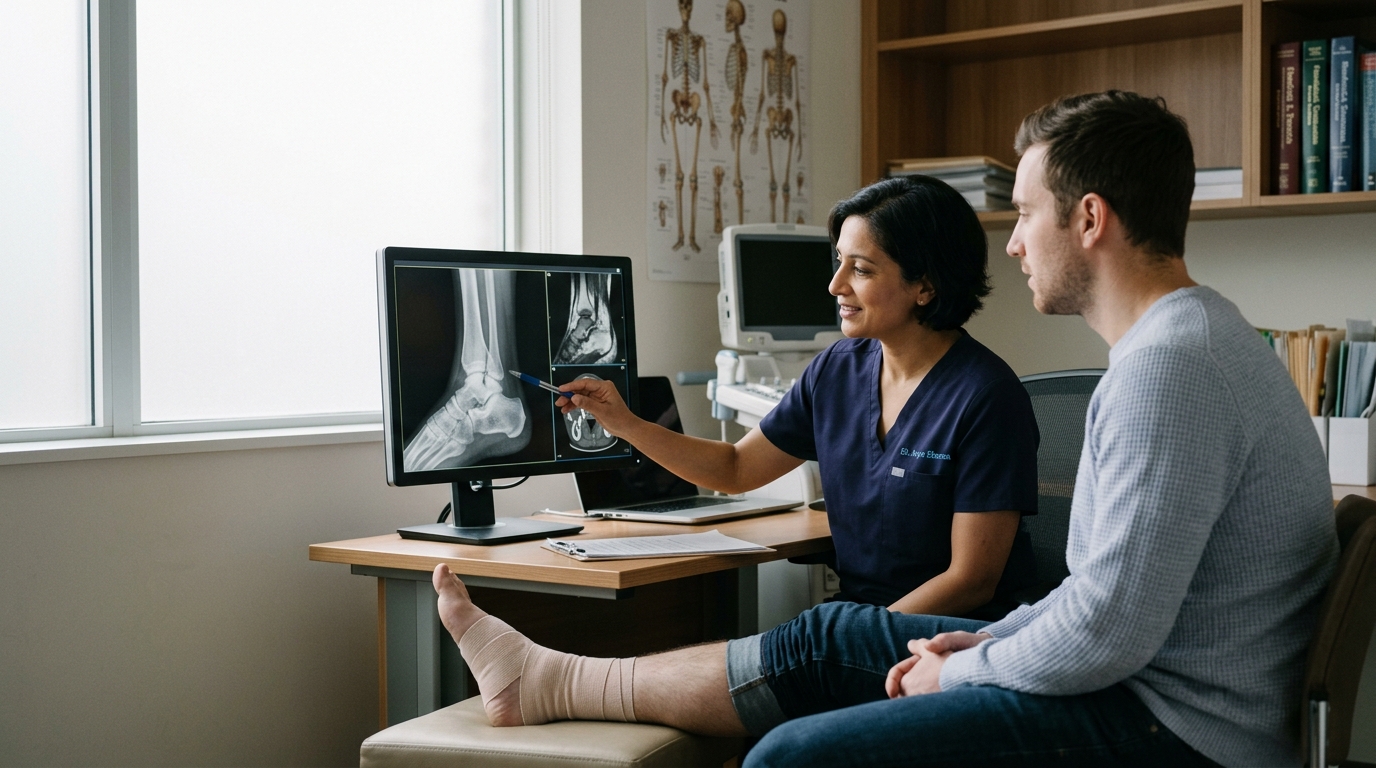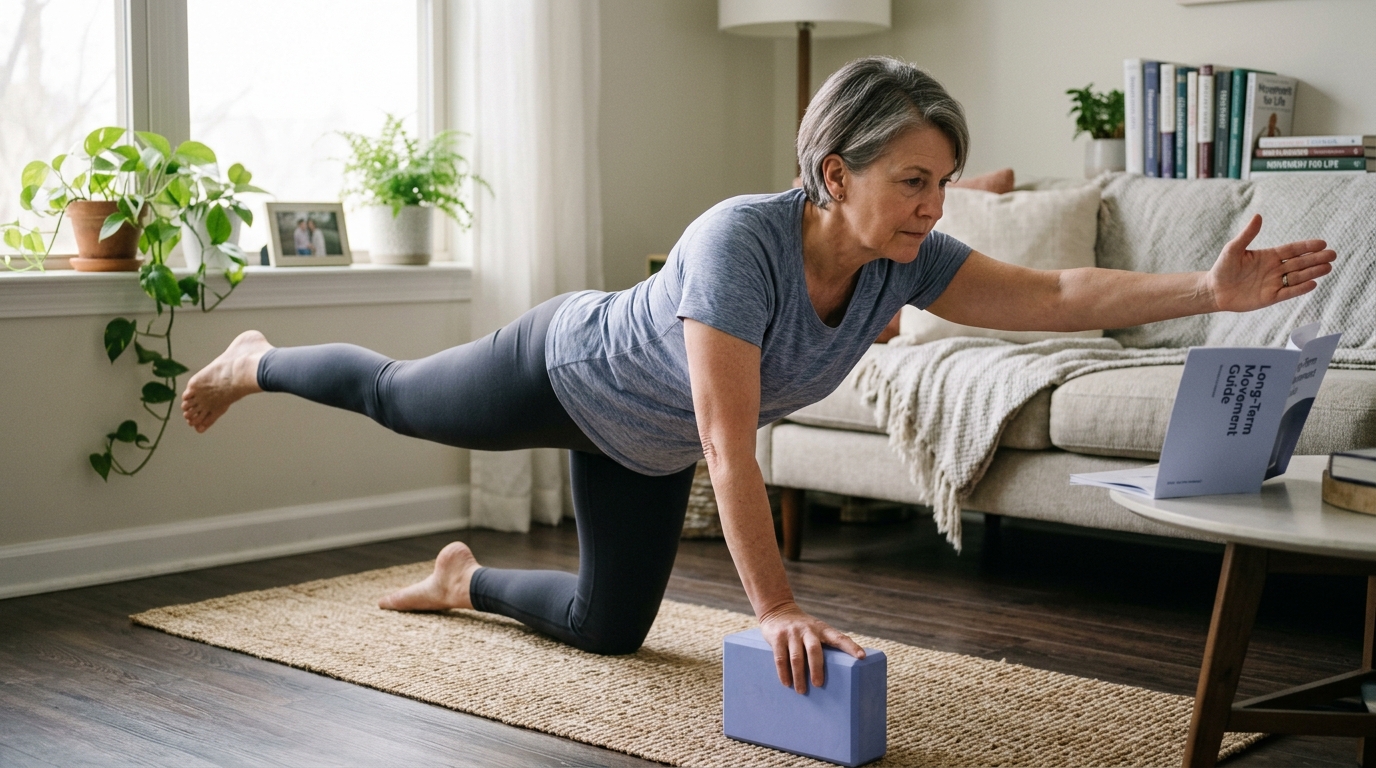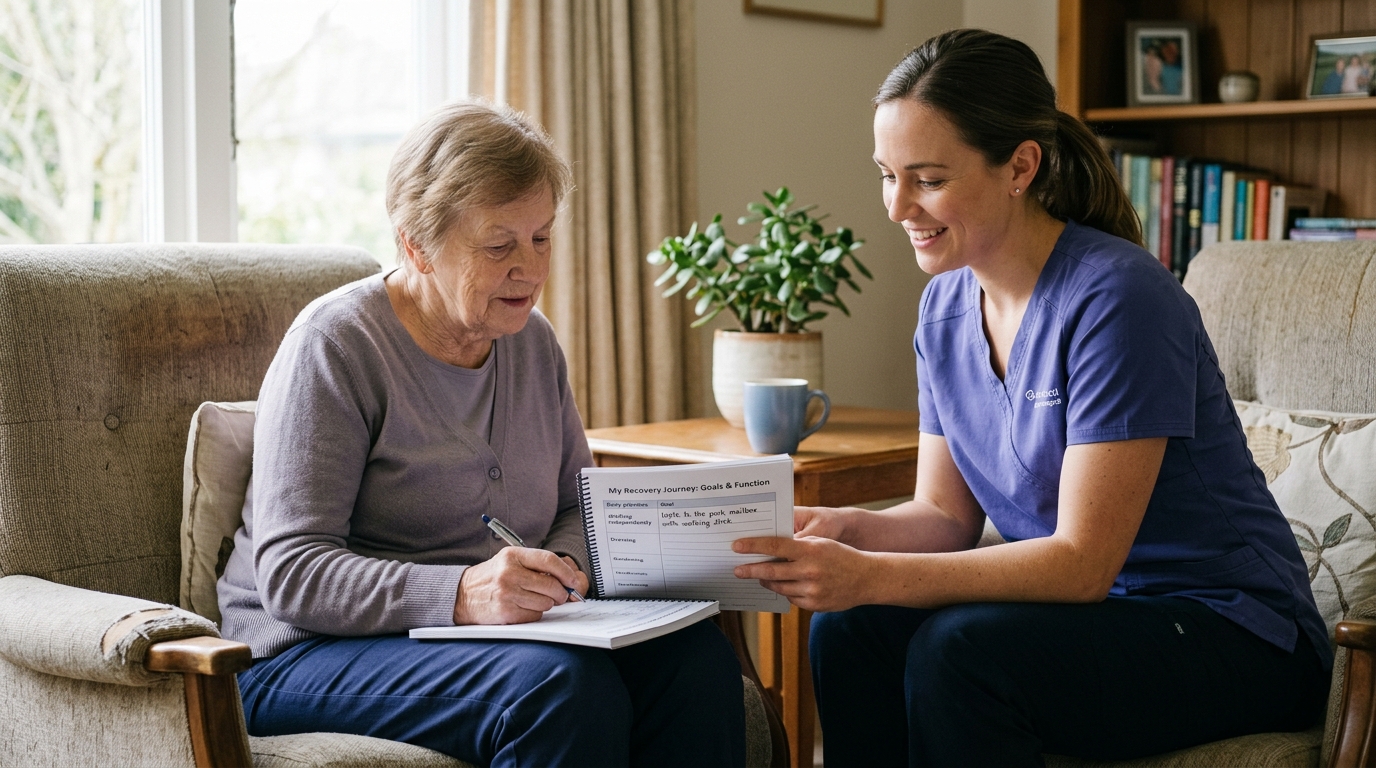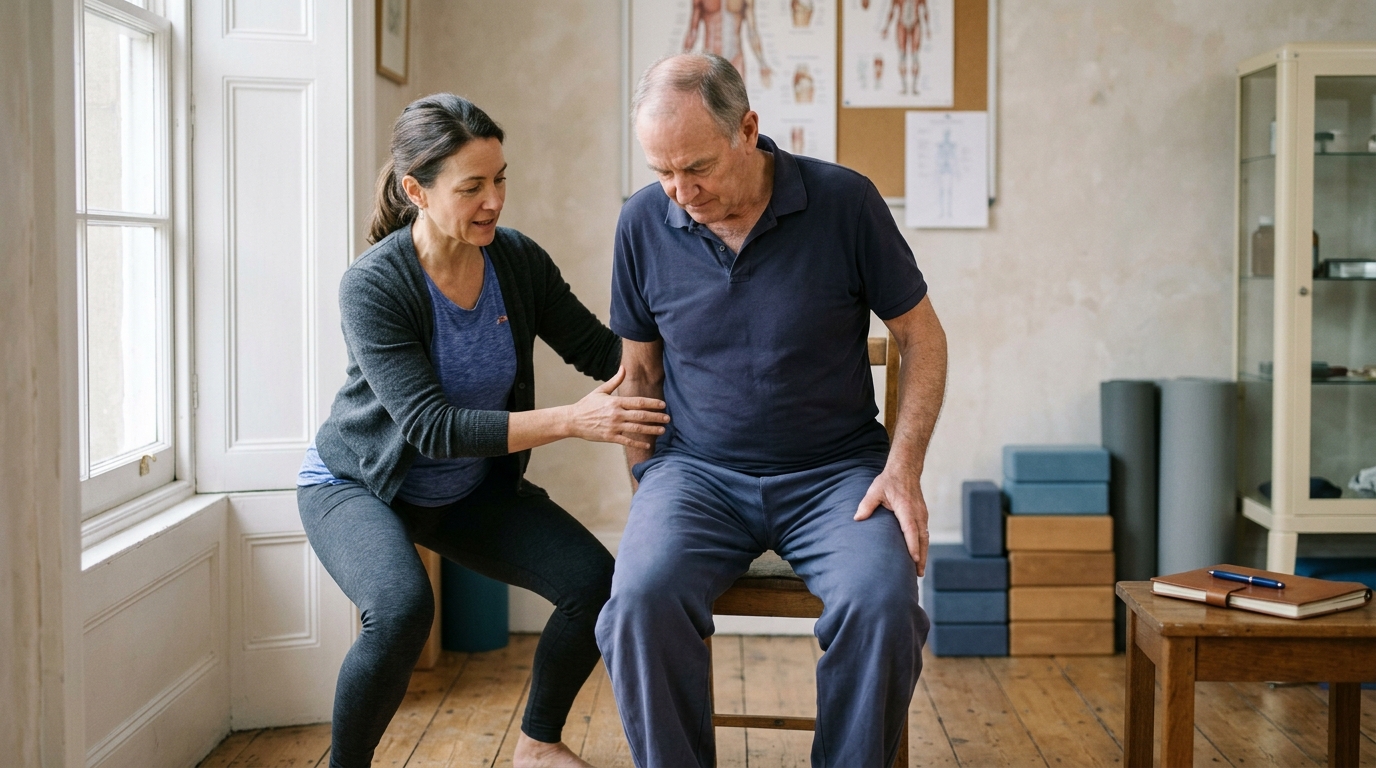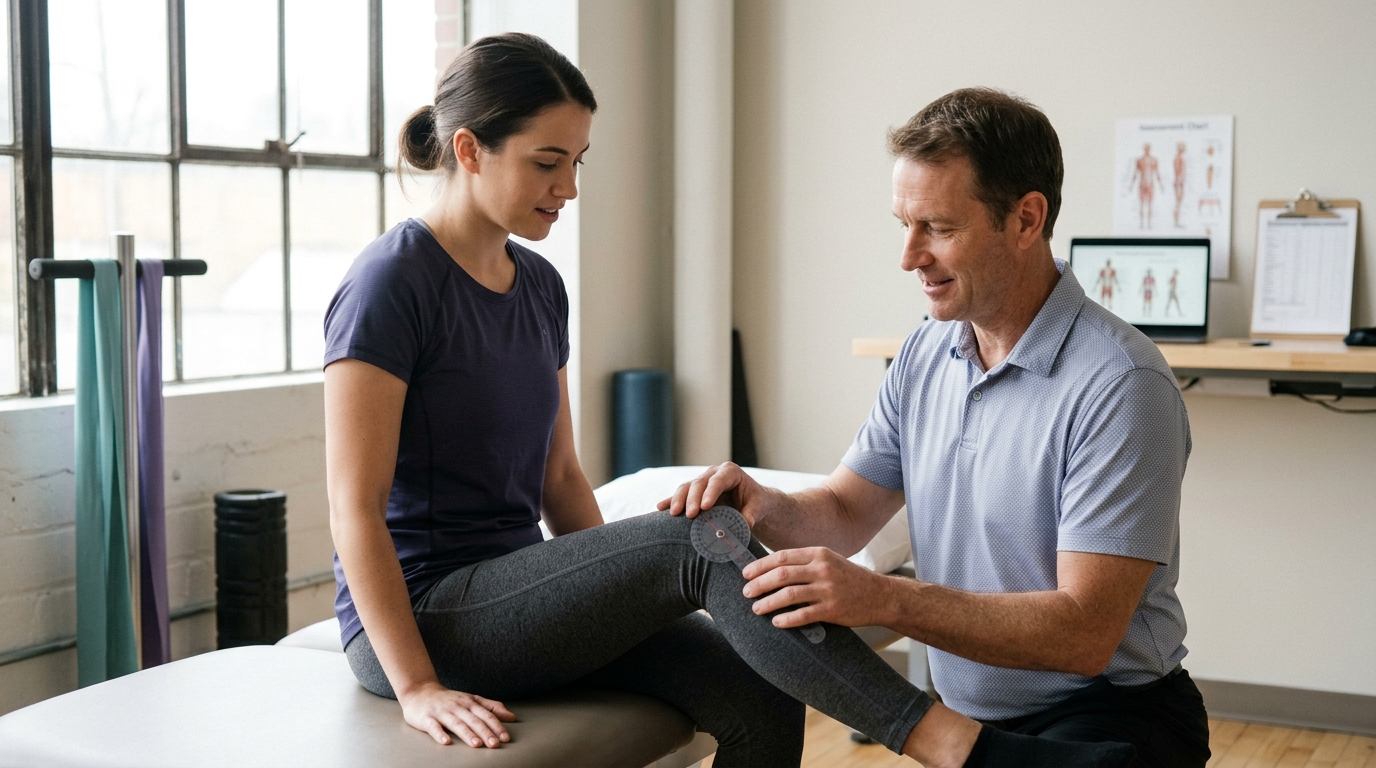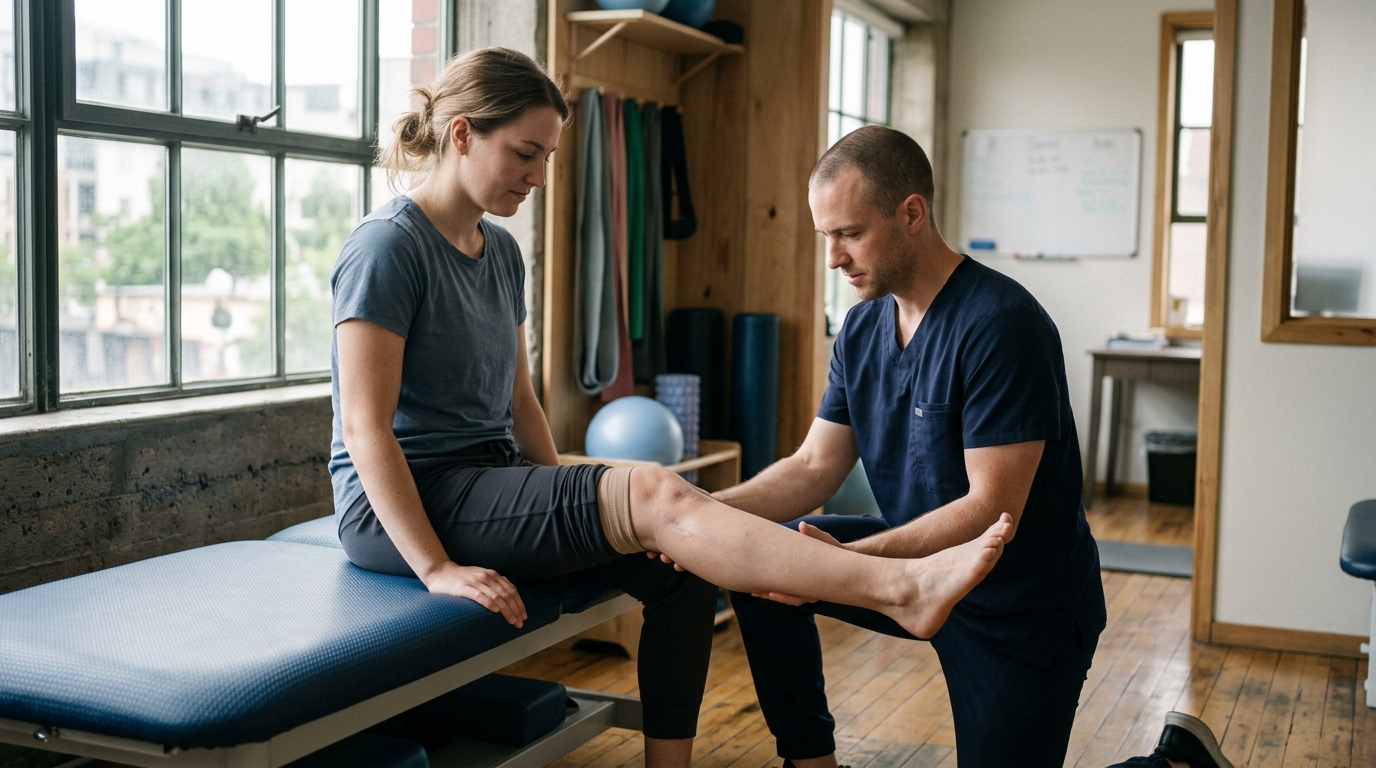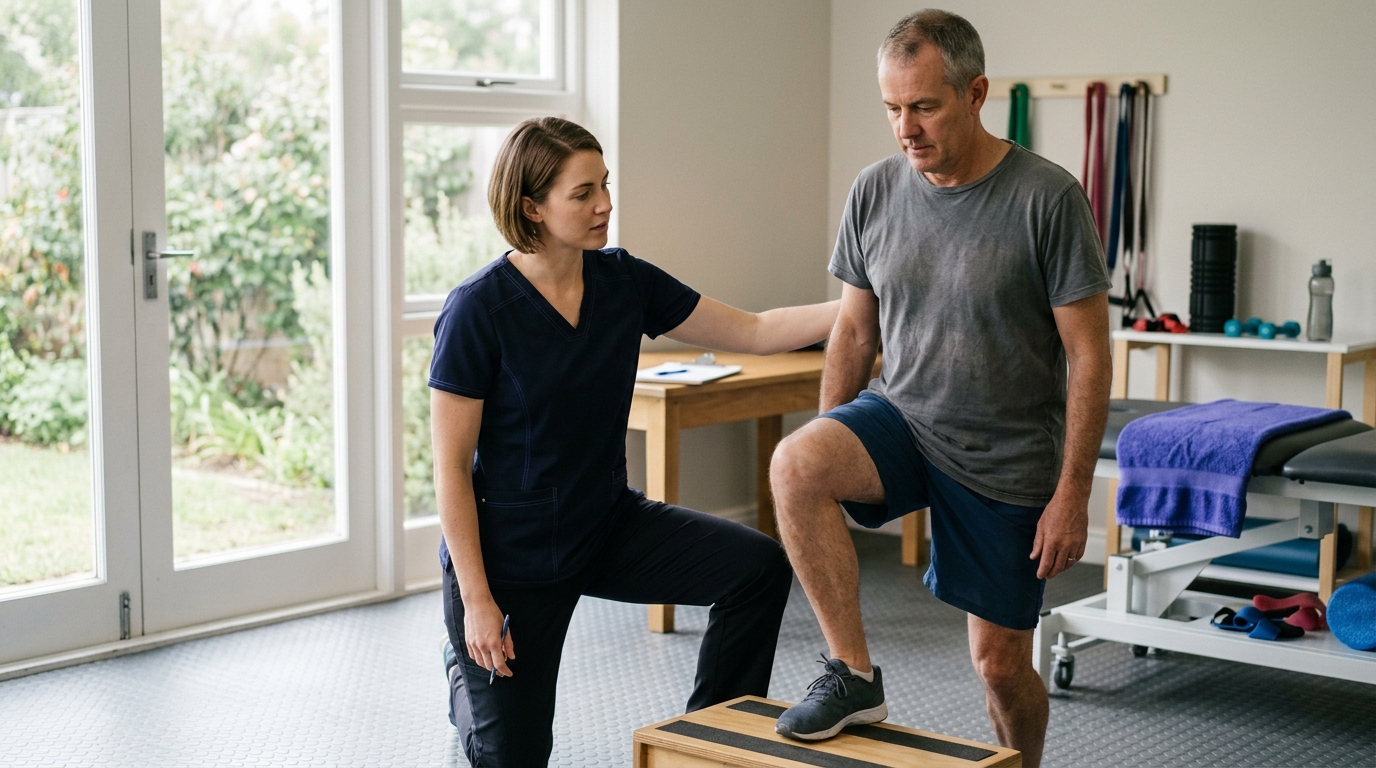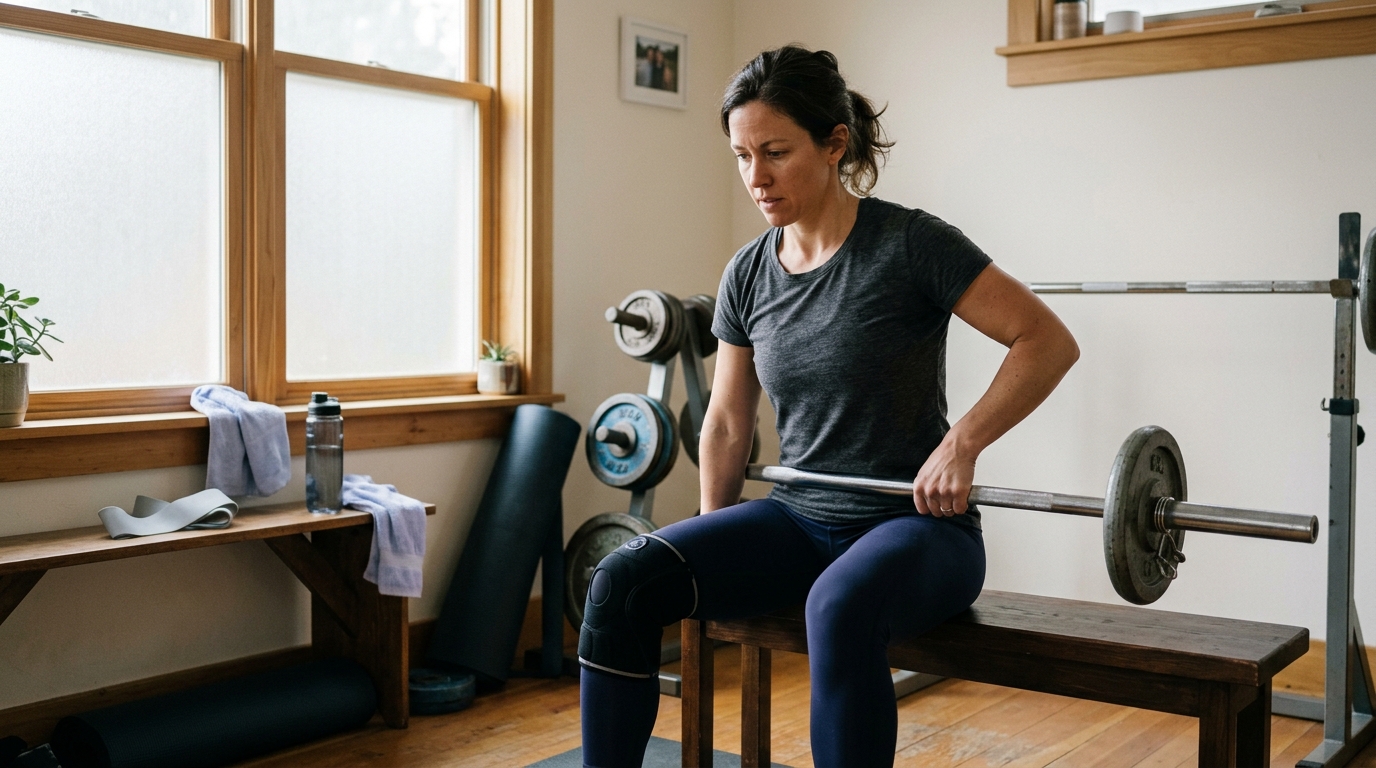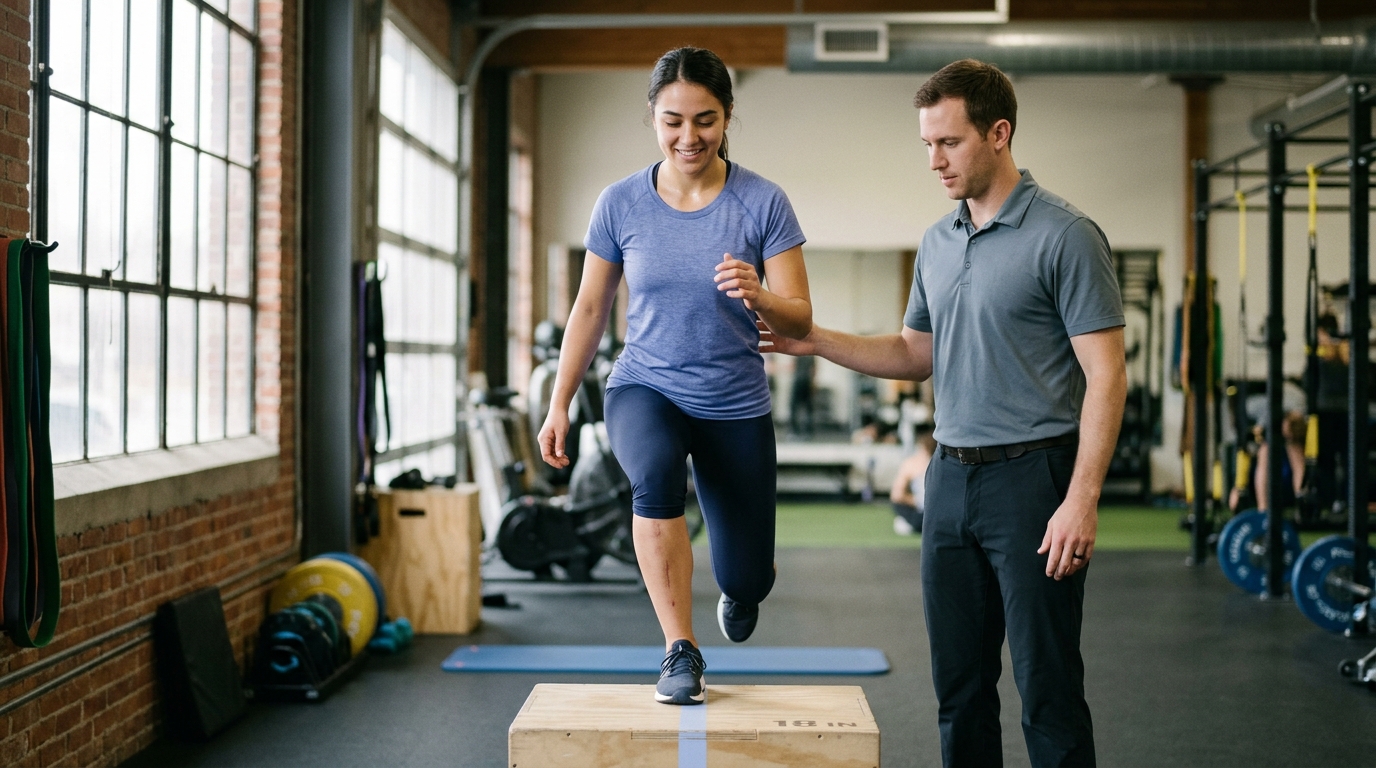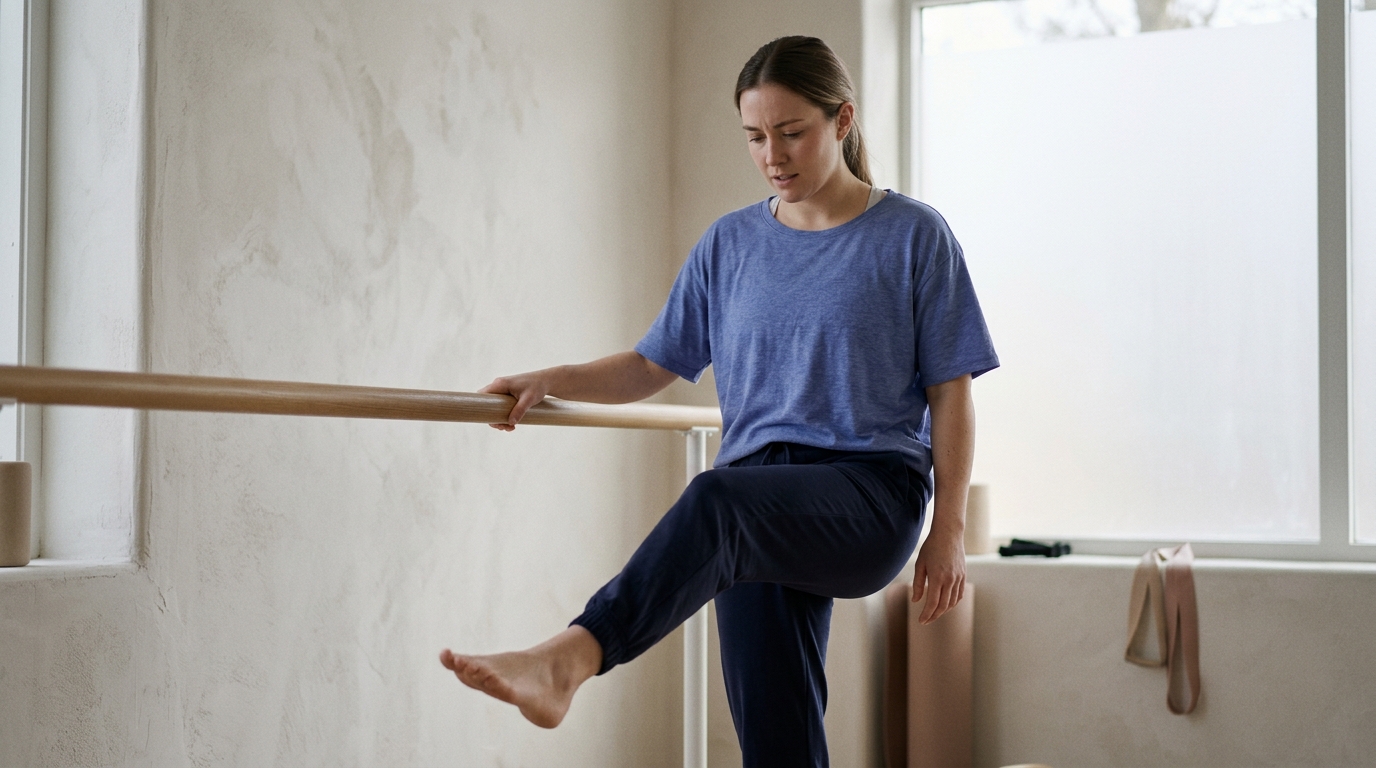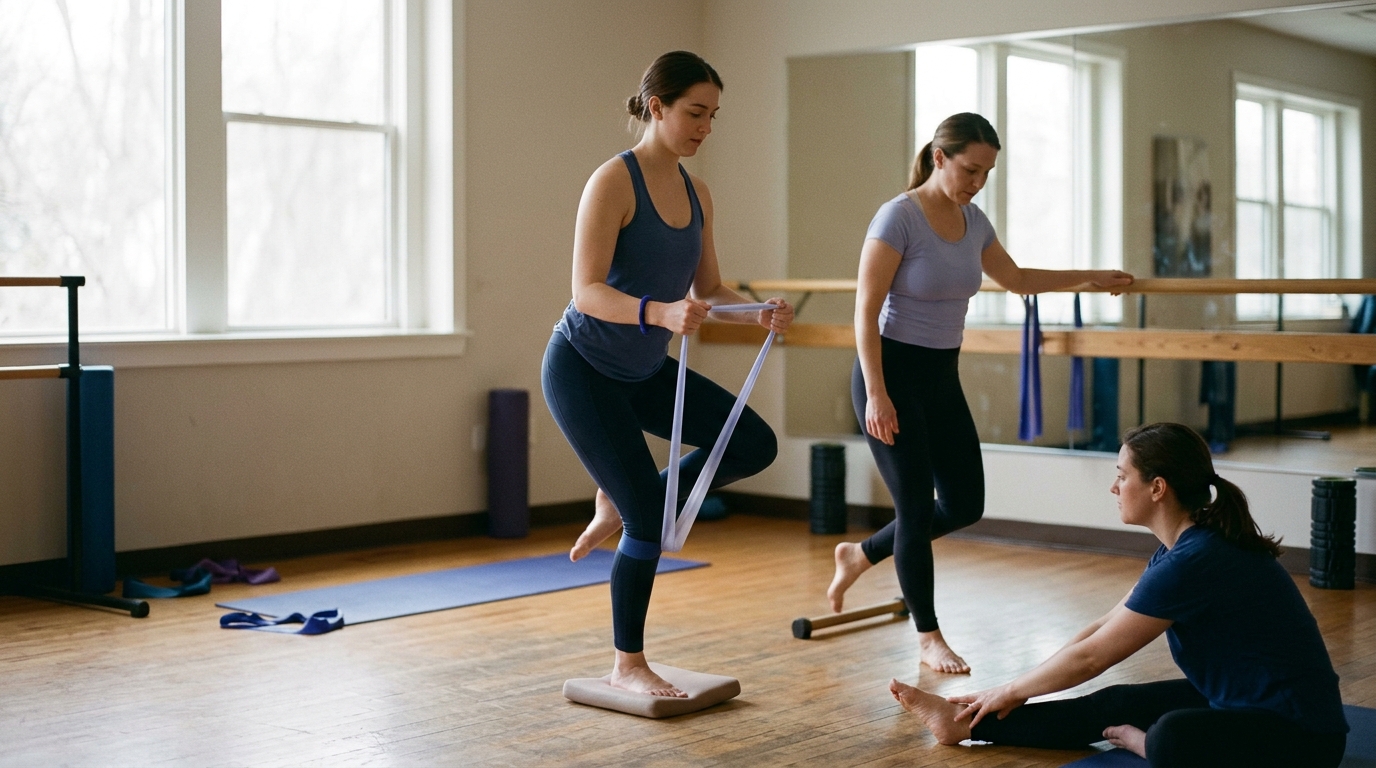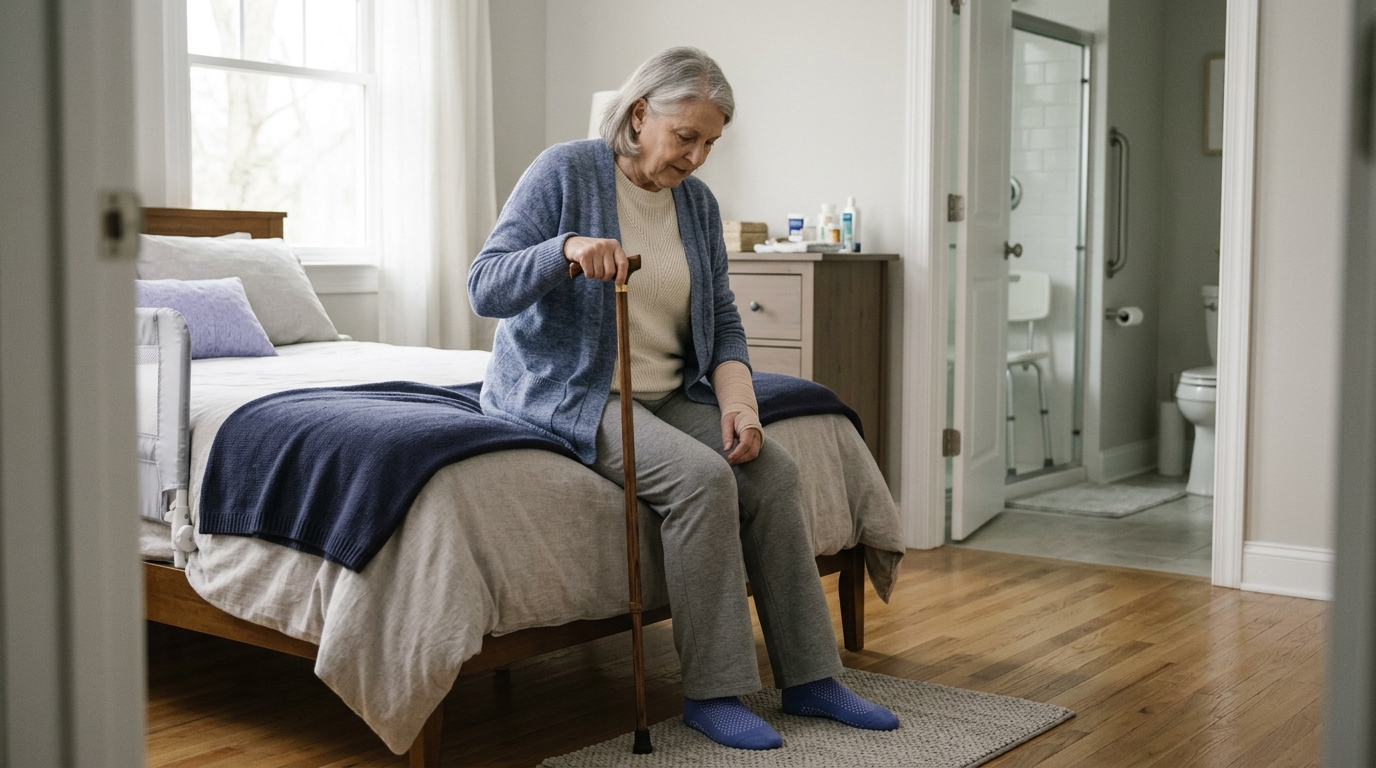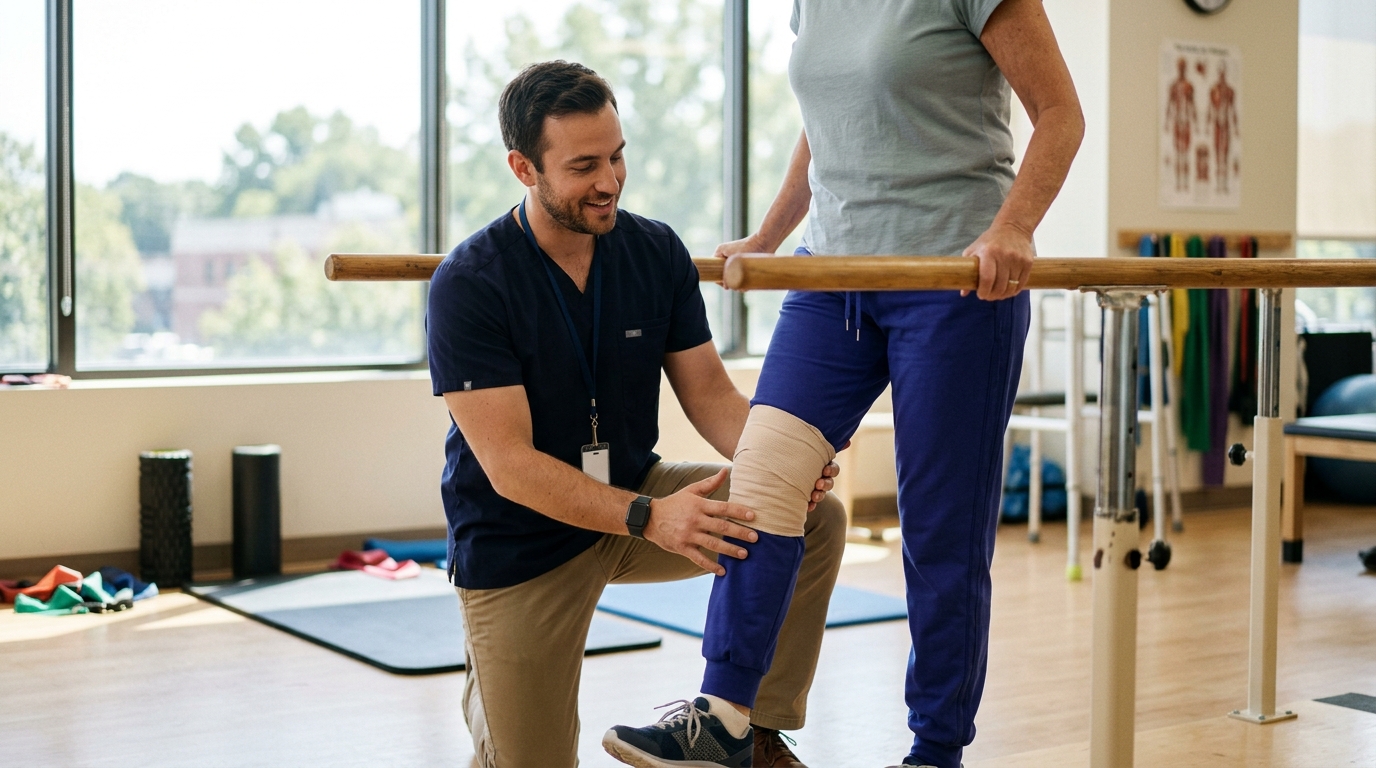

Five progressive recovery stages help individuals master stair biomechanics, rebuild lower-body strength safely, and navigate full flights of steps after an injury or physical setback.





Most people assume that walking up a flight of stairs is simply walking uphill. When recovering from an injury, joint replacement, stroke, or a period of bed rest, many expect that walking on flat ground will naturally translate into stair climbing.
That assumption often leads to surprise and frustration. Stair negotiation is an entirely distinct physical, sensory, and neurological task. It requires much higher joint angles, greater muscle force, precise foot placement, and sharp balance control.
Building generic leg strength helps, but strength alone does not automatically restore stair mobility. Relearning how to navigate steps requires a structured approach that respects task mechanics, environmental demands, and individual medical restrictions.
Understanding how the body handles stairs can transform an intimidating daily barrier into a manageable series of skills. This comprehensive guide covers the science of stair mobility, practical stages for practice, and how to safely rebuild capacity after a physical setback.
Stair negotiation is not just an incline version of normal walking. On level ground, momentum carries the body forward with relatively low vertical demand. The limbs swing through open space with ample margin for error, and the ground remains at a predictable height.
Steps fundamentally alter this dynamic. Every single step up requires the body to lift its entire mass against gravity using one leg. Every single step down forces one leg to absorb the full impact of body weight while lowering the center of mass in a controlled descent.
Researchers and physical therapists often evaluate stair mobility using a three-part model: the person, the task, and the environment. Looking at stairs through this lens prevents the mistake of reducing stair difficulty to weak legs alone.
The person brings their own unique capacities and limitations to the staircase. These include lower-limb strength, joint range of motion, balance, sensation in the feet, visual clarity, reaction time, and confidence. Pain, fatigue, and fear of falling also play substantial roles in how someone moves.
The task itself changes depending on the situation. Climbing up imposes different biomechanical loads than climbing down. Using a reciprocal pattern, where you alternate feet on each step, is vastly different from a step-to pattern, where both feet meet on every step. Carrying groceries, holding a cane, or turning on a narrow landing changes the task entirely.
The environment introduces physical variables that dictate how the body must perform. Step height, known as the riser, and step depth, known as the tread, vary widely between private homes and public buildings. Handrail presence, lighting quality, step edge contrast, and floor coverings like slick wood or plush carpet all influence safety.
When a physical setback occurs, changes across any of these dimensions can make stairs feel suddenly unfamiliar. Approaching stairs as a complex interaction between your body, the specific movement, and the physical surroundings provides a clear roadmap for recovery. Exploring mobility and movement foundations helps clarify how these everyday movement patterns interact.
Clinical research shows that negotiating stairs is one of the most demanding physical activities of daily life. The forces exerted on the lower extremities during stair climbing are substantially higher than those measured during level walking.
Biomechanical reviews indicate that stair negotiation demands significantly larger joint ranges of motion and higher joint moments at the ankle and knee compared to level ground. When climbing up, the quadriceps and calf muscles must generate high concentric force to propel the body upward. When coming down, these muscles must work eccentrically, acting as dynamic brakes to control downward acceleration.
Research examining the physical demands of stair negotiation shows that older adults may use up to 90 percent of their maximum ankle strength and 75 percent of their maximum knee strength during stair ascent. During descent, reported estimates suggest older adults use roughly 75 percent of maximum ankle strength and 42 percent of maximum knee strength. These figures are reported estimates from scientific literature rather than universal thresholds for every individual. They clearly illustrate why stairs feel so demanding when muscle capacity is diminished.
Yet strength is only one piece of the puzzle. A landmark study published in The Journals of Gerontology investigated the physical and psychological factors associated with stair performance in older adults. The researchers found that stair performance was independently associated with a wide cluster of variables.
These key factors included:
The same study found that measures of strength, balance, vision, and fear reliably distinguished people who needed a handrail from those who did not. Slower performance or relying on a handrail reflects a combination of physical, sensory, and psychological inputs. It is never just a simple lack of effort or isolated weakness.
A study analyzing movement components in older adults with functional limitations found measurable changes in stair gait. Participants with functional disability demonstrated longer cycle times, reduced ascent speed, and lower peak vertical center-of-mass velocity. They adjusted their movement patterns to preserve stability and compensate for reduced physical reserve.
Understanding these multifaceted demands reinforces why comprehensive rehabilitation and movement strategies address balance, sensory cues, and confidence alongside strength.
A common mistake in rehabilitation is assuming that if you can climb up the stairs, you are equally ready to walk down them. In reality, ascent and descent are completely different biomechanical tasks.
Ascent is primarily an engine task. The lead leg steps up, places the foot on the higher tread, and contracts the quadriceps, gluteal muscles, and calves to pull and push the body upward. The trailing leg must have sufficient hip and knee flexion to clear the step edge without catching the toe.
Ascent demands substantial concentric energy generation. If muscle strength or cardiovascular stamina is low, climbing up feels exhausting and heavy. However, balance control is generally easier on ascent because the body is moving toward the visual field of the staircase, and the center of mass stays close to the steps.
Descent, by contrast, is primarily a braking and control task. The stance leg must bend smoothly at the hip, knee, and ankle while bearing full body weight. At the same time, the opposite leg reaches downward into open space to find the next tread.
The stance leg works eccentrically, meaning the muscles lengthen while under high tension to slow the body down. Research reviews identify this eccentric muscle braking as a major challenge for older adults and individuals recovering from joint injury. Descent also presents a greater psychological challenge because looking down a flight of stairs can trigger visual disorientation or fear of falling.
Because these tasks place distinct demands on the nervous system and muscular structure, they must be assessed and practiced independently.
Transitions at the very beginning and end of a staircase also present unique demands. Research examining stair gait shows that step transitions, such as stepping from level ground onto the first step or stepping off the final step, involve distinct alterations in foot placement and center-of-mass control. Practicing these entry and exit steps is just as crucial as managing the continuous steps in the middle of the flight.
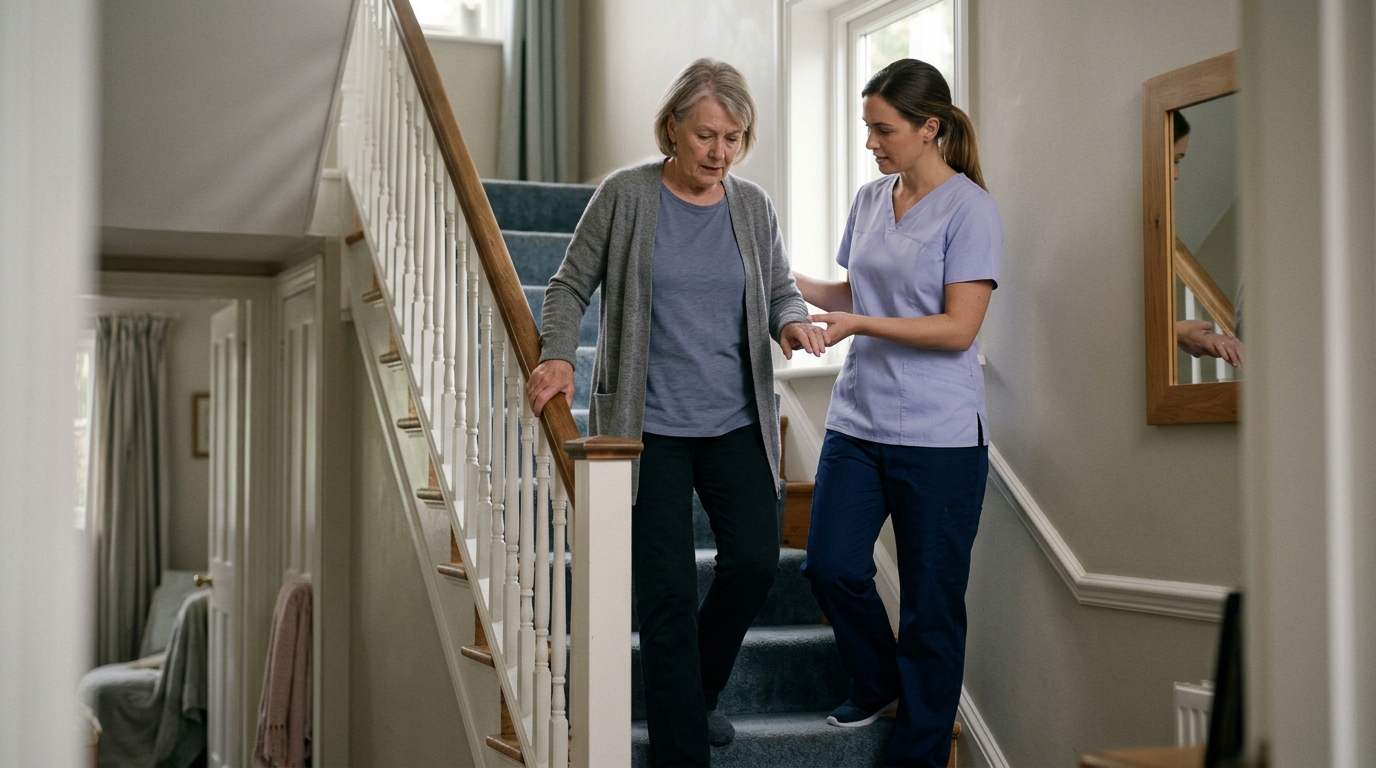
In popular culture, using a handrail is sometimes viewed as a sign of weakness or physical decline. Clinical biomechanics and rehabilitation science view handrails entirely differently. A handrail is a vital piece of mobility equipment that enhances stability, reduces joint load, and provides immediate sensory feedback.
Research in stair biomechanics has shown how older adults adapt their movement when step geometry becomes challenging. In laboratory conditions where step depth was reduced, older adults naturally relied more on handrails and rotated their bodies toward the rail during descent. These strategies were directly associated with better dynamic stability under challenging conditions.
Using a rail provides an additional point of contact, creating a wider base of support. It allows the upper extremities to assist with upward propulsion during ascent and downward braking during descent. For someone with knee osteoarthritis, recovering from joint replacement, or managing muscle weakness, the handrail offloads significant joint stress.
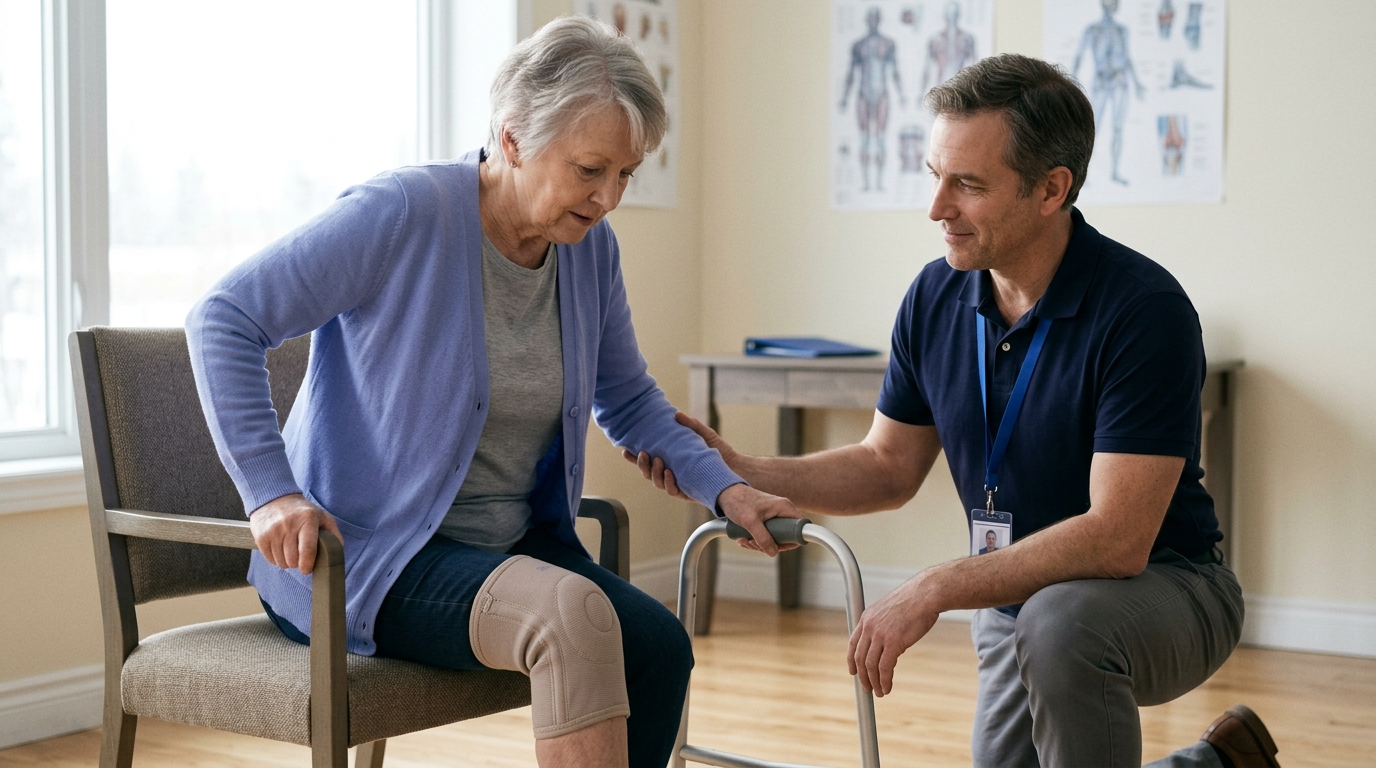
Assistive devices such as canes and crutches can also be integrated into stair negotiation, but they require proper coordination. Hospital patient guidance leaflets, such as those from the NHS, provide clear protocols for using walking aids on stairs.
When using two crutches or two canes, holding both devices while also using a handrail requires specific technique. Often, clinical guidelines advise holding the rail with one hand while holding both aids in the other hand, or having a companion carry the extra aid.
Hospital safety guidance emphasizes never attempting to throw or drop a walking aid ahead of you on the stairs. Reviewing surgical recovery and comeback principles can help clarify how device management fits into broader postoperative protocols.
Handrail and device reliance should never be framed as a failure. The objective of rehabilitation is safe, independent, and repeatable mobility in your real living environment.
Attempting a full flight of stairs before mastering the underlying movement components often leads to compensation, anxiety, or pain flares. A structured progression breaks the task down into manageable pieces.
In stroke rehabilitation, the National Institute for Health and Care Excellence (NICE) explicitly recommends repetitive task training for lower-limb weakness. This includes targeted practice of transfers, walking, and stair negotiation. Repetitive, task-specific practice helps the nervous system remap coordination, timing, and motor recruitment.
A clinician-guided progression typically moves through distinct stages, allowing the individual to build competence before increasing the physical demand.
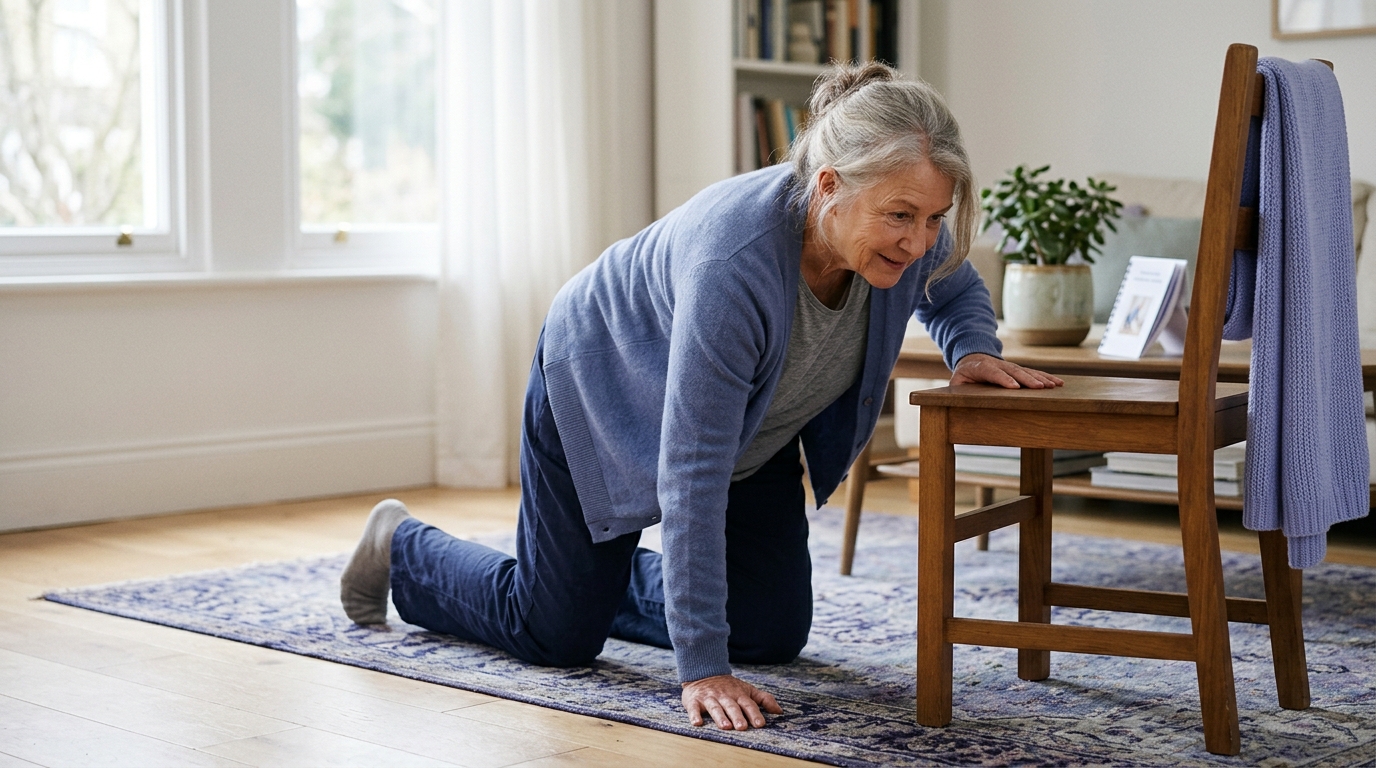
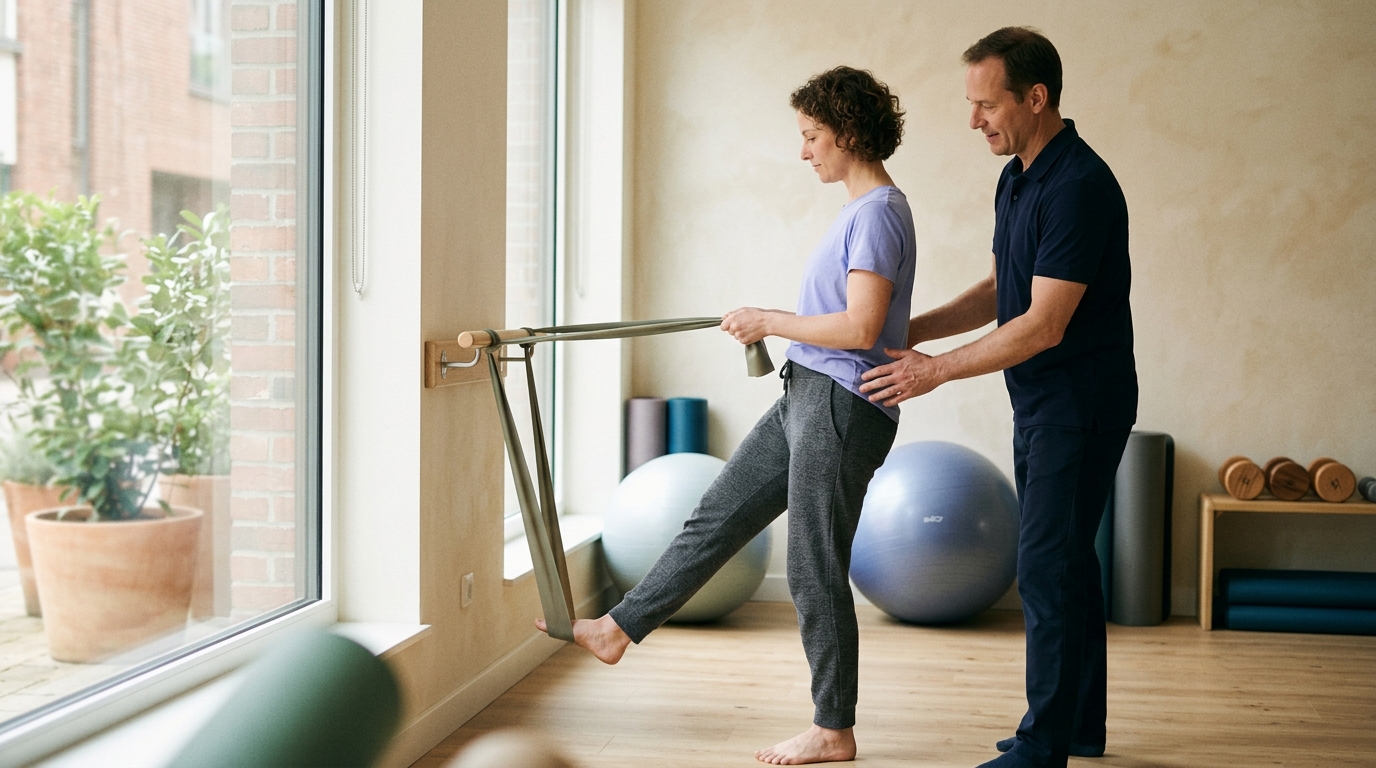
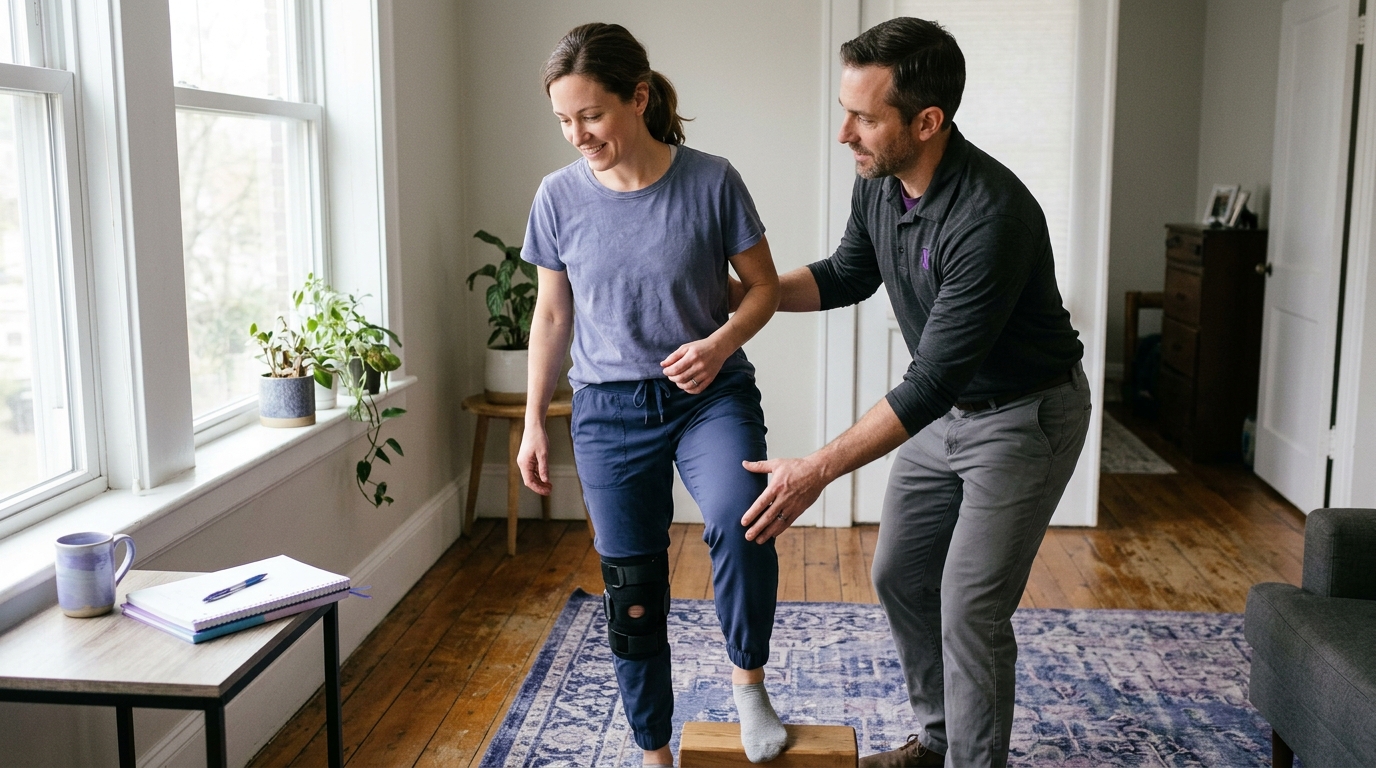
Before placing a foot on a step, practice the approach and alignment. Stand facing a single step or curb with the handrail within easy reach.
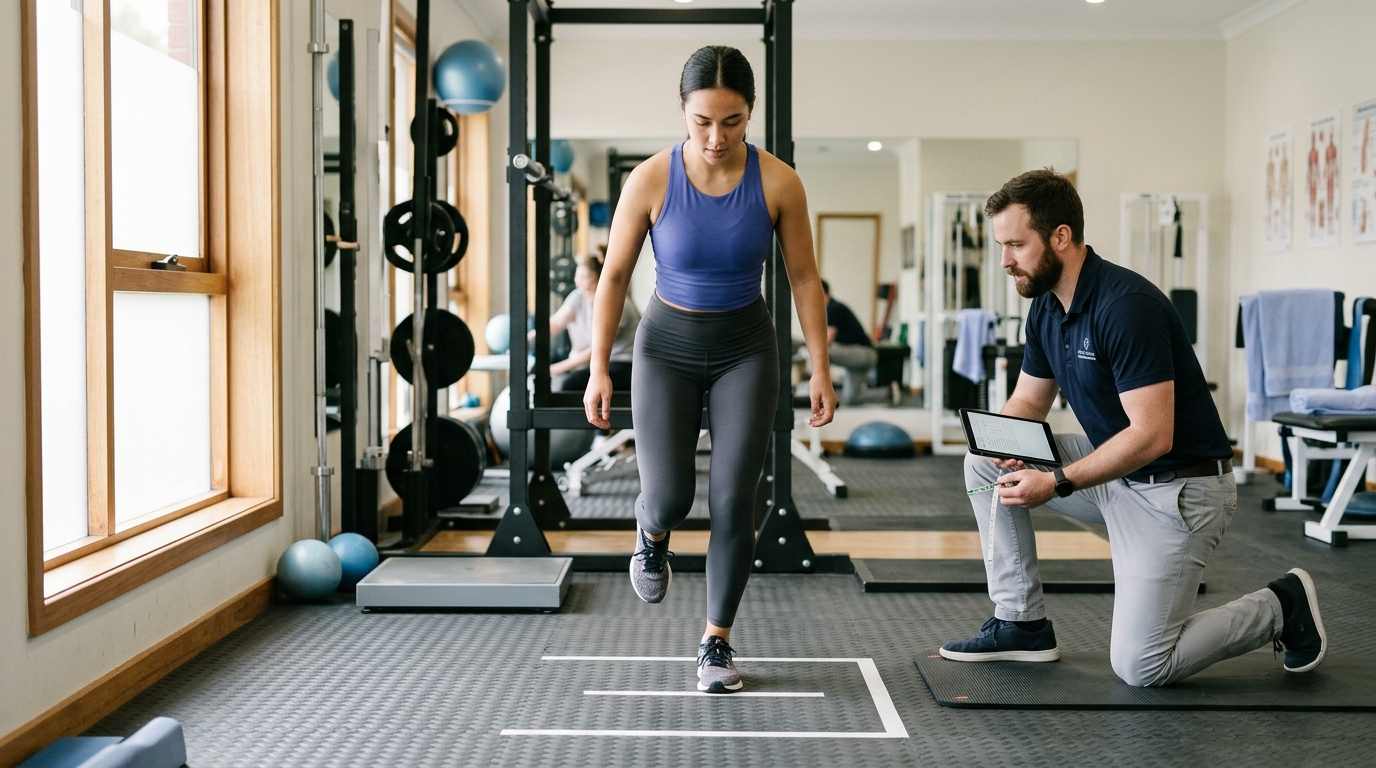
Practice shifting body weight completely onto one leg while maintaining upright posture and level hips. Lift the opposite foot slightly off the floor to simulate the single-leg support phase of stair climbing. This builds confidence in single-limb stability without the added challenge of vertical height.
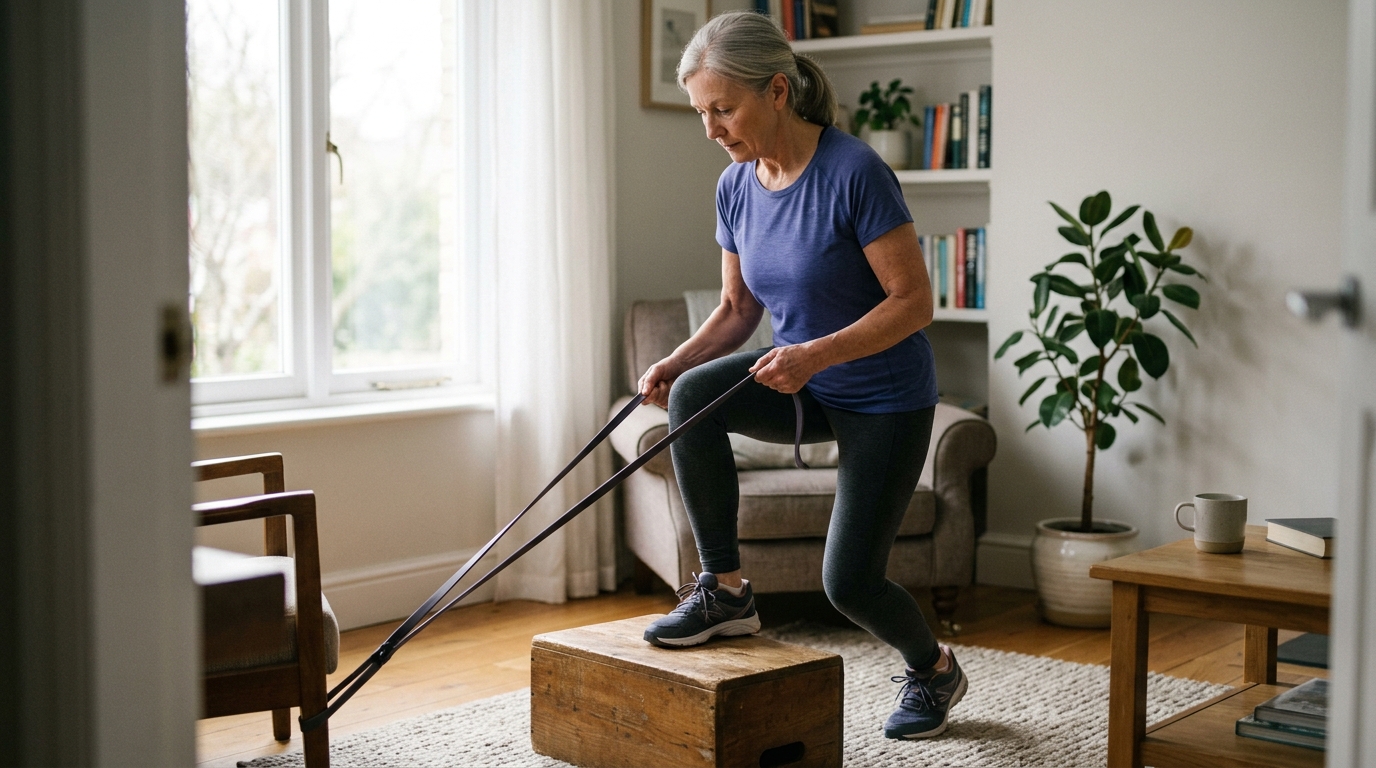
Use a low step platform, such as a four-inch rehabilitation step or a stable curb. Practice single-step ascents and descents using a step-to pattern, where both feet land on the platform before returning to the floor.
Focus entirely on movement quality:
Once a low step is comfortable, progress to a standard step height, which is typically seven to eight inches. Practice both ascent and descent on a single step with proper rail support.
At this stage, work on the specific sequence prescribed by your clinical team. For many individuals recovering from lower-limb injuries, the step-to pattern remains the safest method during early recovery. Spend time pausing on the step to reinforce balance control before stepping back down.
Transition to a short flight of three to four stairs with a sturdy handrail. Practice consecutive step-to climbing, focusing on a steady rhythm and consistent foot placement.
Pay careful attention to the top and bottom transitions. Navigating the shift from level walking to the first step, and stepping off the last step onto flat flooring, requires deliberate adjustments in stride length and center of mass. Practice turning safely on intermediate landings, taking small, deliberate steps rather than pivoting on a single planted foot.
The final stage involves preparing for the specific stairs you encounter daily. Practice on the actual staircase in your home, accounting for its specific riser height, tread surface, and handrail configuration.
Only progress to reciprocal stepping if your strength, balance, joint range, and medical restrictions permit. Reciprocal climbing demands significantly higher knee flexion and single-leg control, making it an advanced progression rather than an immediate necessity.
Every recovery journey follows a different timeline because multiple internal and external variables shape mobility outcomes. Recognizing these variables prevents unfair comparisons and helps set realistic expectations.
Medical restrictions and underlying pathology are the most critical factors. An individual recovering from a total knee arthroplasty faces different tissue healing constraints than someone recovering from a lumbar spine decompression, a hip fracture, or a stroke.
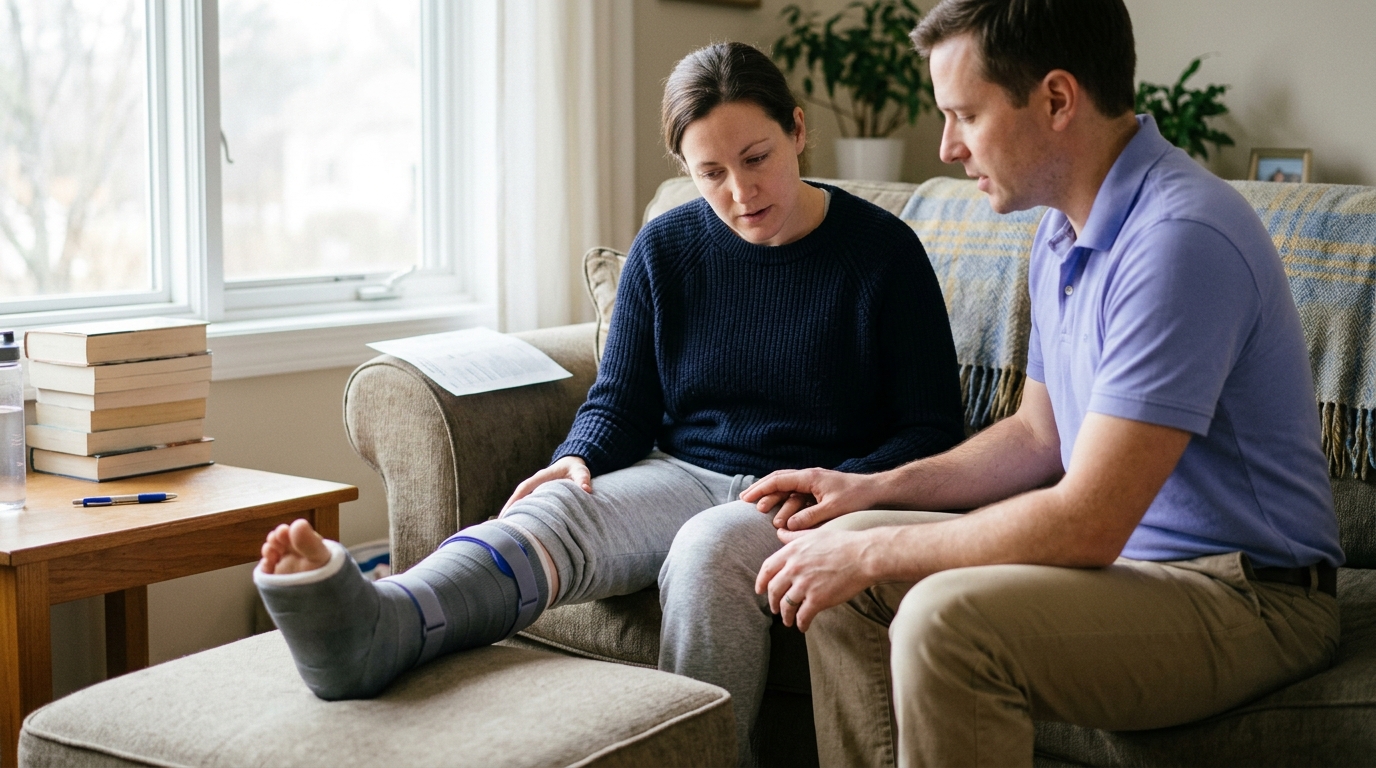
Surgeons frequently prescribe weight-bearing restrictions to protect healing bone, repaired tendons, or surgical hardware. Hospital patient information leaflets outline distinctly different stair techniques depending on whether a patient is non-weight bearing, partial weight bearing, or unrestricted.
In non-weight bearing situations, the affected leg must not touch the ground at all. Navigating stairs in this state requires significant upper-body strength, advanced balance, and specialized crutch technique. In partial weight bearing, a specific percentage of body weight is allowed through the leg, requiring precise coordination between the crutch, handrail, and stance leg.
Never alter or advance your stair method without explicit clearance from your surgical or orthopedic team. Violating weight-bearing precautions can compromise surgical outcomes. Understanding the science behind tissue repair is covered further in our guide to recovery science and tissue healing.
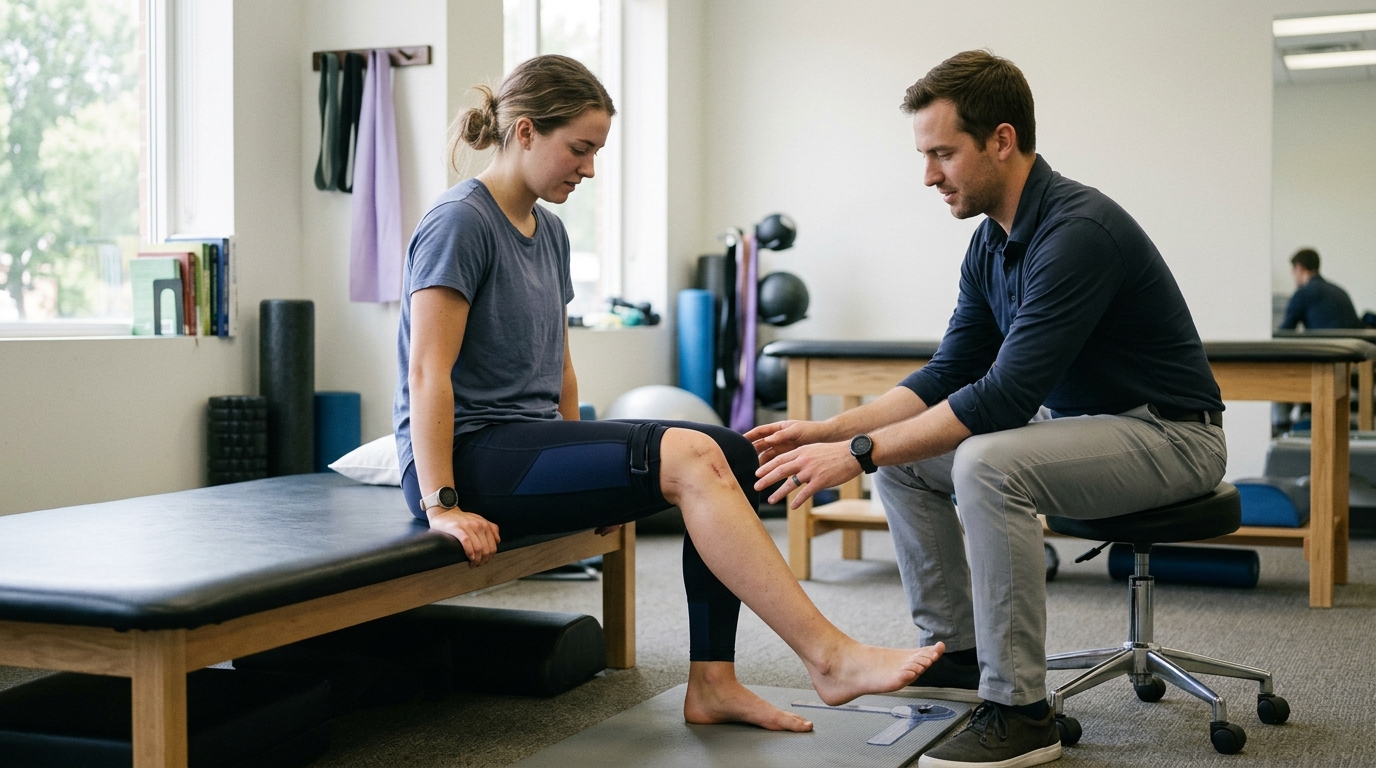
Stairs demand specific joint angles that exceed the requirements of flat walking. Ascending a standard step requires roughly 90 to 100 degrees of knee flexion and adequate ankle dorsiflexion to allow the shin to travel forward over the foot.
If joint swelling, surgical stiffness, or arthritis limits knee bending, the body will naturally attempt to compensate. Common compensations include:
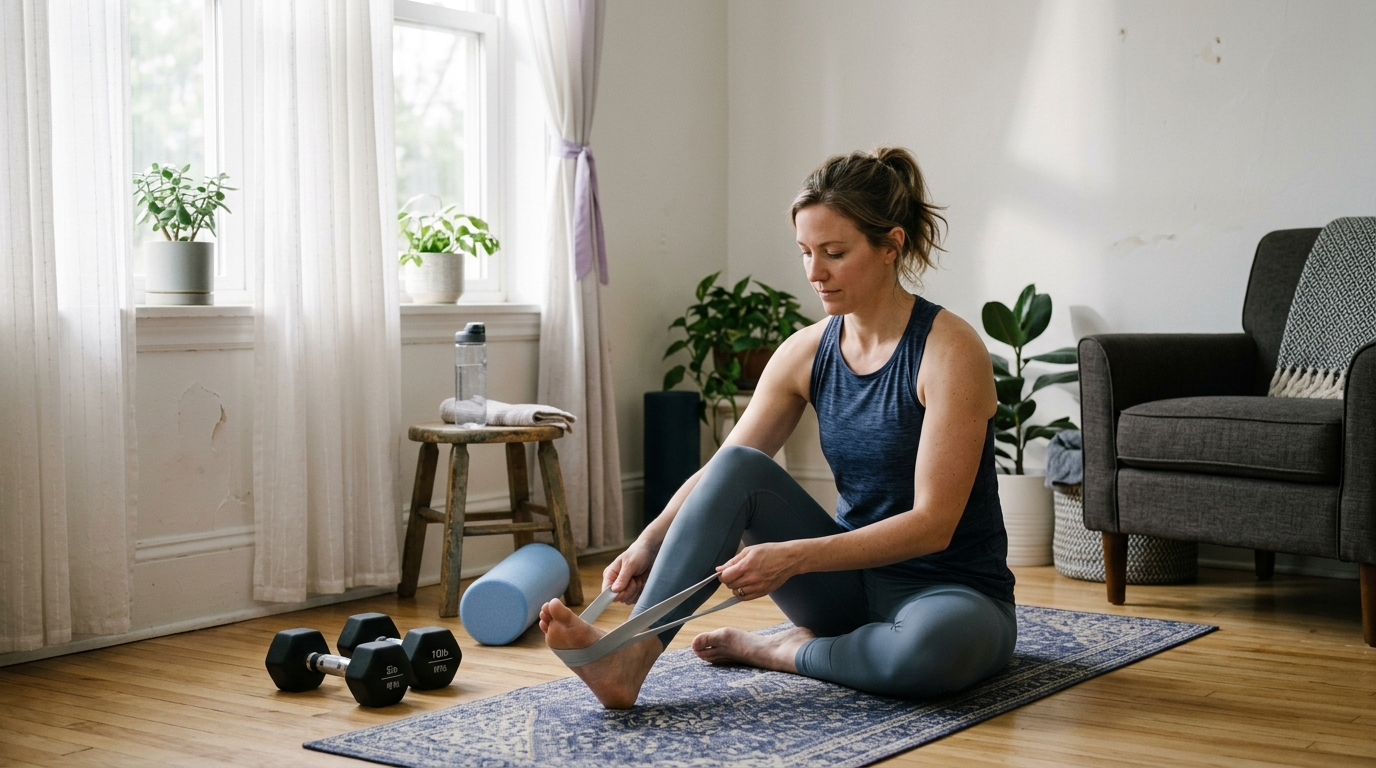
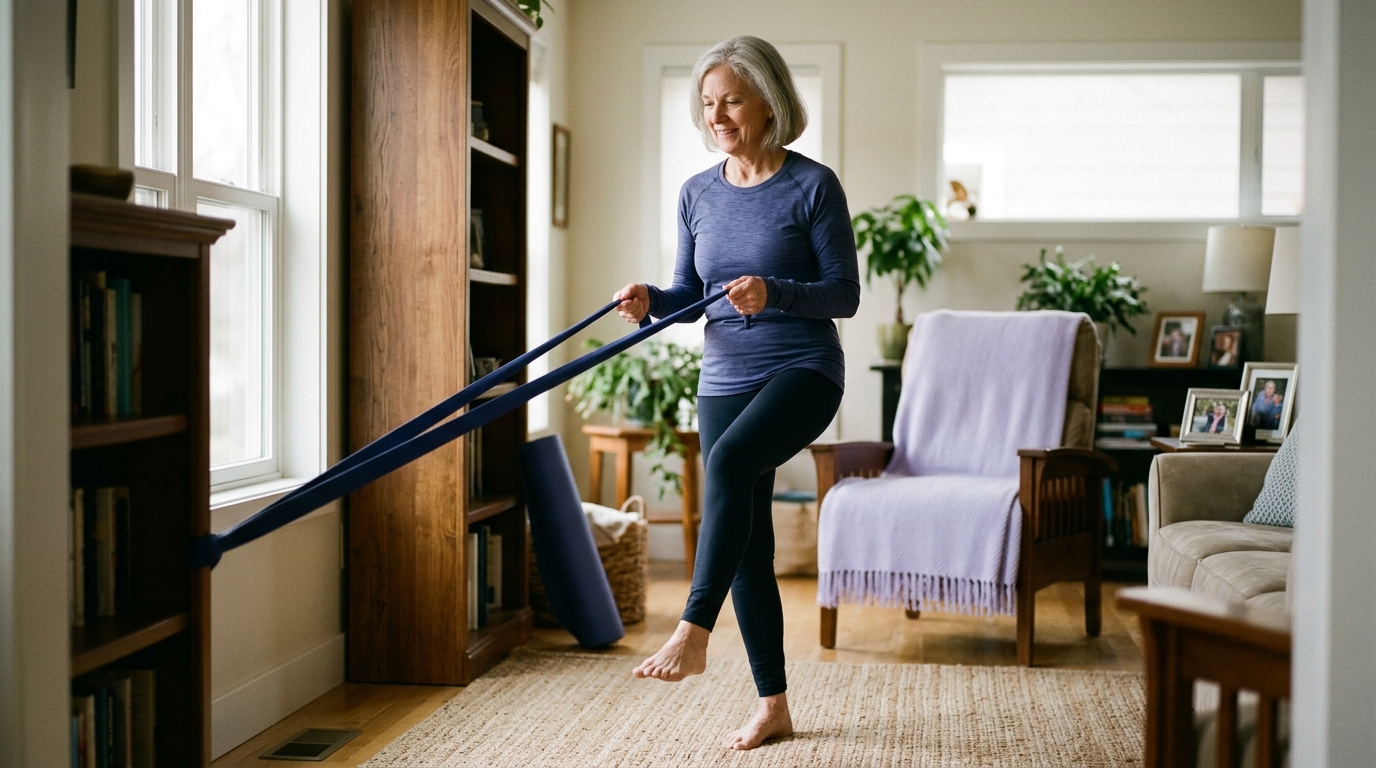
While these compensations may allow someone to clear a step in the short term, they increase fatigue and destabilize balance. Addressing joint range through targeted mobility work is essential for smooth stair mechanics.
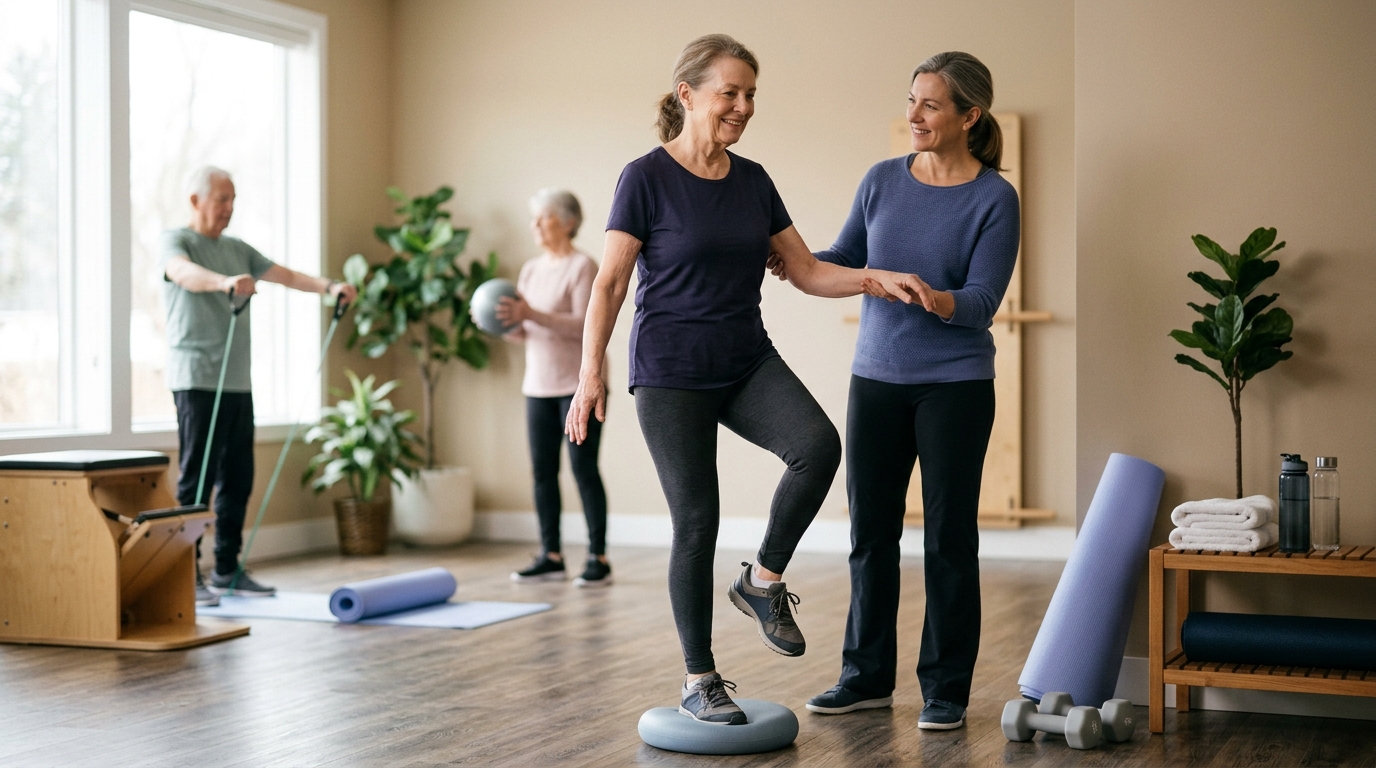
As demonstrated in The Journals of Gerontology research, physical strength is only part of the equation. Sensory feedback from the soles of the feet and proprioceptive receptors in the ankles tell the brain where the body is in space. Peripheral neuropathy, joint swelling, or nerve compression can dull these signals, making step placement feel uncertain.
Vision plays an equally crucial role. Contrast sensitivity allows you to distinguish where one step ends and the next begins. Poor lighting, patterned carpets that camouflage step edges, or bifocal glasses that distort lower-field depth perception can significantly impair stair safety.
Psychological factors like fear of falling, pain, and low vitality also directly alter movement. Fear often causes people to stiffen their joints, take shallow breaths, and rush their movements, paradoxically increasing the risk of a misstep. Acknowledging fear and addressing it through supported, graded exposure is a vital component of recovery.
How you structure your practice sessions and the mental cues you use can substantially improve movement efficiency. Rushing through stair practice often triggers muscle fatigue and breakdown of form.
Scientific studies examining stair negotiation time in community-dwelling older adults emphasize that test conditions, including well-lit staircases and handrails, provide the foundation for consistent performance. In practical rehabilitation, deliberate pacing ensures that each phase of weight transfer and foot clearance is fully controlled.
Avoid viewing speed as a metric of success. Moving slowly and deliberately allows the nervous system to process sensory feedback and execute precise motor commands.
Use a clear cadence:
Taking brief pauses on a landing or between steps is not a sign of poor conditioning. Pausing is an intelligent adaptive strategy that lets you reset your visual focus, check your balance, and prevent accumulated fatigue.
Verbal mnemonics and simple cues help organize multi-step sequences, particularly when navigating fatigue or brain fog after surgery.
Postoperative leaflets frequently use the classic phrase: "Up with the good, down with the bad."
This traditional cue reminds patients to lead with the unaffected (stronger) leg when climbing up, and to lead with the affected (weaker) leg or walking aid when climbing down. While this mnemonic is helpful for many orthopedic conditions, it is not a universal rule for every diagnosis.
Tailor your mental cues to your specific focus area. If your knee tends to collapse inward, use the cue "Knee over laces." If you tend to catch your toe on the riser, use the cue "Knee high, heel flat." Short, actionable phrases keep attention focused on movement quality.
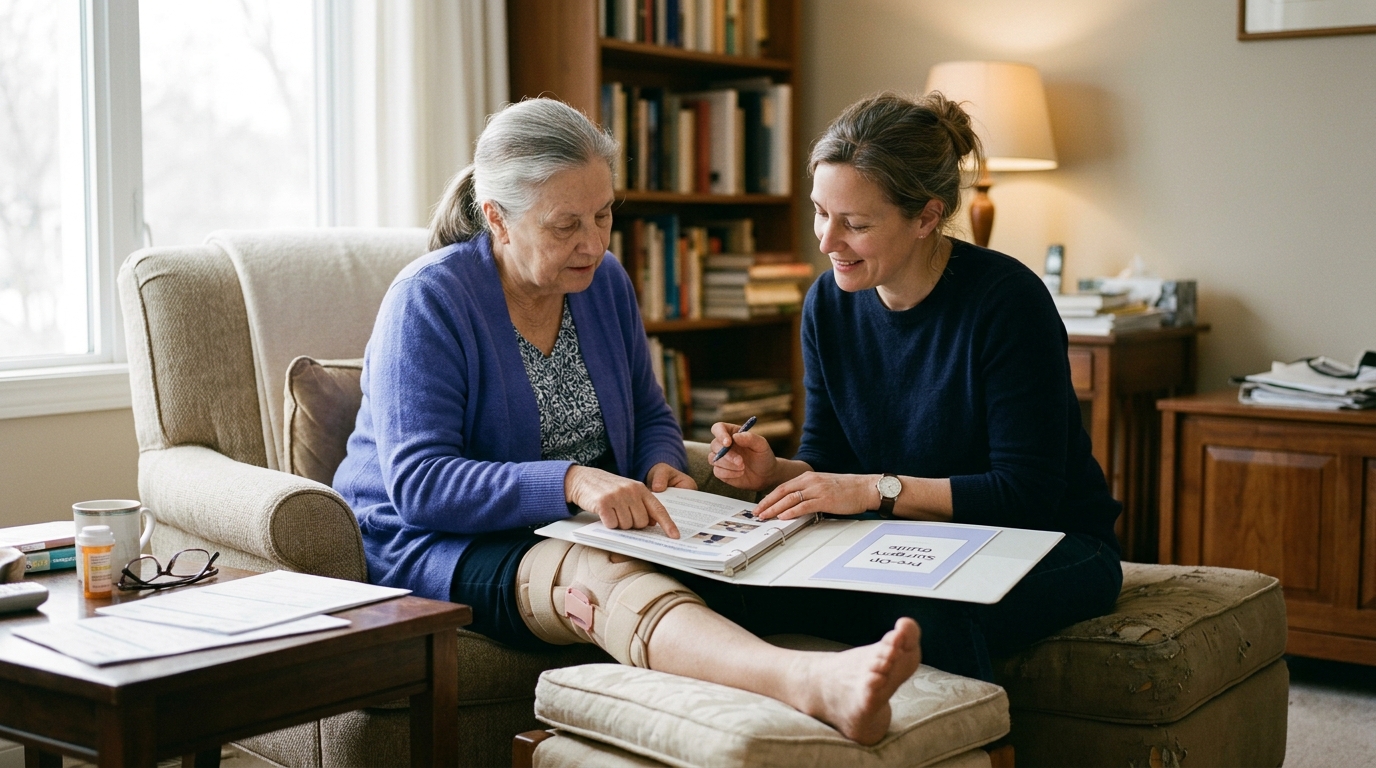
Environmental modifications reduce task difficulty and enhance safety while you rebuild capacity. Hospital discharge guidelines frequently highlight home setup as a critical element of fall prevention.
Consider the following home adjustments:
For more insights on setting up sustainable routines and daily movement environments, explore our resources on active aging and long-term prevention.
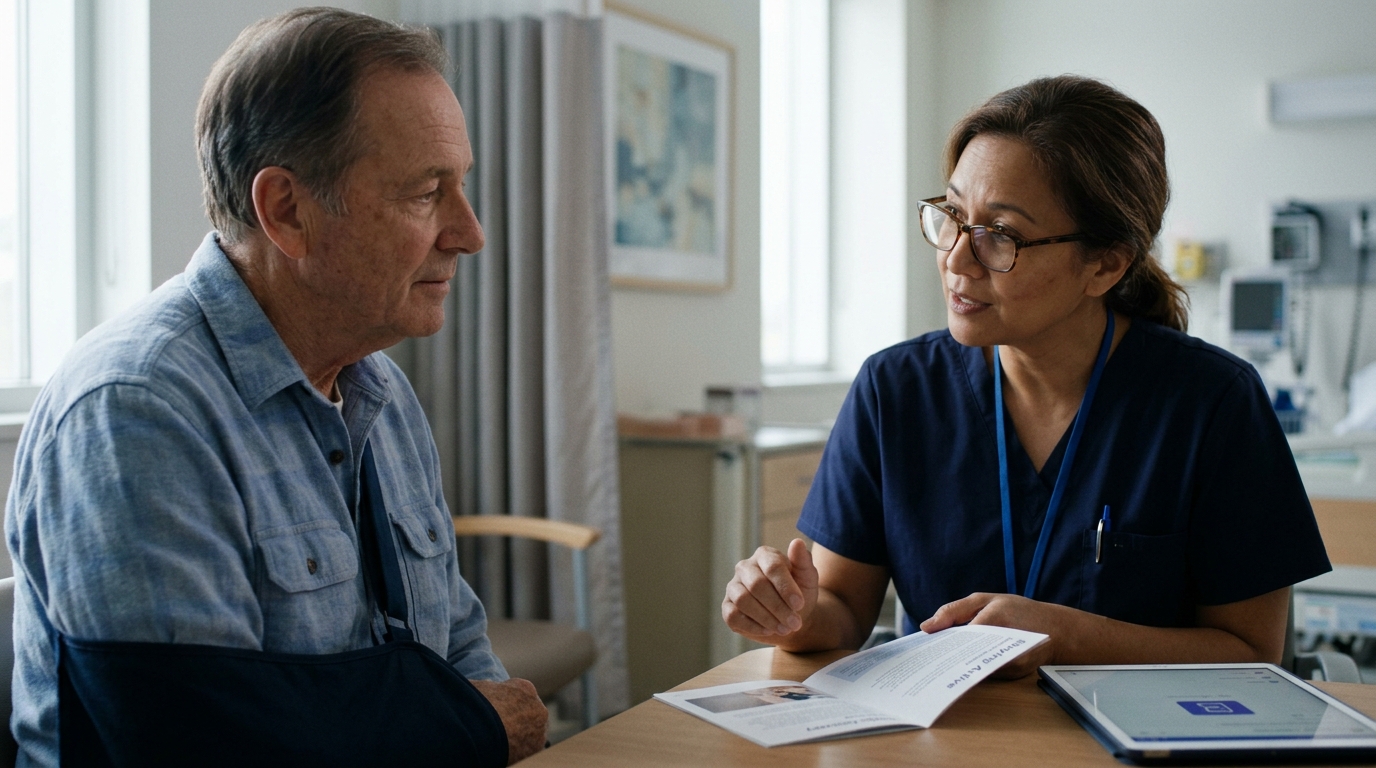
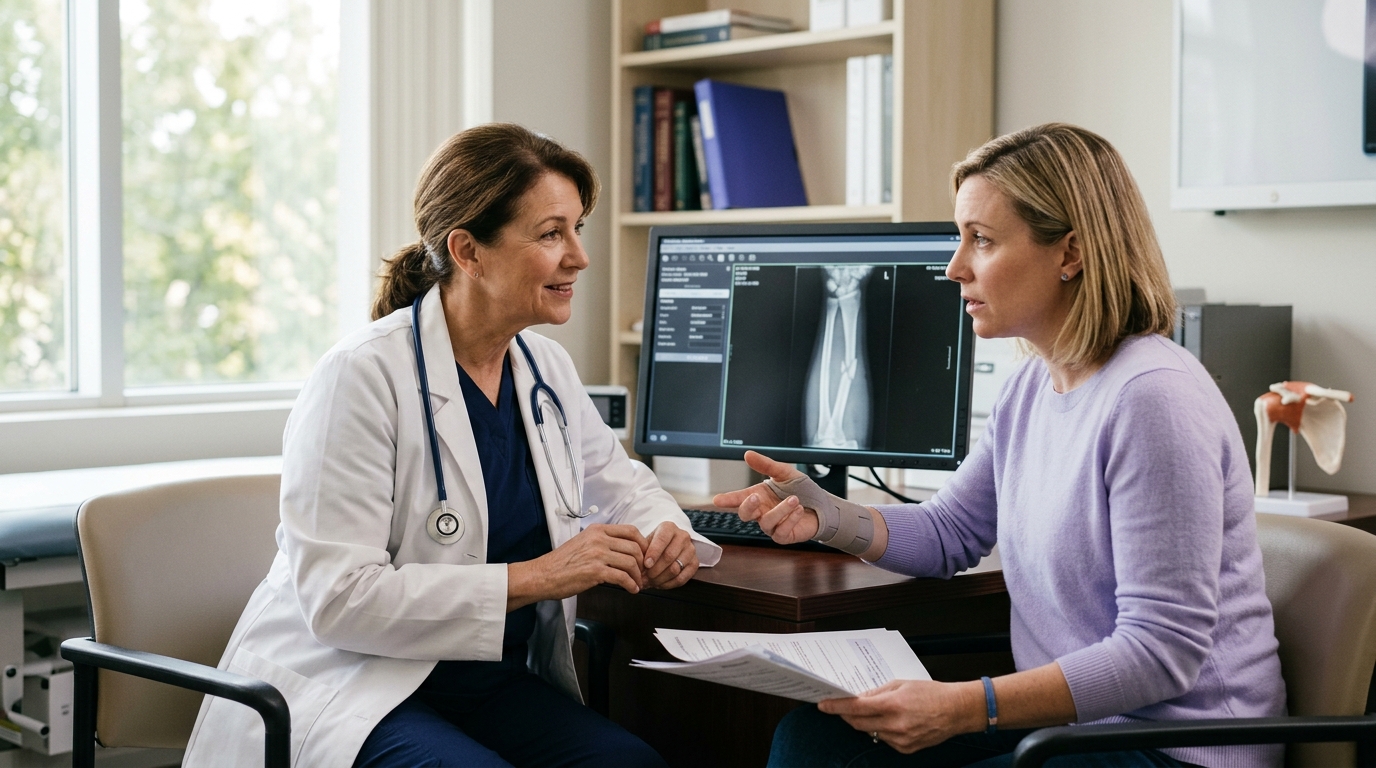
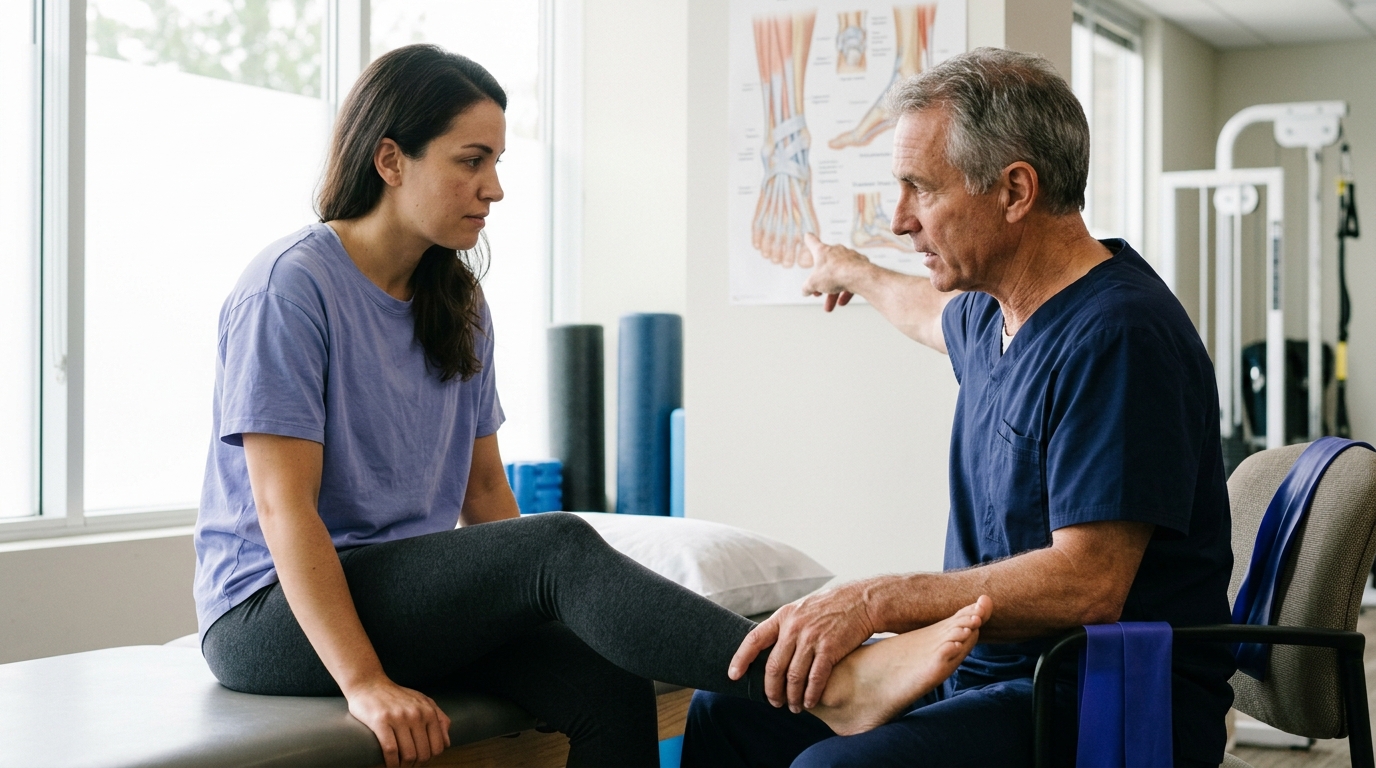
Navigating stair rehabilitation should always be done in close collaboration with your physical therapist, orthopedic surgeon, or physician. Every surgical procedure, injury, and neurological condition involves specific clinical nuances that generic guides cannot account for.
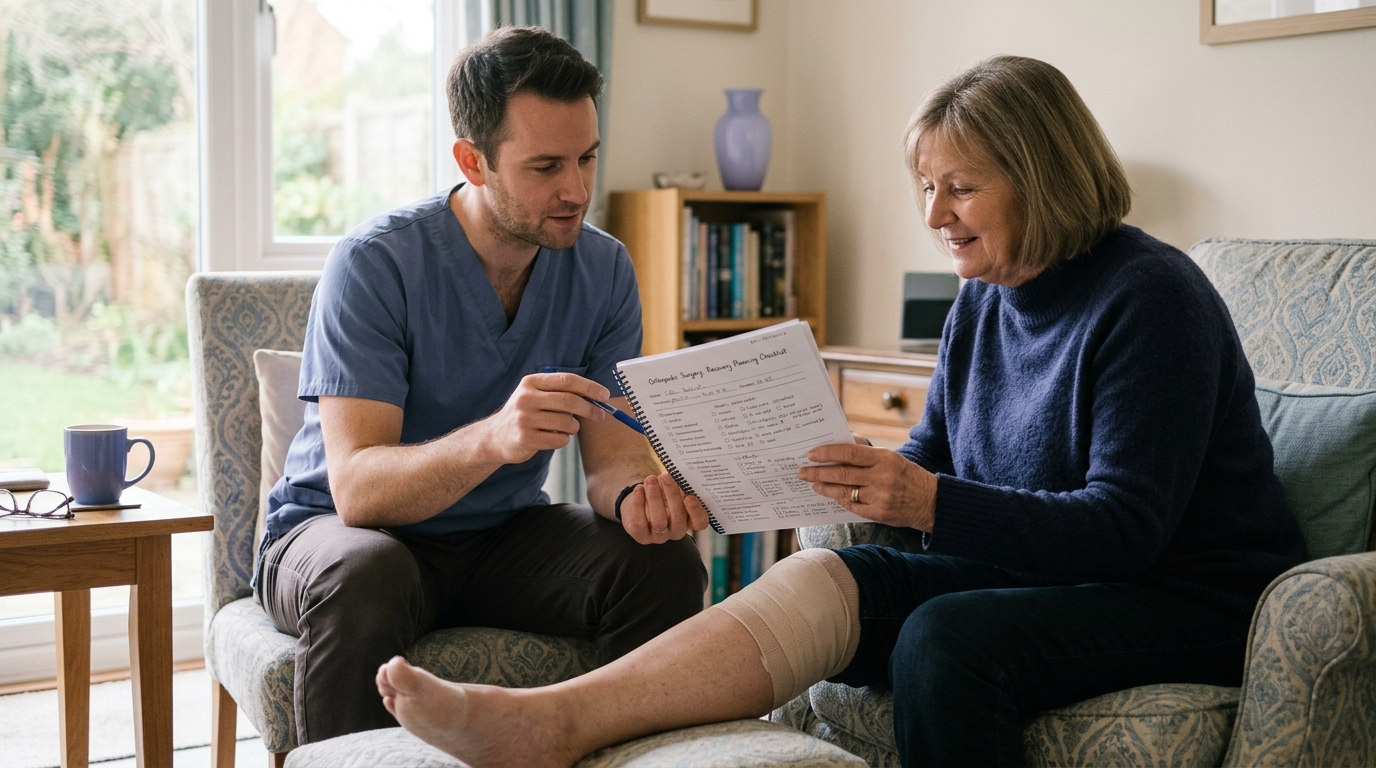
Use your clinical appointments to clarify your exact parameters, safety requirements, and progression milestones. Clear communication ensures that your home practice aligns perfectly with your medical healing timeline.
Here are practical questions to discuss with your healthcare team:
For further guidance on navigating postoperative protocols and communicating with your medical providers, browse our specialized surgery and rehabilitation resources.
Relearning how to navigate stairs after a physical setback is a structured process of motor relearning, strength rebuilding, and sensory integration. Stairs place substantial physical demands on the human body, requiring coordinated muscle force, eccentric joint control, proprioception, visual contrast, and postural balance.
By viewing stairs through the combined framework of your personal capacities, the specific movement task, and your physical environment, you can approach recovery systematically. Breaking the movement down into low steps, utilizing handrails and prescribed walking aids, and respecting individual healing timelines transforms an overwhelming barrier into a steady series of achievable progressions.
Patience, deliberate pacing, and adherence to medical guidelines are the cornerstones of safe, long-term stair independence.
With structured practice, appropriate environmental support, and guidance from your clinical team, rebuilding stair confidence is an achievable component of regaining everyday functional mobility.

Use ReboundBody resources to understand common recovery stages, rehab terms, movement limits and strength rebuilding. Each guide is designed to make a complex comeback easier to understand.


Read practical guidance on injury recovery, rehabilitation, mobility and rebuilding strength as you work your way back to activity.
Explore Resources