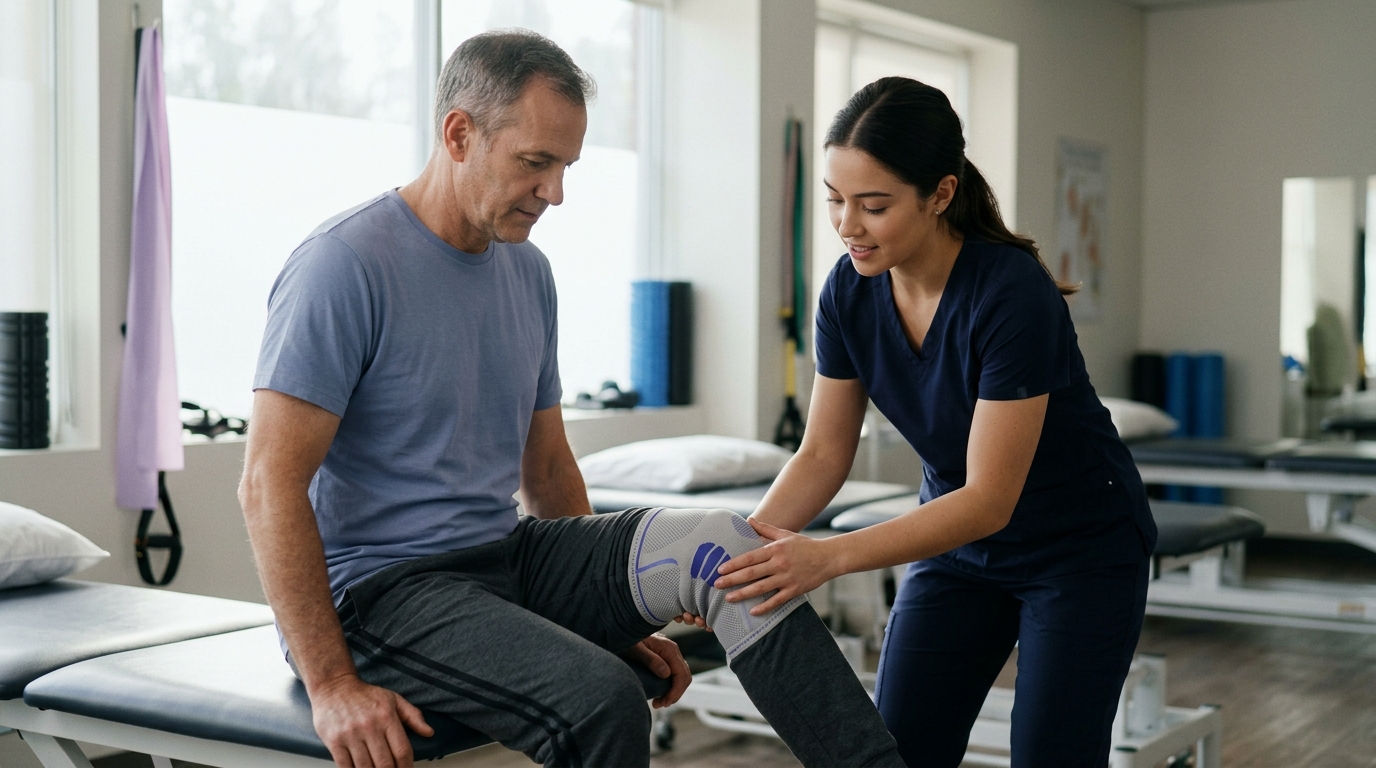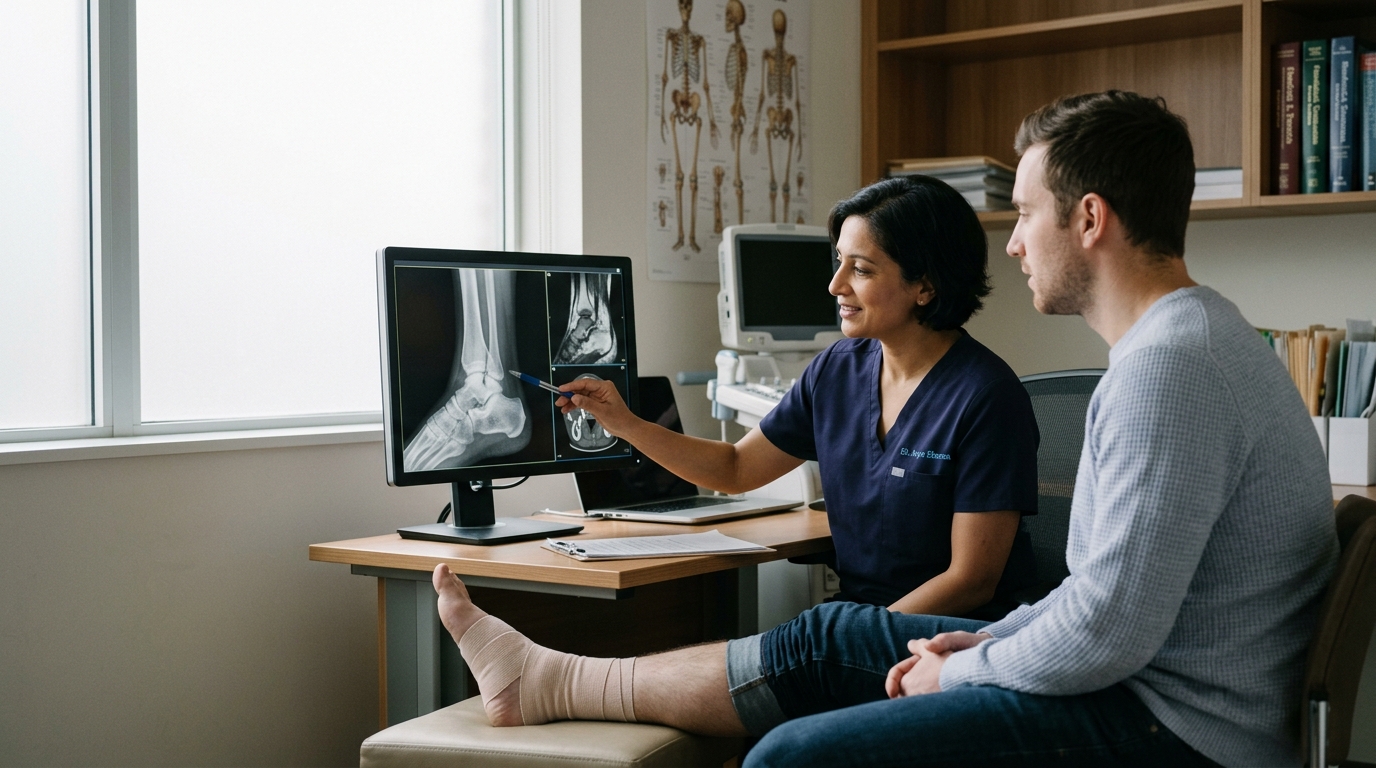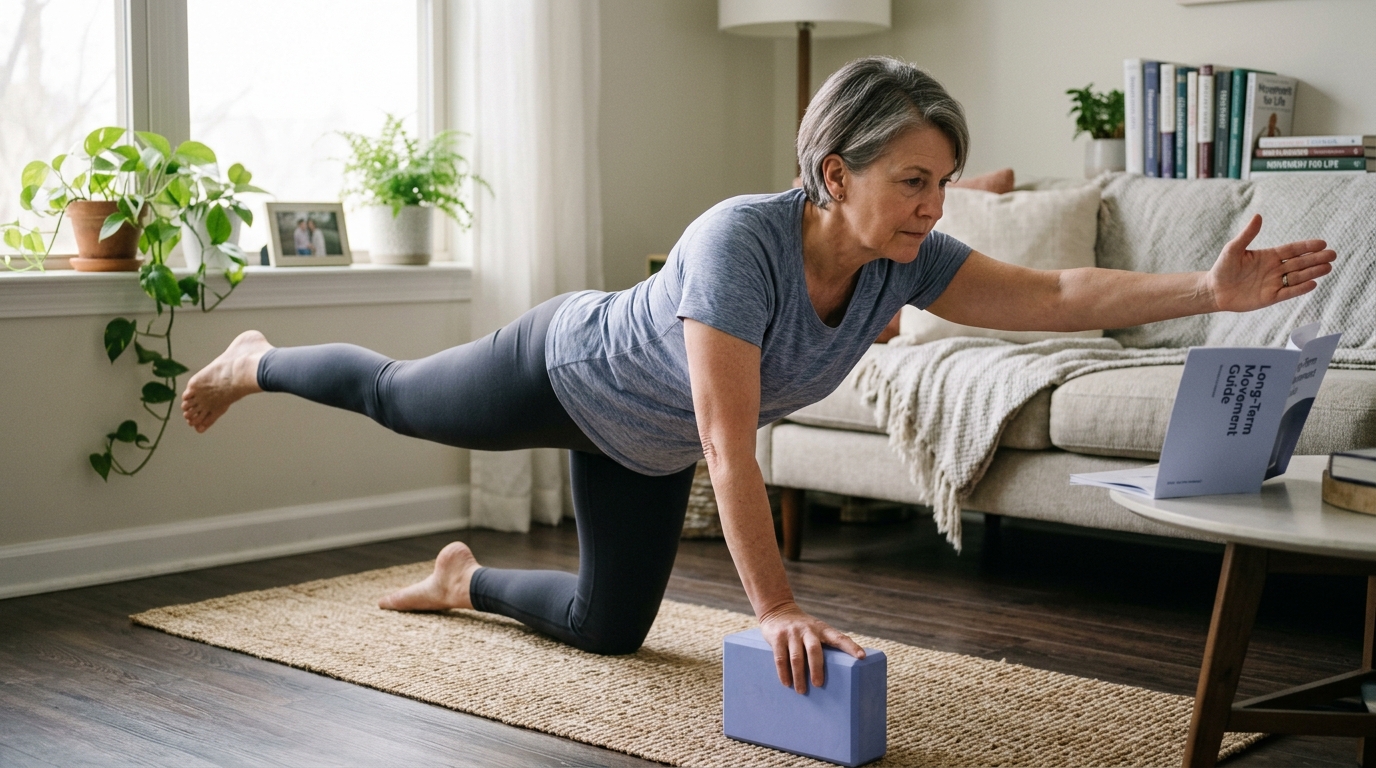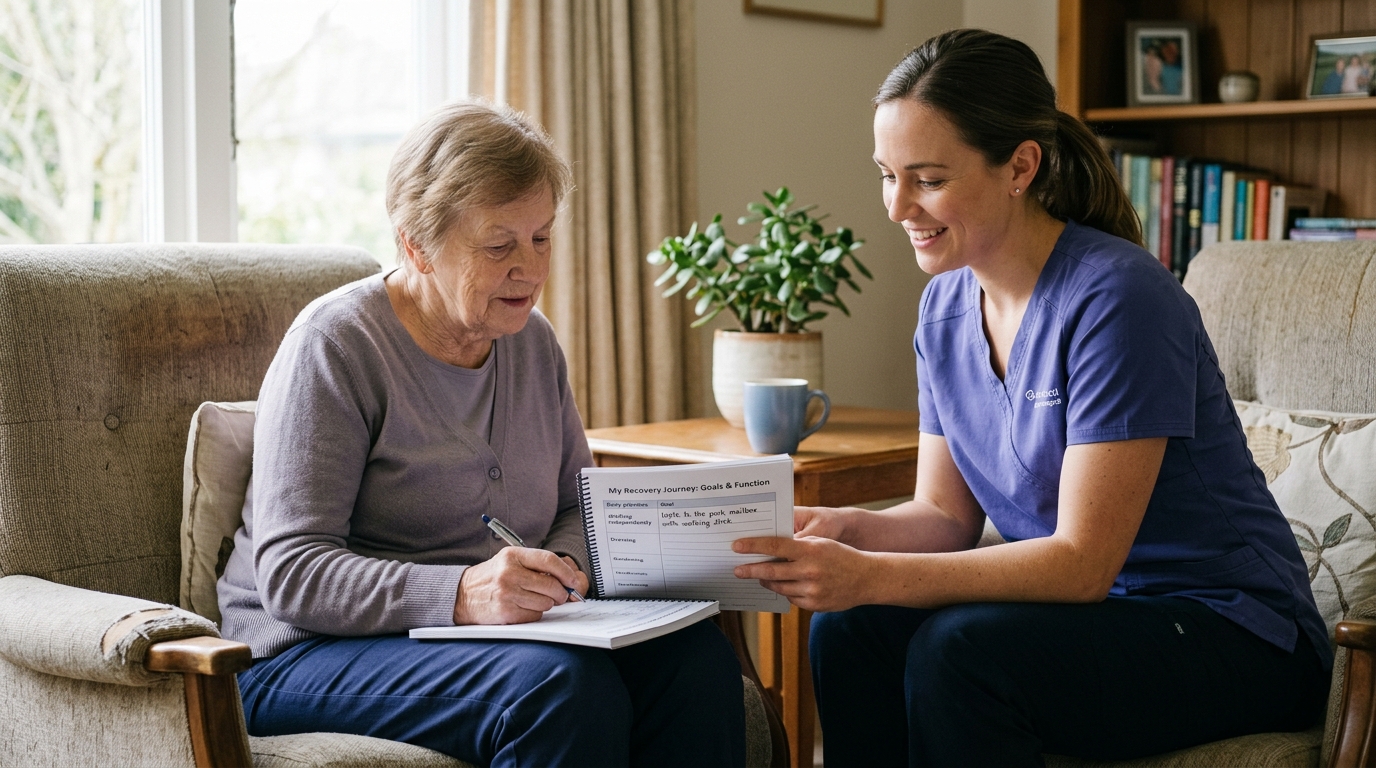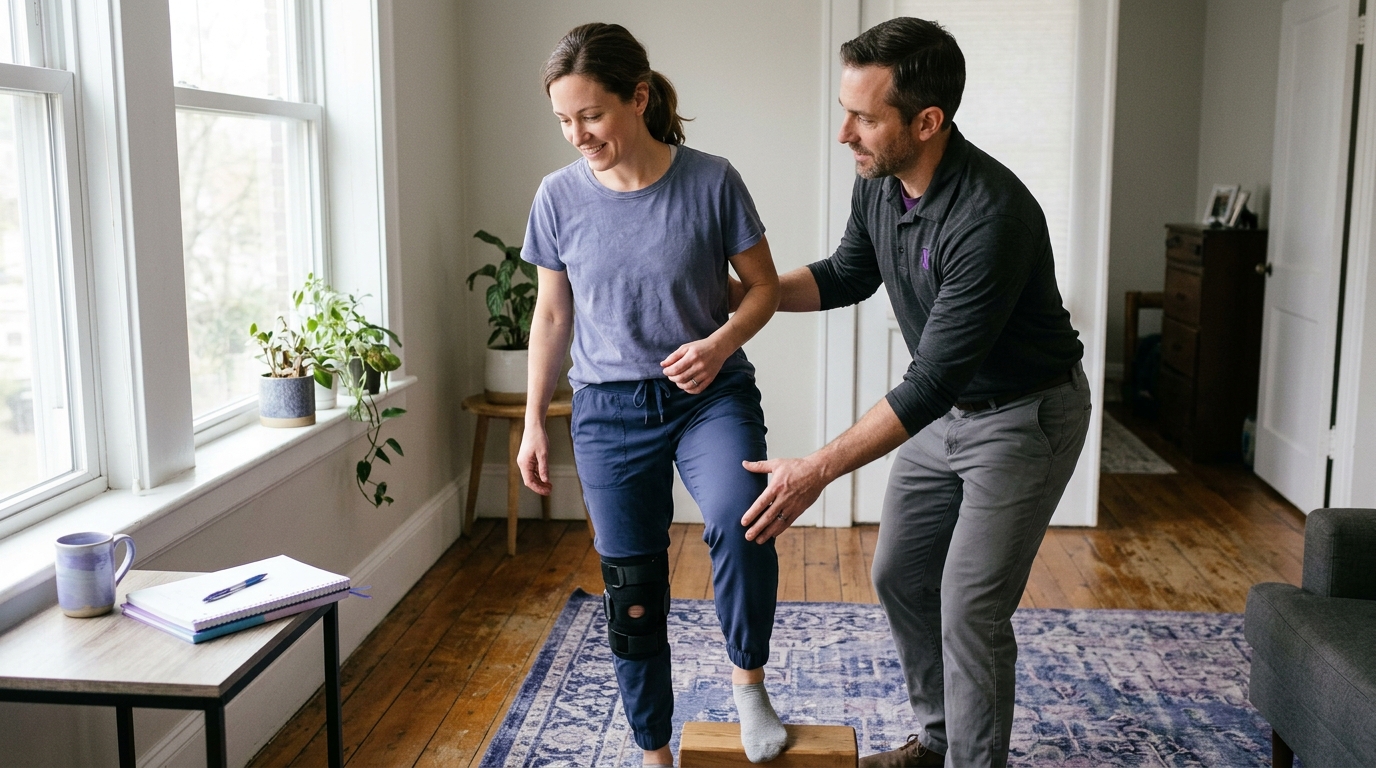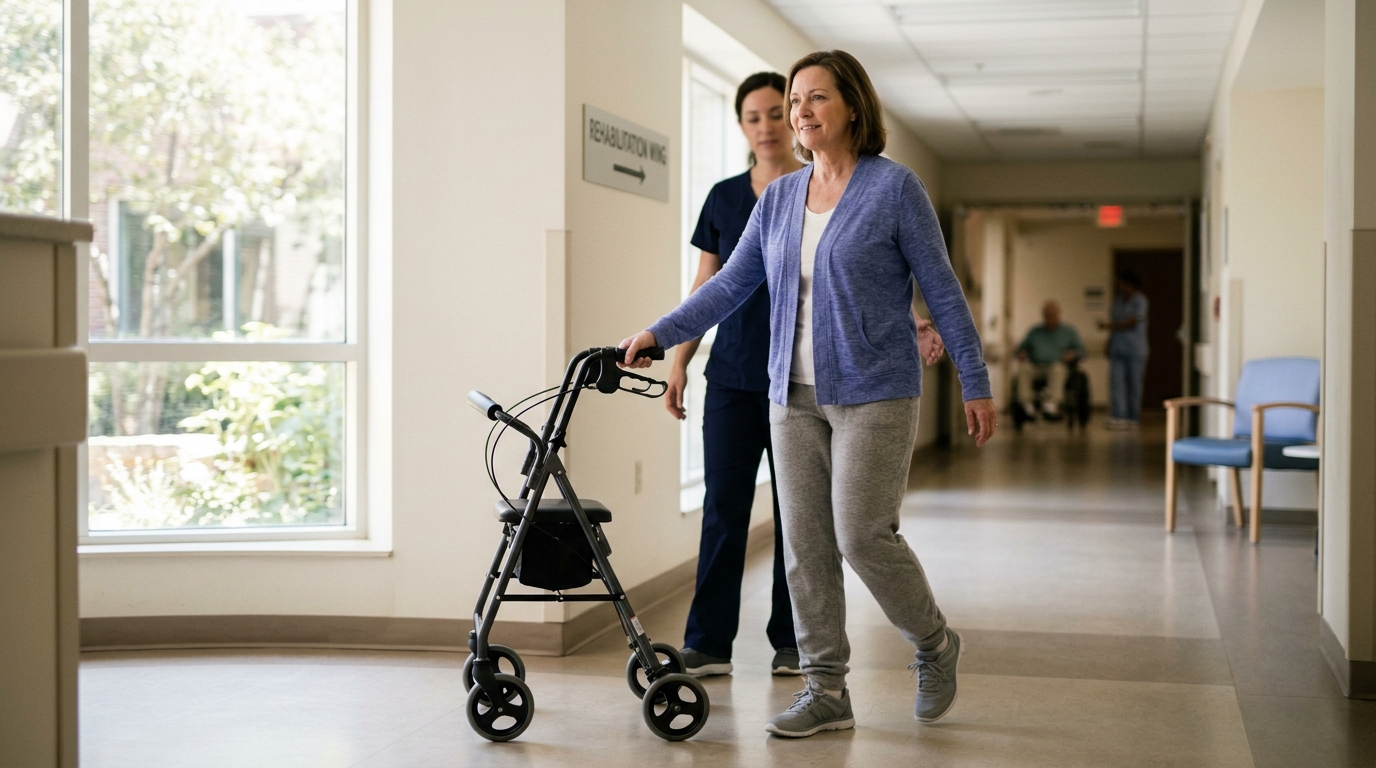

Five standardized weight-bearing stages guide your safe transition from surgical mobility aids to independent walking through structured rehabilitation and milestone tracking.





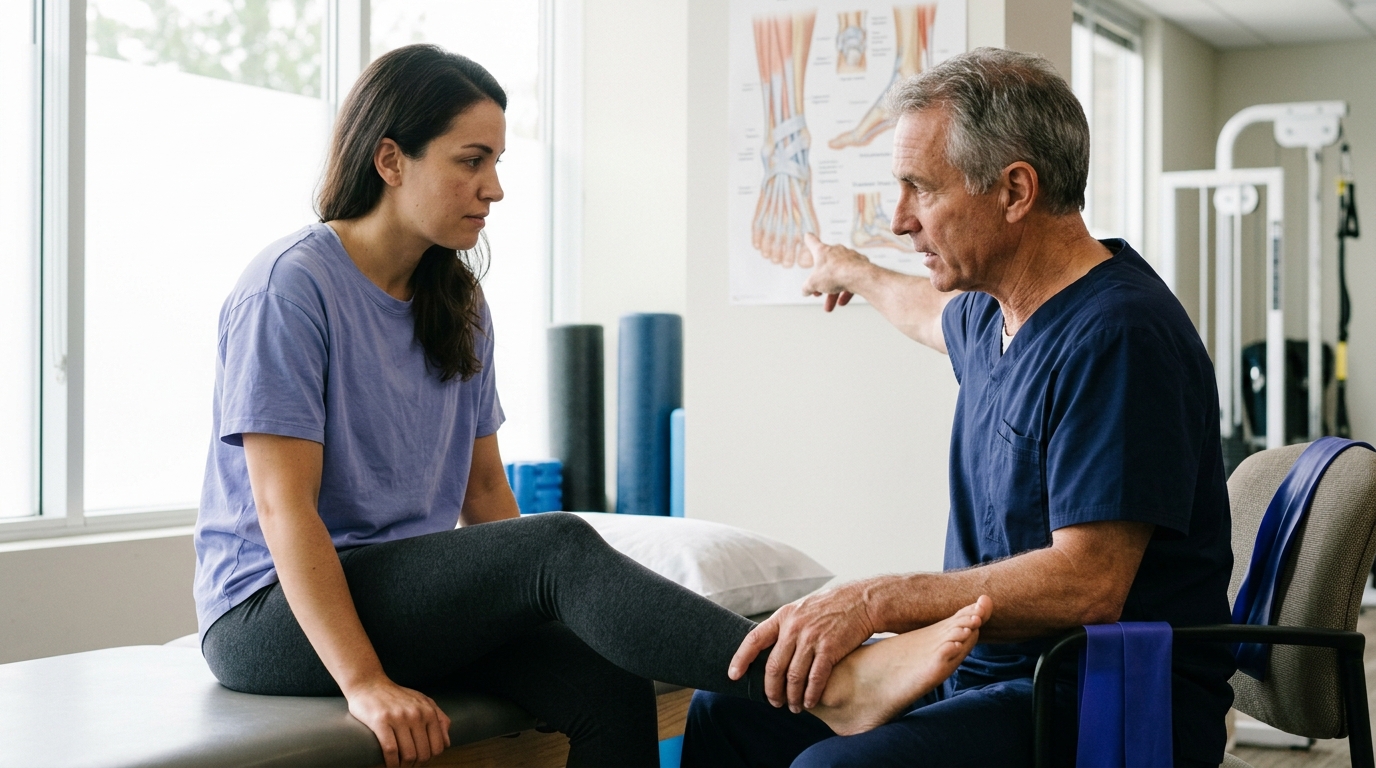
You take your first tentative steps down the hospital hallway, hands gripping the frame of a walker. Your physical therapist walks beside you, matching your slow pace and watching every footfall. You might wonder how these short, guarded steps will ever turn back into your normal, smooth stride across a grocery store parking lot or neighborhood park.
Walking recovery after orthopedic surgery is a gradual transition rather than a single event. It requires restoring tissue healing, joint mobility, muscular strength, and nervous system coordination. Moving from a mobility aid to independent walking depends on biological healing, the specific operation performed, and guidance from your surgical team.
Rushing to discard a walker, crutches, or a cane before your body is ready can lead to lasting gait compensations or setbacks. Understanding how walking mechanics recover helps you work with your rehabilitation team to rebuild steady, lasting mobility.
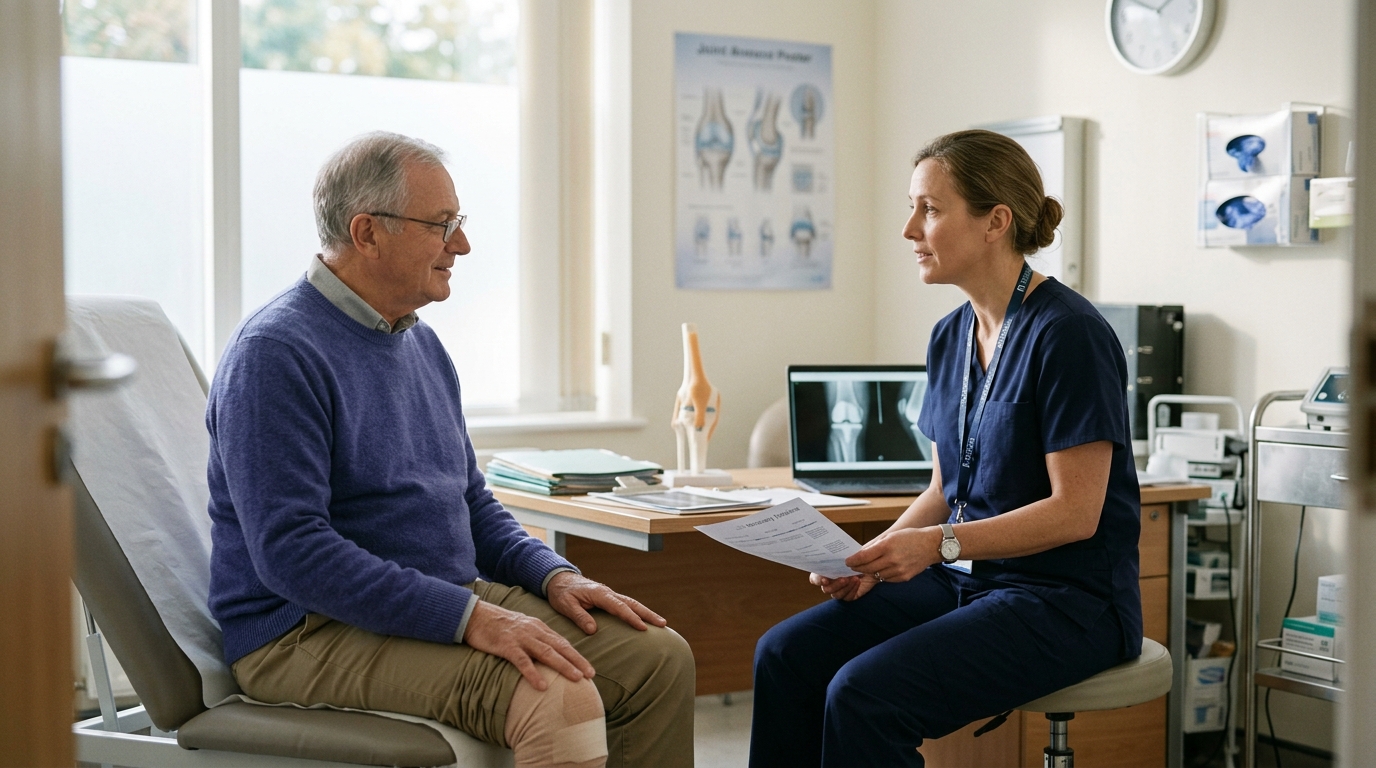
Before you take your first steps after surgery, your surgeon establishes your weight-bearing status. This medical order defines exactly how much force your operated limb can safely absorb. Following these boundaries protects surgical hardware, healing bone, and repaired soft tissues while they mend.
Weight-bearing orders are not suggestions based on how tough you feel. They are strict safety guidelines determined by the mechanical stability of your surgical repair. While two patients might have similar incisions, their internal bone quality or hardware fixation may require completely different loading limits.
Orthopedic teams generally use several standardized weight-bearing categories:
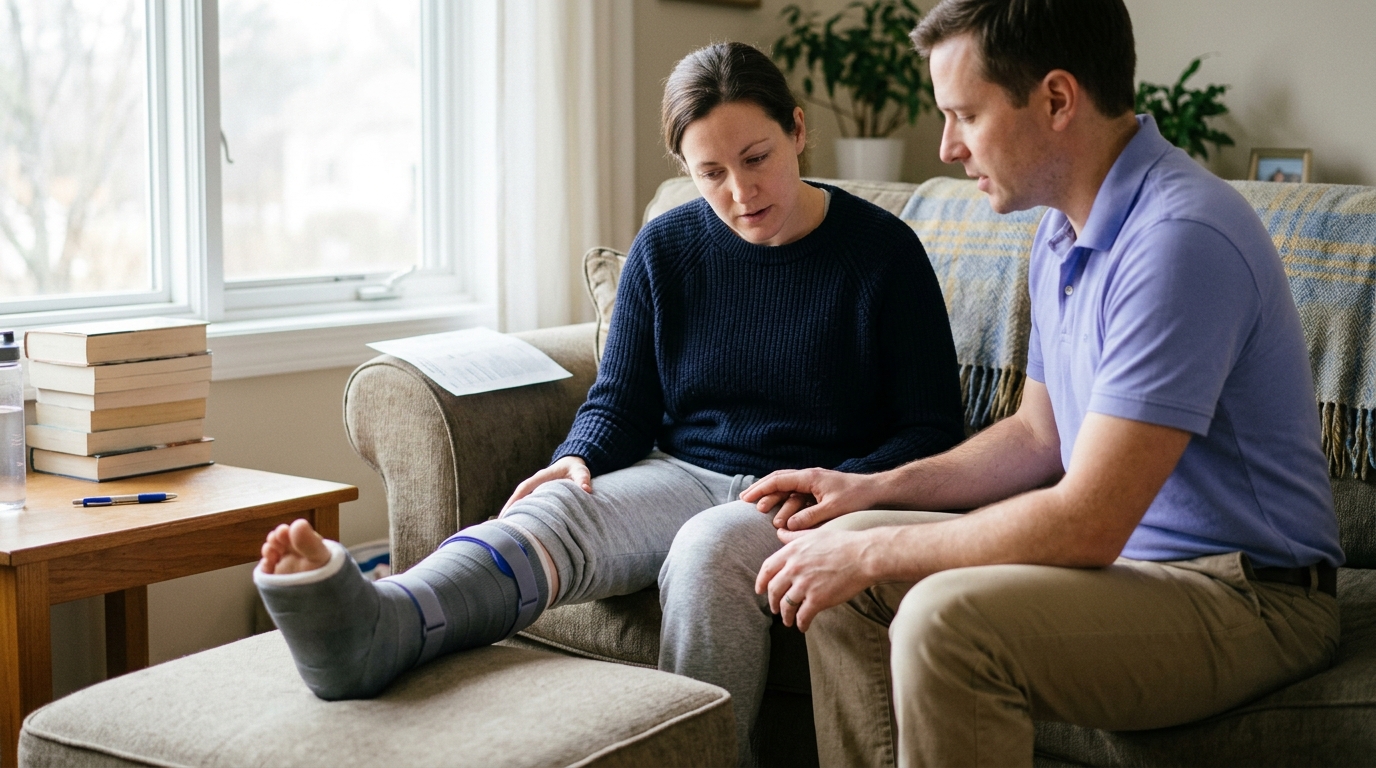
Non-weight-bearing means no weight whatsoever may pass through the operated limb. The foot must not touch the floor during walking, standing, sitting down, or rising from a chair. You will use a walker, crutches, or a specialized mobility device to support your full body weight on the non-operated leg and arms.
Touch-down weight-bearing allows you to rest your foot lightly on the floor solely for balance. You should imagine resting your foot on an egg without cracking the shell. No actual body weight is placed through the leg during the step.
Partial weight-bearing allows a specific portion of your body weight to pass through the healing limb. Clinical guidelines often define this as up to 50 percent of your body weight, though your surgeon may specify a different percentage or scale. You must continue using crutches or a walker to offload the remaining weight.
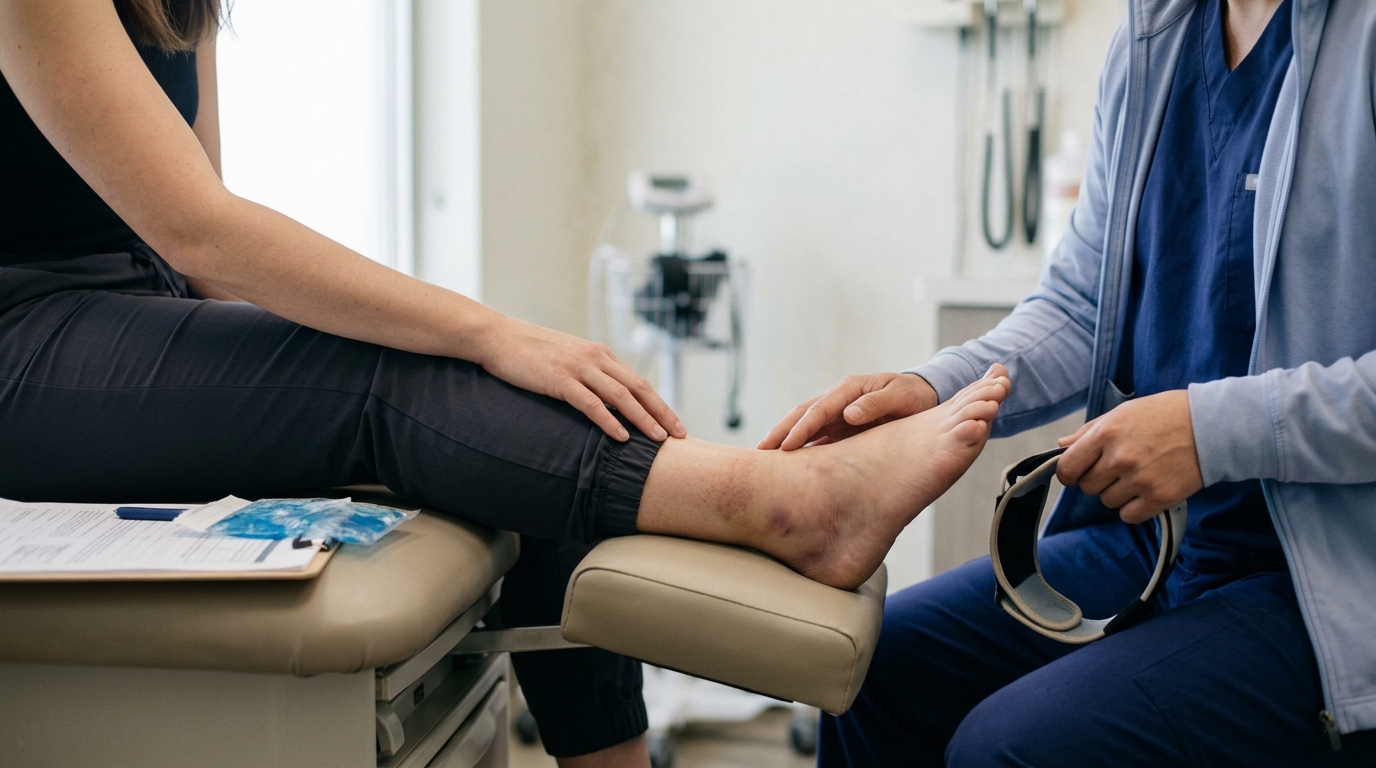
This specialized restriction is common after foot and ankle operations. It allows loading through only one specific part of the foot, such as the heel, while protecting repaired bones or tendons elsewhere. Patients usually wear a rigid postoperative boot or surgical shoe to maintain this position.
Weight-bearing as tolerated permits you to place as much weight on the leg as feels comfortable. You may use a walking aid for balance, joint comfort, or stability, gradually increasing the load as your strength improves and discomfort subsides. However, this status does not mean you should ignore pain or walk with a severe limp.
If you are ever unsure about your exact loading instructions, ask your surgical or therapy team to demonstrate the correct technique. Clarifying your boundaries early prevents accidental overload during daily tasks. You can learn more about general surgical healing principles across our surgical recovery resources.
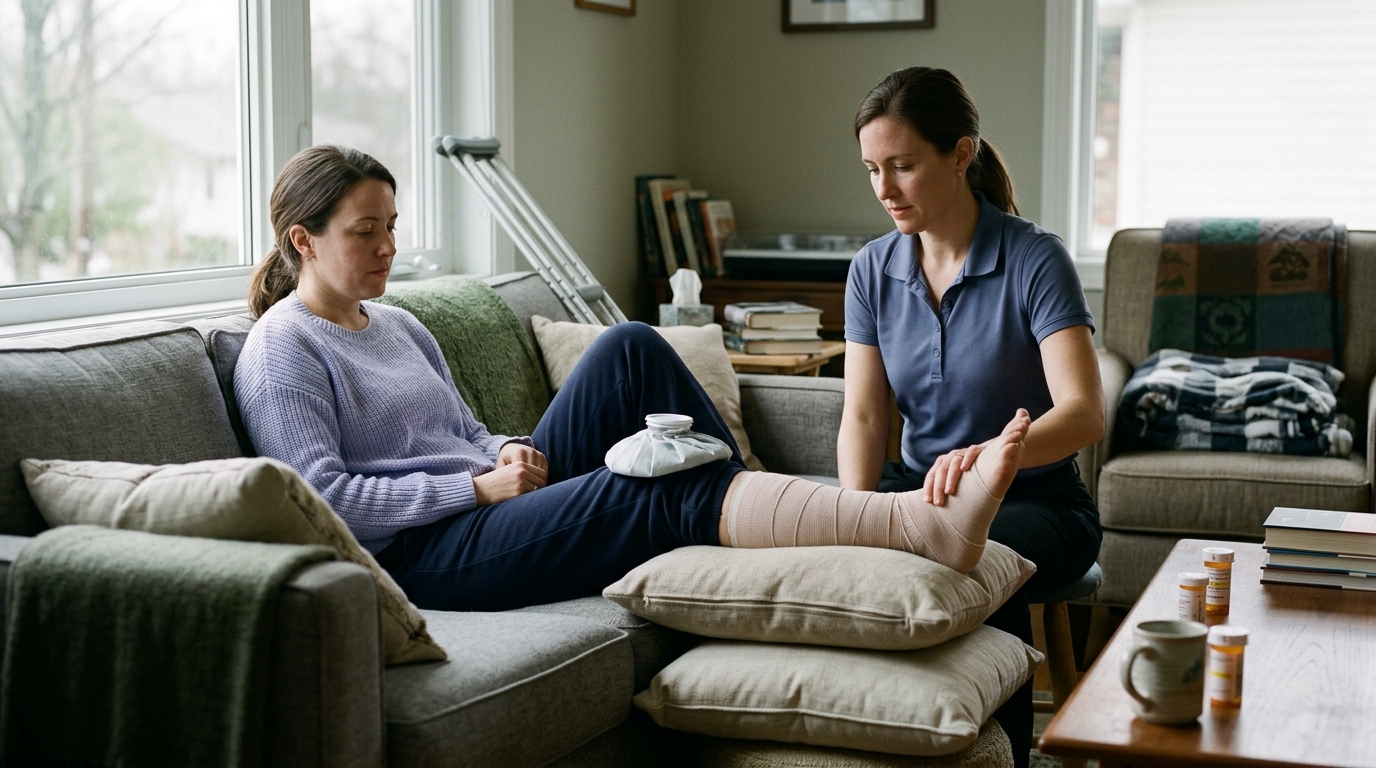
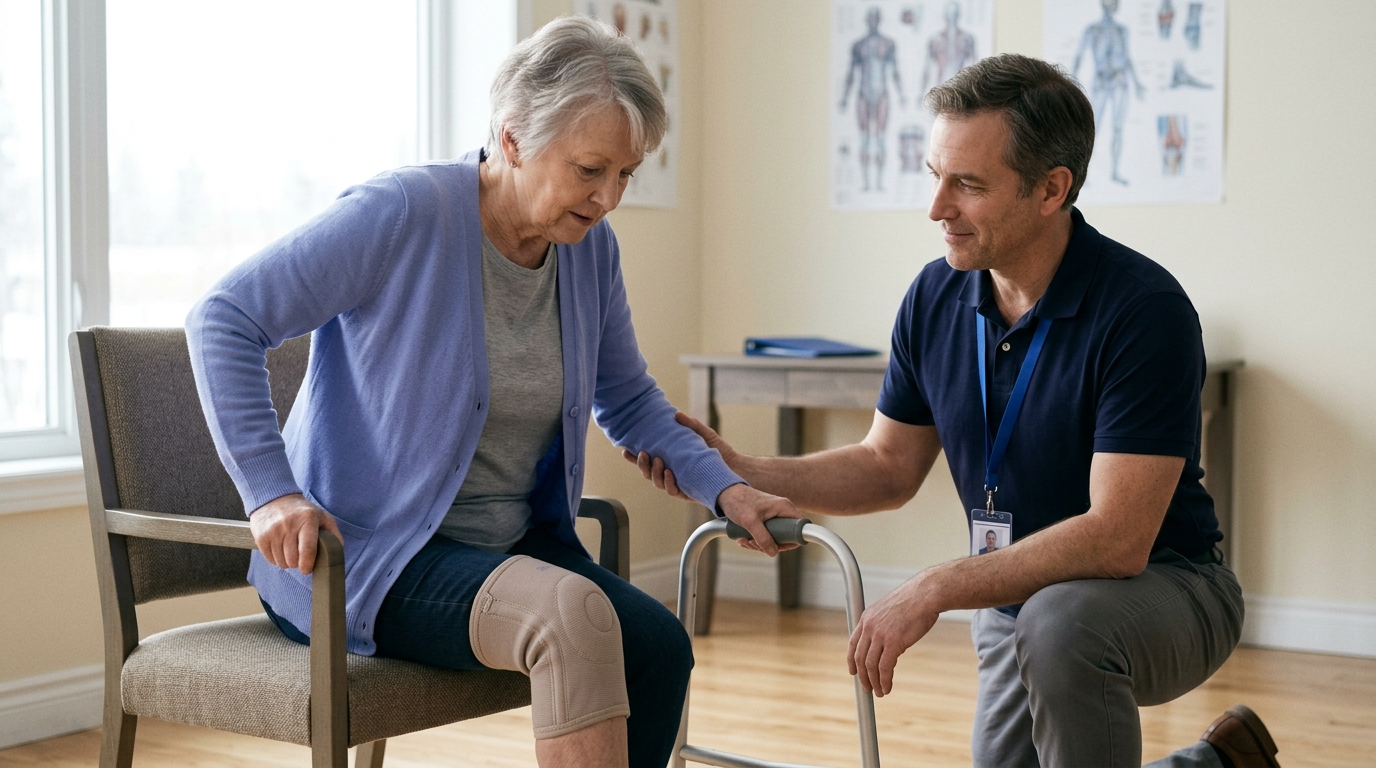
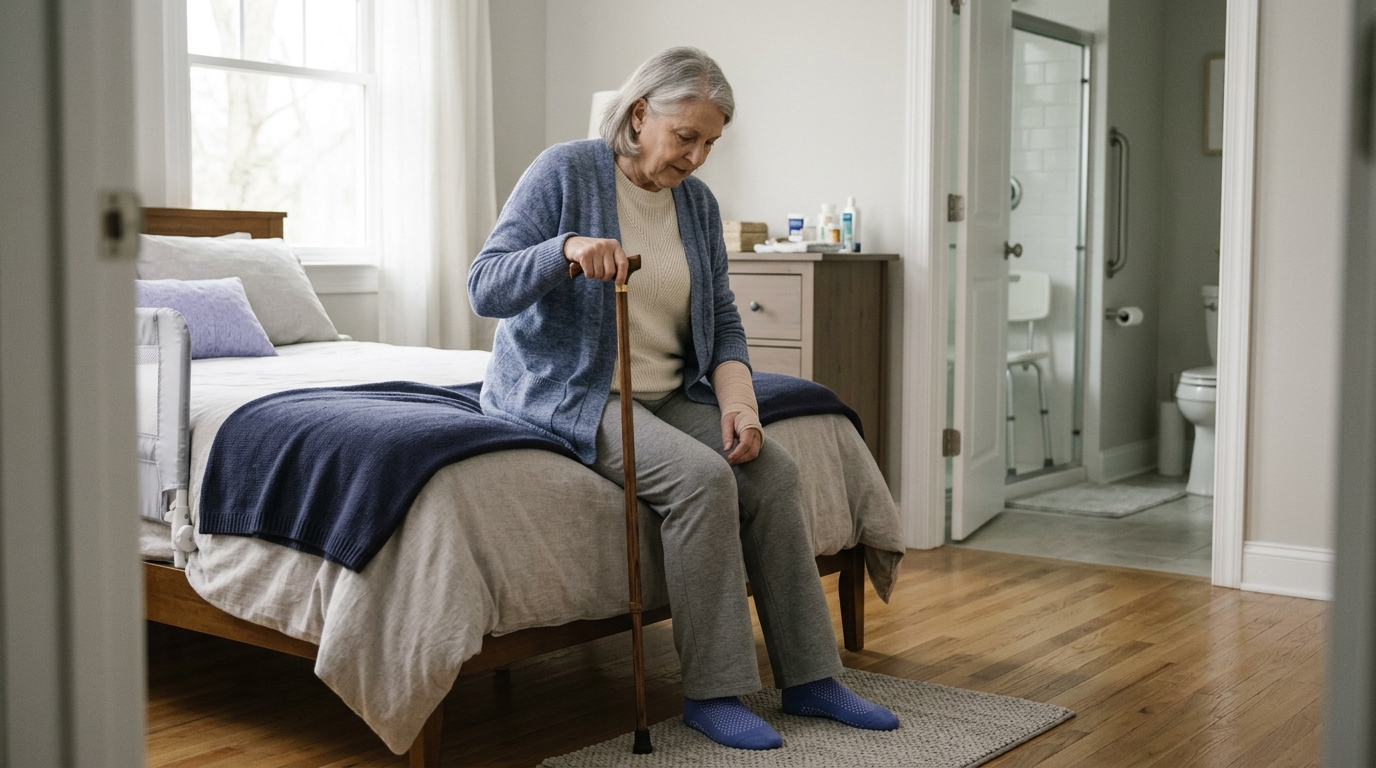
Many people view mobility aids as signs of limitation that should be discarded as quickly as possible. In orthopedic rehabilitation, a walker, crutches, or a cane serves as an essential rehabilitation tool. These devices manage joint stress, assist balance, prevent falls, and encourage a normal walking pattern while your muscles regain their strength.
Using an aid allows your brain to practice proper stepping mechanics without triggering protective muscle spasms or joint irritation. When you offload a healing limb, your nervous system can coordinate a smoother, more symmetrical stride. This reduces the risk of developing compensatory movement habits that can be difficult to unlearn later.
Rehabilitation teams often guide patients through a structured progression of devices:
A critical rule when using a single cane or crutch is to hold the device in the hand opposite your operated side. As you step forward with the surgical leg, you advance the cane simultaneously. This mirrors the natural opposite-arm swing of human gait and shifts your center of gravity, reducing the demand on healing hip and knee musculature.
There is a major difference between being able to take a few steps without an aid and being ready to walk safely without one. If discarding your cane causes you to limp, sway your torso, or experience increased joint swelling, your musculoskeletal system is not yet prepared for full unassisted loading.
Using an aid for several extra weeks allows your hip abductors, quadriceps, and calf muscles to build sufficient endurance. MedlinePlus and orthopedic clinical protocols emphasize using your walking aid for as long as needed rather than rushing to meet an arbitrary date.
Orthopedic surgery research demonstrates that walking recovery involves far more than just the distance you can cover. Researchers assess walking quality using measurable biomechanical factors such as walking speed, cadence, stride length, single-limb support time, joint range of motion, and symmetry between both legs.
When an individual suffers from severe joint arthritis or injury before surgery, they often develop chronic gait alterations. They may take shorter steps, lean their trunk over the painful side, or spend less time bearing weight on that leg. Clinical evidence shows that these altered movement patterns frequently persist after the structural problem has been surgically corrected.
A comprehensive systematic review and meta-analysis evaluated biomechanical gait recovery following total hip arthroplasty for osteoarthritis. The researchers found significant early improvements by six weeks after surgery in walking speed, stride length, step length, and transverse-plane hip range of motion compared to preoperative measurements.
However, when comparing surgical patients to healthy individuals at 12 months post-surgery, the researchers identified persistent deficits. Patients who underwent total hip replacement continued to demonstrate lower walking speed, shorter stride length, reduced single-limb support time, and decreased sagittal-plane hip range of motion. Kinematic analyses confirm that dynamic range of motion, hip adduction angles, and step symmetry often show subtle differences from healthy control groups long after the incision has healed.
These findings show that while surgery and early recovery bring substantial functional improvements, subtle differences in walking mechanics can remain. Recognizing this helps patients set realistic expectations for their long-term movement patterns.
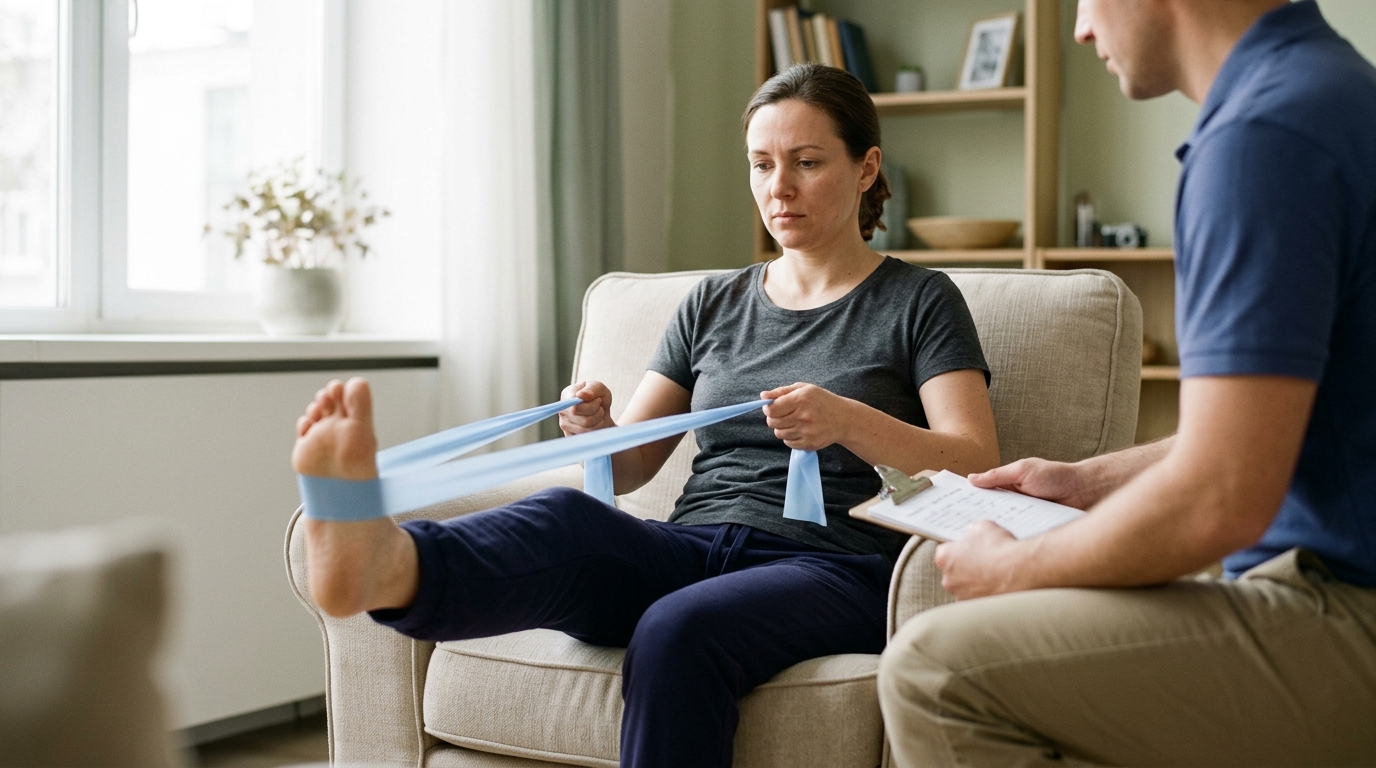
Targeted exercise plays a clear role in rebuilding walking mechanics. A systematic review evaluating physiotherapist-directed rehabilitation in outpatient and home settings following elective hip replacement demonstrated meaningful gains in functional metrics. Across the analyzed trials, supervised exercise programs improved hip abductor strength by an average of 16 Newton-meters, increased walking speed by 6 meters per minute, and raised cadence by 20 steps per minute.
The review noted that structured home-based programs produced functional improvements comparable to outpatient clinic visits. However, researchers emphasize that evidence for exercise therapy shows clear short-term improvements in gait and balance, whereas long-term differences between formal exercise and normal daily activity can be more variable. Continued movement practice remains important for maintaining physical capacity.
Functional recovery after total knee arthroplasty shows that walking capacity and velocity improve along distinct timelines. Systematic reviews measuring performance on the Six-Minute Walk Test report that patients often walk shorter distances at two weeks post-surgery compared to their preoperative baseline due to acute surgical swelling and pain.
By two years post-surgery, group averages show substantial improvement, reaching distance levels comparable to healthy reference groups. In a clinical study examining daily-life walking speed one year after knee replacement, participants walked an average of 0.10 meters per second faster than they did before surgery. However, their walking speed remained approximately 0.10 meters per second lower than that of healthy control subjects.
Another investigation tracked 170 patients after knee replacement and observed that walking speed at one and two weeks was significantly lower than before surgery. By three weeks, group walking speed returned to baseline levels, with half of the participants exceeding their preoperative speed. This variability highlights why group averages should never be taken as personal guarantees. You can review more movement principles in our mobility and movement guides.
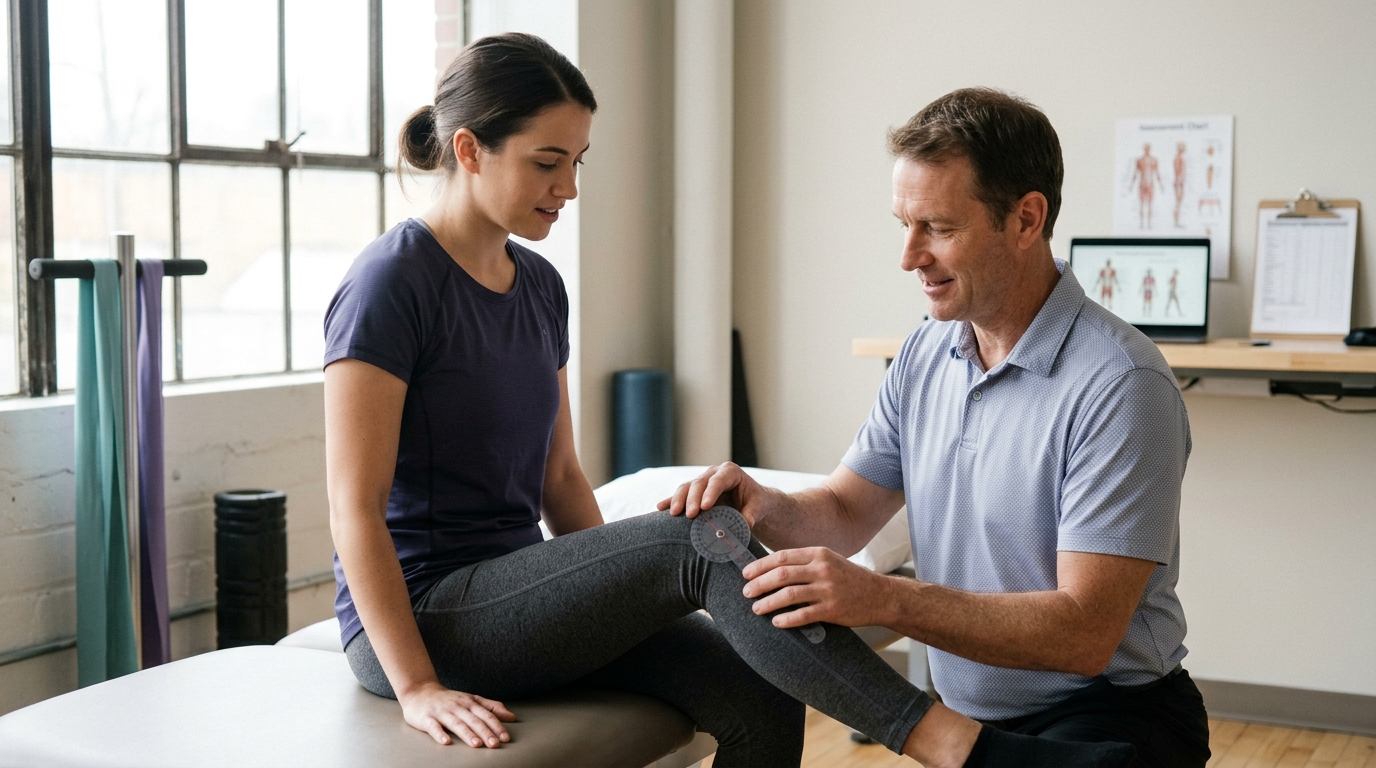
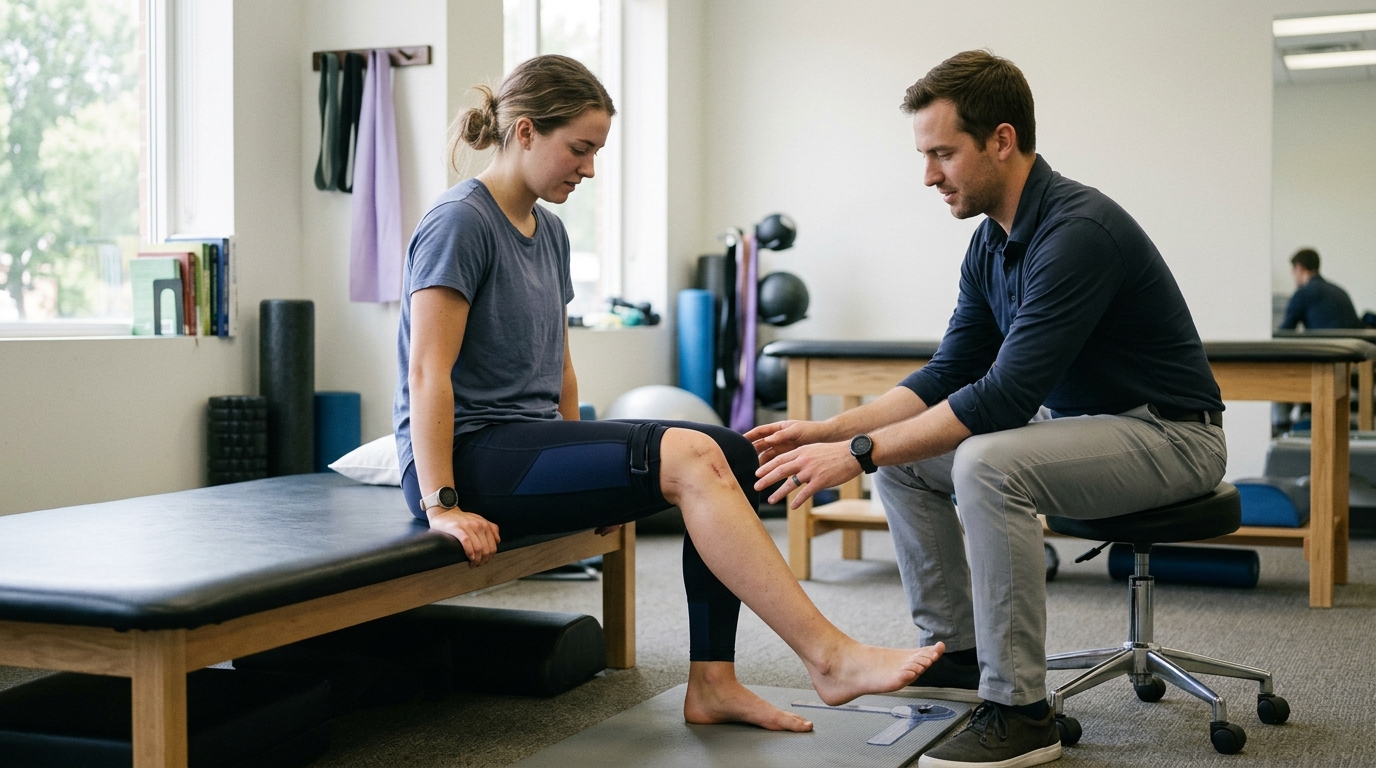
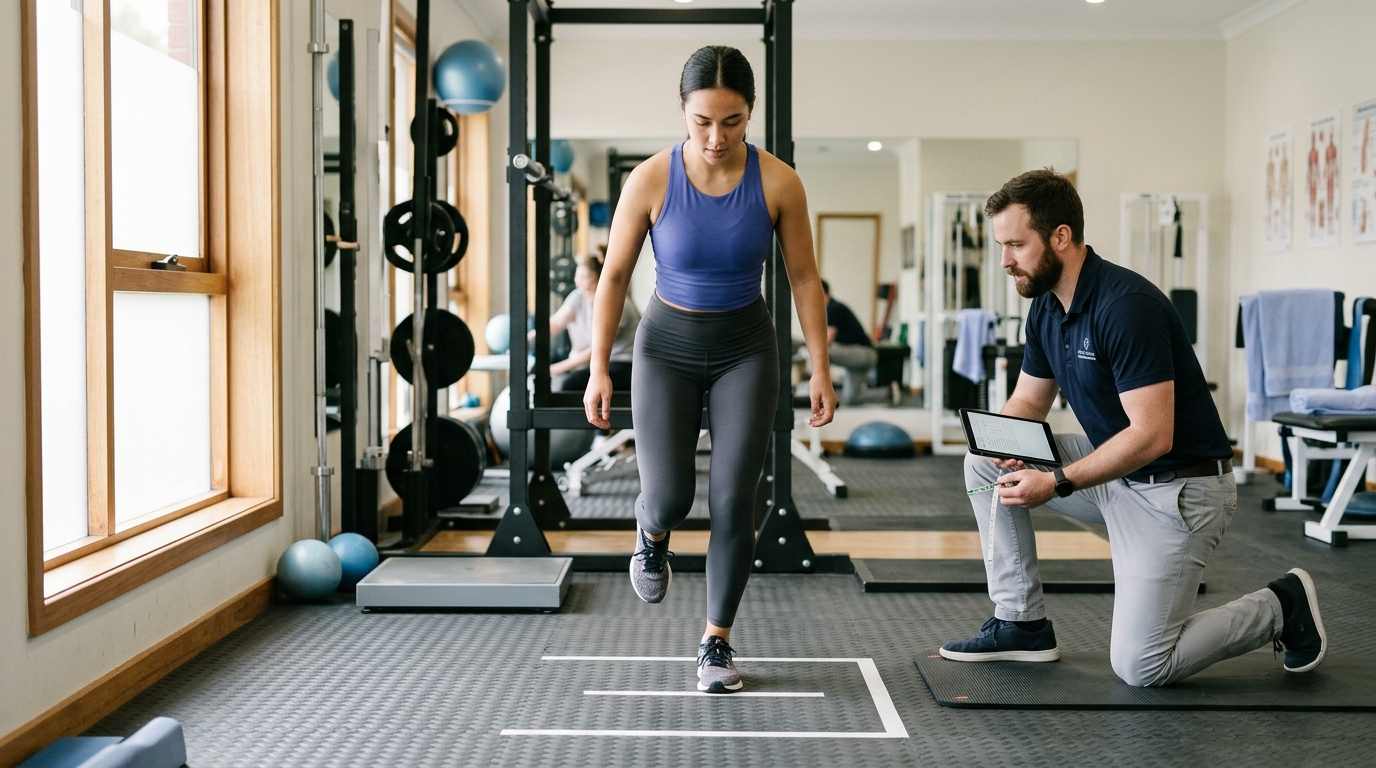
In a physical therapy clinic, walking is often evaluated using standardized tools like the Six-Minute Walk Test or a timed 10-meter walk across a flat, well-lit floor. While these tests provide valuable objective data about cardiovascular endurance and maximum walking speed, they do not capture the full complexity of daily life.
Everyday walking requires navigating an ever-changing physical environment. You must step over curbs, avoid obstacles, maintain your footing on uneven grass, turn your head to check traffic, and carry groceries or household items. These real-world tasks place dynamic demands on your balance, attention, and stabilizing muscles that flat clinic hallways do not replicate.
Furthermore, improved physical capacity measured during a clinical test does not automatically translate into a more active lifestyle at home. Systematic reviews and meta-analyses examining physical activity levels before and up to one year after primary hip replacement found no statistically significant increase in overall daily activity, despite marked improvements in pain and joint function. Accelerometer data in joint replacement studies show that actual movement-related activity levels may increase by less than one percent at six months post-surgery compared to preoperative baselines.
Several factors explain this gap between walking capacity and daily activity:
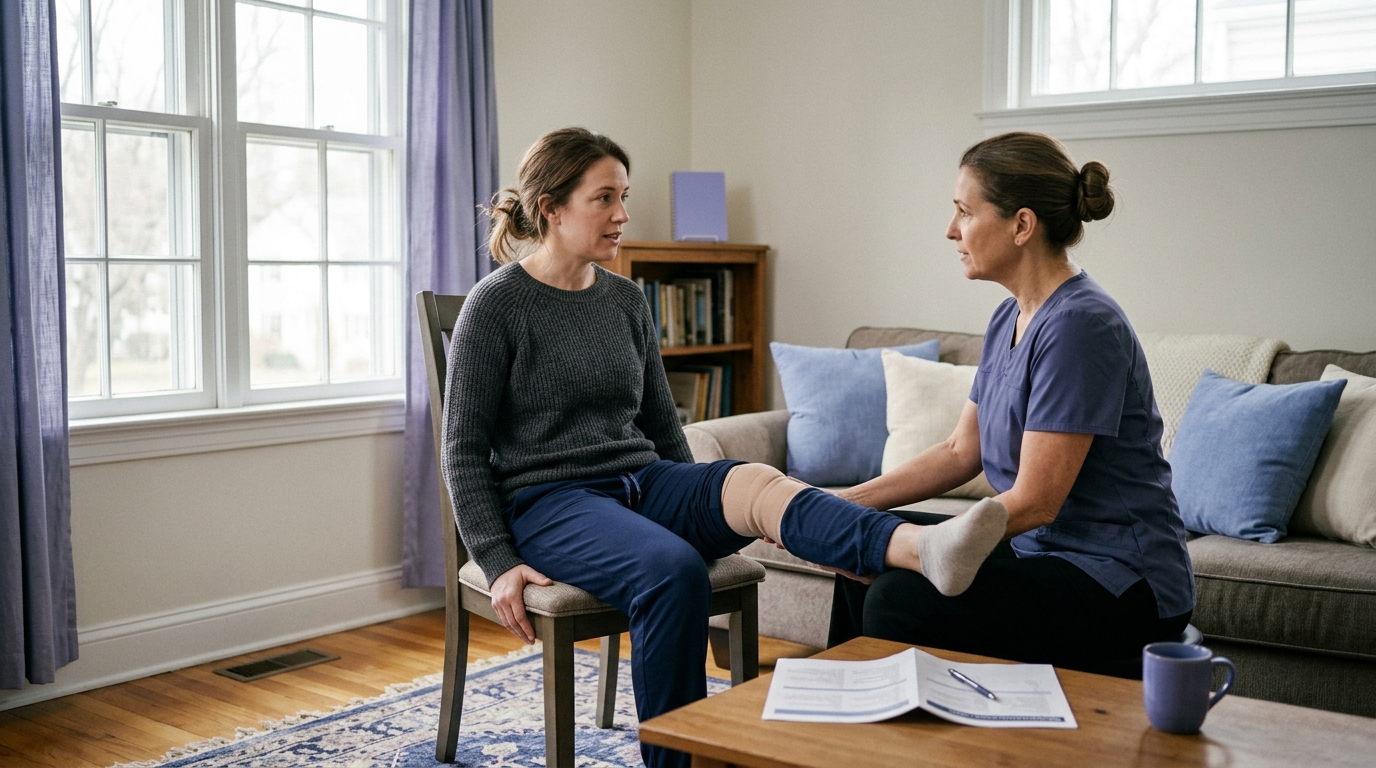
Bridging this gap requires practicing functional tasks that matter directly to your routine. Gradually introducing varied environments helps convert raw clinic strength into real-world independence. You can find related recovery advice across our injury recovery resources.
Every orthopedic recovery unfolds along an individual timeline. While recovery protocols provide structured milestones, several anatomical, surgical, and personal factors shape how quickly you can progress from mobility aids to independent movement.
Understanding these variables helps prevent unnecessary frustration when comparing your progress to that of friends or relatives who underwent surgery.
The mechanical nature of your surgery dictates your initial walking safety. A patient with an uncomplicated total hip replacement often bears weight immediately, whereas a patient undergoing complex fracture fixation or tendon repair may require weeks of strict non-weight-bearing. Foot and ankle surgeries, such as ankle fusions or Achilles tendon reconstructions, impose unique loading restrictions that alter gait mechanics far longer than standard joint replacements.
Your baseline strength, joint mobility, and cardiovascular health before entering the operating room heavily influence early recovery. Individuals with higher baseline hip and knee strength generally regain walking speed and stability more rapidly. Conversely, long-standing joint stiffness or muscle wasting requires extended rehabilitation to rebuild adequate support.
Postoperative joint effusion and soft tissue swelling mechanically restrict joint range of motion and inhibit surrounding muscle activation. Swelling in the knee joint, for example, causes reflexive shut-down of the quadriceps muscle, making it difficult to achieve full knee extension during the stance phase of walking. Managing swelling through elevation, compression, and appropriate rest intervals is essential for restoring a clean gait pattern.
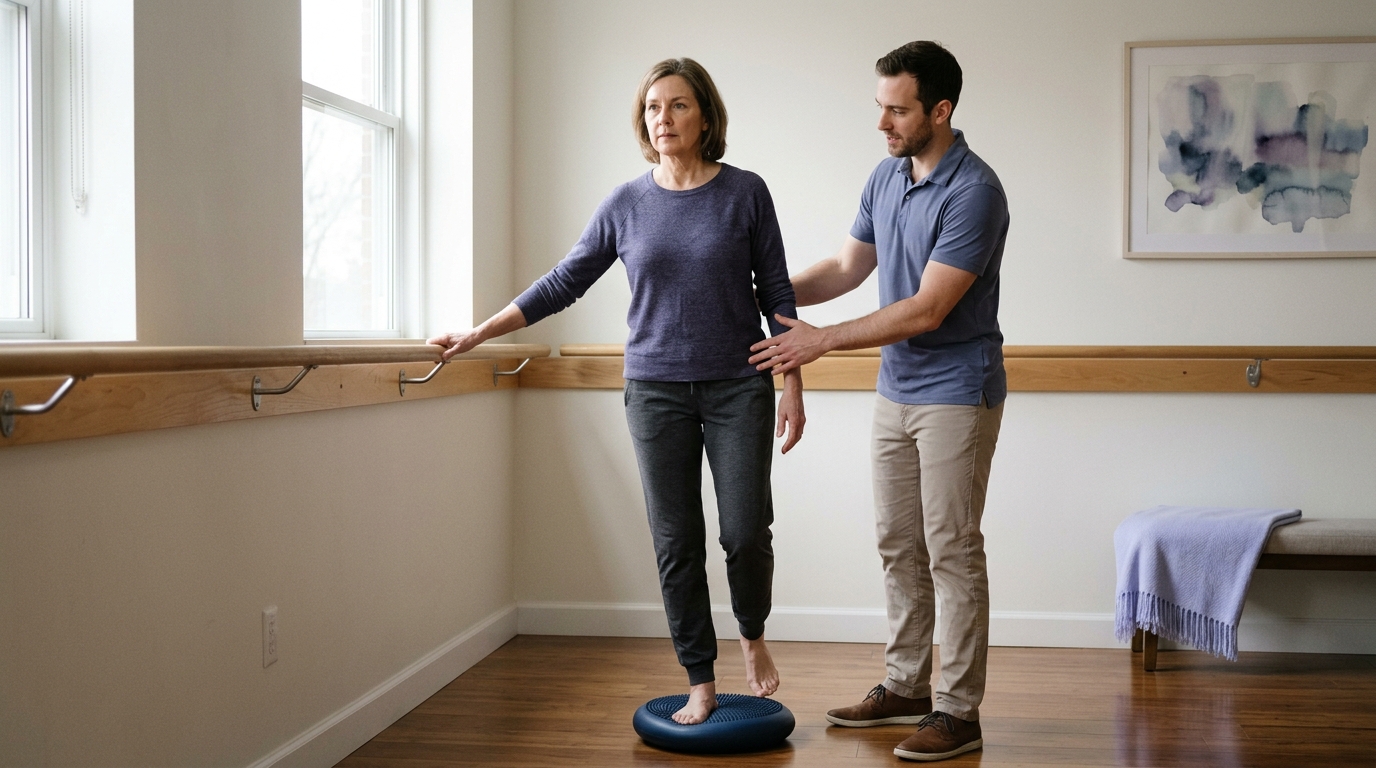
Joints and ligaments contain specialized mechanoreceptors that provide your brain with joint position sense, known as proprioception. Surgical incisions and joint replacements disrupt these neural pathways. Rebuilding balance requires retraining your nervous system through targeted stability exercises, not just building muscle strength.
Your home layout directly affects your daily walking volume and recovery challenges. Navigating multi-level homes with stairs, walking across thick carpeting, or stepping over high thresholds requires greater balance and strength than moving across flat, open spaces. Outdoor terrain such as gravel driveways or sloped sidewalks also requires advanced joint stabilization before being introduced safely.
Navigating walking recovery requires balancing patience with consistent practice. Many patients encounter avoidable setbacks by misinterpreting their body's signals or trying to bypass essential recovery phases.
Being aware of common recovery pitfalls helps you stay on a safe, steady path toward full mobility.
The most frequent mistake in orthopedic recovery is abandoning a walker, crutches, or cane before developing adequate muscular strength. Patients often believe that walking unassisted is always better than walking with an aid. However, walking without adequate support often forces your body to adopt a compensatory limp, such as leaning the trunk over the operated side to compensate for weak hip abductors. This faulty pattern stresses the lower back, opposite hip, and knees, reinforcing poor movement habits.
While pain is an important signal, it cannot be your sole guide for increasing walking volume or changing your weight-bearing status. Surgical hardware or healing bone may not generate acute pain until a mechanical overload occurs. Strictly follow the weight-bearing timeline established by your surgeon, regardless of how painless your joint feels during early recovery.
Focusing exclusively on step counts or total distance often leads to compromised walking technique. Taking 2,000 steps with an exaggerated limp, poor posture, and uneven cadence provides less rehabilitation value than taking 500 clean, symmetrical steps. When your walking form deteriorates due to fatigue, it is time to rest rather than pushing forward with faulty mechanics.
Patients recovering from hip, knee, or ankle procedures frequently take uneven strides, taking a long step with the non-operated leg and a short step with the surgical limb. They may also place the operated foot down flat instead of executing a proper heel-to-toe step. Focus on making both steps equal in length and time, ensuring your heel contacts the floor first before rolling smoothly to your toes.
Compensating for an operated leg places substantial extra mechanical stress on your non-operated limb, lower back, and arms. Patients often experience soreness or joint flare-ups in the healthy leg due to over-reliance during transfers and walking. Distributing your weight evenly and maintaining proper posture protects your entire musculoskeletal system throughout recovery.
A safe progression from mobility aids to everyday independence follows a sequential, phase-based structure. Rather than focusing on strict calendar dates, advance through these stages based on tissue healing, movement quality, and functional stability.
The following framework outlines how walking progression typically occurs under the supervision of your physical therapy team:
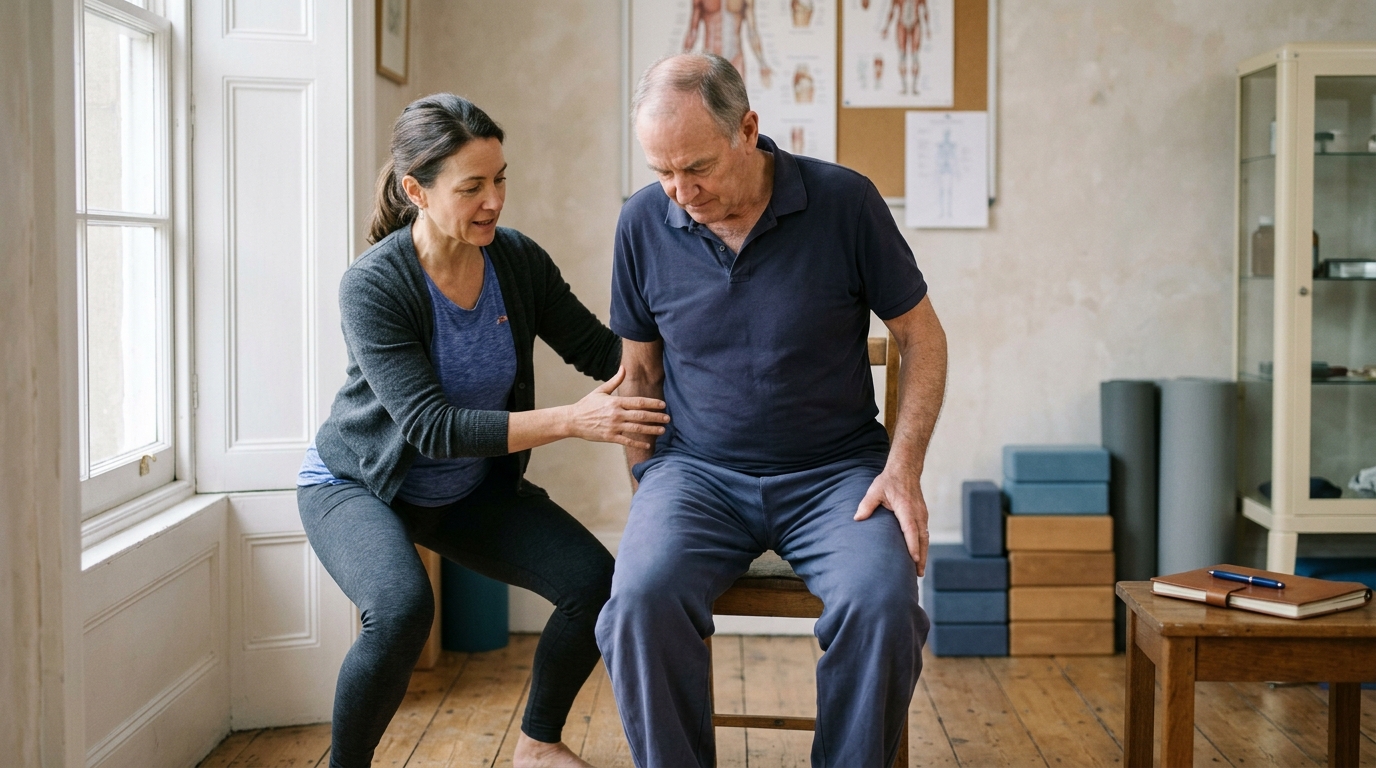
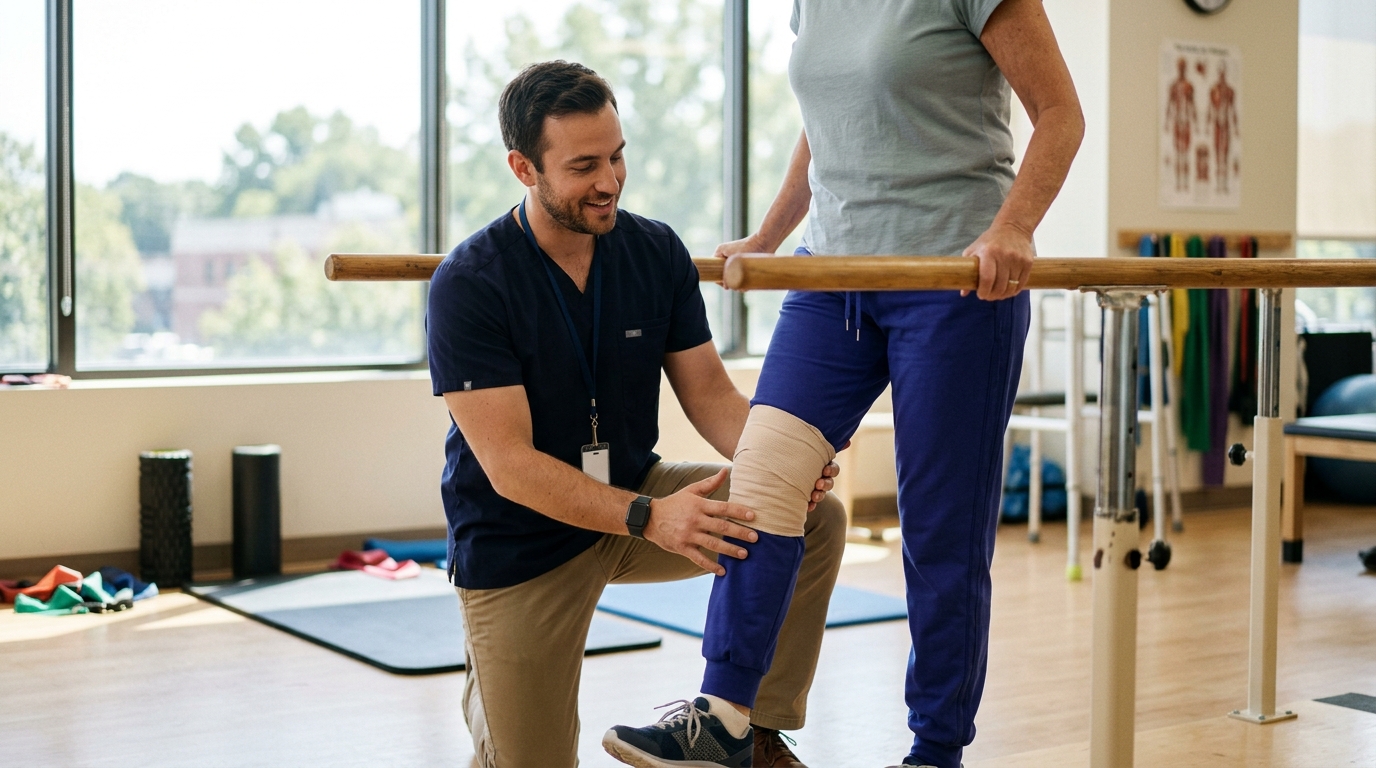
The initial phase focuses on protecting surgical healing and mastering your prescribed weight-bearing status. During this stage, you practice basic transfers, such as moving safely from sitting to standing using your prescribed walker or crutches. Walking practice is confined to short distances on flat, smooth indoor surfaces, with an emphasis on standing tall, engaging core muscles, and avoiding sudden twisting.
Once acute swelling subsides and basic movement is established, the focus shifts toward movement symmetry and cadence. Under physical therapy guidance, you may transition from a walker to crutches or a single cane held in the opposite hand. You practice stepping with equal stride lengths, achieving full knee extension during stance, and negotiating household obstacles, doorways, and simple steps using appropriate handrail support.
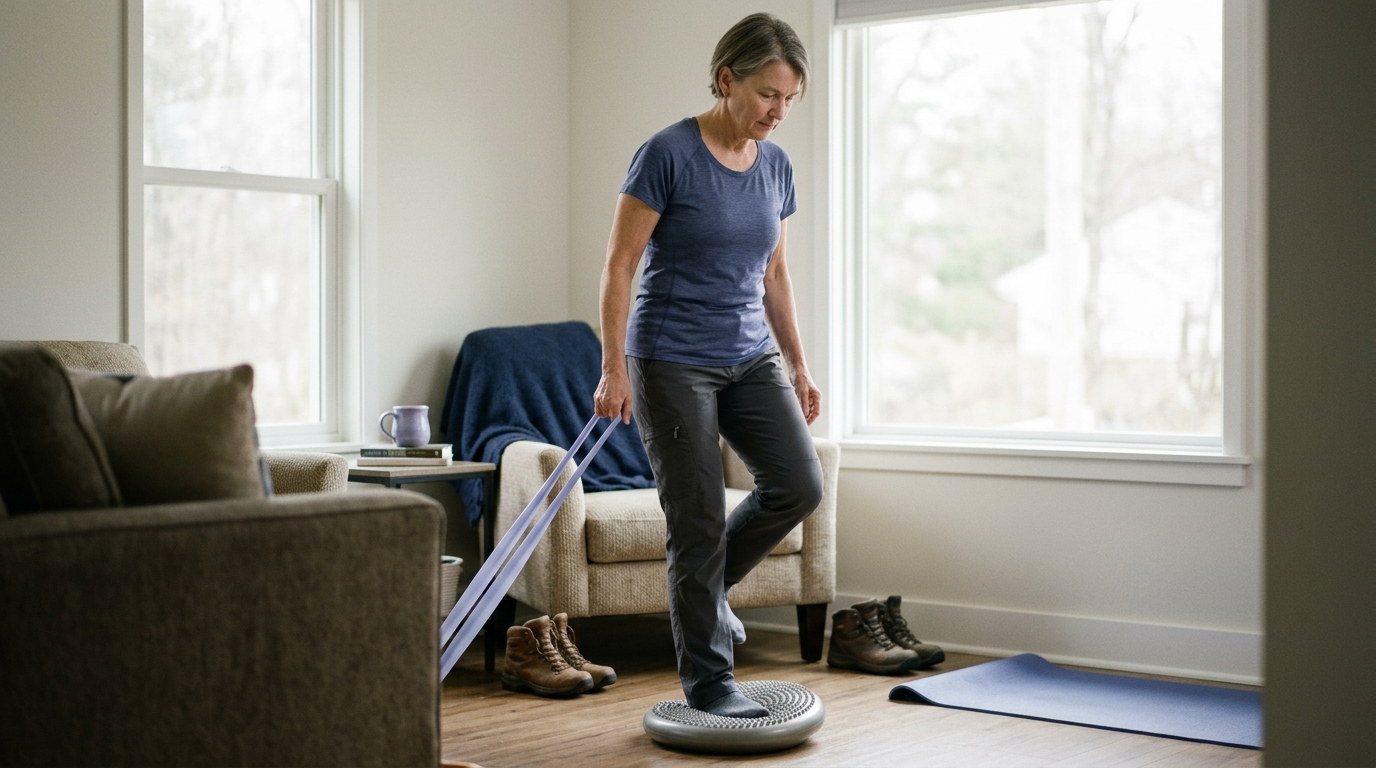
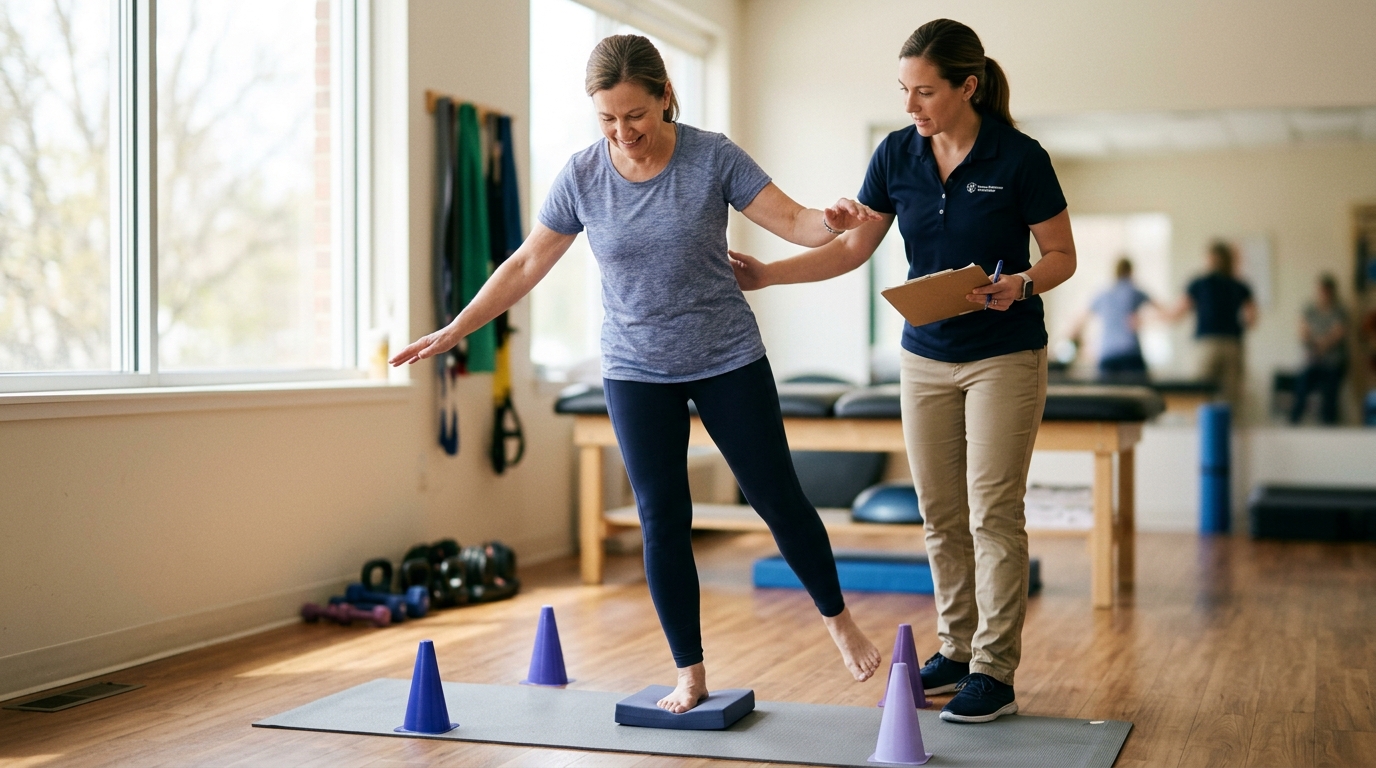
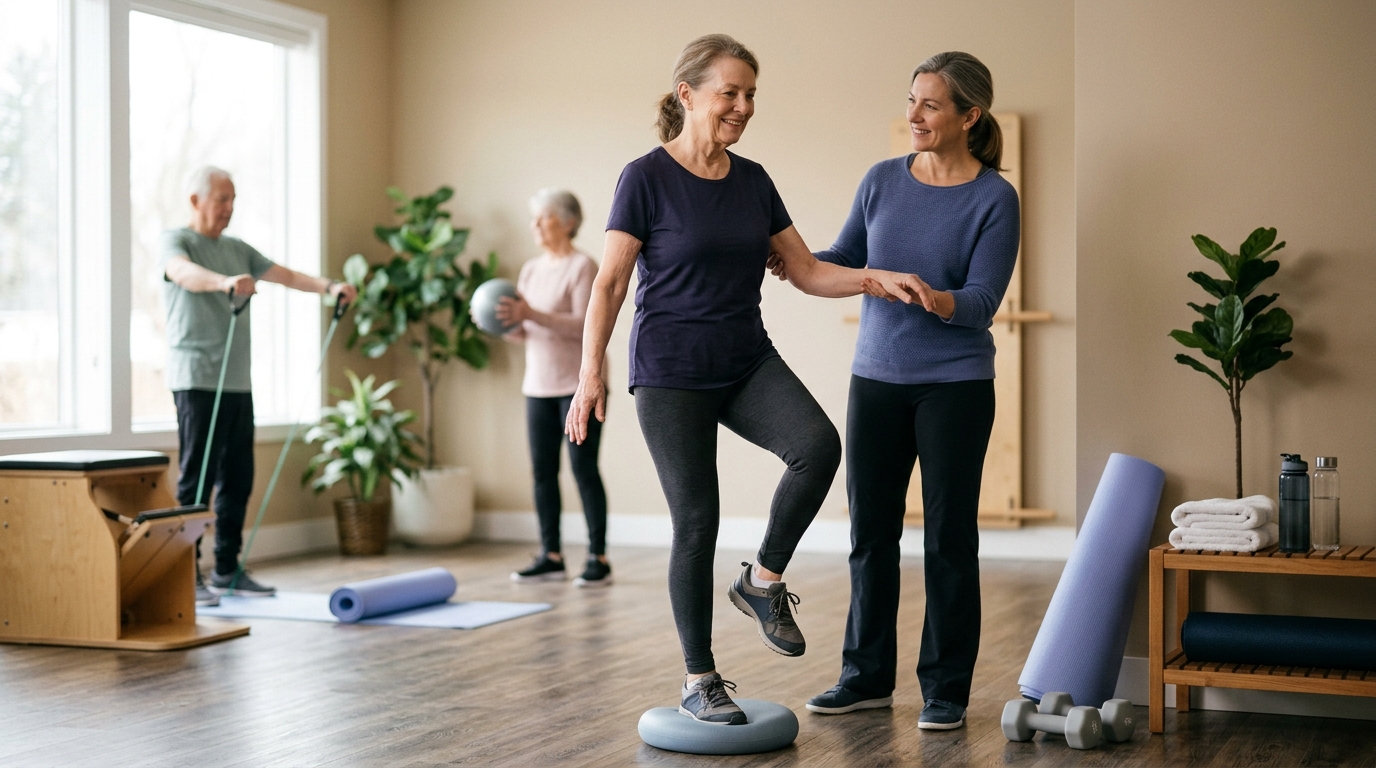
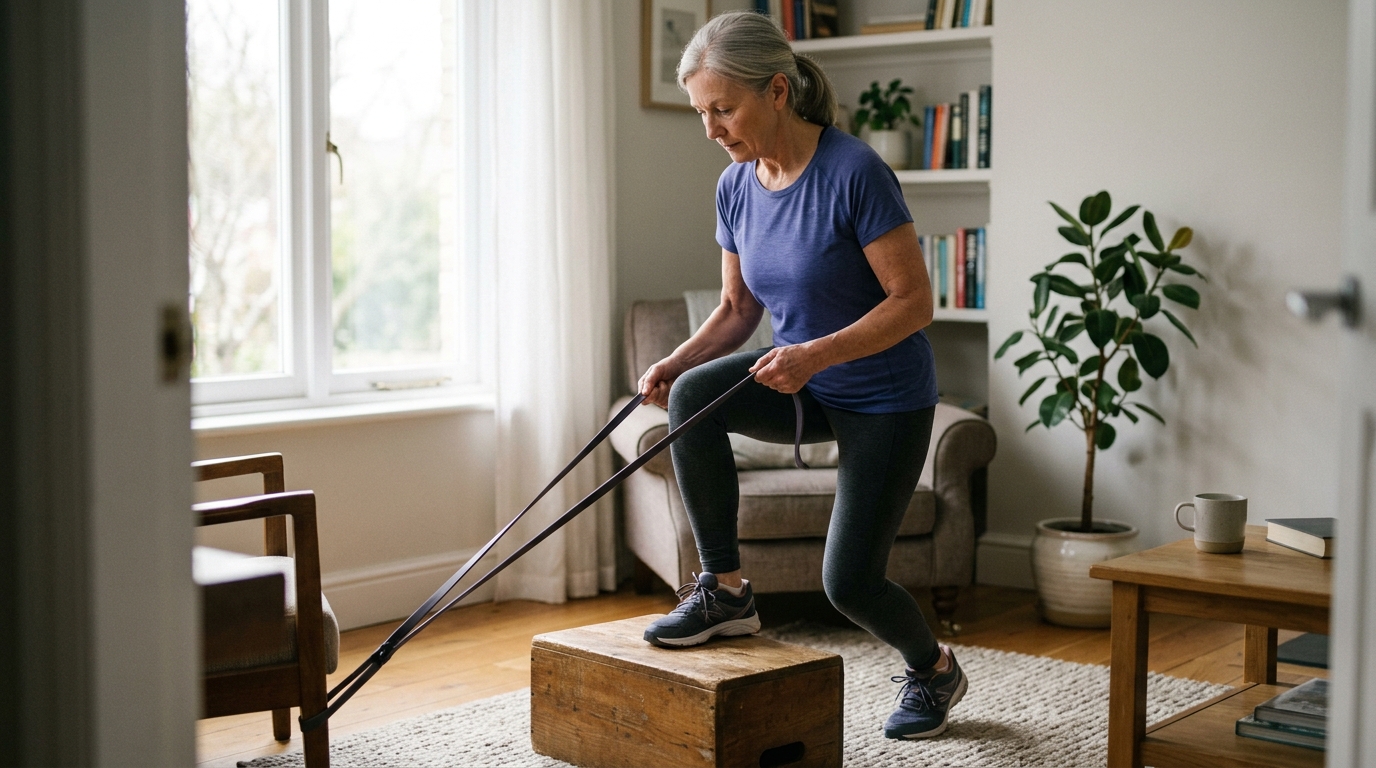
As hip and leg strength improves, you begin reducing reliance on your mobility aid for short indoor distances, provided you can walk without a limp. You gradually increase your total walking time across multiple short sessions throughout the day rather than one exhausting walk. Exercises during this phase target single-leg balance, hip abductor endurance, and calf strength to ensure your leg can support your full body weight smoothly.
The final phase prepares you for community independence and complex environments. You practice walking on varied surfaces, including outdoor pavement, grass, slight inclines, and commercial spaces with foot traffic. You work on dual-task activities, such as walking while carrying a light grocery bag or turning your head to converse, ensuring that your balance and joint alignment remain stable in real-world conditions.
To read more about structured exercise progressions, review our surgery rehabilitation articles.
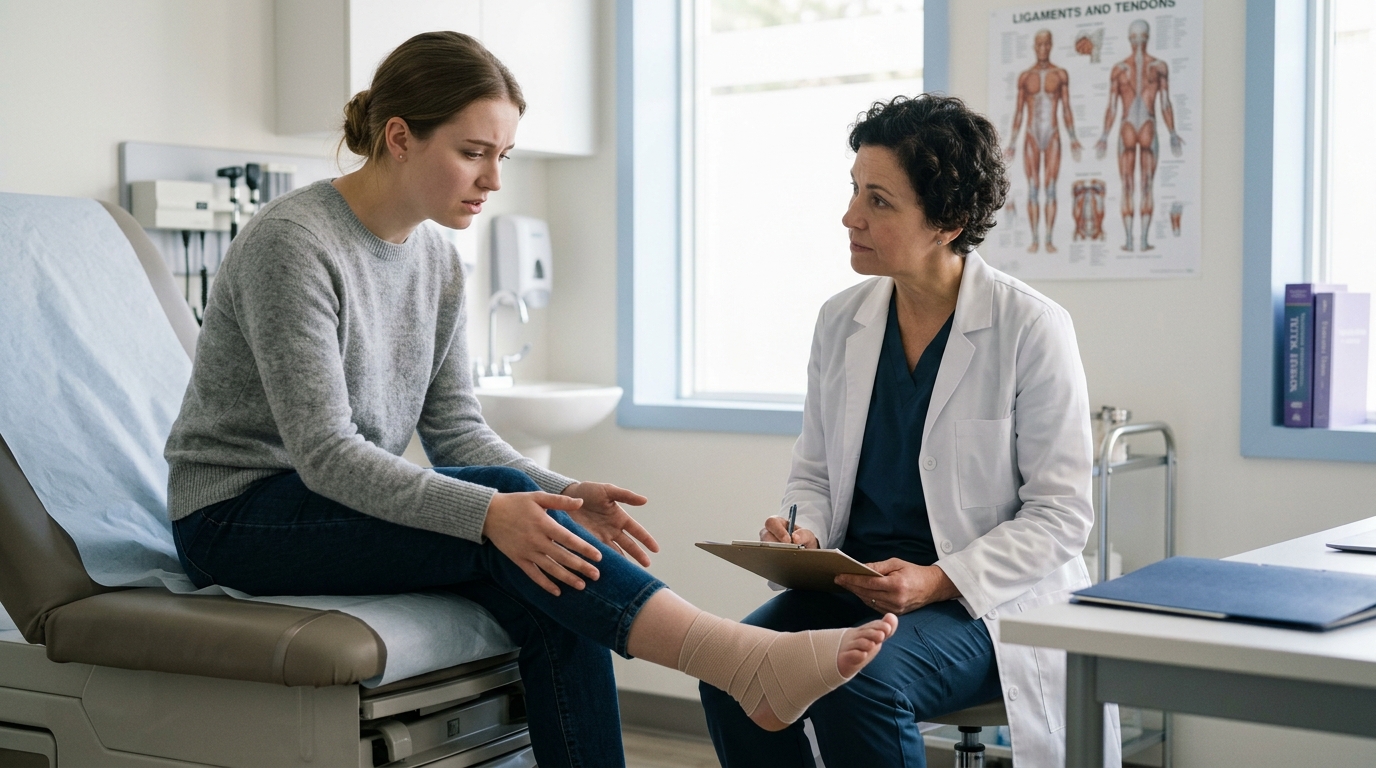
While mild muscle soreness, joint stiffness, and temporary fatigue are expected parts of walking recovery, certain symptoms indicate potential medical complications that require immediate clinical evaluation.
The American Academy of Orthopaedic Surgeons and hospital discharge guidelines highlight specific warning signs that should prompt you to contact your surgical team:
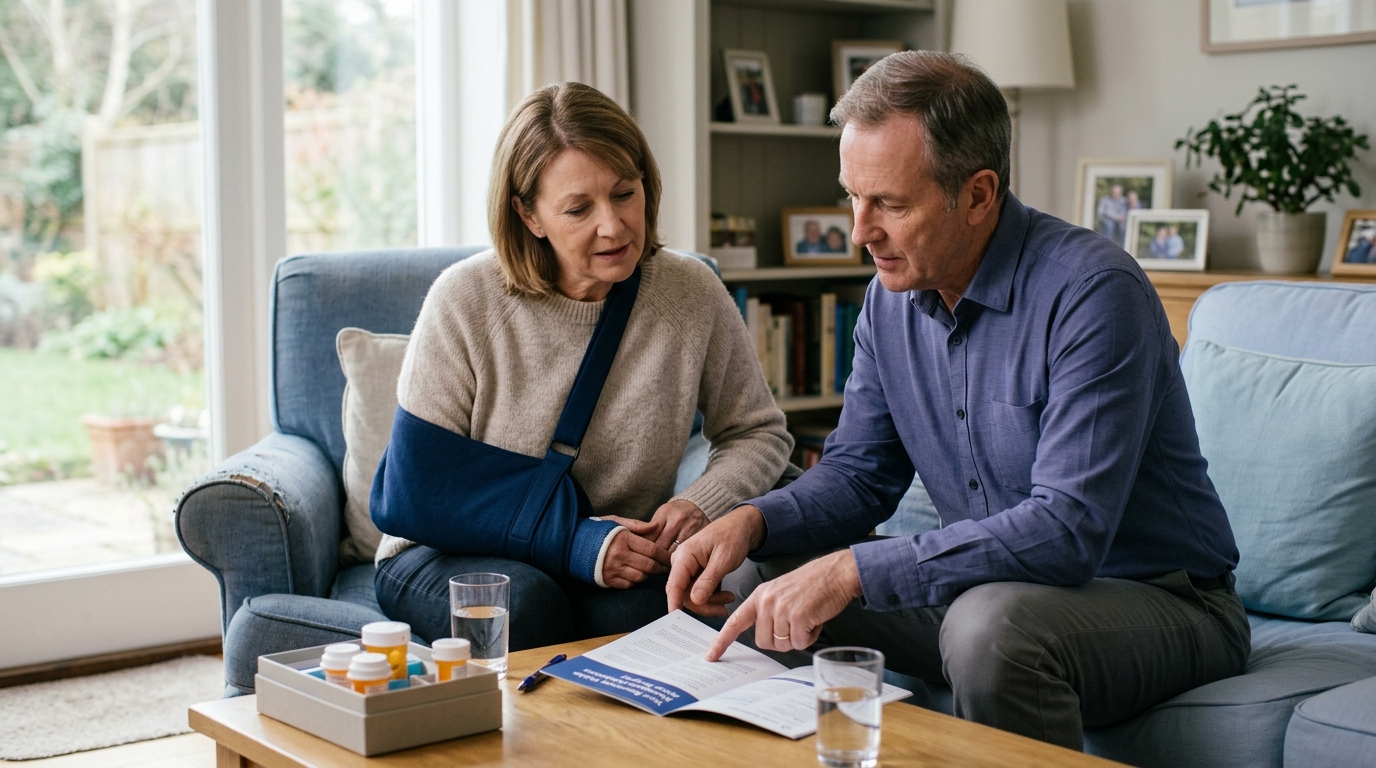
Always keep your hospital discharge instructions and surgical team contact numbers accessible so you can report concerning symptoms promptly.
To see how these principles apply in practice, consider these common functional recovery patterns. These examples represent general rehabilitation scenarios rather than prescriptive medical protocols:
A patient recovering from open reduction and internal fixation of an ankle fracture receives strict non-weight-bearing orders for six weeks. The patient uses a standard walker at home, keeping the surgical foot suspended above the ground during all walking and standing transfers.
The patient works with a physical therapist to master safe hopping technique on the non-operated leg, proper use of handrails on stairs, and seated upper-body conditioning. At six weeks, postoperative imaging confirms bone union, and the surgeon transitions the patient to partial weight-bearing in a protective boot, gradually reintroducing heel-to-toe contact over several weeks.
A patient undergoing total hip replacement is placed on weight-bearing as tolerated. For the first ten days, the patient uses a front-wheeled walker to manage surgical soreness and maintain balance while navigating the home.
During physical therapy, the patient demonstrates strong quadriceps activation and minimal joint effusion. The therapist transitions the patient to a single-point cane held in the hand opposite the operated hip. The patient continues using the cane for community walking and longer household tasks for four weeks until hip abductor strength testing confirms they can stand on the surgical leg without pelvic drop.
A patient recovering from total knee replacement achieves full knee range of motion and covers half-mile walks but continues to walk with a stiff-legged gait and reduced knee flexion during the swing phase. The physical therapist identifies that the patient has developed a habit of keeping the knee locked due to preoperative arthritis pain.
The rehabilitation plan shifts focus from increasing walking distance to movement retraining. The patient performs targeted step-up drills, treadmill walking with visual feedback from a mirror, and cadence-matching exercises using a metronome. Within a few weeks of focused retraining, the patient restores a natural knee bend during the swing phase, resulting in a smoother, more efficient stride.
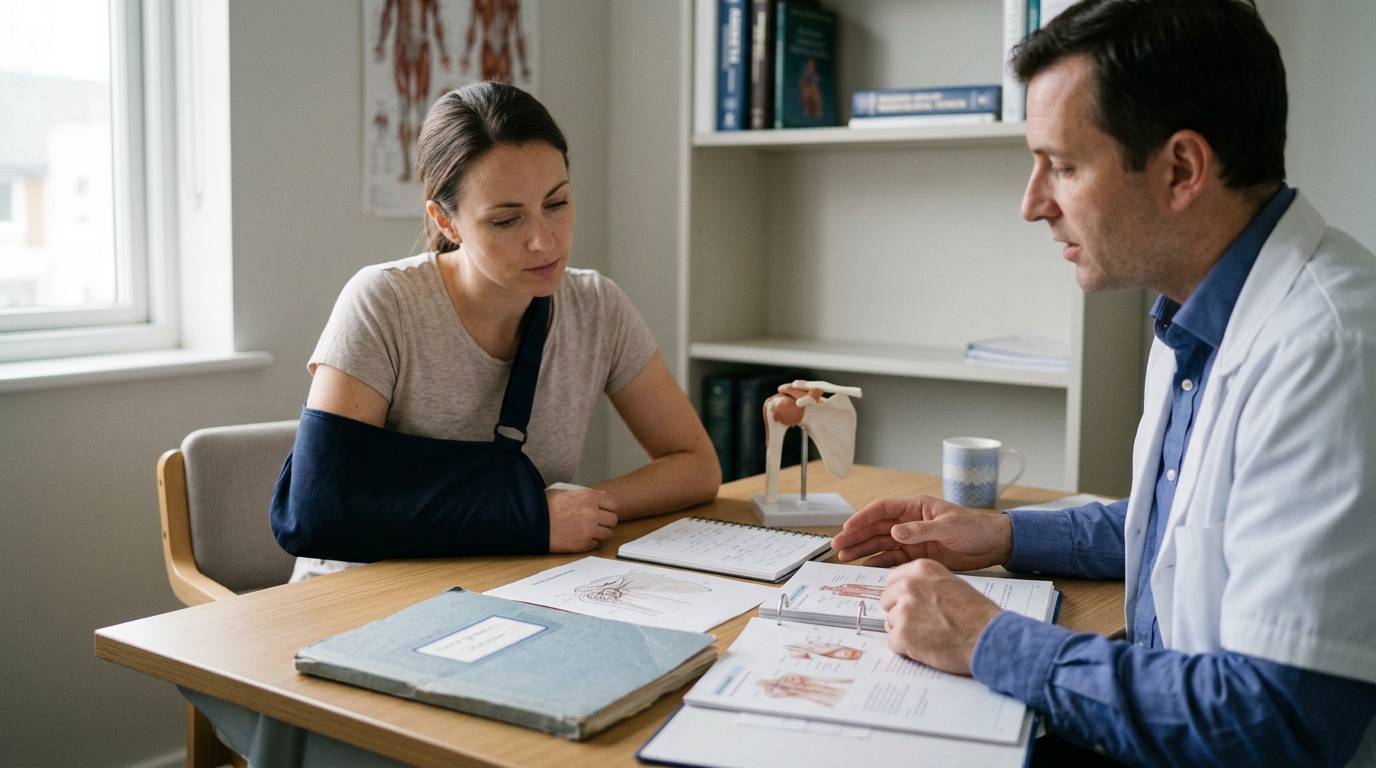
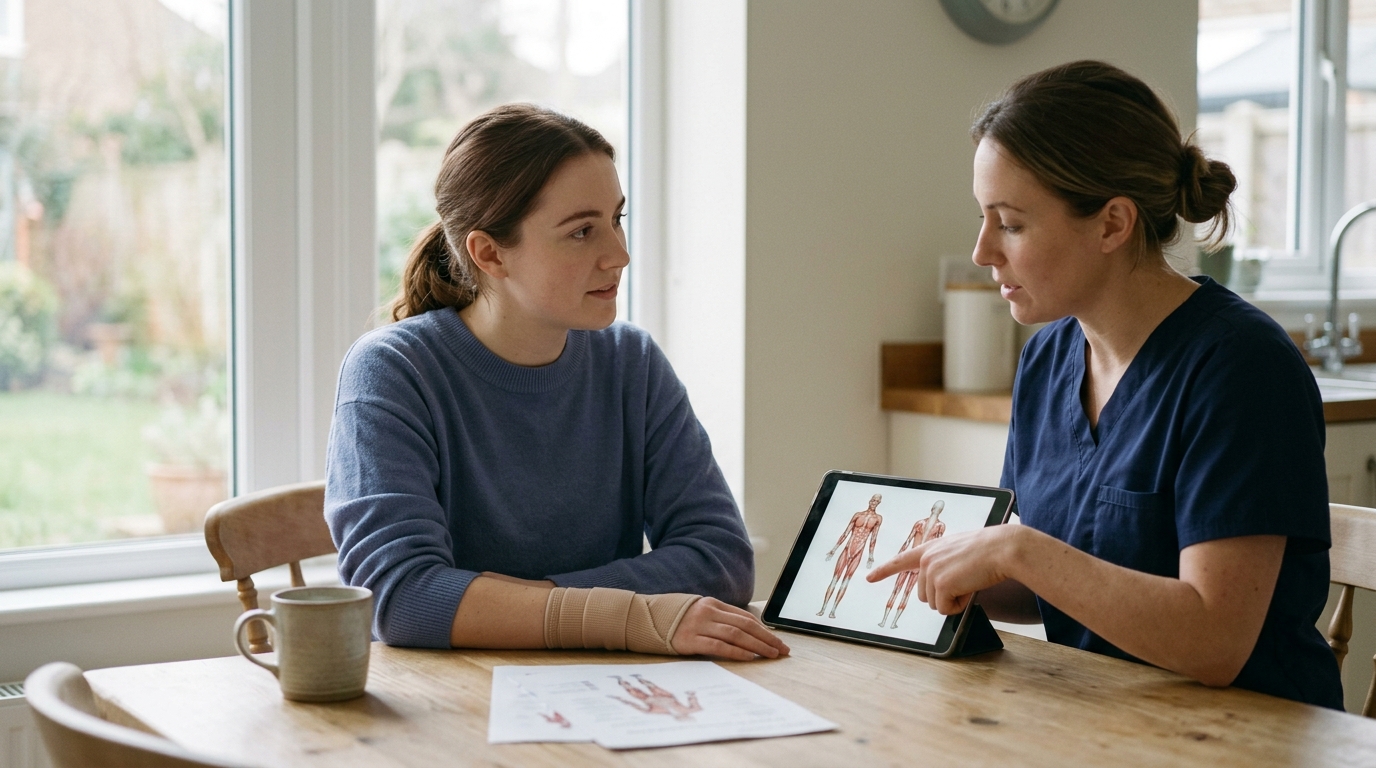
Your recovery plan should be tailored to your specific surgery, physical condition, and home environment. Bringing specific, well-framed questions to your surgical follow-up visits and physical therapy sessions helps ensure clear communication and safe progression.
Consider discussing these practical questions with your healthcare team:
Walking recovery after orthopedic surgery is a structured process that reconnects muscular strength, joint mobility, nervous system coordination, and tissue healing. Mobility aids are not symbols of slow progress; they are precise tools that protect your surgical repair, prevent compensatory limping, and establish a foundation for long-term joint function.
Progressing toward everyday walking independence requires focusing on the quality of your movement rather than rushing to hit arbitrary distance milestones or discard your cane. By respecting your prescribed weight-bearing boundaries, working closely with your physical therapy team, and listening to your body's recovery signals, you can rebuild steady, confident, and enduring mobility. Learn more about our evidence-led approach on our editorial mission page.
You may wish to revisit this resource when transitioning between mobility aids, preparing to walk on outdoor surfaces, or reviewing your walking technique with your physical therapist. Steady, well-supported steps taken today build the foundation for confident, lasting movement in the months ahead.

Use ReboundBody resources to understand common recovery stages, rehab terms, movement limits and strength rebuilding. Each guide is designed to make a complex comeback easier to understand.


Read practical guidance on injury recovery, rehabilitation, mobility and rebuilding strength as you work your way back to activity.
Explore Resources